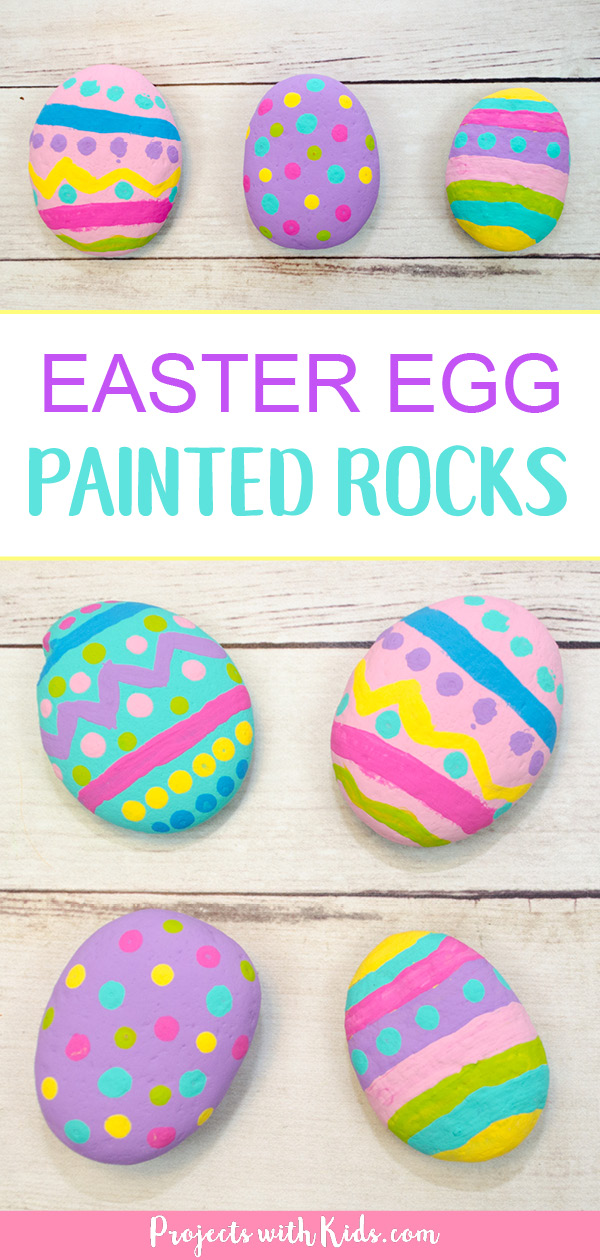
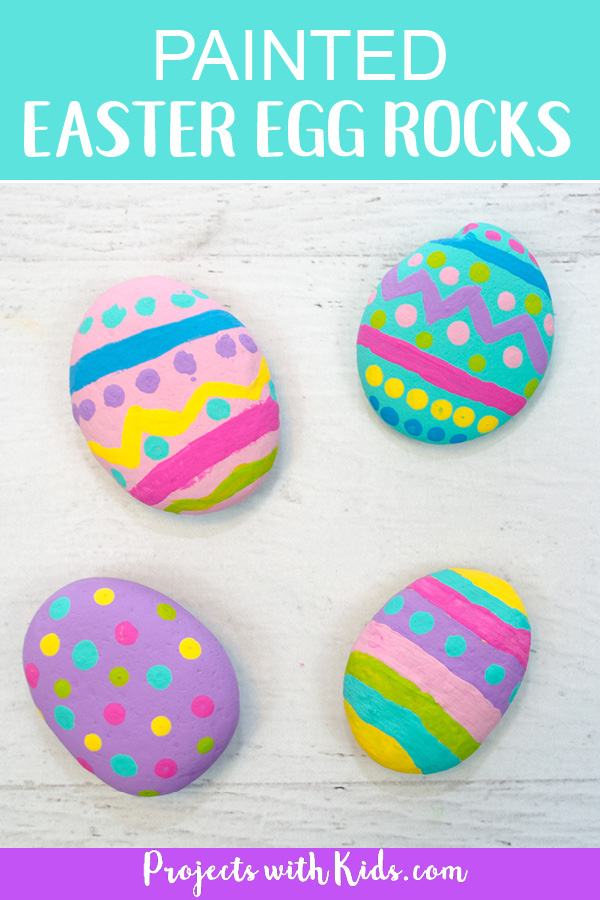
These Easter egg rocks were so easy to make and turned out great! They would look beautiful as part of your Easter decor or you could even hide them outside as part of a fun non-candy Easter egg hunt.
I love painting and crafting with all of the soft pastel colors of spring and Easter like the way these simple watercolor Easter eggs turned out that use a fun sticker resist technique.
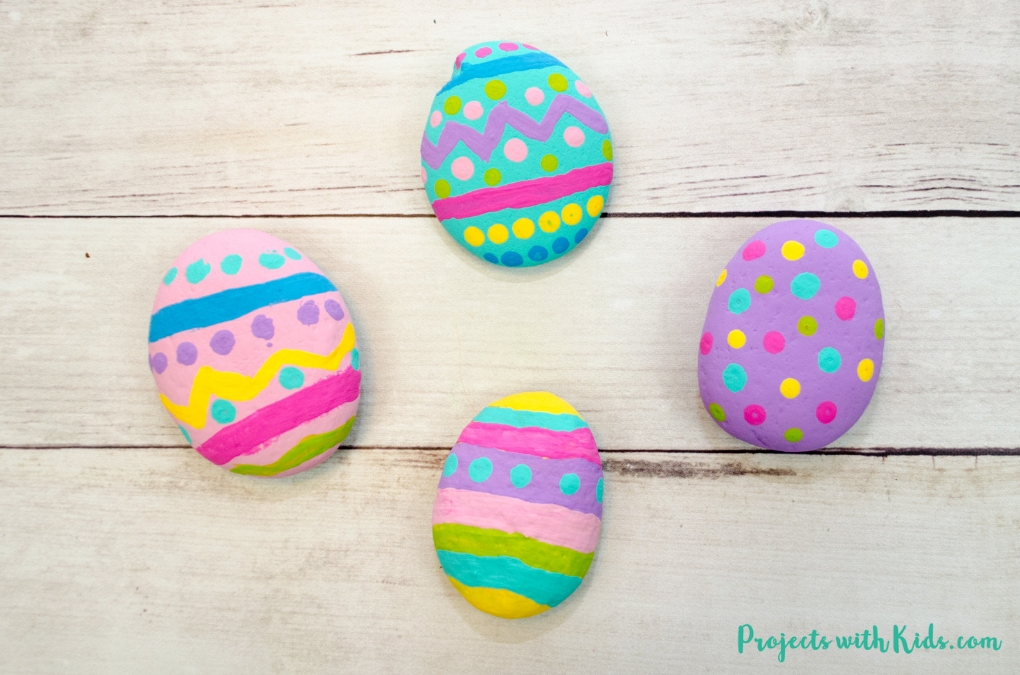
We used q-tips to help easily create the dots on the rocks, painting with q-tips is one of our favorite painting techniques! You can see more of our q-tip painting projects with this dragonfly craft and this spring trees painting with bundled q-tips.
If you are looking for more Easter art activities, take a look at this creative collection of Easter art projects!
Check out my collection of painting ideas for kids for more fun and creative art projects to try!
Create your own painted Easter egg rocks
This post contains affiliate links, which come at no cost to you. If you would like more information please review my privacy & disclosure policy.
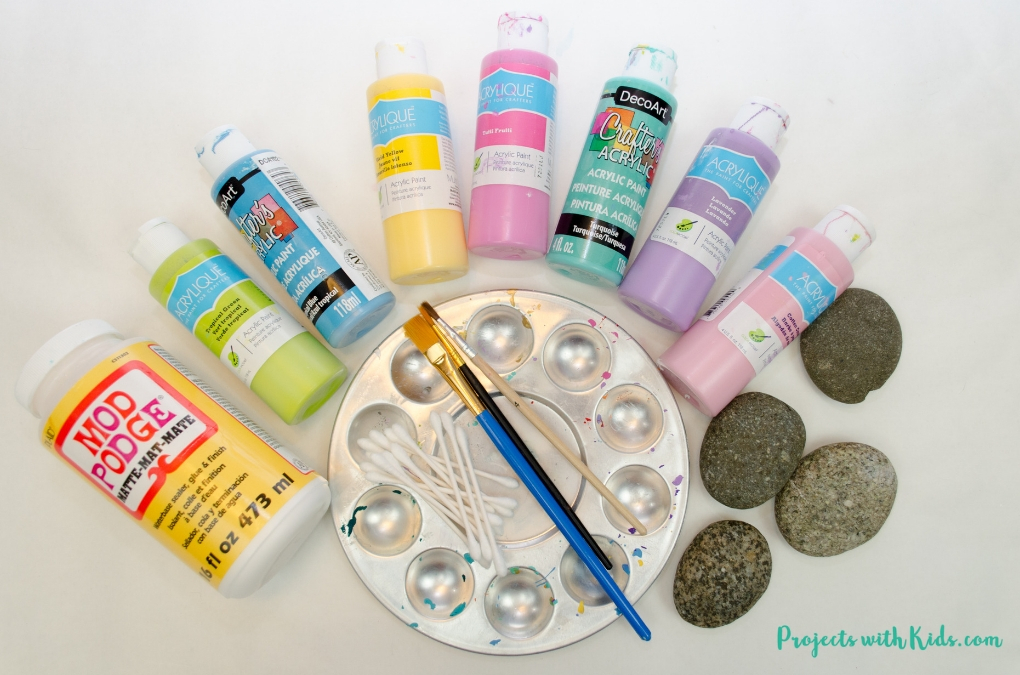
Supplies
- Rocks (make sure to look for rocks that are shaped like an egg)
- Acrylic paint in pastel colors
- Paintbrushes (you will need a medium one for painting the entire rock and a small one for painting in the details)
- Q-tips
- Paint palette
- Mod Podge (if you are going to use the rocks outside you will need a weatherproof sealer)
Instructions
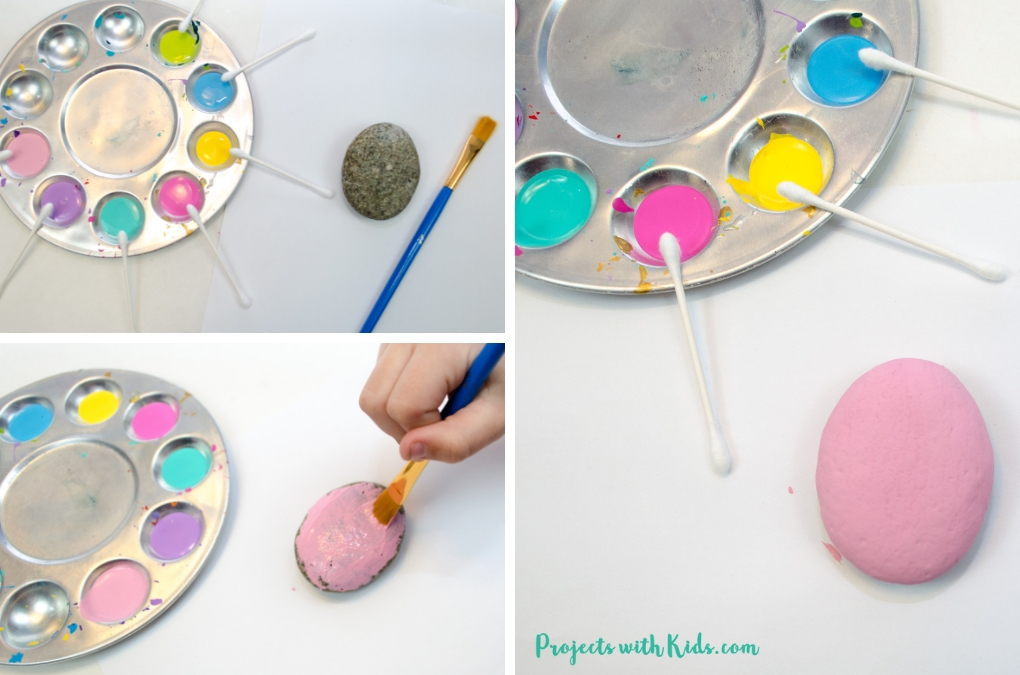
1. First, you want to make sure your rocks are clean and dry. We collected our rocks outside so had to wash them first. You also want to find rocks that are already in an egg shape.
2. Get your paint colors ready and choose a color to paint your entire rock. Depending on the color you choose, you might have to paint more than one coat. Our pink rock needed 2 coats but our blue rock only needed 1, so it really depends on the color you choose.
You want your coats of paint to be on the thinner side, this will prevent the paint from cracking and flaking off. Make sure your rock is completely dry before moving on.
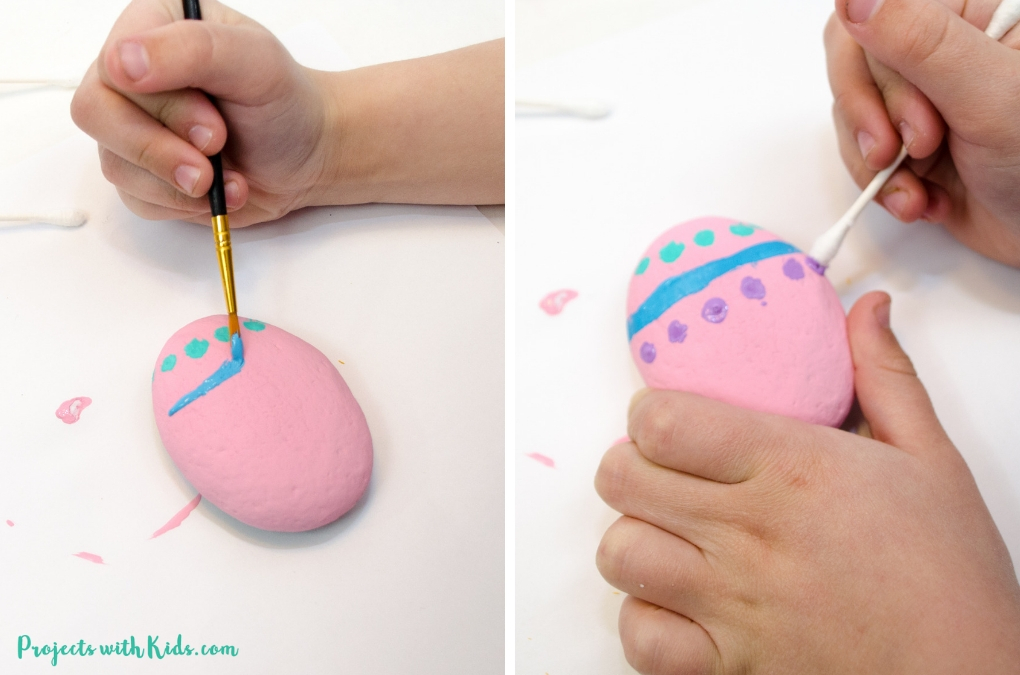
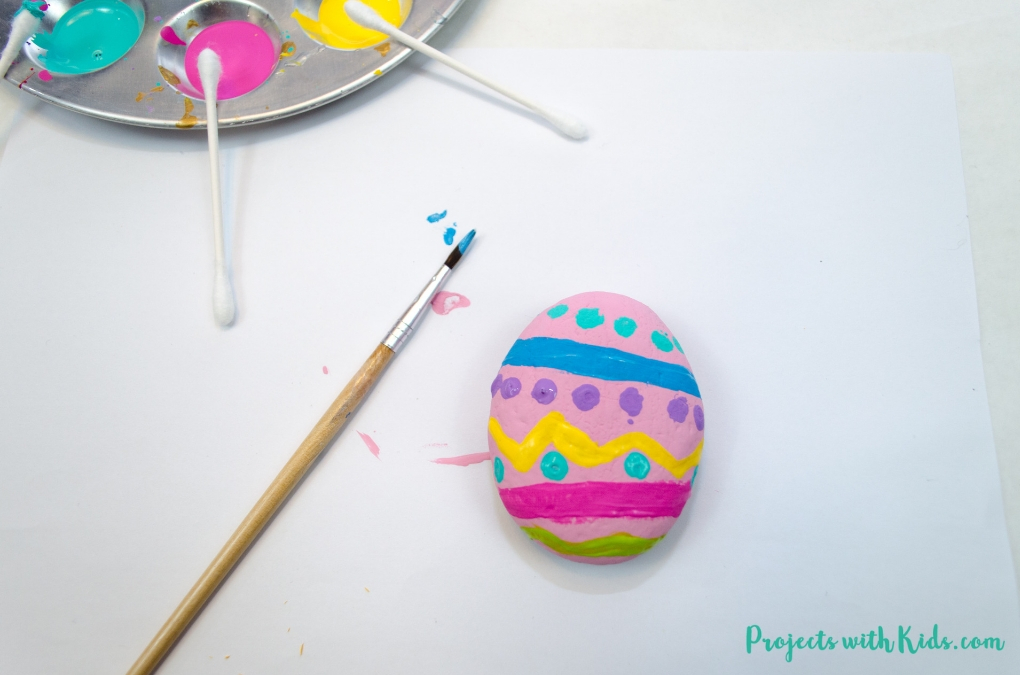
3. Now the fun part of creating your easter egg designs! Kids can choose to use a small paintbrush to create lines, zigzags, and squiggles and use q-tips to easily create dots.
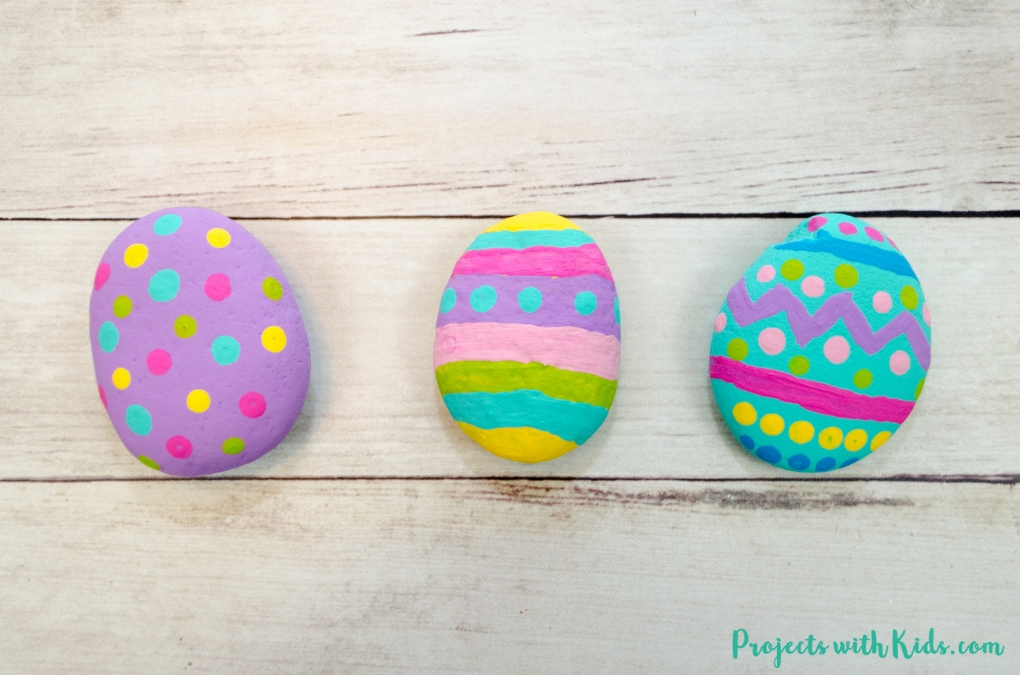
We had fun coming up with our Easter egg designs for our rocks! Using q-tips to create the dots and a small detail brush for the lines and zigzags makes it easier for kids to paint.
If you are looking for more rock painting ideas check out my collection of creative rock painting for kids!
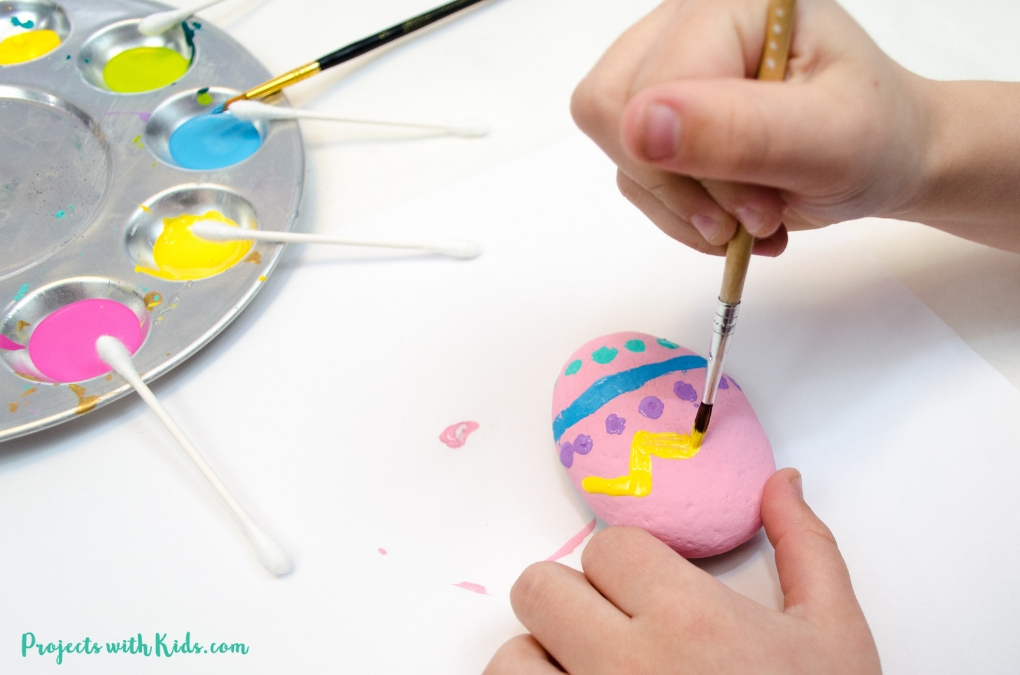
4. Once kids are finished painting in their designs on their rocks, let the rocks dry completely before sealing them. I like to let our rocks dry overnight just to make sure. When using the q-tips, the paint goes on thicker so it can take longer to dry.
5. After your rocks have had a chance to dry you can seal them to keep the colors nice and bright. We used just regular Mod Podge for ours since they are not going to be placed outside.
If you are going to be putting your rocks outside, you need to use a weatherproof sealer. Paint your rocks with 2 thin coats, letting them dry in between each coat.
This was such a fun painting activity and one that my 8-year-old daughter could do on her own. I can’t wait to put out our painted Easter egg rocks as part of our Easter decorations! For another Easter rock painting idea check out these adorable Easter bunny painted rocks!
We love creating and exploring with different art supplies and techniques. If you are looking for more art projects to try, take a look at our ultimate collection of amazing art projects for kids!
More Easter crafts kids will love
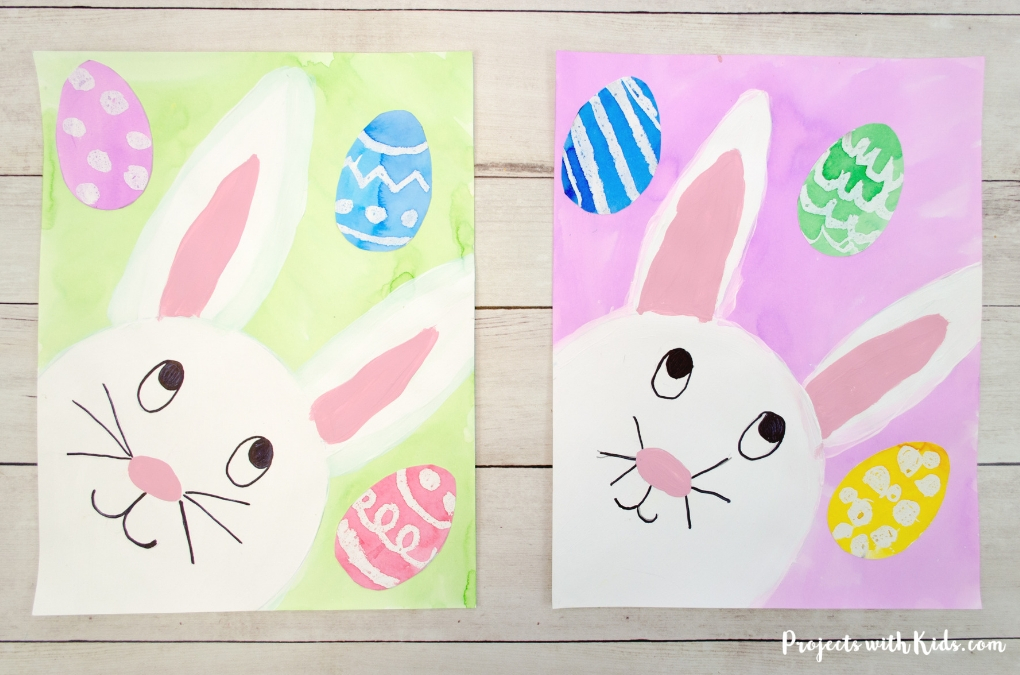
The Cutest Easter Bunny Painting for Kids to Make
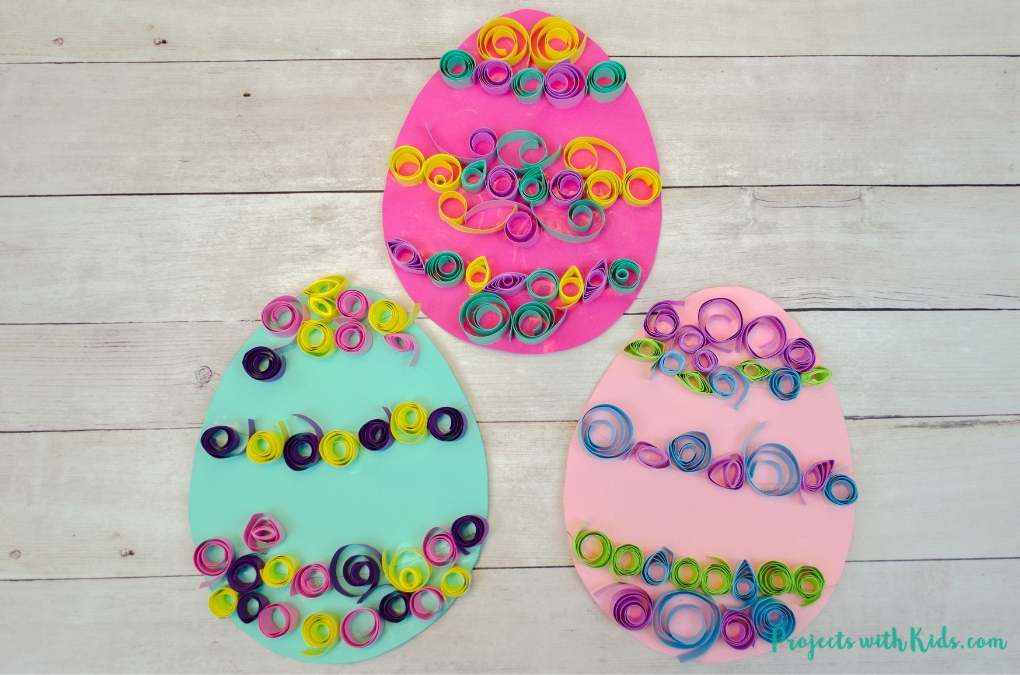
Fun Easter Egg Paper Craft for Kids to Make
Follow me on Pinterest for more amazing project ideas.
Pin this awesome Easter craft for later




[…] Related: Easy Painted Easter Egg Rocks for Kids […]