
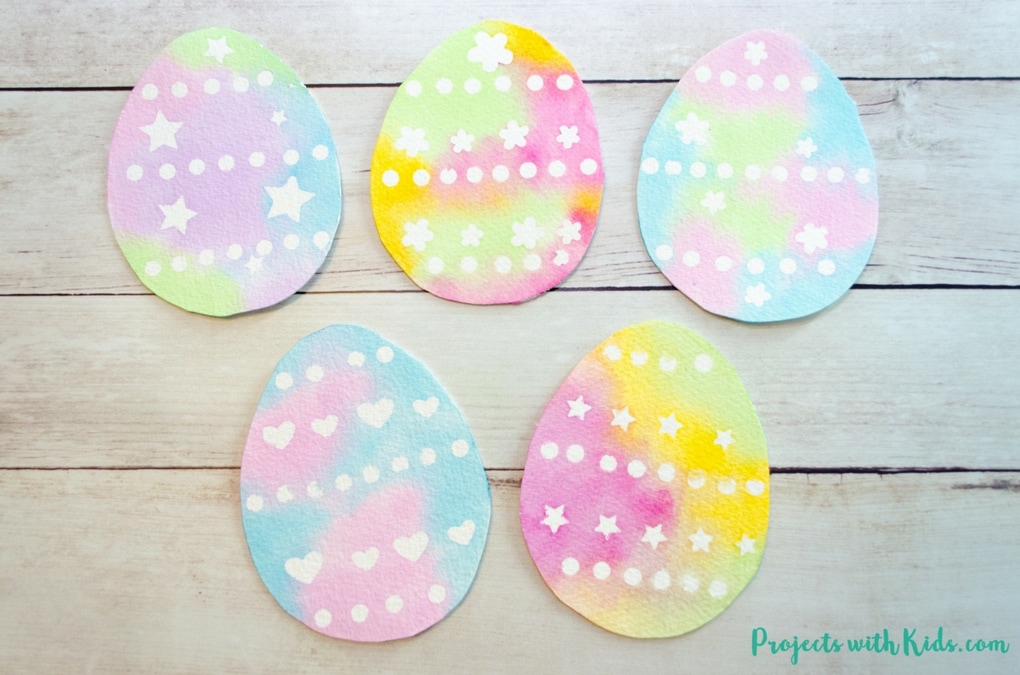
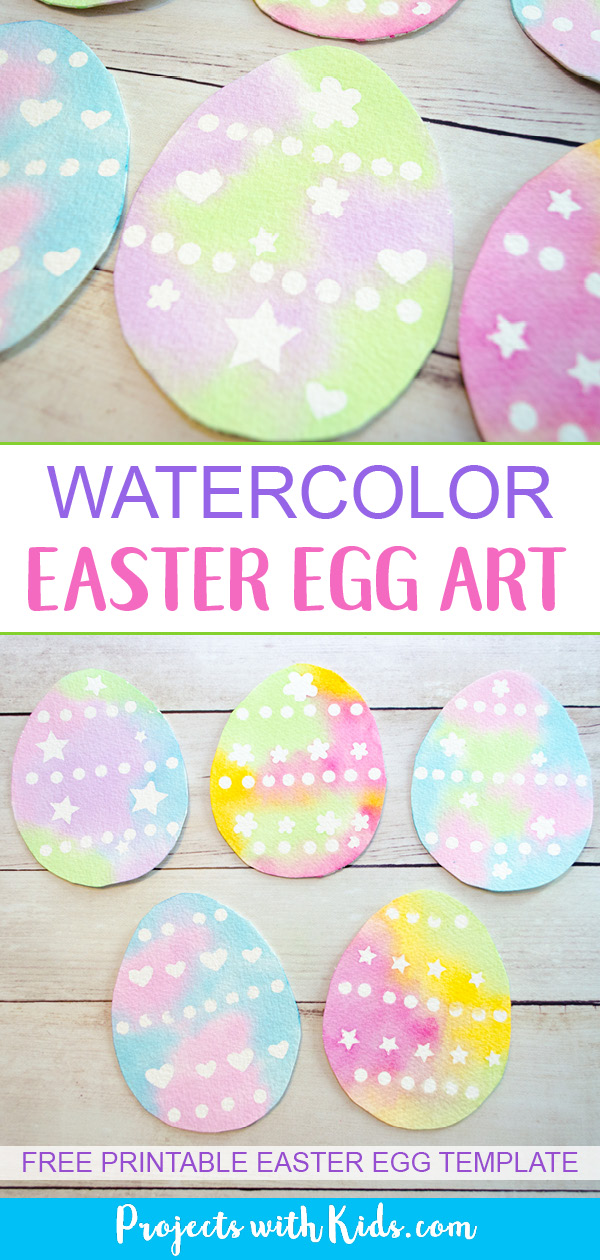
This Easter egg art project is filled with gorgeous spring colors and simple shapes. Using stickers as a resist technique is super easy and great for younger kids and beyond! Kids can choose the colors they want to use and the different sticker shapes and patterns, making each painting unique.
There are so many fun watercolor techniques for kids to try! Take a look at my collection of watercolor painting for kids for more fun and creative ideas.
For another project idea using the same sticker resist technique, take a look at these sticker resist Valentine’s bookmarks. These are great for kids to make as gifts for their friends at school!
If you are looking for more Easter art activities, take a look at this creative collection of Easter art projects!
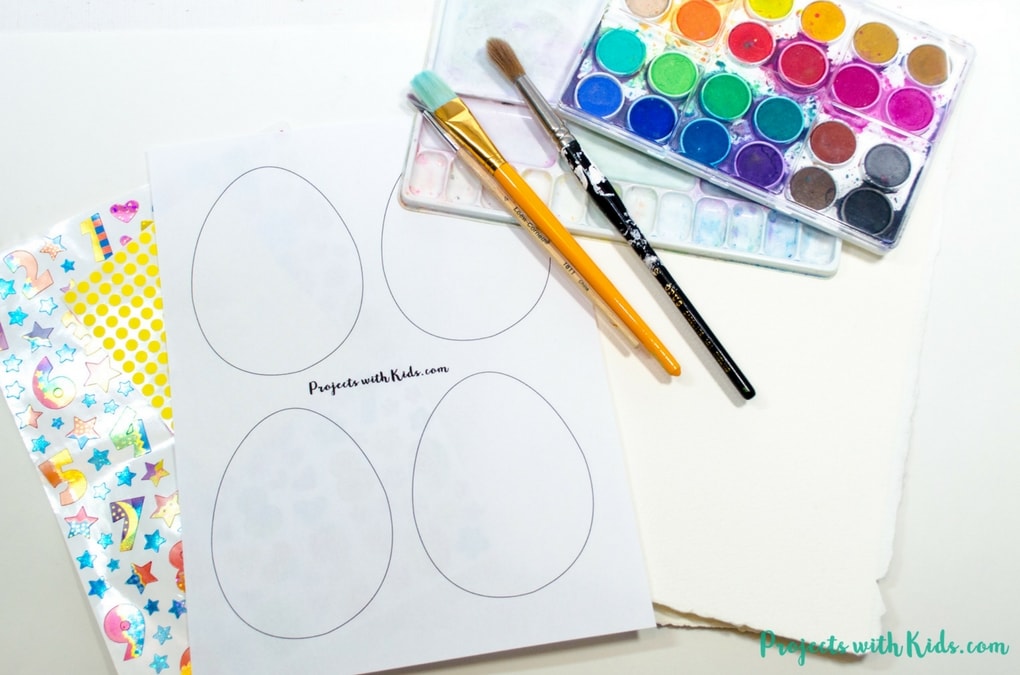
For this project, I created a free printable template to make this art project even easier for you. This template is available to my email subscribers. Fill out the form below to get the free template.
After signing up you will receive a welcome email with your download link.
Create Your Own Watercolor Easter Egg Art
This post contains affiliate links, which come at no cost to you. If you would like more information please review my disclosure policy.
Supplies
- Easter egg template
- Watercolor paper
- Watercolor paint
- Paintbrushes
- Paint palette
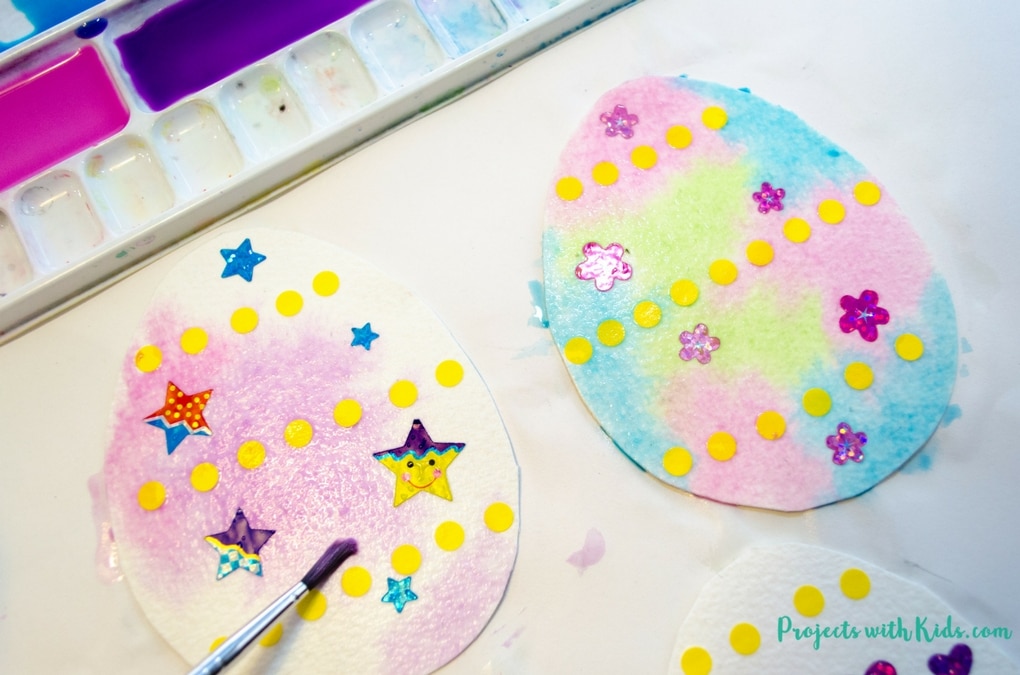
- Stickers, we used hearts, stars, flowers, and dots that I got from the dollar store
Instructions for your Easter egg painting
Related: 5 Easy Watercolor Techniques for Kids with Fantastic Results
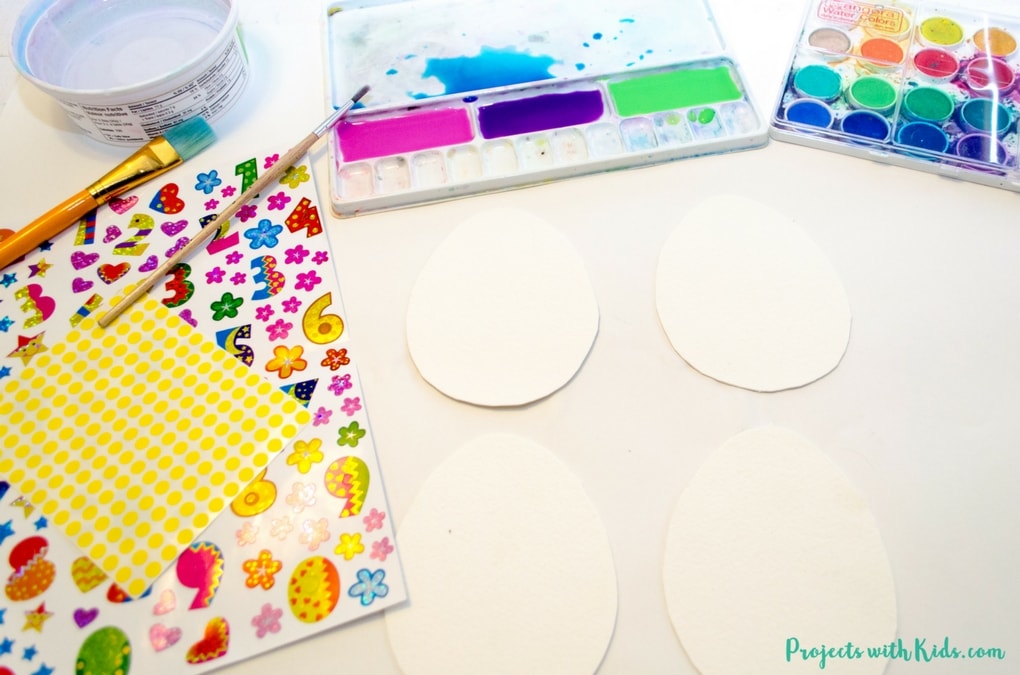
1. First, print and cut out your Easter egg template. Use your template on watercolor paper and cut out your Easter egg shapes.
2. Pick out the colors you want to use. We chose spring and Easter colors, but you can use any colors you like. I like to have a scrap piece of paper handy to test out my colors first.
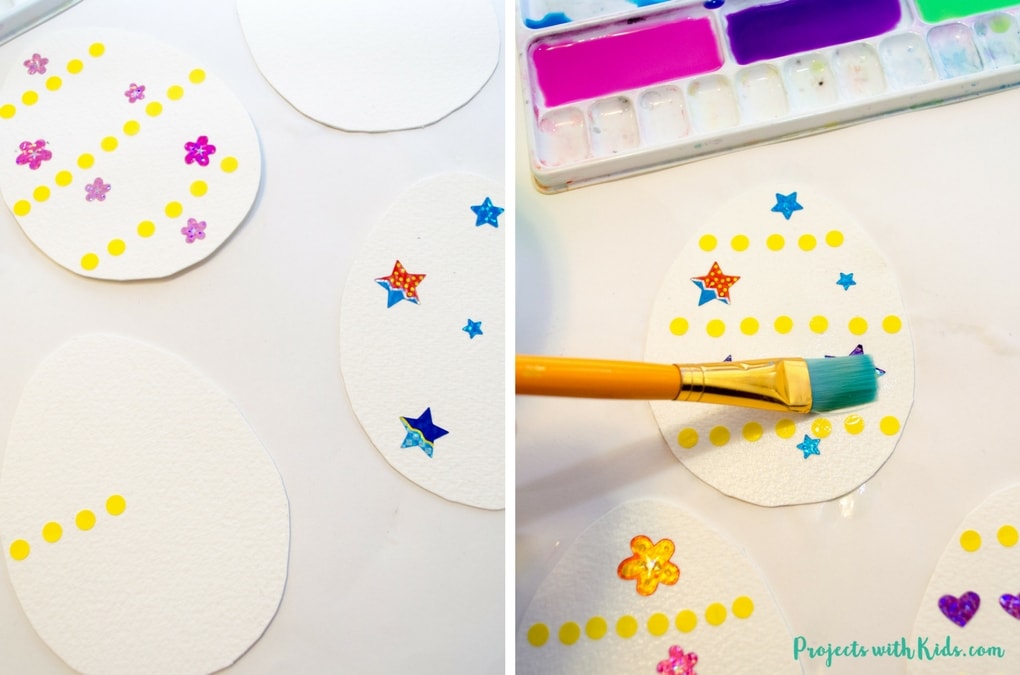
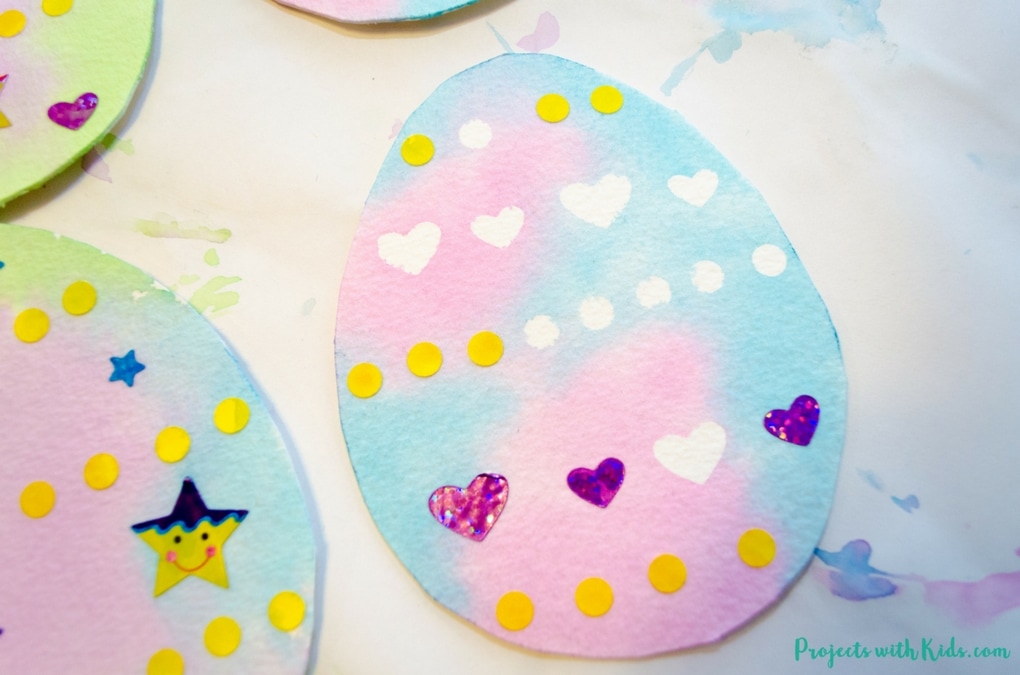
3. Take out your stickers and place them on your Easter eggs, making sure to press down firmly. Kids can choose to make a pattern like we did on some of our eggs or place the stickers randomly.
Some kids will want to place stickers randomly, while others will place their stickers down in a pattern. This is great for younger kids because there is no wrong way to put on your stickers and they will always look great!
Related: The Cutest Easter Bunny Painting for Kids to Make
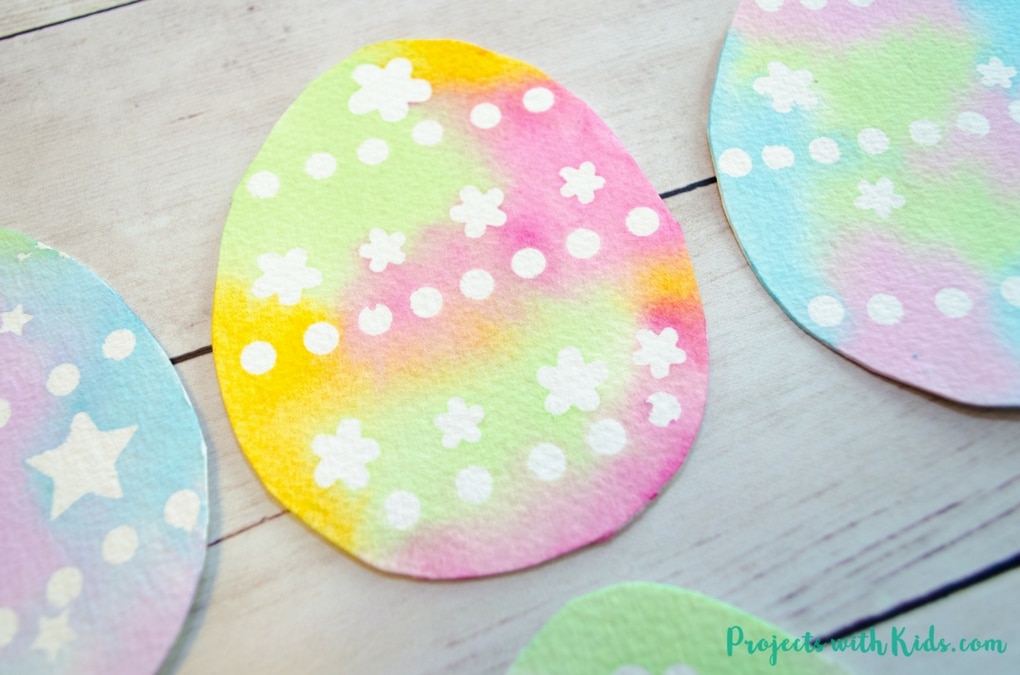
4. Once the stickers are on and pressed down firmly, paint the eggs with a water wash first. Make sure the entire egg is painted with water but is not soaking wet. If there is too much water you can just dab the paper a bit with a paper towel.
5. Paint your eggs with your chosen colors, it’s fun to watch the colors mix together on the wet paper. Remind kids not to mix the colors too much, to let the paper do most of the mixing. Kids love to watch the colors mixing on their paper!
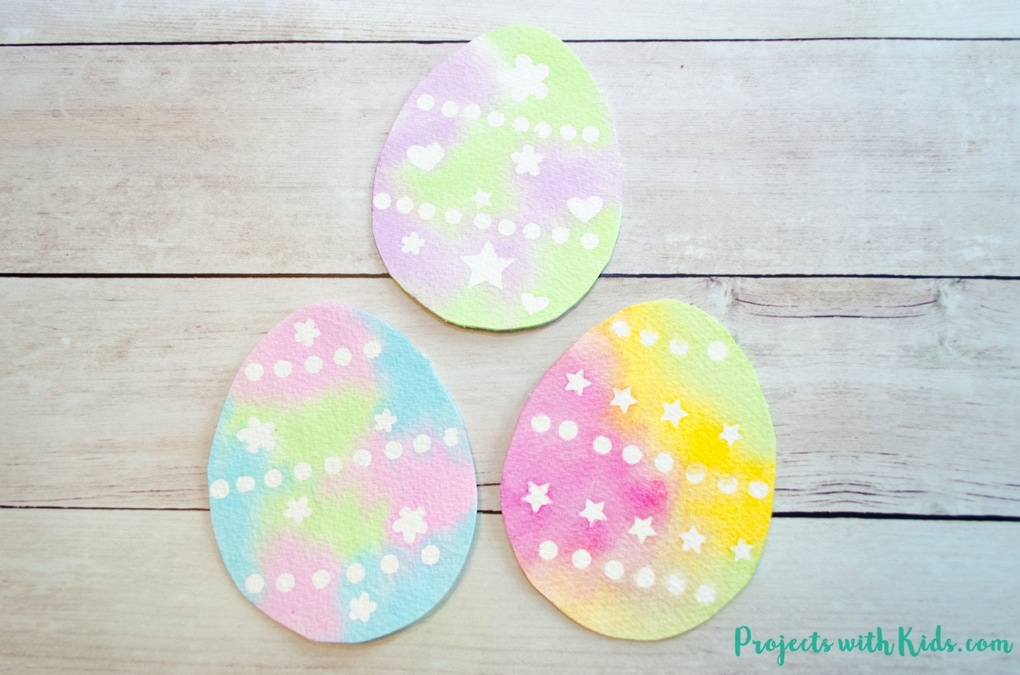
6. Let the paper dry completely and then peel off the stickers. It’s pretty cool for kids to peel off their stickers and reveal their beautiful designs!
Related: Easy Painted Easter Egg Rocks for Kids
This Easter egg art turned out beautifully! The colors are bright and fresh and perfect for spring and Easter. They would look great made into an Easter banner or a wall hanging as part of your Easter decor. This is such a great project that kids of all ages will have fun with.
For more spring art that is full of bright, vibrant, colors, take a look at this Cherry Blossom Painting with Cotton Balls and this Easy Rainbow Shamrock Craft with Oil Pastels.
Fill in the form below to get your free printable template!
After signing up you will receive a welcome email with your download link.
More Easter art projects kids will love
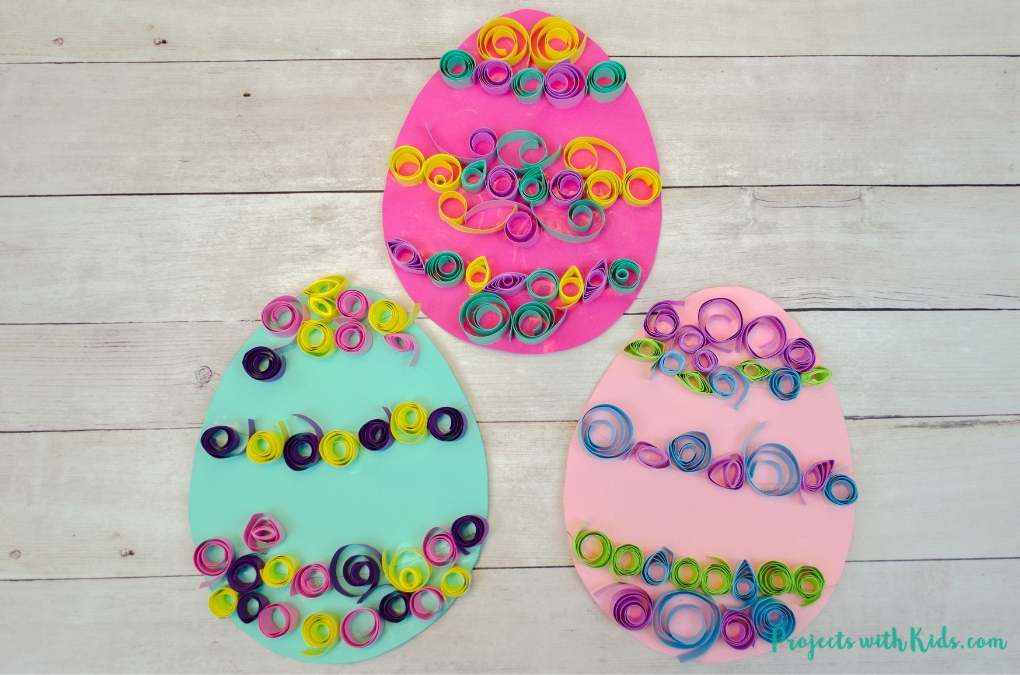
Easter Egg Paper Craft for Kids to Make
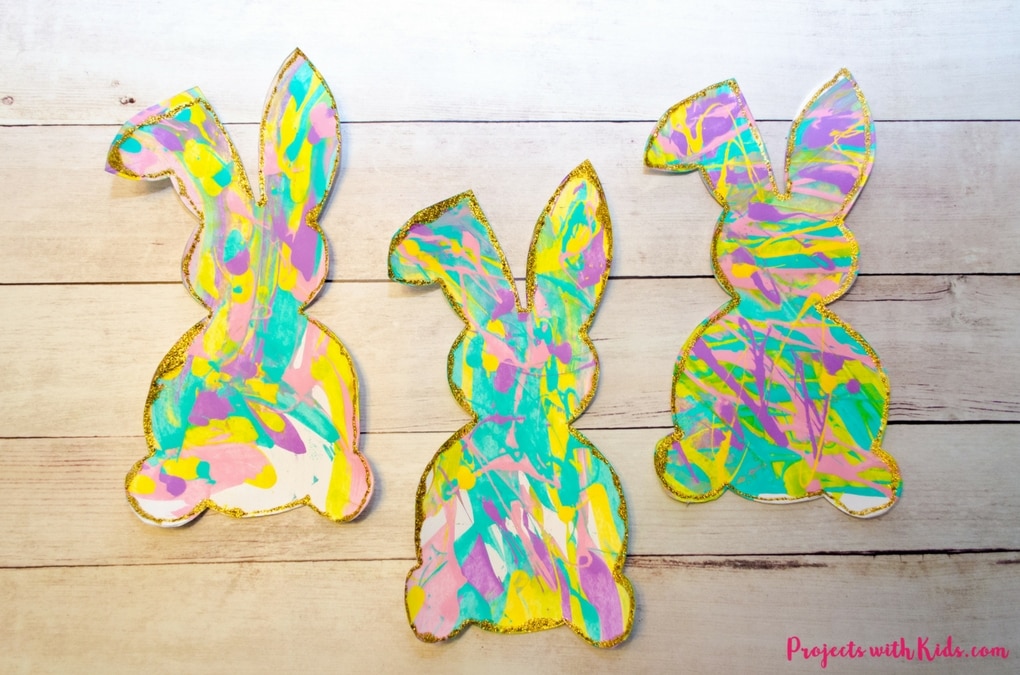
Process Art Scrape Painting with Bunny Silhouettes
Follow me on Pinterest for more amazing project ideas.
Pin this watercolor painting idea for later


[…] you are looking for more Easter projects, take a look at this Simple Watercolor Easter Egg Art with Stickers, they are so pretty and so much fun to make. This Cherry Blossom Painting with Cotton Balls is a […]