

This Valentine’s Day cookie art project is a fun and engaging art activity for kids! Using both oil pastels and watercolors, students will design a colorful cookie pan filled with three heart-shaped cookies decorated in their own unique style. The oil pastels act as a barrier for the watercolor, helping to create a bright and vibrant painting.
This project encourages creativity at every step and produces such fun, vibrant results! For more great Valentine’s project ideas, check out my collection of creative Valentine’s Day arts and crafts for kids to make!

For more mixed media art projects using oil pastels and watercolors, take a look at this colorful heart painting idea and this gorgeous Ukrainian Easter egg art project!
Create your own Valentine’s Day cookie art project
This post contains affiliate links. As an Amazon Associate, I earn from qualifying purchases. If you would like more information please review my privacy & disclosure policy.

Supplies
- Watercolor paint (you can use a paint set, liquid watercolors, or a combination)
- Oil pastels
- Watercolor paper *if you don’t have watercolor paper, you can also use cardstock in a pinch
- Paintbrushes and water dish
- Paint palette (if needed)
- Pencil and eraser
- Heart cookie-cutter template – this is optional; kids can also make their own templates out of paper or just draw the hearts freehand.
Instructions for your Valentine’s Day art project
1. First, you want to get your paper and heart template ready. You can use any size of watercolor paper you have on hand. The paper I have is 11×15 inches, and I cut it in half.
If you don’t have watercolor paper, you can use cardstock. This will still work, but the watercolors might not come out as vibrant and will not blend as nicely.
I used a heart cookie cutter for my painting, but kids can make their own template out of cardstock or scrap cardboard. They can also just draw in the hearts with no template.

2. Use a pencil for your drawing, try to press lightly so the pencil doesn’t show through too much with the oil pastels.
First, you want to draw the cookie pan. Make a small dot towards the top third of your paper to help orient where the pan will go. Double up on your lines to create the pan edges.
Next, use your heart template to draw in three heart cookie shapes.

3. Get your oil pastels ready. You will need a dark grey for the pan, white for highlighting, and then the colors you want for your cookies.
Start by outlining the pan with a grey oil pastel. Use white oil pastel to draw a couple of highlights on the pan edge. You can see in the finished examples where this was done.

Have kids think about what they want their background to look like. You can draw polka dots, stripes, or any design you like. I used white polka dots for my example. This is a great place for kids to get creative with a bold design!
4. Use a tan oil pastel to draw around the cookie shapes and then draw in some colorful decorations. Think about drawing in sprinkles, a jam or chocolate drizzle, an icing heart in the centre. Encourage kids to get creative!

5. Once kids have finished using oil pastels, it’s time to move on to watercolors. You want to do a technique called wet on wet with the background. Take a clean brush and paint over the background with clean water.
Then paint the background with your chosen color while the paper is still wet. This allows the watercolor paint to spread out and blend softly as it dries. The oil pastel decorations in the background will act as a resist as you paint, revealing your design.

6. Do the same with the cookie pan. Paint the pan with clean water first, being careful not to paint inside the cookies, and then paint a grey color on the pan. As you paint, you can add in some more grey paint to create darker areas on the pan.
Layering the same color in an area will give you a darker, richer color. You can see from the example above that I added in darker areas around the cookies to start creating shadows.

7. Continue adding in shadows to one side of the cookies by using a dark blue paint and a smaller brush. Paint around one side of a cookie with dark blue paint, and then use a clean brush to paint over the area and soften up the lines.
You might have to do this a couple of times before you are satisfied with how it looks. As the paint dries, it will blend nicely together.

8. The final step is to paint inside the cookies. Use a light tan watercolor to paint inside the cookies. Use any other colors needed to finish up. I painted a jam heart inside one of mine.
Let your painting dry on a flat surface.

This Valentine’s Day cookie art project is a wonderful way for kids to explore mixed media and practice both drawing and painting techniques. Oil pastels add bold outlines, highlights, and decorating details, while watercolor paint creates beautiful soft washes, blended shadows, and warm cookie colors. Kids love seeing how the oil pastel resist works, and they always enjoy designing their own cookie decorations and backgrounds.
More painting ideas kids will love
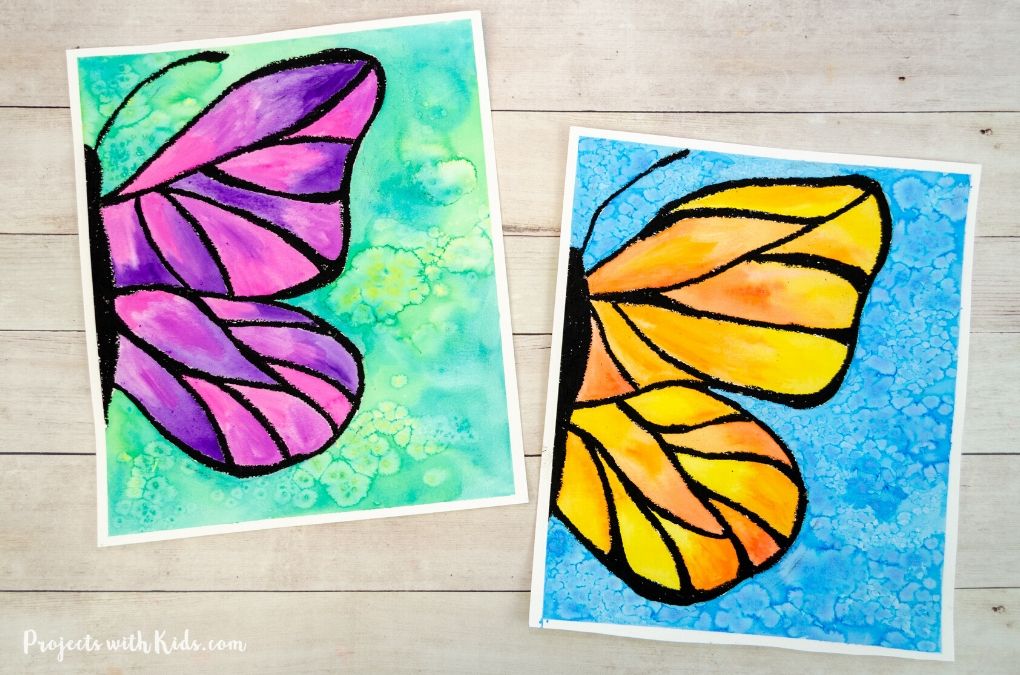
Beautiful Watercolor Butterfly Art Project
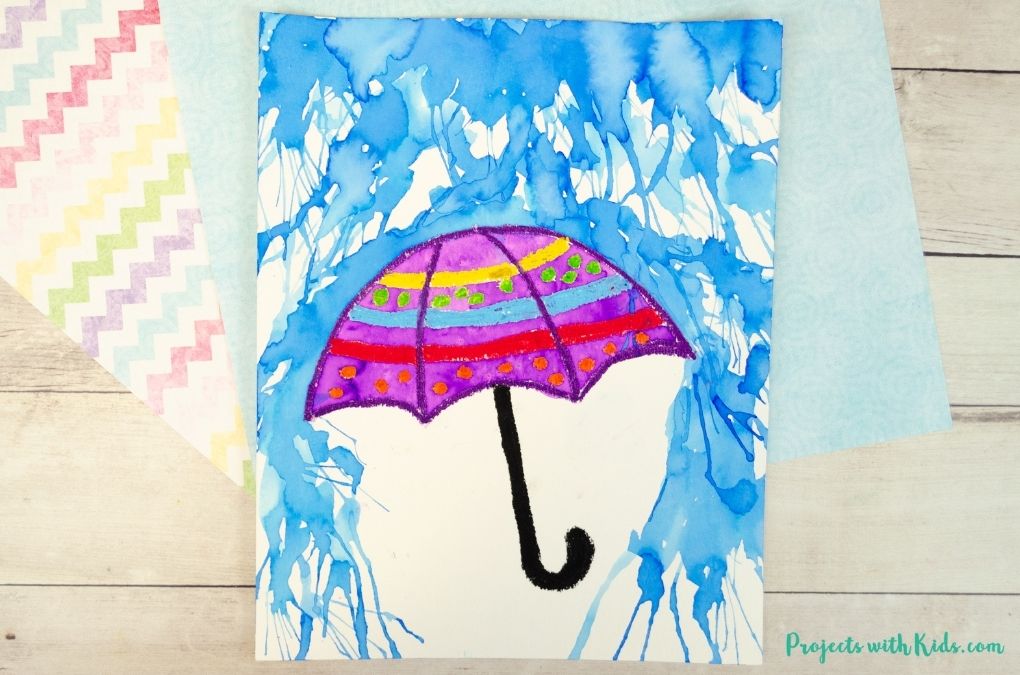
Colorful Watercolor & Oil Pastel Rainy Day Painting
Follow me on Pinterest for more creative project ideas!
Pin this Valentine’s Day painting idea for later


