

This oil pastel Christmas wreath is a fun and easy art project that will look stunning in a classroom display or at home. Using just black paper and a few oil pastels, kids can blend and smudge colors to make beautiful Christmas art. The bold greens pop against the dark background, and the bright red ribbon and berries add the perfect finishing touch.
If you are looking for more Christmas projects for kids to make take a look at our collection of creative Christmas arts and crafts for more fun ideas!

This project introduces kids to simple oil pastel techniques such as layering, blending, and adding highlights. It’s low-prep, fun for a wide range of ages, and works wonderfully as a quick December classroom activity or a fun project to enjoy at home.
For more oil pastel Christmas art projects, take a look at this gorgeous poinsettia art project and this colorful gingerbread house painting that uses both oil pastels and watercolors.
Create your own oil pastel Christmas wreath art project
This post contains affiliate links. As an Amazon Associate, I earn from qualifying purchases. If you would like more information please review my privacy & disclosure policy.

Supplies
- Black paper, you can use black drawing paper or black construction paper
- Oil pastels in dark green, light green, red, and white
- A round lid (like a mason jar lid) or small bowl to trace/hold in place
Instructions for your Christmas wreath art project
1. Get your paper and oil pastels ready. Put a lid in the centre of your paper; this will be what you use to trace around to get a wreath shape. You will need to hold it steady while you draw around it.

2. Start with your dark green oil pastel. Draw short outward strokes all the way around the lid. These lines will form the base of the wreath’s greenery.
You can vary the lines slightly in length to create some interest. As you draw around the lid, you will notice that the spacing between the lines also varies, which adds to the overall texture of the design.

3. Next, layer on the light green color. Switch to a light green oil pastel and add more outward strokes between the dark green ones, and layer some of the strokes on top. This layering helps to give the wreath texture and depth.
Make sure not to cover up all of your dark green as you are drawing with your lighter green color.

4. Smudge and blend the oil pastels together. Use your fingertip to gently smudge the greens. Blend until the colors soften and look like fluffy evergreen branches.
Gently smudge in an outward direction to keep the pastels from looking too messy.

5. Next, draw the ribbon. With a red oil pastel, draw a simple bow at the bottom of your wreath.
Use a white oil pastel to draw a few thin lines inside the bow to create highlights. Lightly blend the white into the red with your finger to make the ribbon look shiny.

6. Draw small red circles around the wreath for berries. Add one tiny, slightly curved white line inside each berry to give them a glossy look.
You can group your berries in groups, or mix it up a bit and do some groups of three berries and some just single berries.

This oil pastel Christmas wreath art project is an easy and engaging way for kids to explore blending techniques while creating a beautiful holiday-themed piece of art. The smudged greens, bright red berries, and simple ribbon come together to make a wreath that looks festive, textured, and full of color!
You only need a few simple supplies to create this gorgeous art project that will look amazing in a classroom display or at home!
Tips & Variations
Add extra decorations – Let kids add gold or silver details, tiny stars, little ornaments, or draw snowflakes around the wreath.
Try adding words – kids can write in the centre of the wreath or around the top or bottom. You could write a simple “Merry Christmas”, “Peace”, or even a line from Christmas carols such as “Joy to the World” or “Merry & Bright”.
Experiment with backgrounds – While black paper makes the colors pop, you can also try dark blue, deep purple, or even brown kraft paper for a rustic/farmhouse look.
Use a cotton swab for smoother blending – If kids don’t like using their fingers, a cotton swab works for soft smudging too.
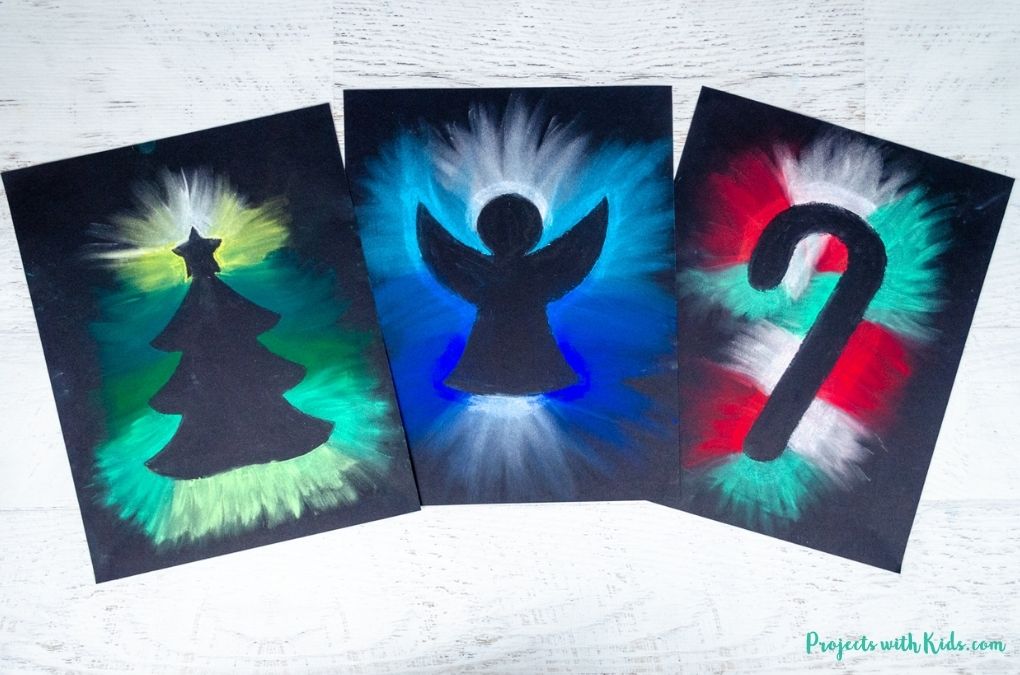
Turn the art into a card – Shrink the wreath to fit on folded cardstock to create handmade Christmas cards! You will need to use a smaller lid for your template.
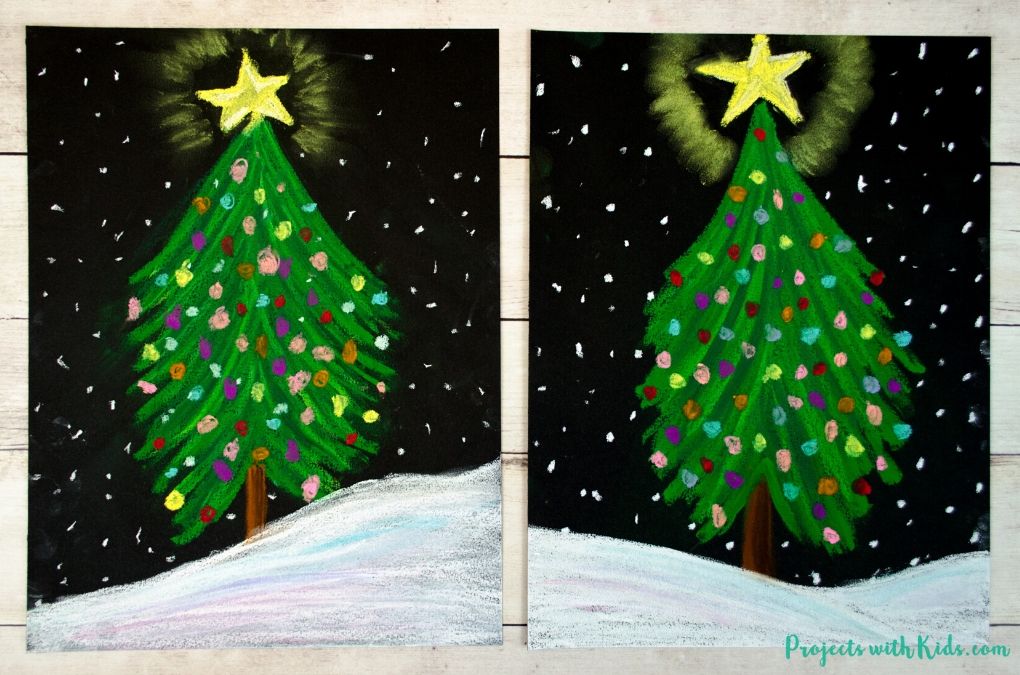
More Christmas art projects kids will love
Easy Christmas Chalk Pastel Art
Gorgeous Chalk Pastel Christmas Tree
Follow me on Pinterest for more creative project ideas!
Pin this Christmas art project idea for later


