

This chalk pastel cupcake art project is such a fun and colorful activity for kids! With simple drawing steps, bright pastels, and lots of room for creativity, it’s perfect for the classroom or home. Kids will learn how to draw a cupcake, blend chalk pastels, and add fun details like sprinkles, hearts, or a cherry on top.
Using black paper really makes the colors pop, and the step-by-step instructions and minimal supplies needed make this a perfect classroom art project!

Pastels are so fun for kids to explore! Take a look at my collection of chalk pastel art for more creative ideas kids will love.
This is a great project for Valentine’s Day! For more great Valentine’s project ideas, check out my collection of creative Valentine’s Day arts and crafts for kids to make!
Create your own chalk pastel cupcake art project
This post contains affiliate links. As an Amazon Associate, I earn from qualifying purchases. If you would like more information please review my privacy & disclosure policy.

Supplies
- Chalk pastels
- Black drawing paper
- Paper towels
- White (or light colored) colored pencil
- Q-tips or blending stick (optional)
Tips for working with chalk pastels
Chalk pastels can be messy (but so fun!). There are a few things you can do to help keep some of the mess contained:
- Put newspaper down on desks or tables
- Put your project on a tray or a shallow cardboard box, which will keep most of the mess inside the tray
- You can try doing your project outside
- Have lots of paper towels handy
- Once you are done with your project (or even halfway through if it gets really dusty), take it outside to gently blow or shake off the excess dust.
- If you are using chalk pastels in the classroom and the kids are ready to take their artwork home, simply place the art between some newspaper to keep it from smudging and for easy transport.
Instructions for your cupcake art project
1. First, get your black drawing paper ready and a white or light colored pencil for drawing out the cupcake. I used 11×14-inch paper, but this project will work with whatever size you have on hand.
Start by drawing a simple horizontal line towards the bottom of the paper to indicate where your cupcake will go. Make sure to leave enough room above for your cupcake and frosting.
Draw the cupcake liner and the cupcake on top of the liner.

Draw a twisty line going up from the cupcake; this is the start of your frosting. Follow the example photo above for how it should look.
Remind kids to press lightly with their colored pencil so they can erase as needed.
Finish off the frosting by drawing around the inside twisty line as shown in the photo below. Draw a simple cherry on top of the frosting.
As you can see from the examples above, kids can choose to draw something else on the frosting if they like. A candy heart or a cookie are both great ideas.

2. Choose a bright color for your cupcake liner and color it in. Use a white chalk pastel to draw in the detail lines on the cupcake liner. Gently soften the white lines with your finger, a Q-tip, or a blending stick.
I like to use my finger to blend chalk pastels, but some kids might prefer to use a Q-tip or blending stick instead.

As you are drawing and coloring with chalk pastels, your paper might get a bit dusty. You can take it outside to gently blow off the excess dust or blow it into a sink.
For more details on chalk pastel techniques, take a look at these 5 essential chalk pastel techniques for beginners.
3. Decide on the flavour of your cupcake and color it in using two or three shades of chalk pastels. I did a vanilla cupcake for my example, and you can see that I started with a light shade and then added some shadows with a darker color around the edges. Blend these colors together slightly.

Kids can also choose to color in a chocolate cupcake, or any flavour they choose, such as strawberry or chocolate chip.
4. Decide on a color of frosting and color it in.

5. Choose a contrasting color for the frosting and trace over the twisty line you drew earlier to give your frosting some dimension. Add in some detail lines on the top and bottom of the frosting as shown in the photo below.
Gently soften and blend these detail lines into the frosting with your finger.

6. Color in the cherry with a bright red chalk pastel and then add a darker red detail on one side and a white highlight on the other. Gently blend and soften the darker color and white highlight with your finger.
Finish off the cherry by drawing in a bright green stem.

7. Choose a bright color for the bottom of your artwork to help anchor the cupcake so it doesn’t look like it’s floating in space. You will need your bright color and a white chalk pastel to help add highlights that blend and soften the area.
Color in the area below the cupcake with your bright color and white chalk pastel, but don’t fill it in too much; you want to leave space on either side. Gently blend the colors together.
You can also layer on some more white as needed. As you can see from the example photos below, not everything is blended, which adds to the artwork’s interest.

8. For the final touch, think of a small, simple decoration to draw in the background. I chose to draw in bright purple hearts; the other example shows colorful sprinkles. Encourage kids to be creative with their backgrounds!
If there are a lot of smudges on your paper, you can use an eraser to remove them.

This chalk pastel cupcake art project is a wonderful way for kids to explore drawing, color blending, and creative details. Each cupcake will be unique—kids can choose their own frosting colors, cupcake flavors, and background decorations, making this a perfect open-ended art lesson.
This project would look stunning as a classroom or hallway art display for Valentine’s Day or anytime of the year!

More chalk pastel art projects kids will love
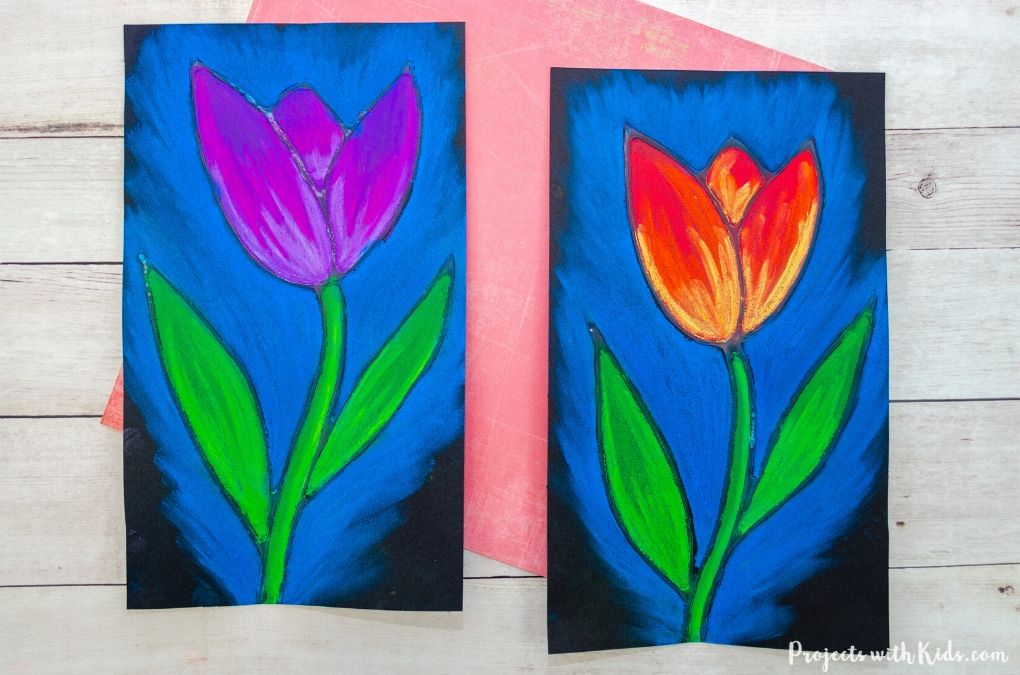
Beautiful Chalk Pastel Tulip Art Project
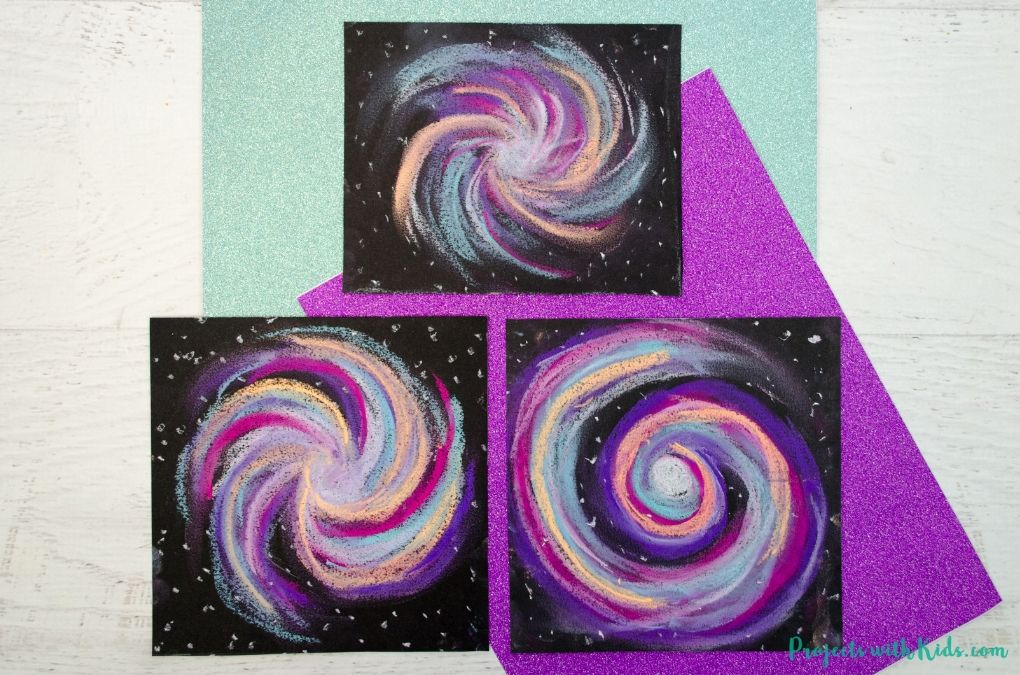
Galaxy Chalk Pastel Art Project
Follow me on Pinterest for more creative project ideas!
Pin this cupcake art project for later


