
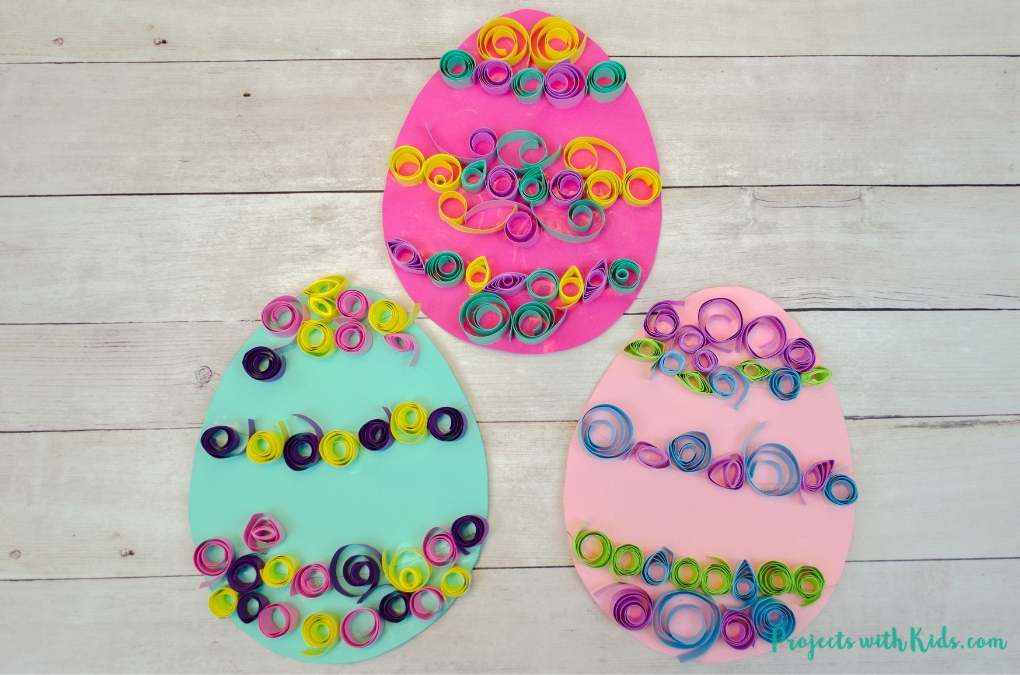
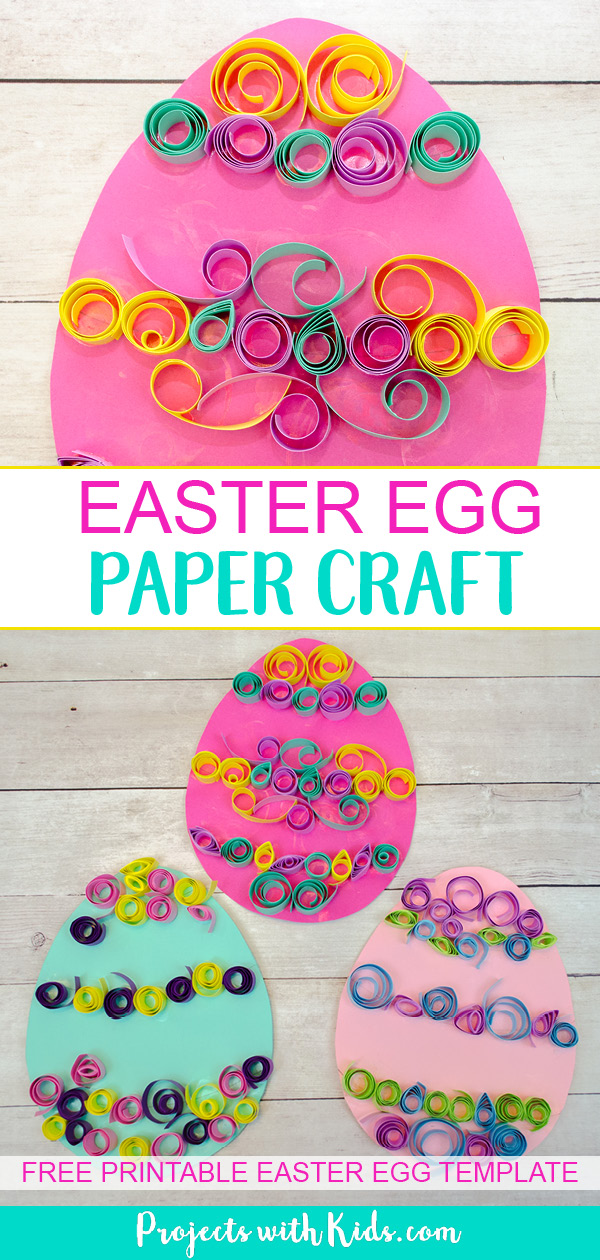
This Easter egg paper craft turned out beautifully with all of the lovely spring colors and beautiful patterns that the paper quilling made. Paper quilling is a fun and easy craft for kids to try and is also great for working on fine motor skills.
These eggs would also look gorgeous as a garland, you could string them together to create some unique Easter decor.
If you are looking for more Easter art activities, take a look at this creative collection of Easter art projects!
For more fun spring art projects take a look at this q-tip Easter egg painting and this spring tree craft that also uses paper quilling.
Paper quilling can be quite a relaxing activity for kids that can keep them engaged for a long time as they plan out their design and make their paper coils.
For this project, I created a free printable template to make this art project even easier for you. This template is available to my email subscribers. Fill out the form below to get the free template.
After signing up you will receive a welcome email with your download link.
Create your own Easter egg paper craft
This post contains affiliate links, which come at no cost to you. If you would like more information please review my privacy & disclosure policy.
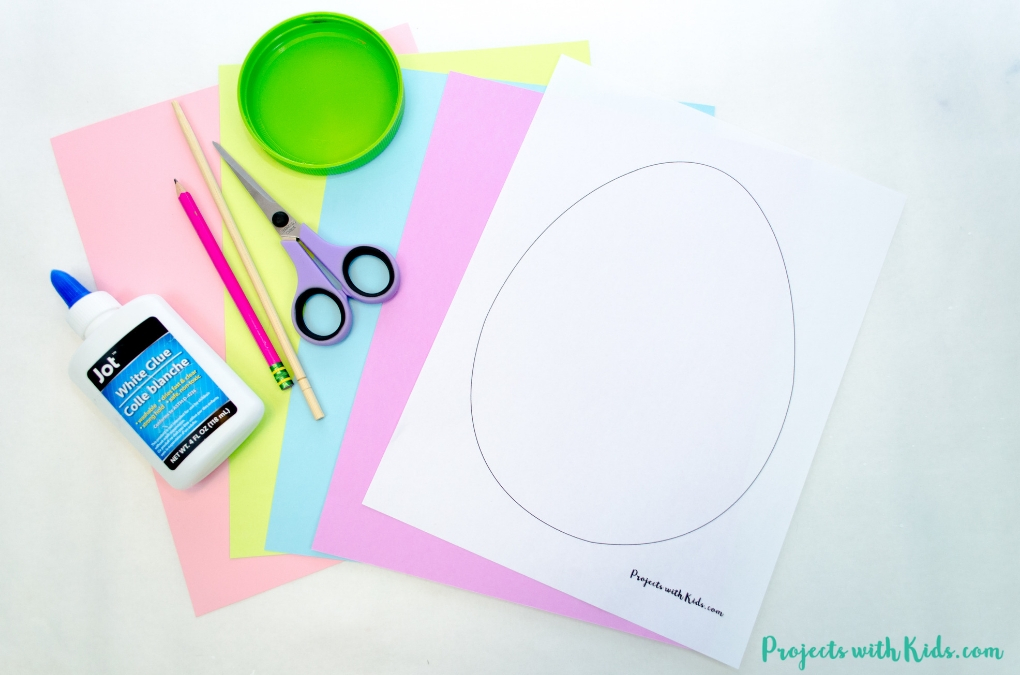
Supplies
- Printable egg template
- White printer paper
- Colorful cardstock or construction paper
- Chopstick, bamboo skewer or pencil
- White glue & glue dish (we used a plastic lid)
- Scissors
- Paper cutter
Instructions for your Easter paper craft
1. First, print out your egg template onto white paper. If you are printing from home, you could also print the template right onto your colored cardstock.
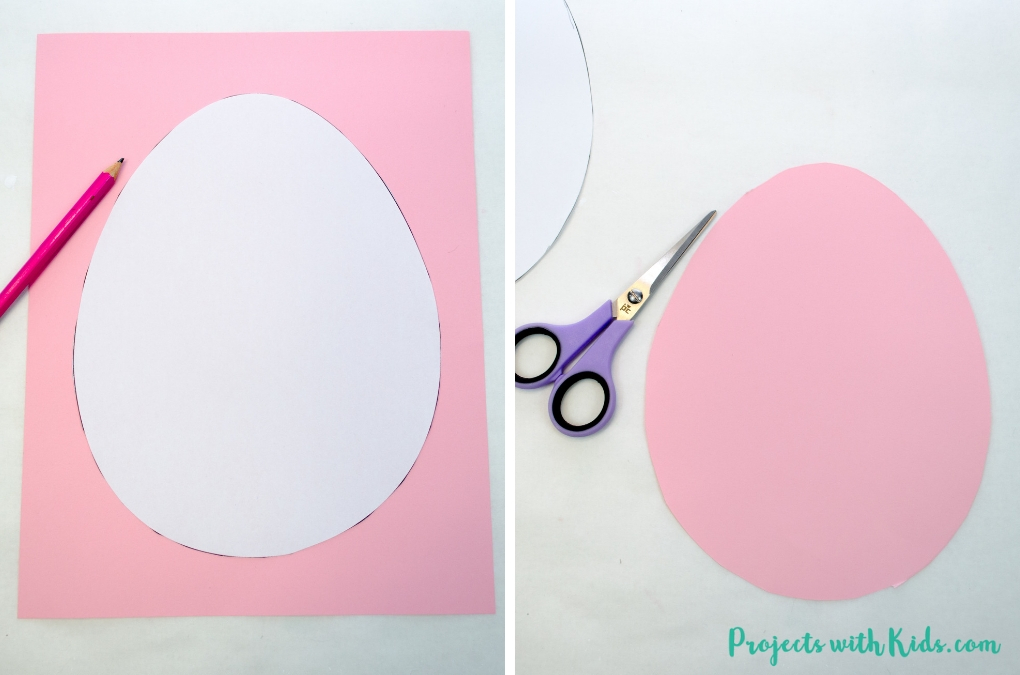
2. Decide on a color for your egg and cut out your egg shape, using your template. It’s a bit hard to see on the picture below, but I added 3 pencil guidelines on the egg to help with the placement of paper quills. This is optional, some kids will want to cover their whole egg or make up their own patterns.
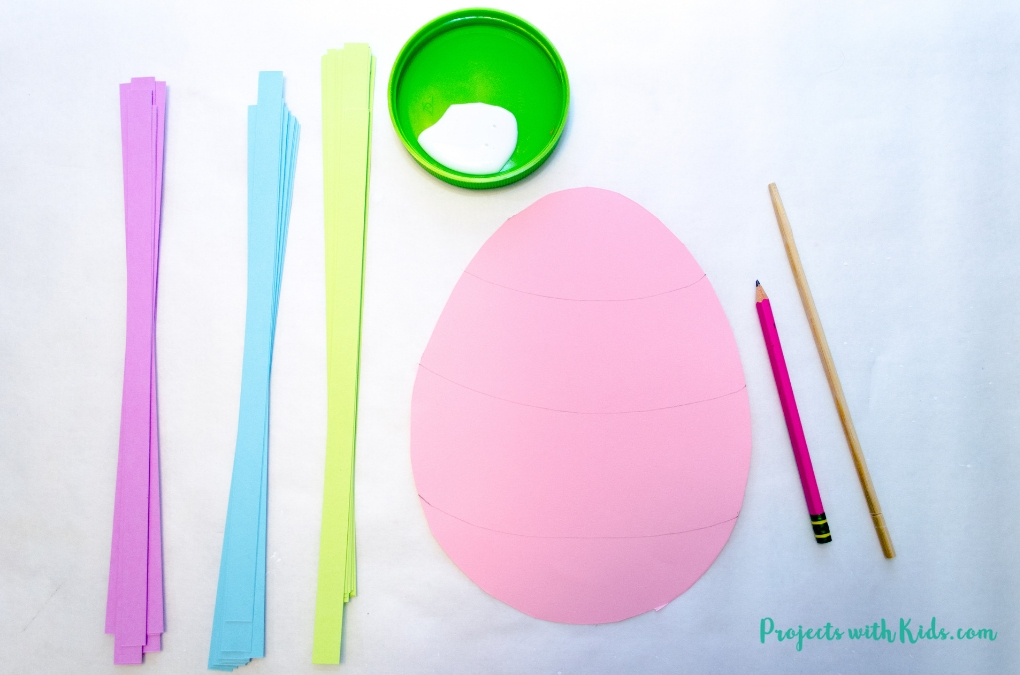
3. Have kids choose the colors of cardstock they want to use for the paper quilling design. Cut 1/2 inch thick strips from your cardstock.
I used a paper cutter to do this, which makes it a lot faster. But if you don’t have a paper cutter, you could measure and cut the paper strips with scissors, it will just take longer.
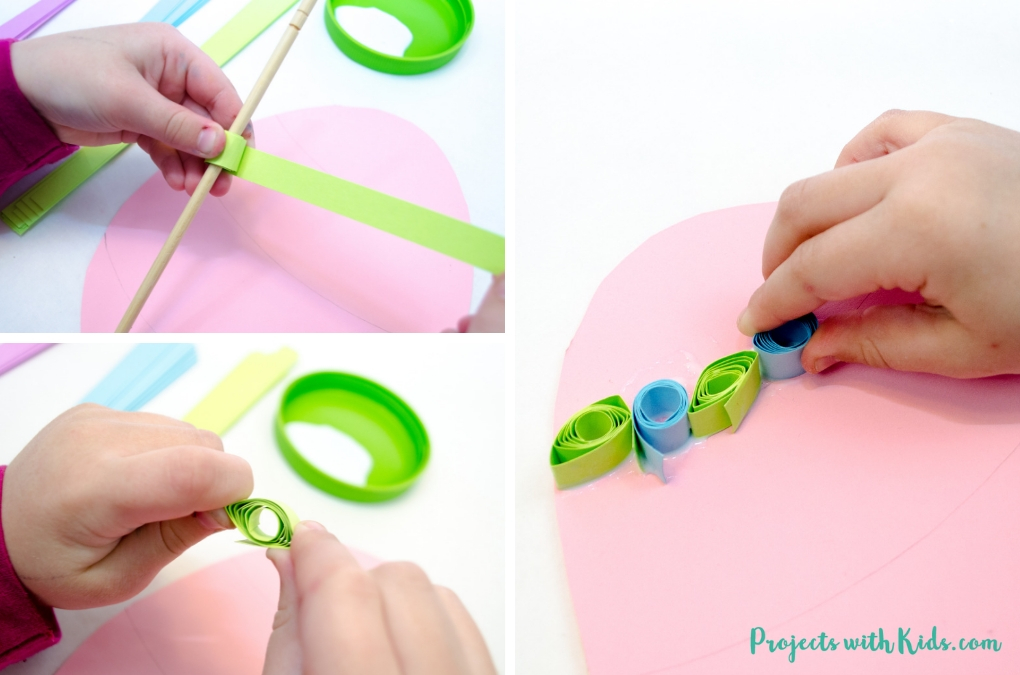
4. Using a chopstick (which is what we used and what I find works the best), a bamboo skewer, or even a pencil, take a paper strip and wrap it all the way around your chopstick.
Slide your paper coil off of your chopstick or pencil and dip it into a dish of white glue and glue it onto your egg. Don’t worry if the coil unwraps a bit, I think it adds to the design and makes it look unique.
Related: Paper Quilled Earth Day Craft for Kids to Make
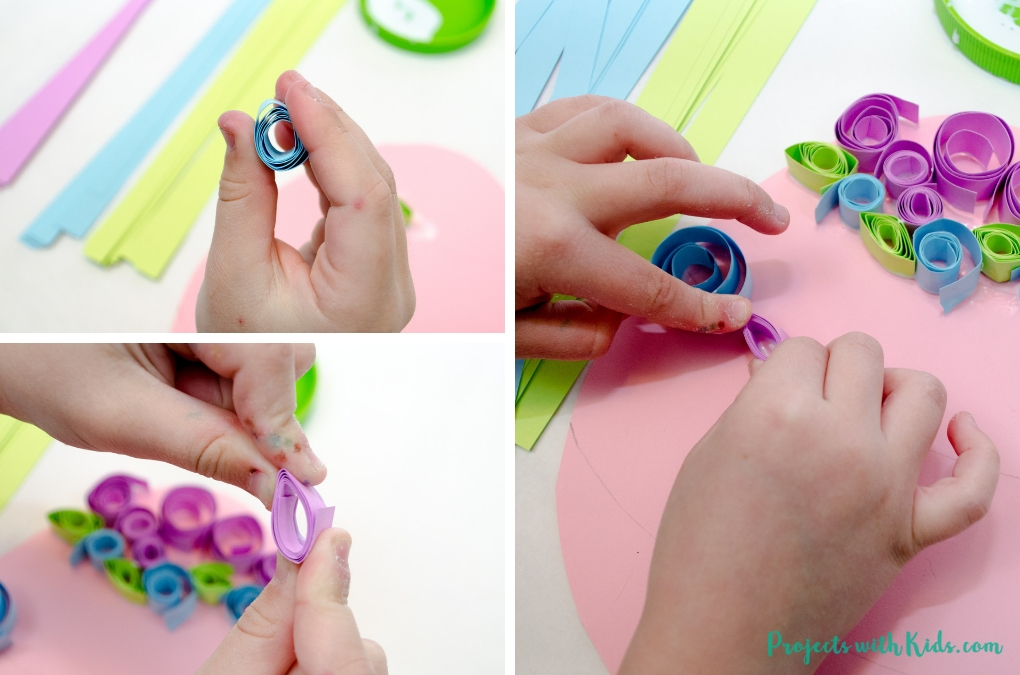
5. There are a couple of other paper quilling shapes that kids can try. After you make your basic coil shape, you can pinch it on one end to make a teardrop shape, or pinch it on both ends to make a leaf shape. You can see both options in the photo above.
Related: Easy Painted Easter Egg Rocks for Kids
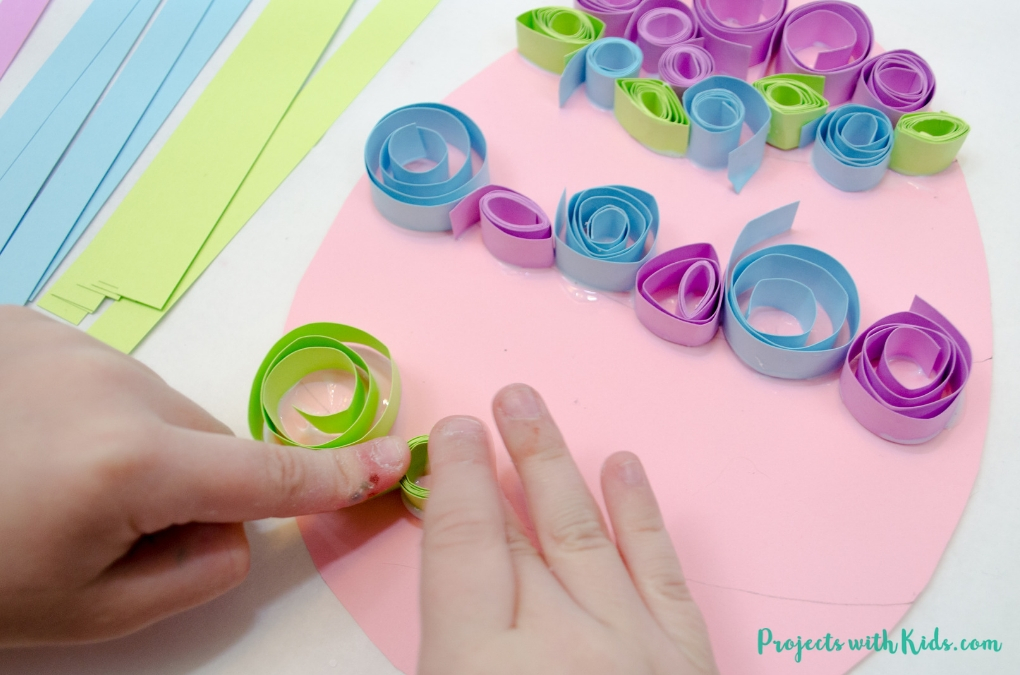
6. Continue to create your design on your Easter egg until you are happy with how it looks. Kids can cover their whole egg if they like, or stick to more of a pattern like in the examples.

You can also cut some of the paper strips in half and create partial coils and swirls to add in something a bit different. This is a great option for older kids who want to get a bit more creative and complicated with their designs!
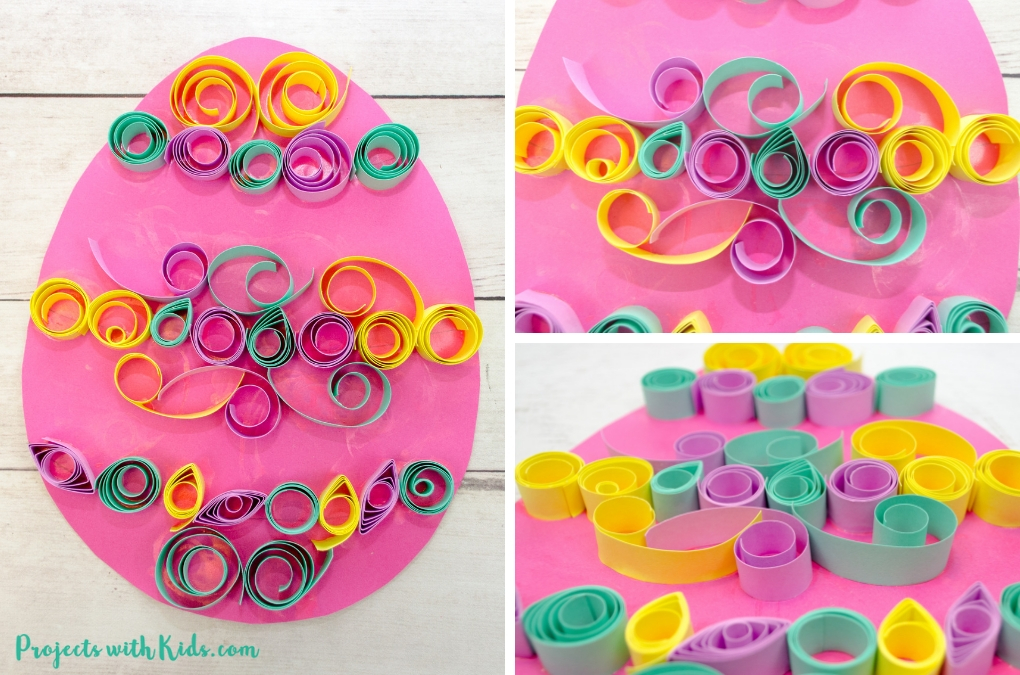
This project makes a wonderful Easter art project and Easter decor. Paper quilling is such a fun activity for kids to explore and always looks so unique when finished.
Fill in the form below to get your free printable template!
After signing up you will receive a welcome email with your download link.
More Easter art projects kids will love
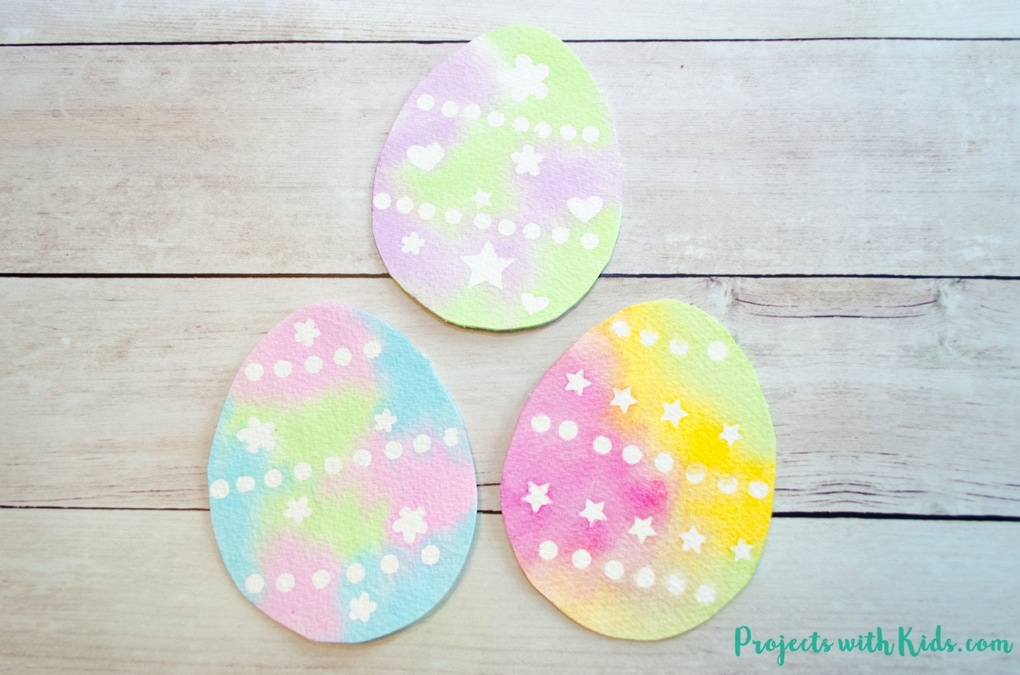
Create Simple Watercolor Easter Egg Art with Stickers
Process Art Scrape Painting with Bunny Silhouettes

Follow me on Pinterest for more amazing project ideas.
Pin this Easter craft for later


[…] Easter Egg Paper Craft for Kids to Make […]