


This Christmas lights salt painting art project is such a fun and magical way for kids to celebrate the holiday season! With just watercolor paint, glue, and salt, students can create bright, glowing Christmas lights that look like they’re twinkling on a tree.
Salt painting is a fun and engaging art process. Kids will love watching the colors spread through the salt as they paint!
If you are looking for more Christmas projects for kids to make, take a look at our collection of creative Christmas arts and crafts for more fun ideas!

I have a printable template for this project that you can use, which will help make this activity easier for kids! Scroll down to the bottom of this post to instantly download your Christmas lights PDF template.
For another watercolor Christmas painting idea, take a look at this easy watercolor Christmas tree painting!
Create your own Christmas lights salt painting
This post contains affiliate links. As an Amazon Associate, I earn from qualifying purchases. If you would like more information please review my privacy & disclosure policy.

Supplies
- White cardstock
- Liquid watercolors (You will need 2-3 shades of green for the tree, and then whatever colors you want to paint the lights and string.)
- Watercolor paint set (if needed to paint in the tree with different shades of green)
- Paintbrushes
- Paint palette
- White glue
- Table salt
- Water dish
Instructions for your salt painting
1. First, you want to print out your Christmas lights template onto white cardstock and get your supplies ready.
2. Use watercolor paints in different shades of green to create a background that looks like a tree. Using at least two shades of green will give the background some interest. This part can be done with liquid watercolors or a watercolor set.

If you are using liquid watercolors to paint in the tree, you will want to dilute the paint a bit with water. I always like to test the paint colors on scrap paper first.
Remind kids to go slow when painting the background so they don’t cover up the lights completely, a little bit here and there is fine.
Let this dry completely before moving on.

3. Before starting to trace the lights with glue, make sure you have your salt ready to go. You can shake the salt directly from the container or put the salt in a small dish.
Using white glue, slowly and carefully trace over the Christmas lights and string.

4. While the glue is still wet, sprinkle salt generously over all the glued lines, making sure they’re completely covered. Gently tip your paper to let the excess salt fall off — doing this over a tray or sink works well.
Be careful not to shake the paper too much, as this can disturb the glue and ruin the outlines.

5. Think about the colors you want to use for your lights and get your paint palette ready. Because you want a vibrant, glowing Christmas light effect, you might want to use full strength liquid watercolor paint and not dilute it with water.
Dip your paintbrush in liquid watercolor, then lightly touch the brush to the salted glue lines of one of the bulbs. Watch as the color spreads through the salt!
Use different colors for each bulb to make them bright and cheerful.

6. Now it’s time to paint the string. Use green or black watercolor to paint the string connecting the lights.
Let your artwork dry completely on a flat surface. The drying process can take a while.

This Christmas lights salt painting activity is engaging for kids and creates a beautiful holiday art project. This is a great process art technique with a festive twist and is perfect for the classroom, at home, or during a Christmas art day with friends!
>> Click here to instantly download your printable Christmas lights template!
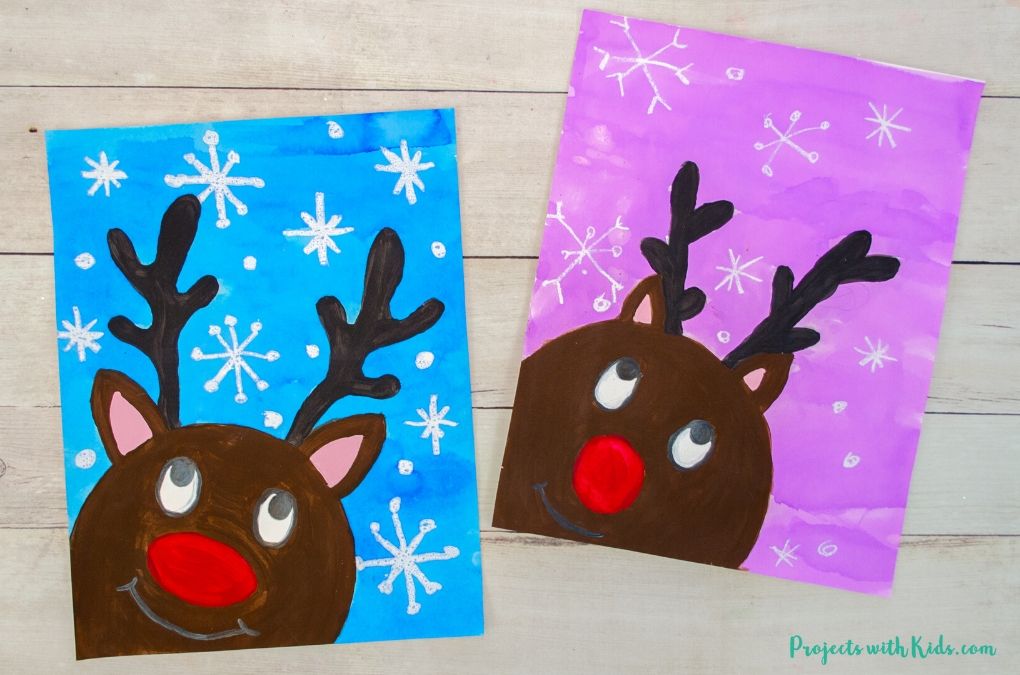
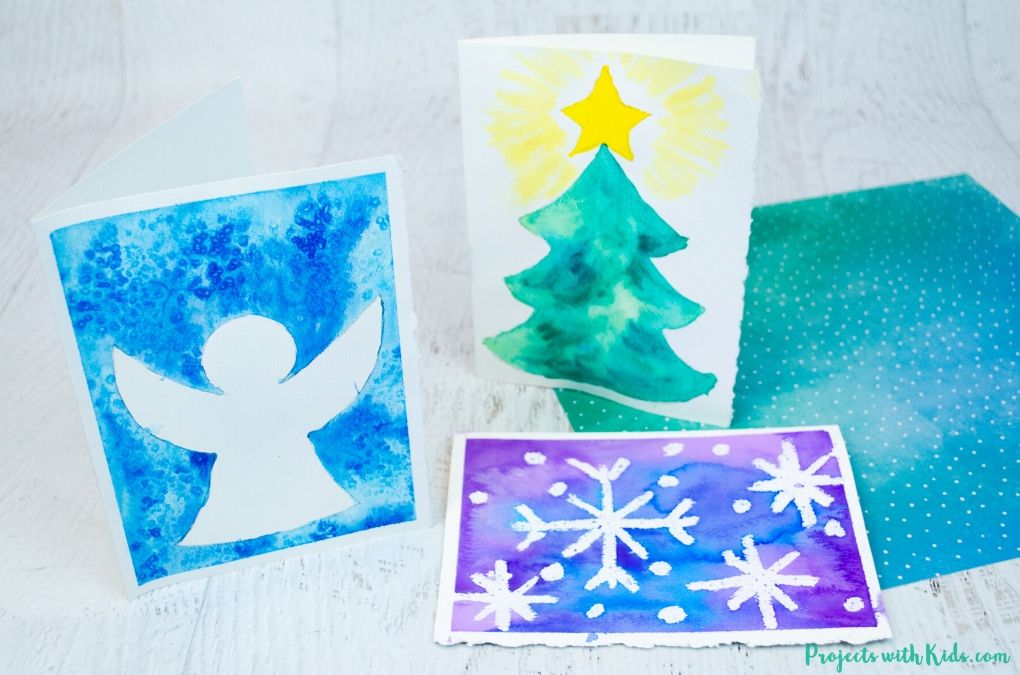
More Christmas painting ideas kids will love
Easy Watercolor Christmas Cards
Follow me on Pinterest for more creative project ideas!
Pin this Christmas art project for later


