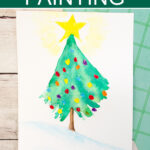
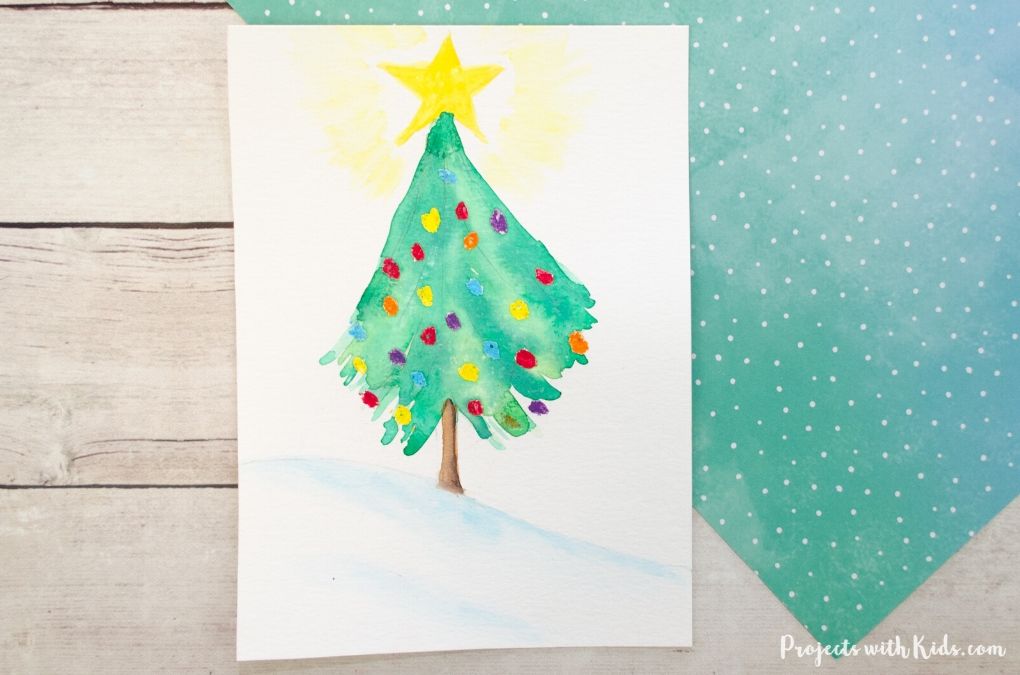
This watercolor Christmas tree painting is so cute and such a fun art project for kids! Using easy watercolor techniques, kids will learn to paint a Christmas tree with colorful decorations and a shining star on top. This is a great art project for older kids and tweens.
There are so many fun watercolor techniques for kids to try! Take a look at my collection of watercolor painting for kids for more fun and creative ideas.
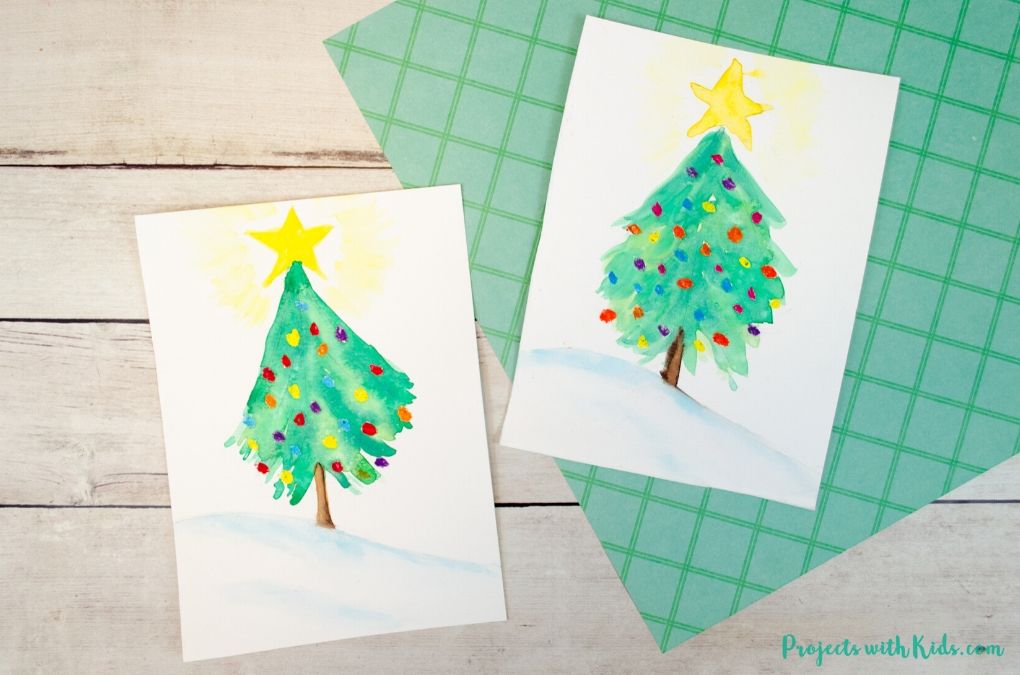
Using oil pastels as a resist technique to create the Christmas decorations, makes this art project extra colorful and unique.
We painted our Christmas trees on smaller pieces of watercolor paper. The smaller size makes them perfect for turning into beautiful Christmas cards and a handmade gift all rolled into one!
If you are looking for more Christmas tree art projects, take a look at this beautiful chalk pastel Christmas tree that kids will also love to create!
Create your own watercolor Christmas tree
This post contains affiliate links. As an Amazon Associate I earn from qualifying purchases. If you would like more information please review my privacy & disclosure policy.
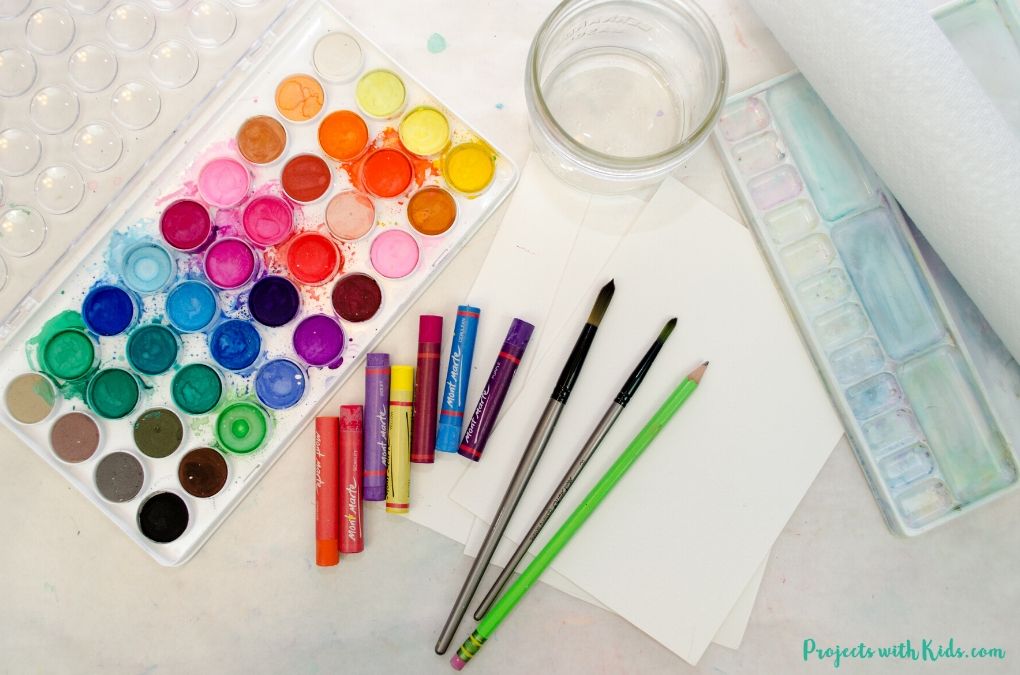
Supplies
- Watercolor paint
- Paintbrushes
- Paint palette
- Watercolor paper
- Pencil
- Oil pastels in bright colors
Instructions to make your Christmas tree art
1. First, start by getting your paper ready. I cut our 11 x 15 inch watercolor paper in four equal pieces making each piece 5.5 x 7.5 inches. So one piece of 11 x 15 inch paper will make four mini paintings.
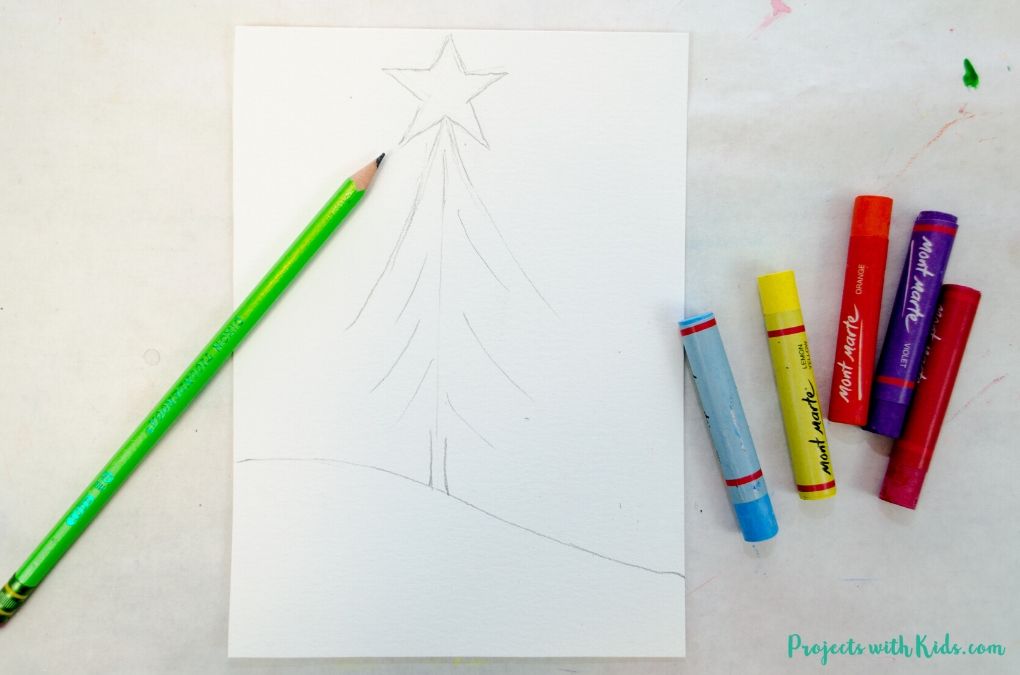
2. Next, use a pencil to draw out your snow hill, tree, and star at the top of the tree like in the picture above. Remind kids to press lightly so the pencil lines don’t show through very much on the completed painting. It’s ok for a few pencil lines to show through but you want to avoid dark pencil lines.
Draw the hill first, then a straight line where you want the tree to go. Add a few branches coming out from the straight line and draw in the trunk. Finally, draw in the star at the top of the tree.

3. Have kids choose 4 – 6 bright colors of oil pastels that they want for the tree decorations.
Draw small dot decorations on the tree in a random pattern. Press firmly with the oil pastels so the colors are nice and bright and the resist technique works well.
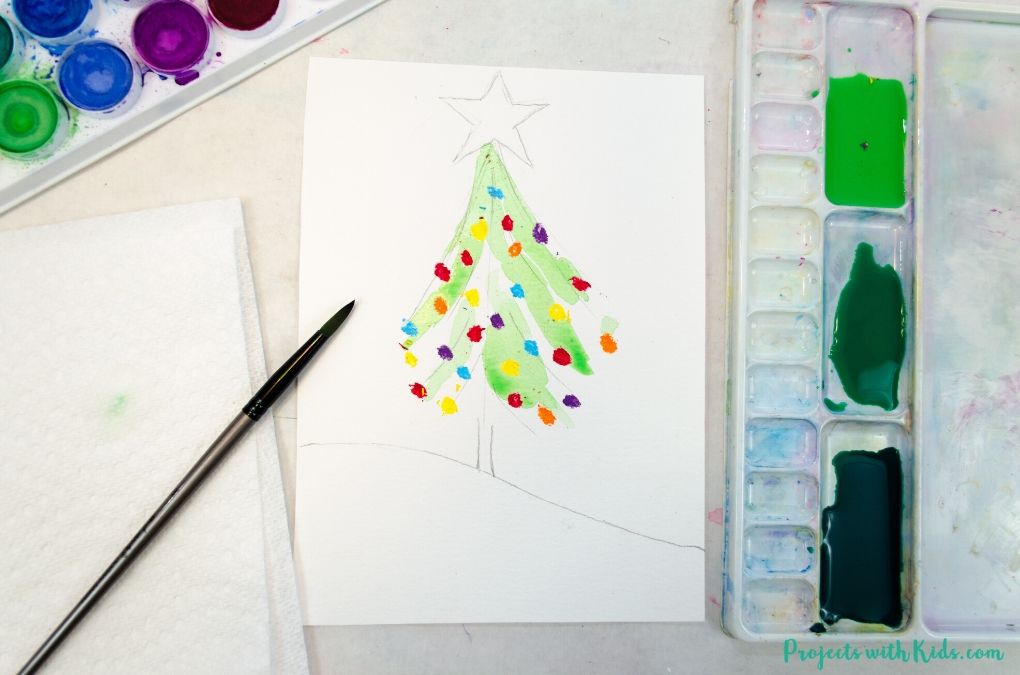
4. Mix three shades of green for the Christmas tree. A light shade, a nice bright green and a darker shade.
Start with the lighter shade. Paint in some branches with the light green using a smaller round brush but don’t cover the whole tree with the light green. The oil pastels will resist the paint and won’t get covered up.
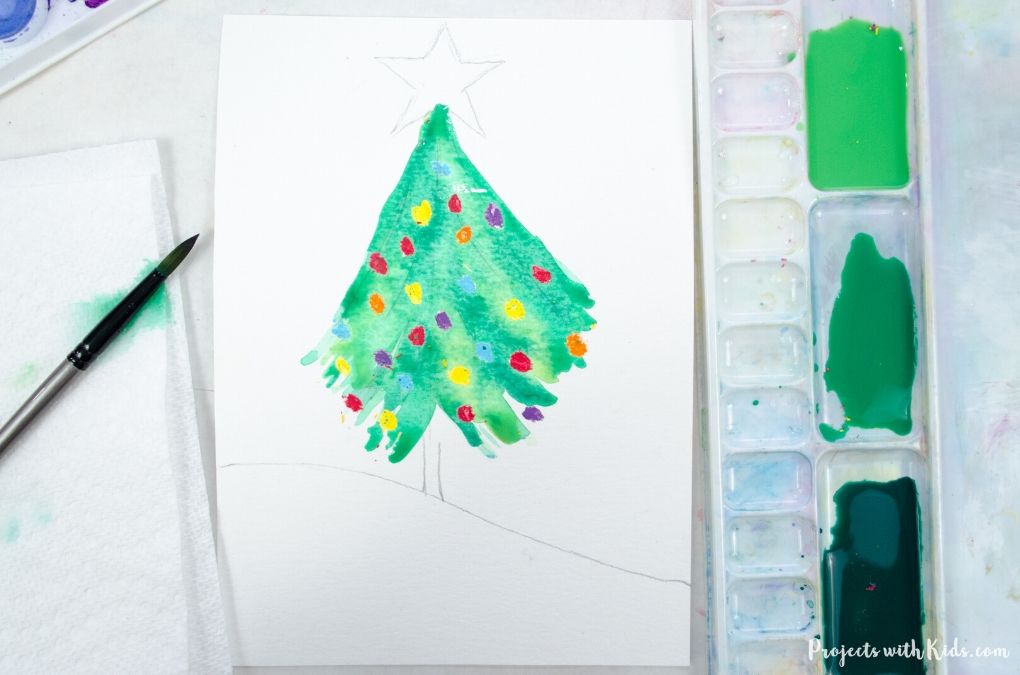
5. Next, paint some more branches with the bright green color and finally add in the darker green shade.
You want to paint all three colors while the paint is still wet. This will help the different shades to mix together and create a softer look for the tree.
Remind kids not to cover up the lighter shade of green when painting the darker shades in. It’s nice to see a mixture of light and dark green on the tree.
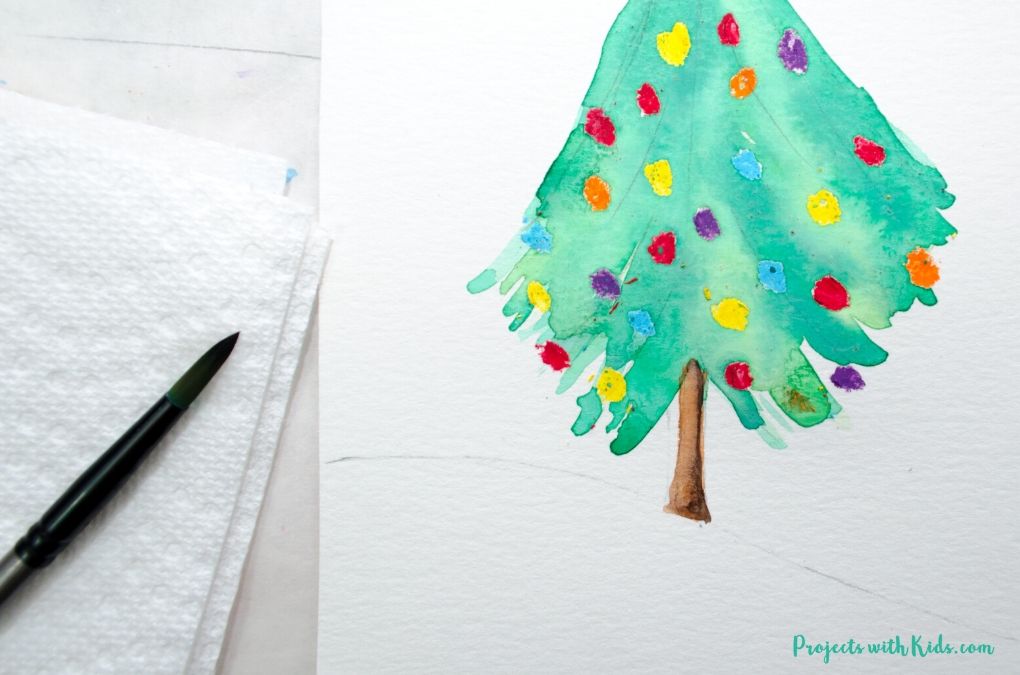
6. After your tree branches have dried, you can paint in the tree trunk. For this part, have two shades of brown ready. A light brown and a dark brown.
Paint the trunk with the lighter brown, and while the paint is still wet, add a line of dark brown to the right side of the trunk. Using a small brush will help make this step easier for kids.
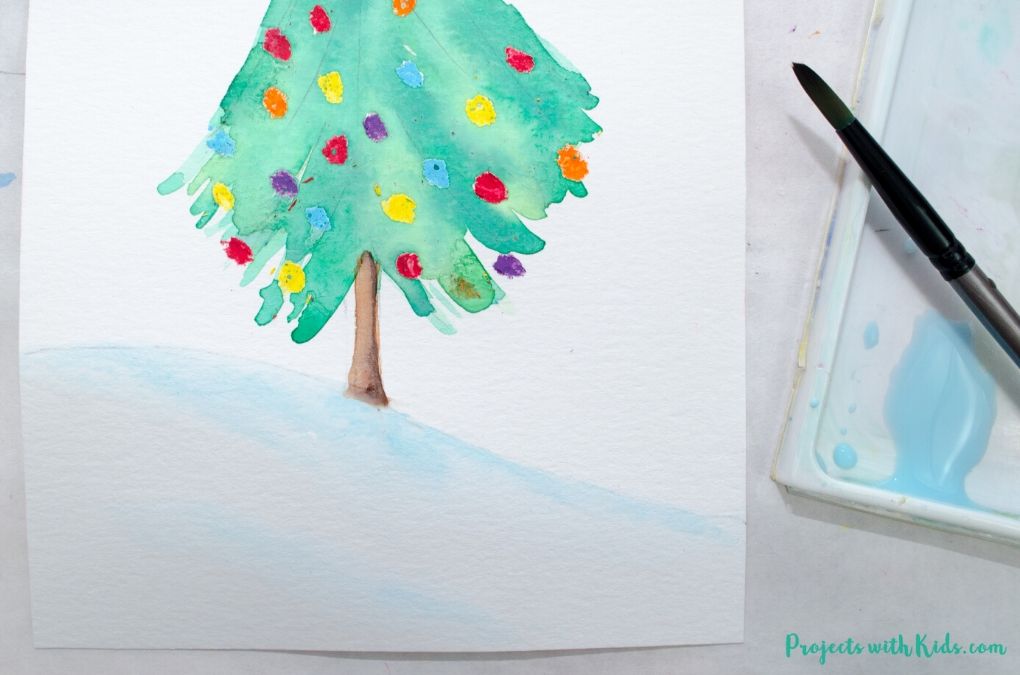
7. For the snow, mix a light blue shade. Use a small round brush and trace the hill pencil line with the paint. Soften this line a bit by painting over it with a clean wet brush.
Paint in some more shadows like in the picture above, and soften those lines with a clean, wet brush. Just a few lines of blue make a huge difference, you want to keep most of your hill white.
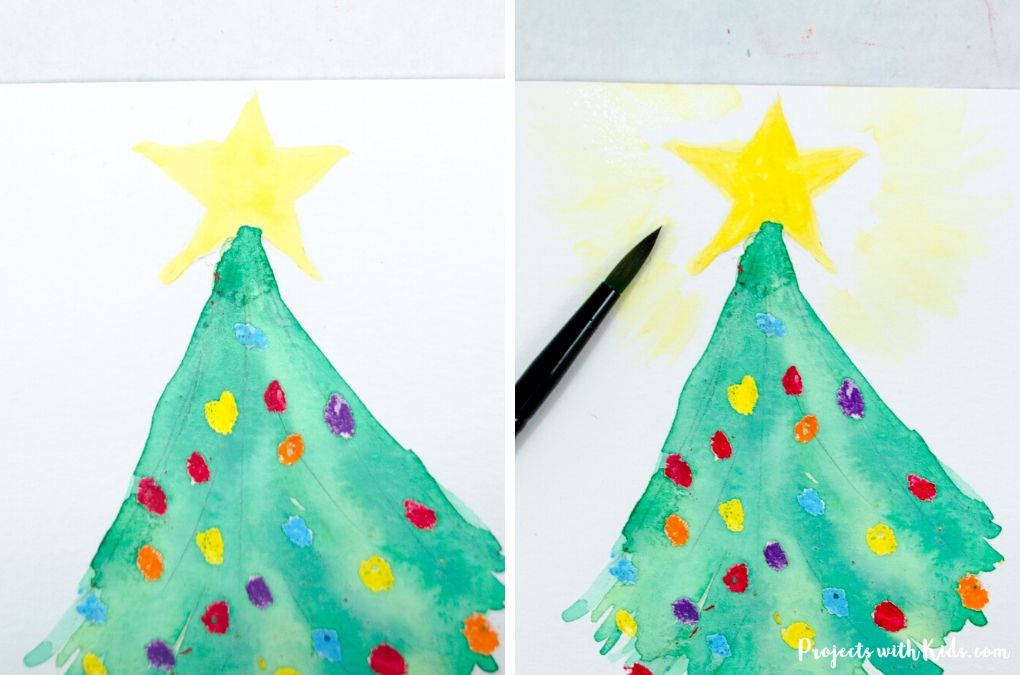
8. Finally, paint your star with bright yellow and let it dry. Paint lines around the star in an outward direction to make the star look like it’s glowing.
Use a light yellow color for this part. Soften these lines by painting over them with a clean wet brush.
I love how this watercolor Christmas tree turned out, it’s such a cute painting idea! The bright colors of the oil pastels are perfect for the Christmas decorations to give the painting a pop of color and works really well as an easy resist technique.
Kids will love making this adorable Christmas tree painting this holiday season!
If you are looking for more Christmas projects to make take a look at our collection of creative Christmas arts and crafts for more fun ideas!
More Christmas art projects kids will love
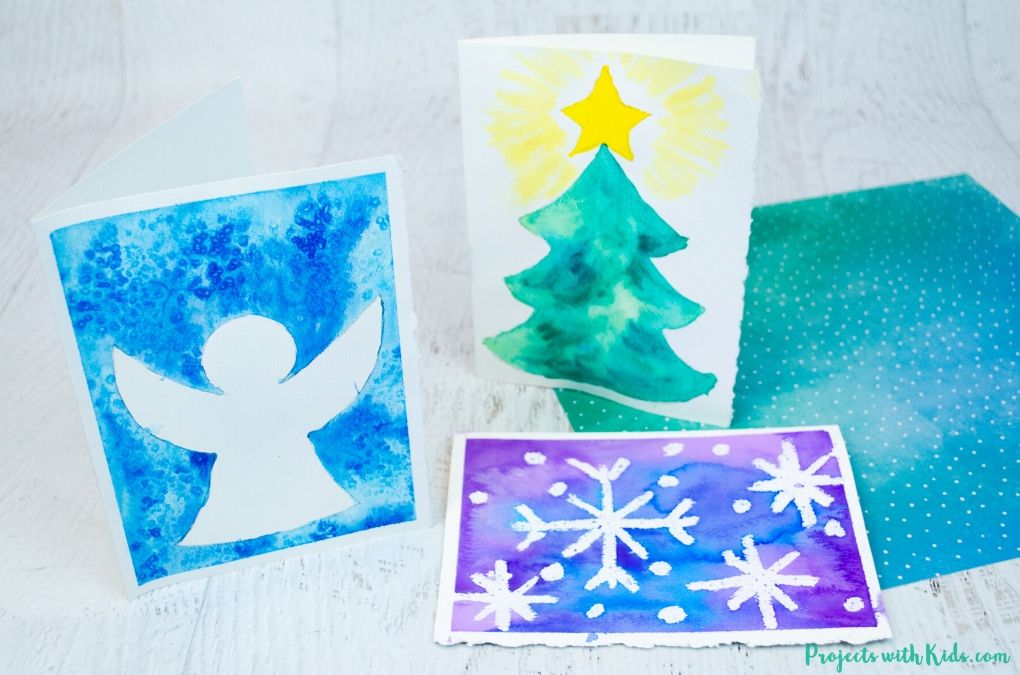
Easy Watercolor Christmas Cards for Kids to Make
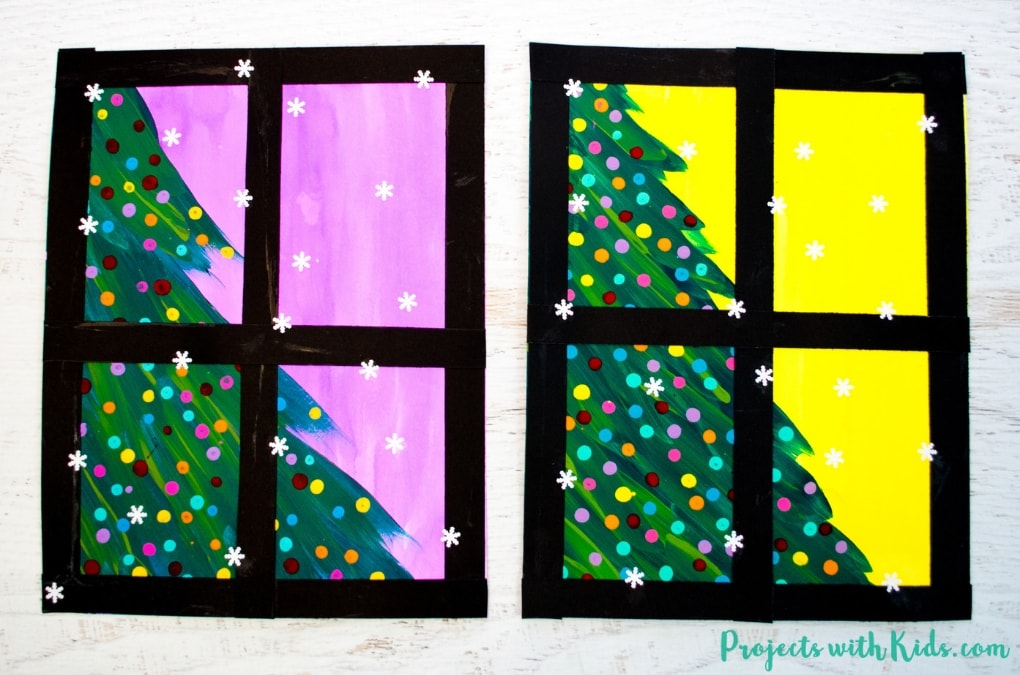
Mixed Media Christmas Tree Art Project
Follow me on Pinterest for more amazing project ideas.
Pin this watercolor art for later
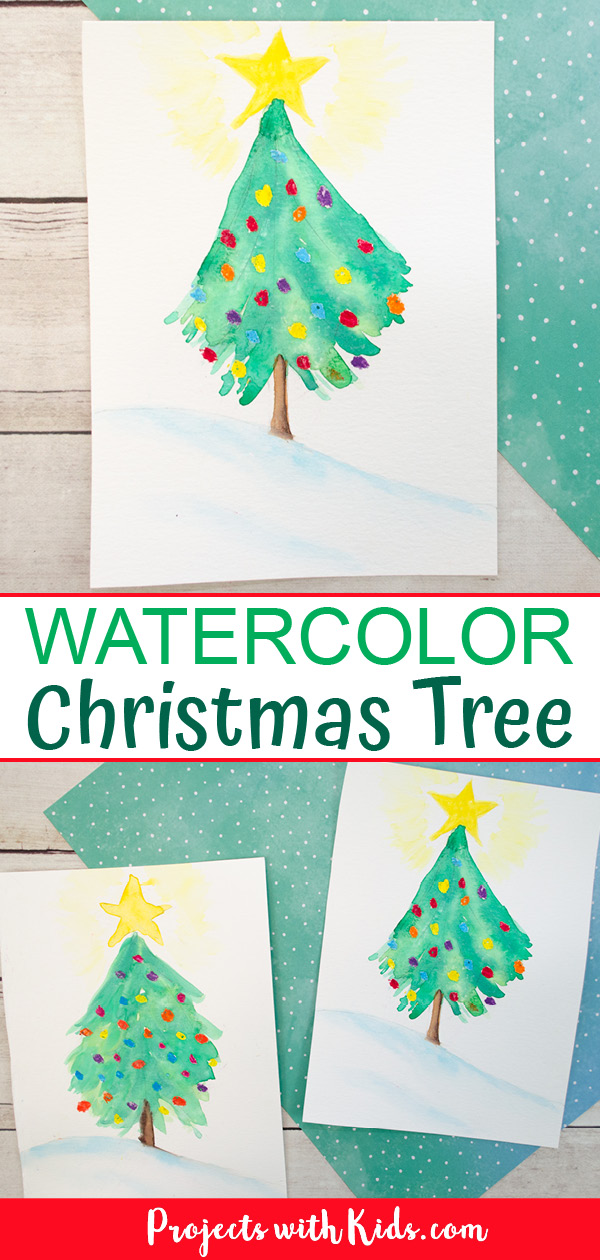
How to Paint an Easy Watercolor Christmas Tree
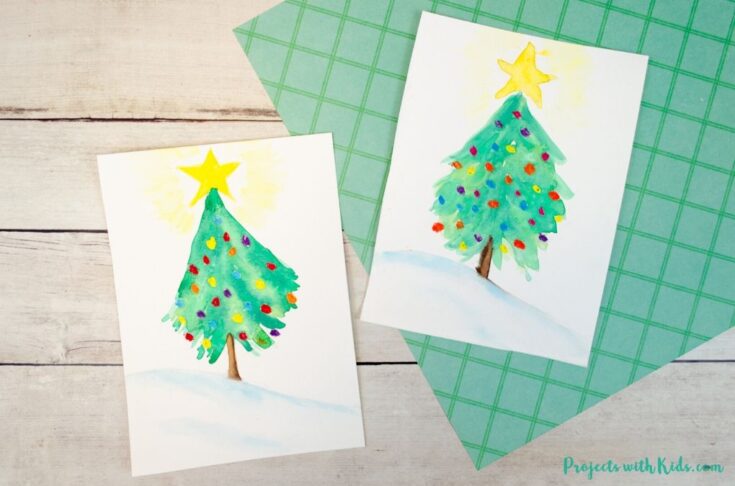
Kids will learn how to paint a watercolor Christmas tree with these easy and fun watercolor techniques! A wonderful Christmas art project idea.
Materials
- Watercolor paints
- Watercolor paper
- Oil pastels
- Pencil
Tools
- Paintbrushes
- Paint palette
Instructions
- Get your watercolor paper ready. I cut our paper to 5.5 x 7.5 inches.
- Use a pencil to lightly draw your picture.
Draw the hill first, then a straight line where you want the tree to go. Add a few branches coming out from the straight line and draw in the trunk. Finally, draw in the star at the top of the tree. - Have kids choose 4 - 6 bright oil pastel colors. Draw dot decorations in a random pattern on the Christmas tree. Press firmly with the oil pastels to ensure that the resist technique will work well.
- Mix three shades of green for the Christmas tree, a light green, bright green, and a dark green shade.
Paint in some branches with the light green color. - While the paint is still wet, paint some branches with the bright green and finally finish the tree with the dark green color.
Remind kids not to cover up the lighter shade of green when painting the darker shades in. It’s nice to see a mixture of light and dark green on the tree. - When the tree is completely dry, you can paint the trunk. Mix a light and dark shade of brown.
Paint the trunk with the lighter shade first and while the paint is still wet, paint one side of the trunk with the dark brown. - Mix a light blue shade of watercolor. Paint the snow hill pencil line with the blue paint. Go over this paint with a clean wet brush to soften up the line.
Paint in a few shadows on the snow with the light blue color. Again, paint over these brushstrokes with a wet brush to soften up the lines. - Finally, paint the star a bright yellow.
Paint lines around the star to make it look like the star is glowing. Use a light yellow color for this. You can also soften these lines with a wet brush.


