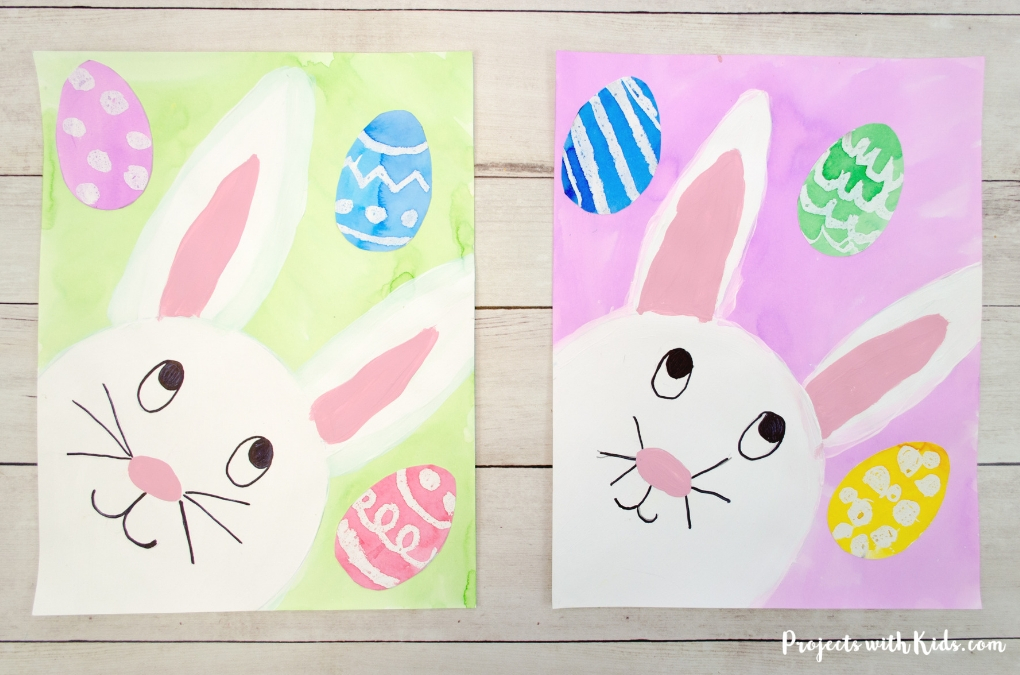
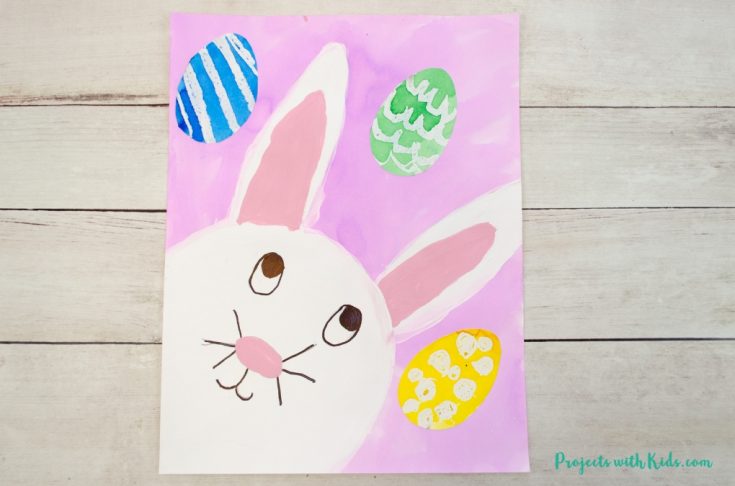
Kids will love making this Easter bunny painting with an adorable bunny looking up at colorful Easter eggs! This is a great mixed media art project that will have kids painting with acrylics, using a watercolor resist technique, and drawing with markers. A creative Easter and spring painting idea!
If you are looking for more Easter art activities, take a look at this creative collection of Easter art projects!
If you are looking for more Easter bunny art, check out this bunny art project with chalk pastels that is super easy and colorful!
For this project, I created 3 different printable templates to make this painting even easier for you. There is an Easter egg template and two bunny templates. One bunny that’s just the outline with no face and a second bunny printable that has the face drawn in to make this Easter bunny painting easier for younger kids.
You can find the printable templates and art project PDF here in my shop.
Create your own Easter bunny painting
This post contains affiliate links, which come at no cost to you. If you would like more information please review my privacy & disclosure policy.
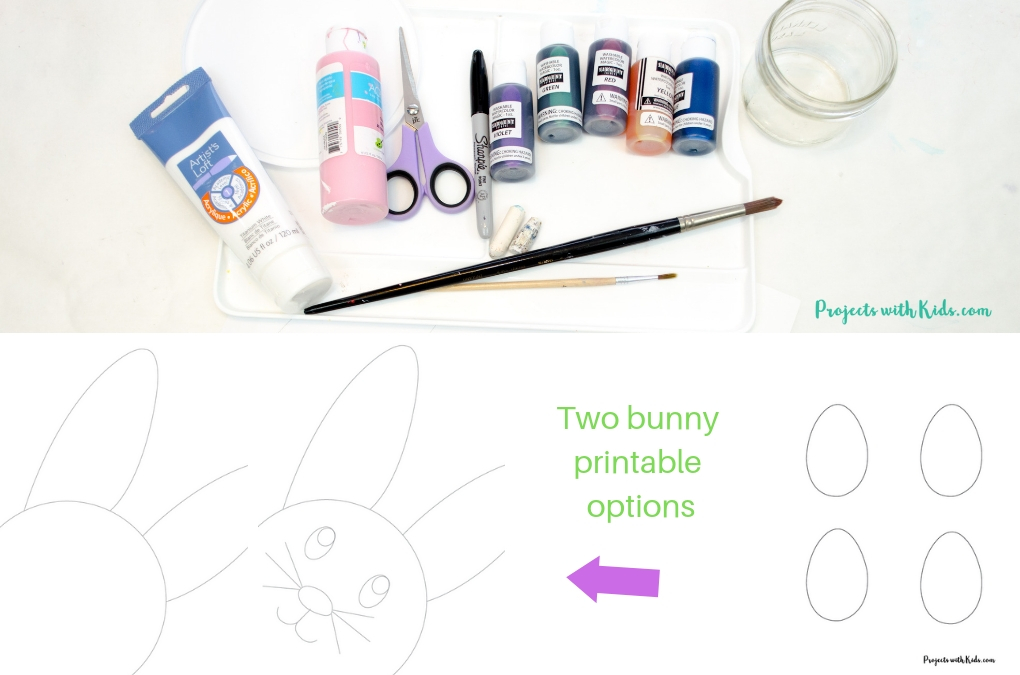
Supplies
- Printable templates available here in my shop
- Large plastic lid to use as a template if you are not using the printable option
- Watercolors (we used liquid watercolors)
- White cardstock
- Acrylic paint in white and light pink
- Black marker
- White oil pastels
- Paintbrushes and paint palette
- Scissors
Instructions for your bunny painting
1. To get started you need to either draw your bunny in or print out your bunny template. There are two different bunny printable options, one has a face drawn in and one is blank for kids to draw in the face on their own.
Kids can also draw the bunny themselves and not use a printable at all.
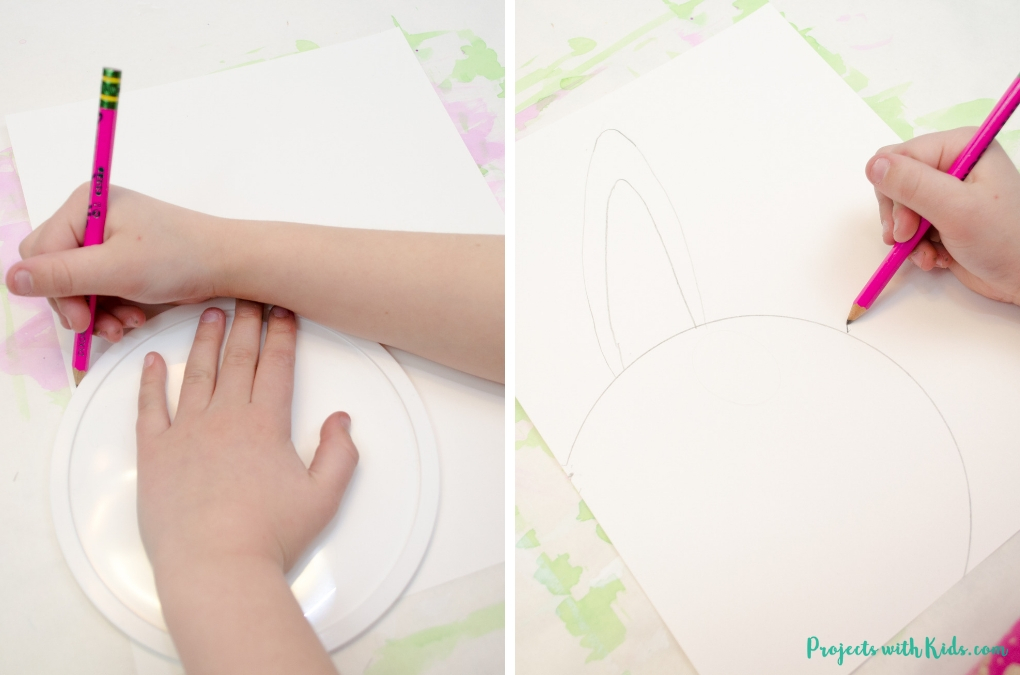
If kids choose to draw their bunny, use a large plastic lid as a guide for the bunny’s head like in the photo above. Then draw in the bunny’s ears. You want the ears to be quite big, one ear almost touches the top of the paper and the other ear goes right to the edge.
2. Next, kids can choose a color for their background. We used liquid watercolors for this step. I diluted the colors quite a bit and tested them on scrap paper first.
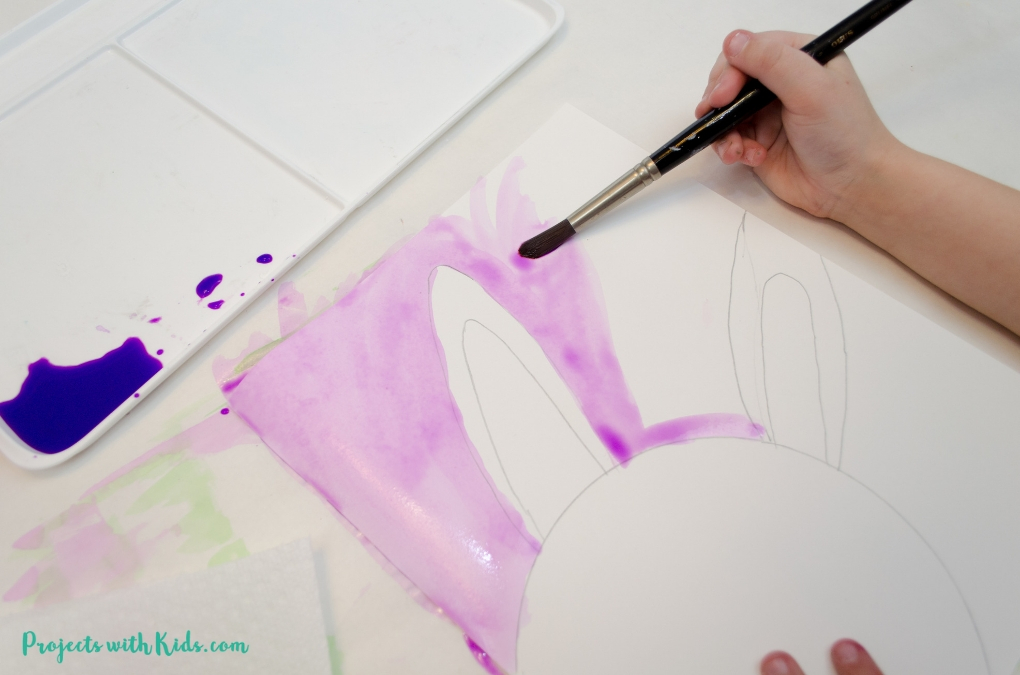
Paint the background around your bunny with watercolor paint. The background will show through the white paint for the bunny, so remind kids to go slow and just paint the background.
Related: The Best Painting Ideas for Kids to Try
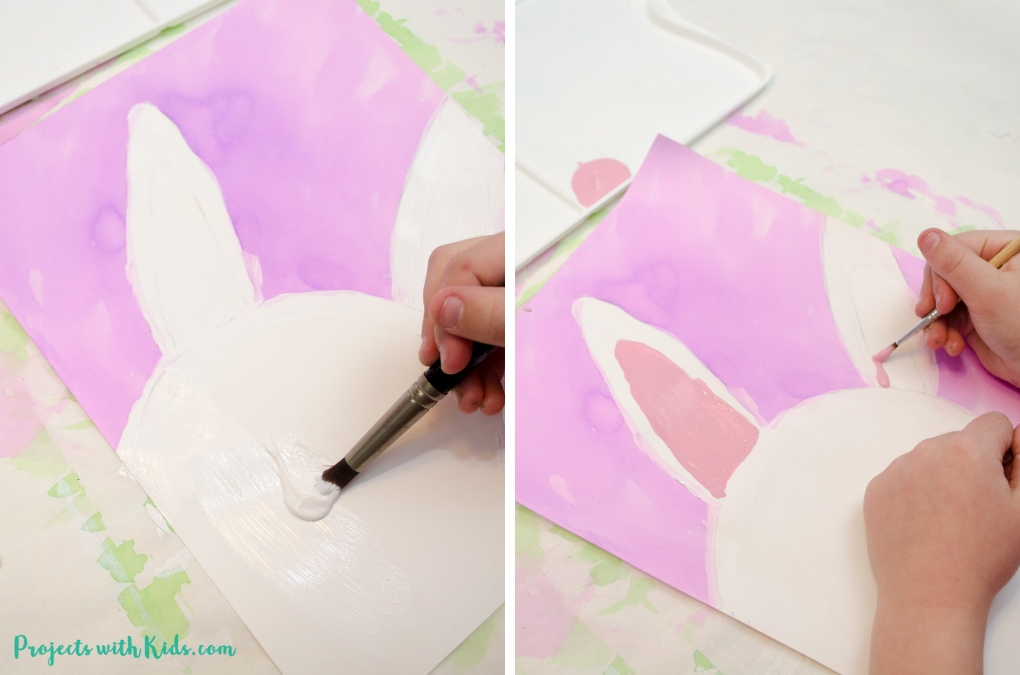
3. Once the background is dry, paint the bunny with white acrylic paint. Let the bunny dry completely before moving on.
4. Using light pink acrylic paint, paint the inside of the bunny’s ears with a small paintbrush.
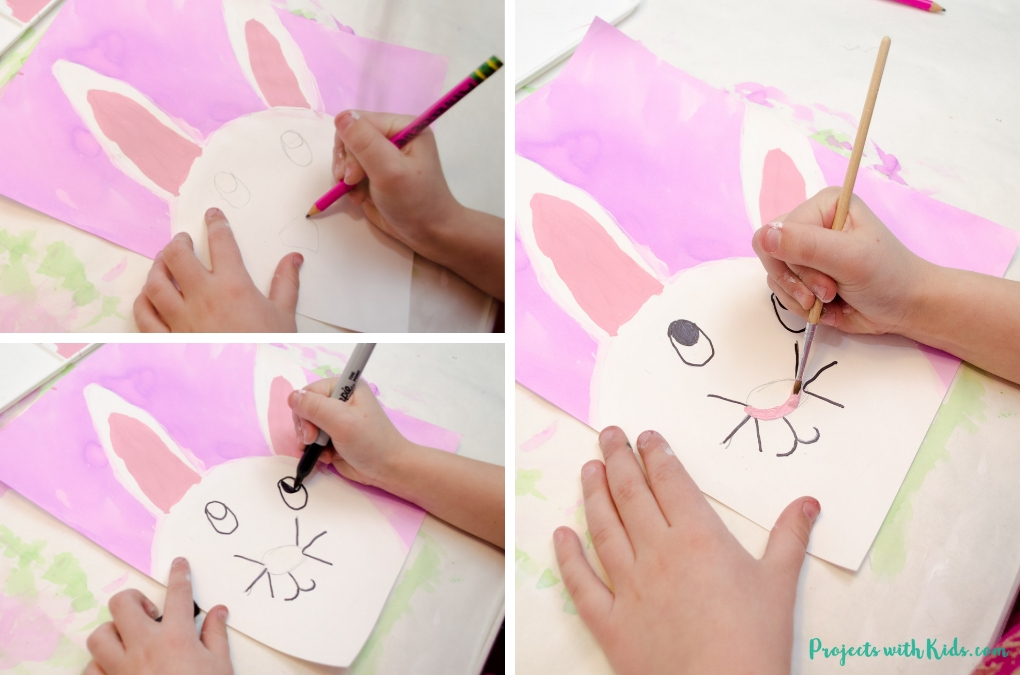
5. Now it’s time to draw the bunny’s face. If kids are using the printable with the face drawn on, they can simply trace the face with a black marker.
If kids need to draw in the bunny’s face, have them draw it lightly with a pencil first so they can erase it if they need to. The bunny is looking up at the Easter eggs, so make sure to draw the eyes looking up like in the examples above and below.
Once they are happy with how the bunny’s face looks, they can trace over their pencil lines with a black marker. Paint the nose with light pink acrylic paint and a small paintbrush to finish the face.
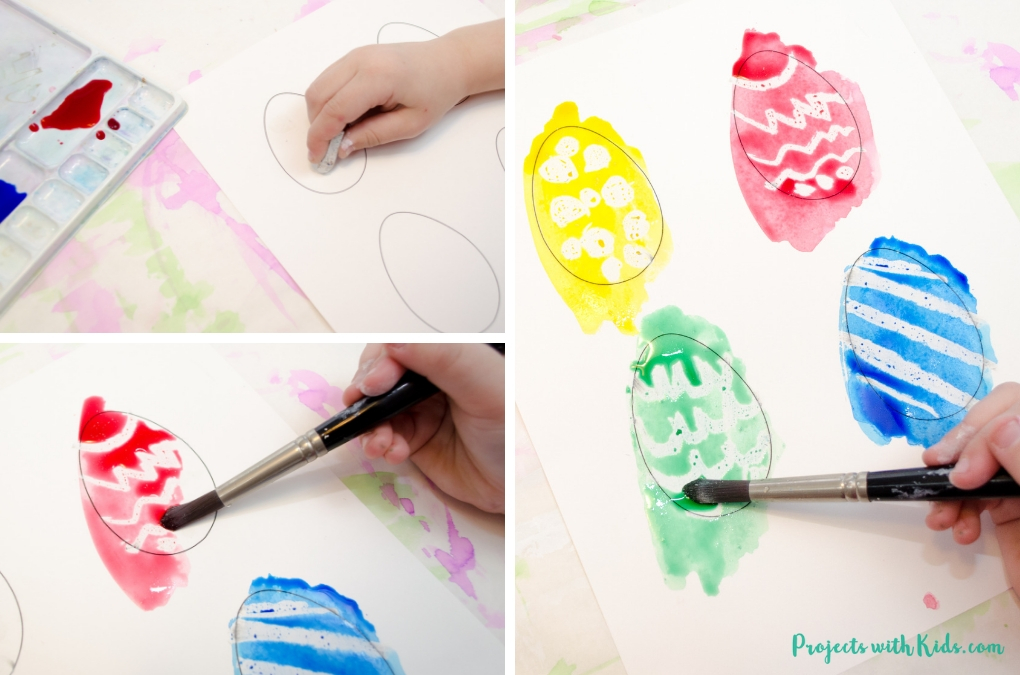
6. Time to decorate and paint the Easter eggs! Using white oil pastels, have kids draw patterns on the Easter egg printable. I included 4 Easter egg templates just in case an extra one is needed.
Paint the easter eggs with watercolors. Again, we used liquid watercolors for this step but you can use any watercolors you have.
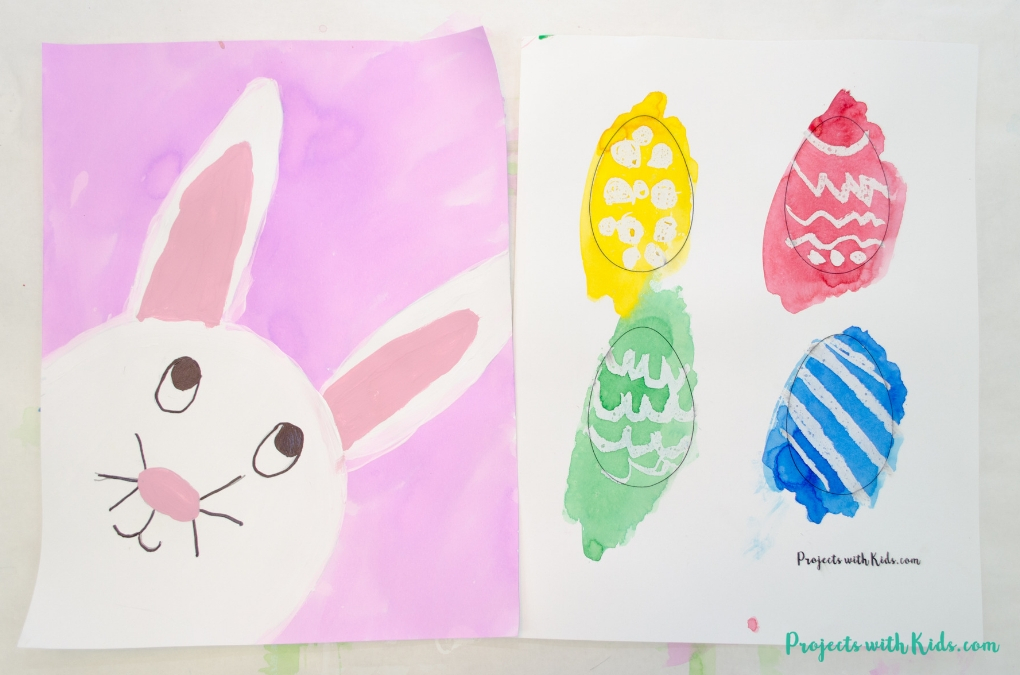
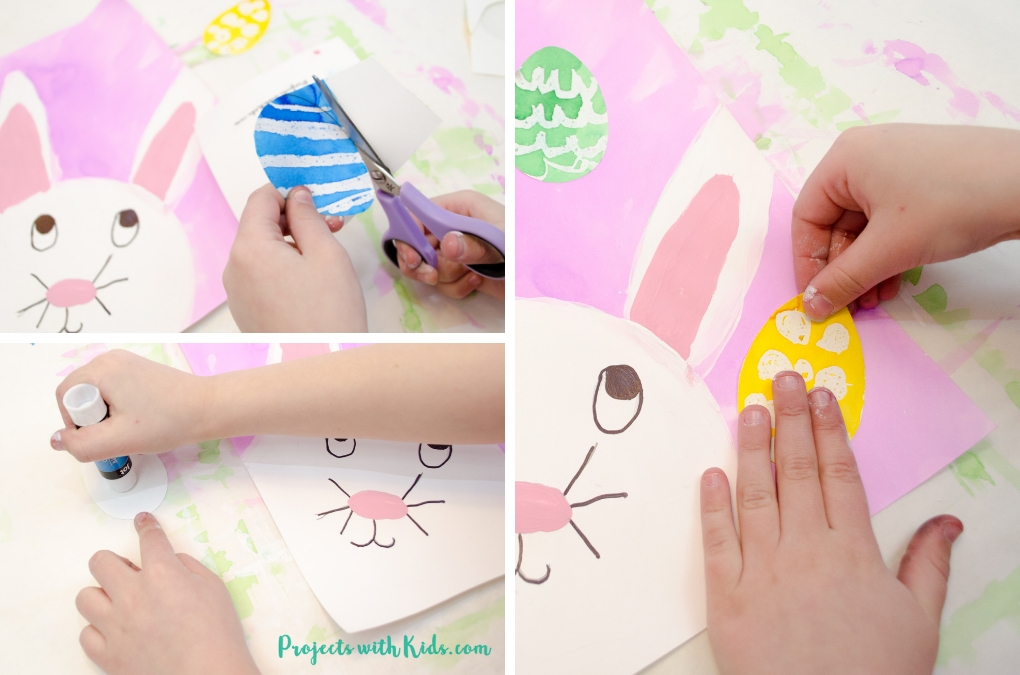
7. Once the Easter eggs are dry, kids can cut them out and glue them onto their Easter bunny painting.
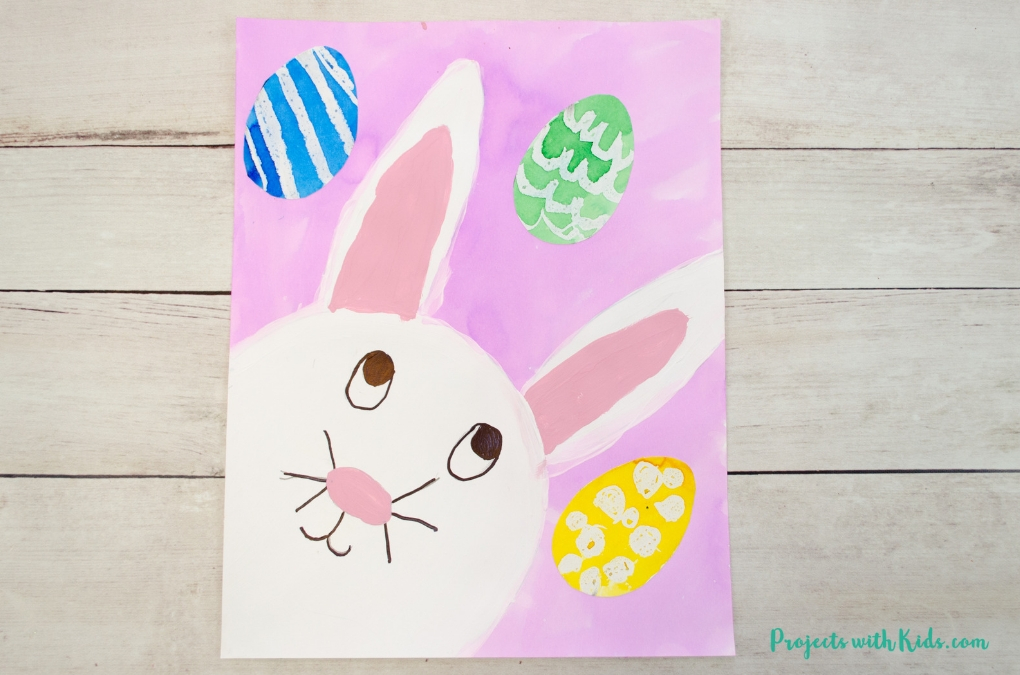
These bunny paintings turned out so cute! I love how the Easter bunny is looking up at the colorful Easter eggs. This is such a fun and unique Easter art project for kids to make!
>> CLICK HERE TO GET THE PRINTABLE BUNNY AND EGG TEMPLATES AND PDF VERSION OF THIS ART PROJECT.
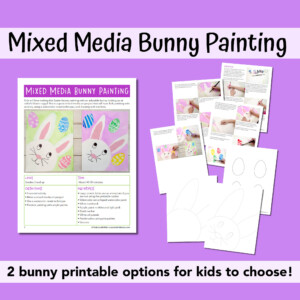
A PDF that is perfect for printing and projecting onto a whiteboard in the classroom for kids to follow along! PDF includes a lesson plan overview, materials needed, step-by-step instructions and photos, and printable templates.
We have made a couple of paintings in this same style for different holidays and seasons. Take a look at this adorable Valentine’s Day panda art project this fun polar bear winter painting and this cute reindeer painting for more fun ideas!
We love creating and exploring with different art supplies and techniques. If you are looking for more art projects to try, take a look at our ultimate collection of amazing art projects for kids!
More Easter Art Kids Will Love
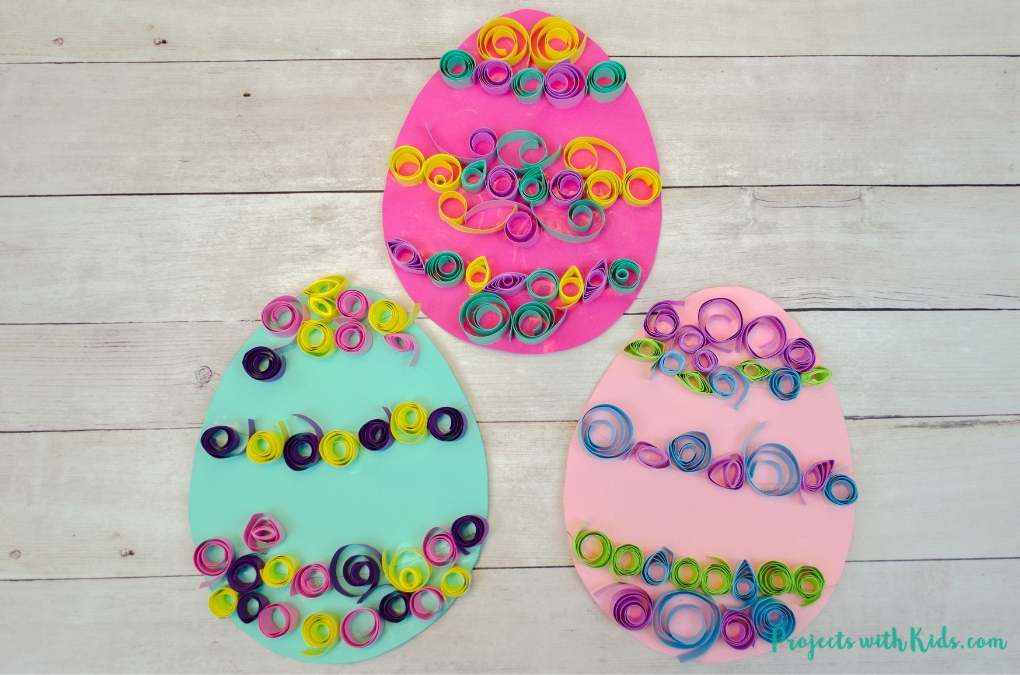
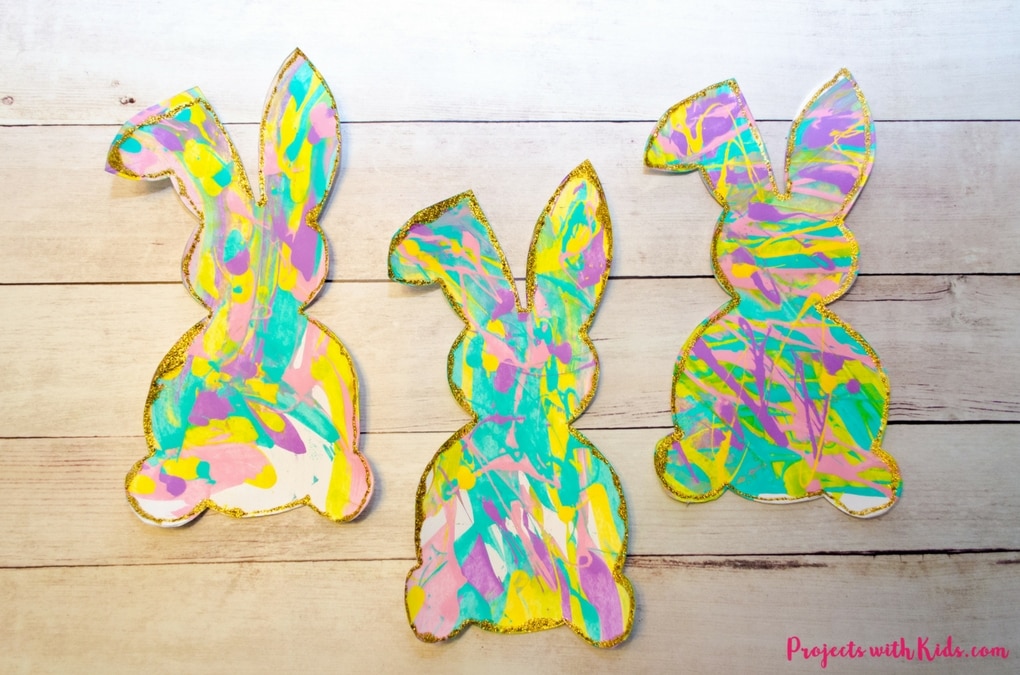
Process Art Scrape Painting with Bunny Silhouettes
Follow me on Pinterest for more amazing project ideas.
Pin this Easter painting for later
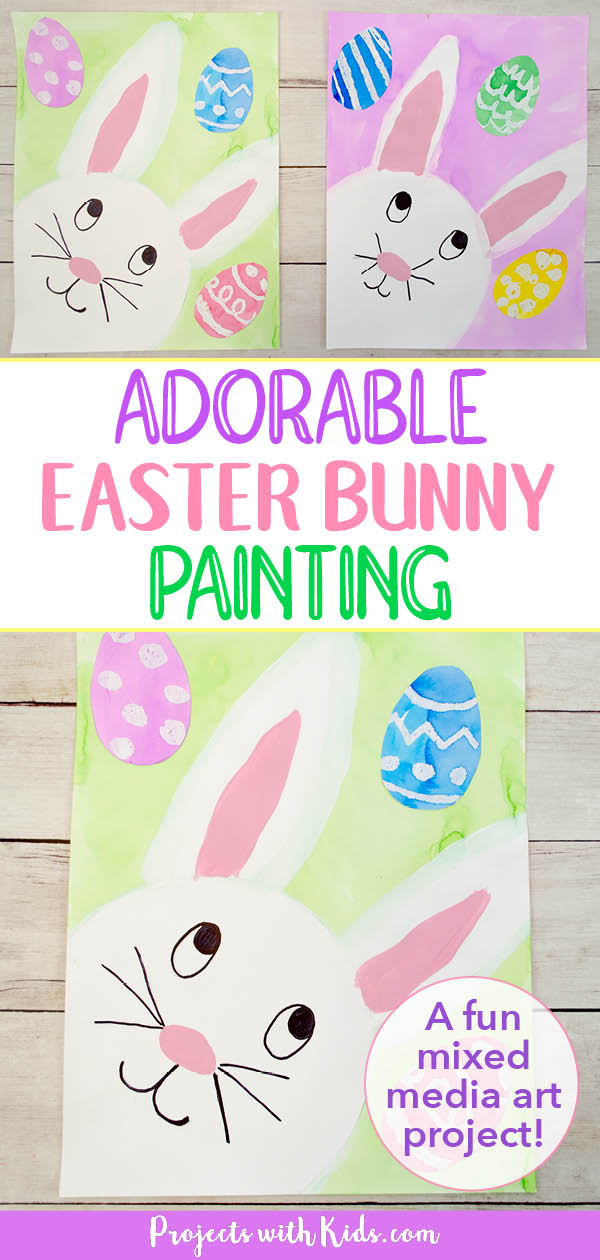
The Cutest Easter Bunny Painting for Kids to Make
Kids will love making this Easter bunny painting with an adorable bunny looking up at colorful Easter eggs! This is a great mixed media art project that will have kids painting with acrylics, using a watercolor resist technique, and drawing with markers.
Materials
- Printable templates
- Watercolor paint
- White cardstock
- Acrylic paint in white and light pink
- Black marker
- White oil pastels
Tools
- Large plastic lid to use as a template if you are not using the printable option
- Paintbrushes and paint palette
- Scissors
Instructions
- Print out the bunny and Easter egg templates that you will use on white cardstock. If kids want to try drawing their own bunny then start with a larger plastic lid and draw in the head. Use the photos above as an example.
Draw in the ears, making sure they are big enough. Again refer to the photos above as examples. - Paint the background with watercolor, you can use liquid watercolor or a watercolor paint set. Let this dry completely.
- Paint in the bunny with white acrylic paint and let it dry.
- Use light pink acrylic paint to paint in the bunny's ears with a small paintbrush.
- If you are using the template with the bunny's face drawn in, then have kids trace the lines with a black marker.
If kids are going to draw in the face, draw the face with a pencil to start. Then trace over the pencil lines with a marker. Make sure that the bunny's eyes are looking up towards where the Easter eggs will go. - To finish off the face, paint the nose with light pink acrylic paint.
- Decorate the Easter eggs with white oil pastel and then paint the eggs with watercolor paint to reveal your design! Let everything dry and then cut the Easter eggs out.
- To finish off your bunny painting, glue the easter eggs onto your paper.


Cherie
These are awesome projects! Can’t wait to do them with my learners! Thank you so much for all your creativity!