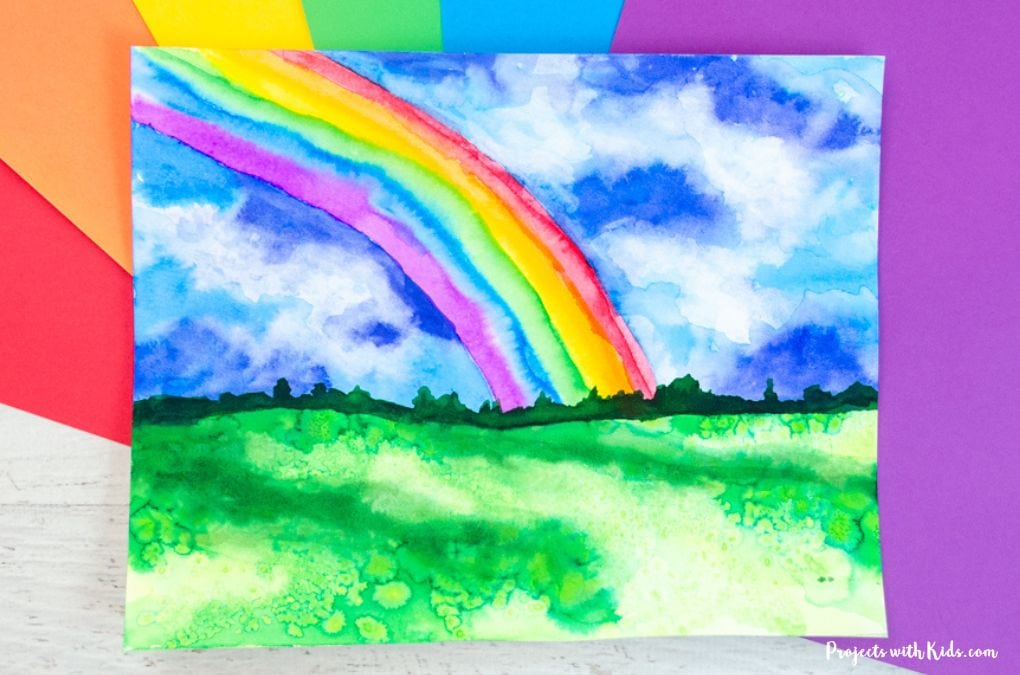
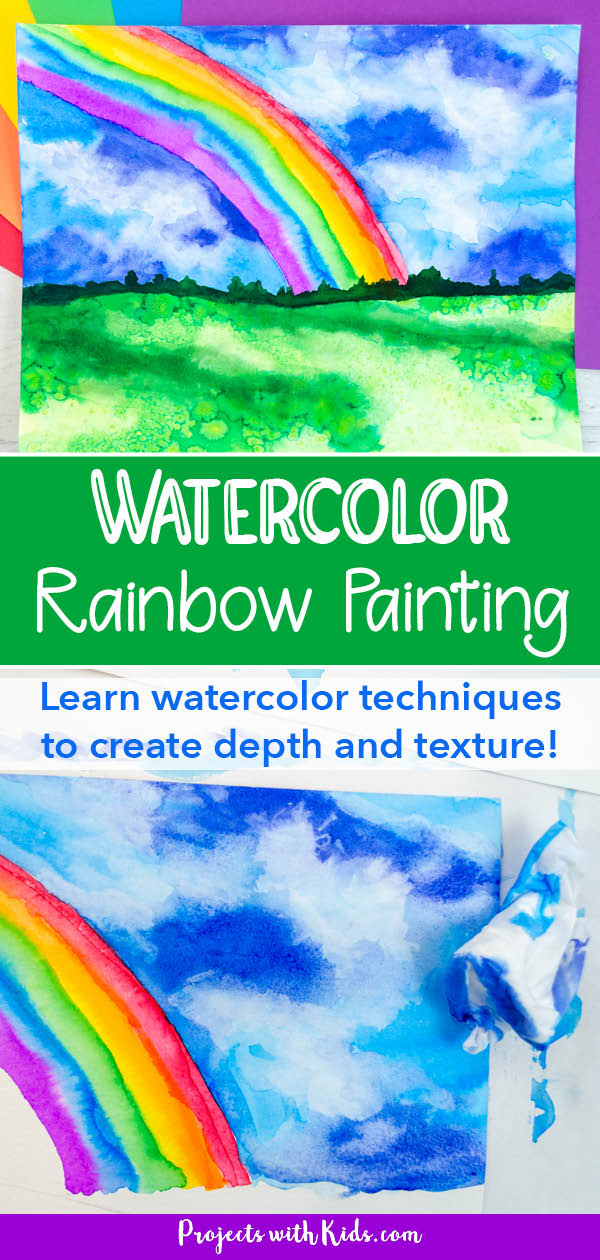
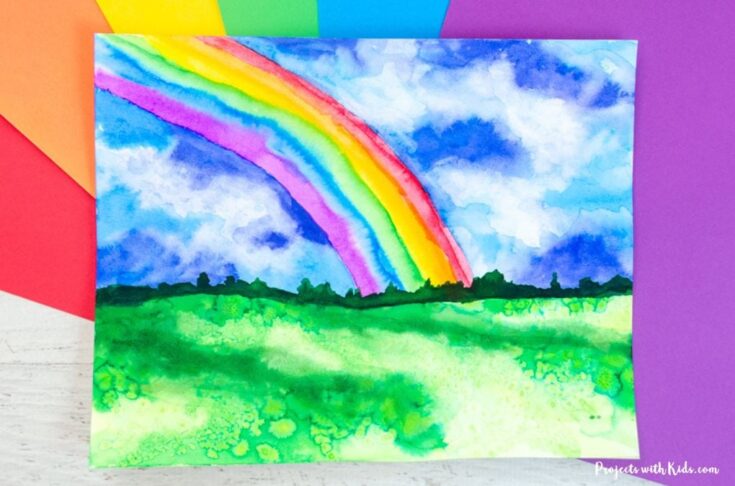
Kids will love to make this gorgeous watercolor rainbow painting for spring! Learn watercolor techniques to create depth and texture. Use a tissue to help paint in clouds and salt to create texture in the grass. This is a great art project idea for tweens and teens.
There are so many fun watercolor techniques for kids to try! Take a look at my collection of watercolor painting for kids for more fun and creative ideas.
Using salt is a fun way to help create some interest and texture in a watercolor painting and a fairly easy technique for kids to use. Take a look at this geometric heart art painting that uses salt to create an interesting background!
If you are looking for more spring projects, take a look at this colorful collection of spring art for kids!
Create your own watercolor rainbow painting
This post contains affiliate links. As an Amazon Associate, I earn from qualifying purchases. If you would like more information please review my privacy & disclosure policy.
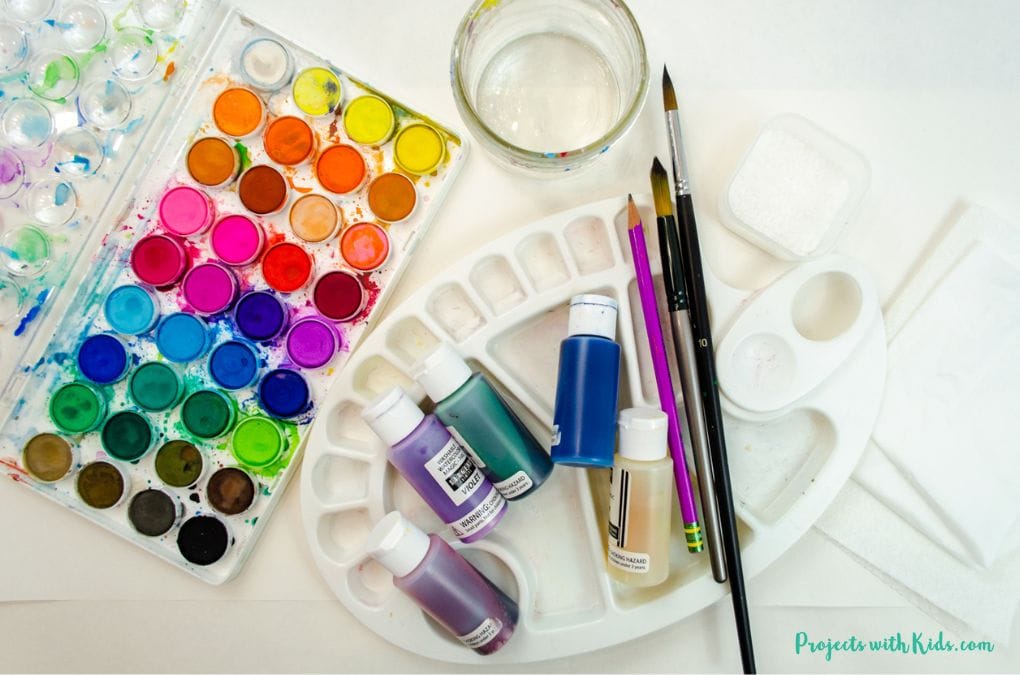
Supplies
- Watercolor paper
- Watercolor paints (you can use a paint set or liquid watercolors)
- Paintbrushes
- Paint palette and water dish
- Pencil and eraser
- Tissues and paper towels
- Coarse salt
Instructions for your rainbow art project
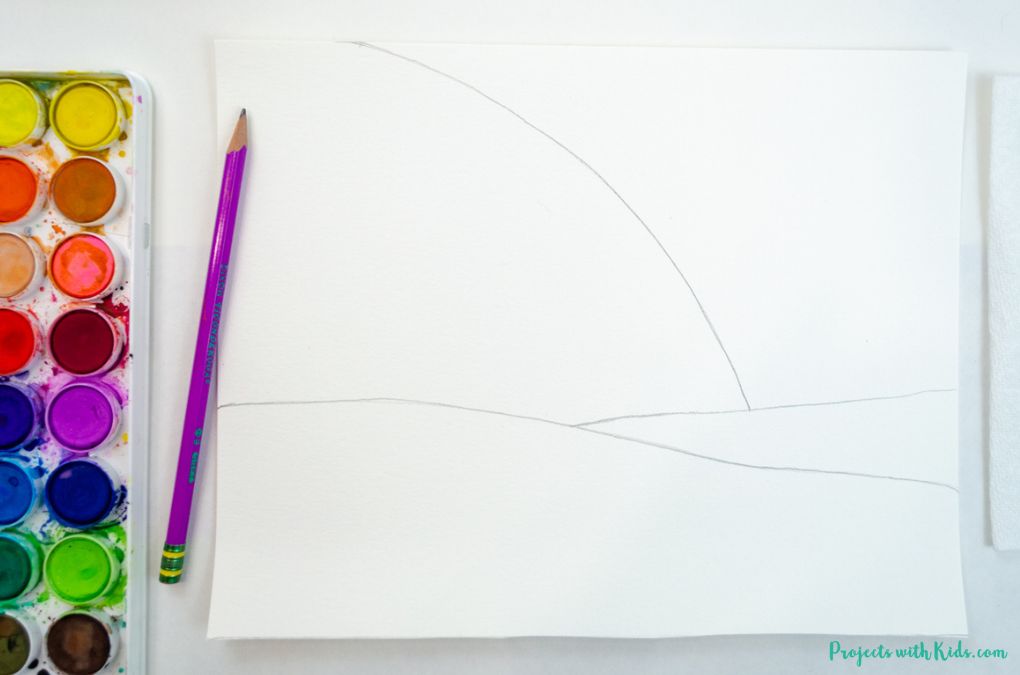
1. First, prepare your watercolor paper. Draw in a few guidelines for the grass area and a curved line for the rainbow. You want to press lightly with the pencil in case you need to erase any lines.
2. Get your paint ready for the rainbow. You can use a watercolor paint set or liquid watercolors. I used a combination of both. Test your colors on a scrap piece of paper first, watercolors will always dry a bit lighter.
Using a medium round brush, start to paint in your rainbow. Use the pencil line as a guide to start to paint in the red color first. Remind kids to clean their brushes between each color.
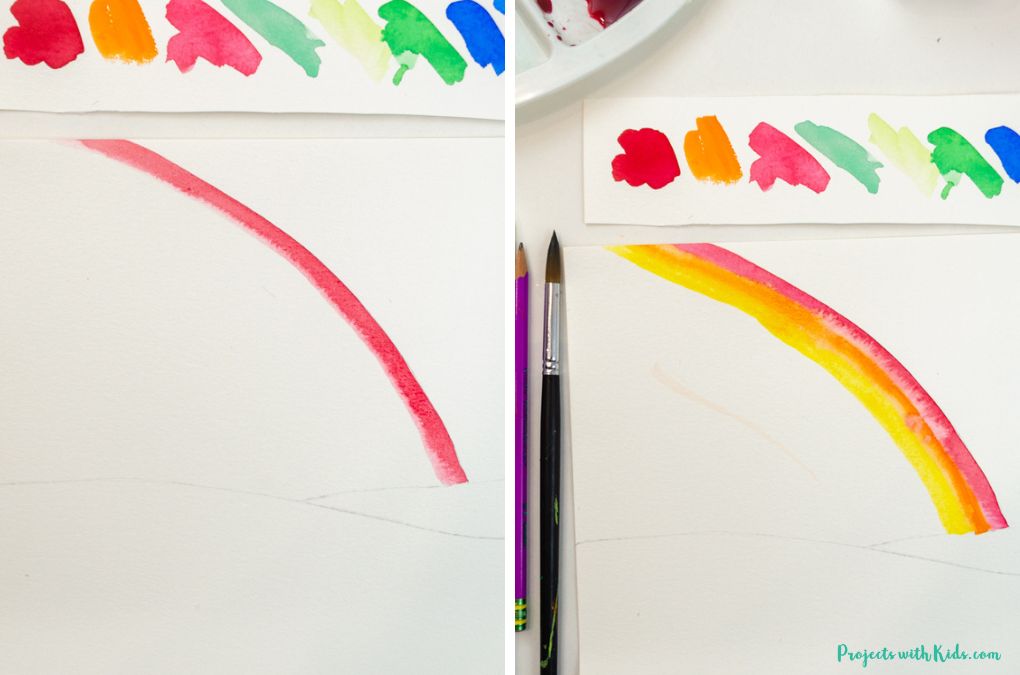
Try using a clean brush and painting with just water to help the colors blend into each other a bit as needed. Have some paper towels handy for kids to wipe their brushes, so they don’t add too much water to the rainbow.
Let the rainbow dry completely before moving on.
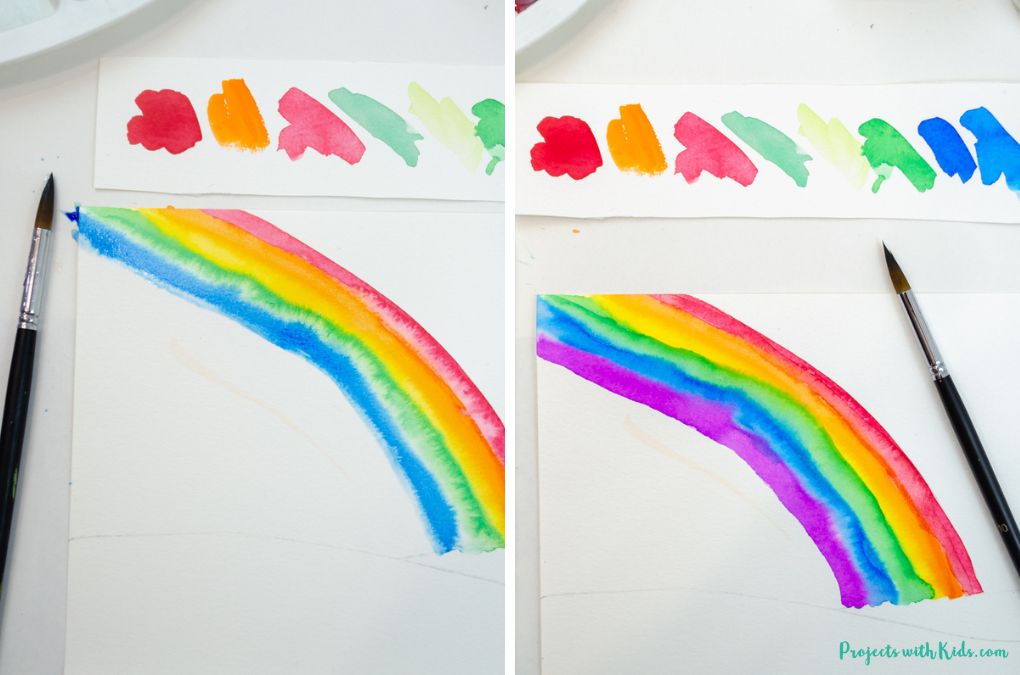
3. Once your rainbow is dry, it’s time to paint the sky. Painting clouds can be a bit tricky and some kids will want to practice on some scrap paper first. Have your blue sky colors ready, you want a lighter blue and a darker blue. You also want to have 2-3 tissues per student.
Very carefully and slowly, paint one side of the sky with clean water being careful not to paint any water on the rainbow. While the paper is still wet, paint the sky with the lighter blue.
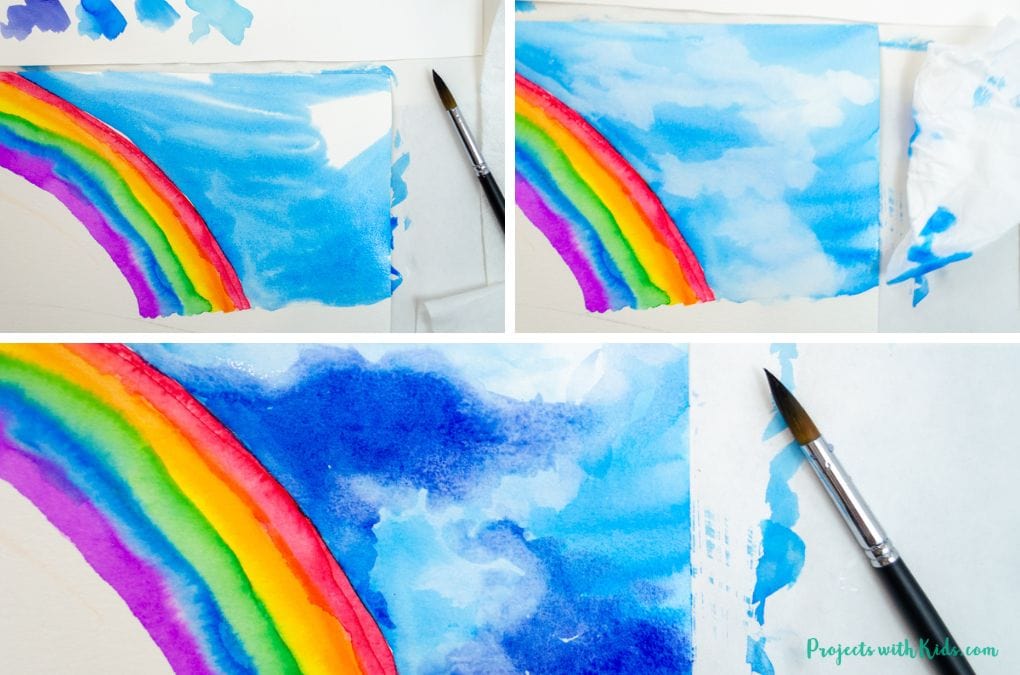
Working quickly, take a tissue and dab the paint pressing down and lifting straight up (no rubbing back and forth) to lift some paint off the paper. This will start to create some cloud shapes.
While the paper is still wet, paint in some areas with a darker blue color and paint over the color with clean water to soften up the lines and help to blend it in. If some of the paint leaks into the areas where you used the tissue, simply press the tissue back onto the paper and lift it straight up to keep the cloud shapes.
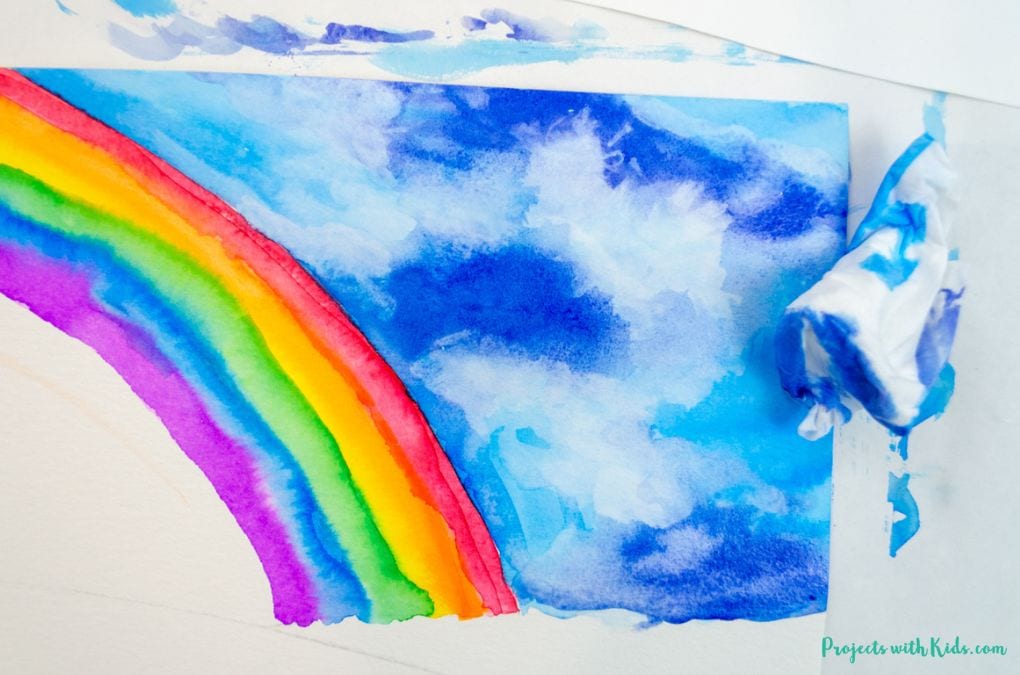
Try using a clean brush with no paint to soften up some lines around the edges between the dark blue areas and the clouds. Take your tissue again, and dab it onto the paper to create more clouds if you like or if the clouds have been covered up by paint.
4. Repeat this same process to paint the sky and clouds on the other half of the sky. Start with painting the sky with clean water and paint the sky a light blue color.
Take your tissue, press down onto your paper, and lift off some of the paint to create the cloud shapes.
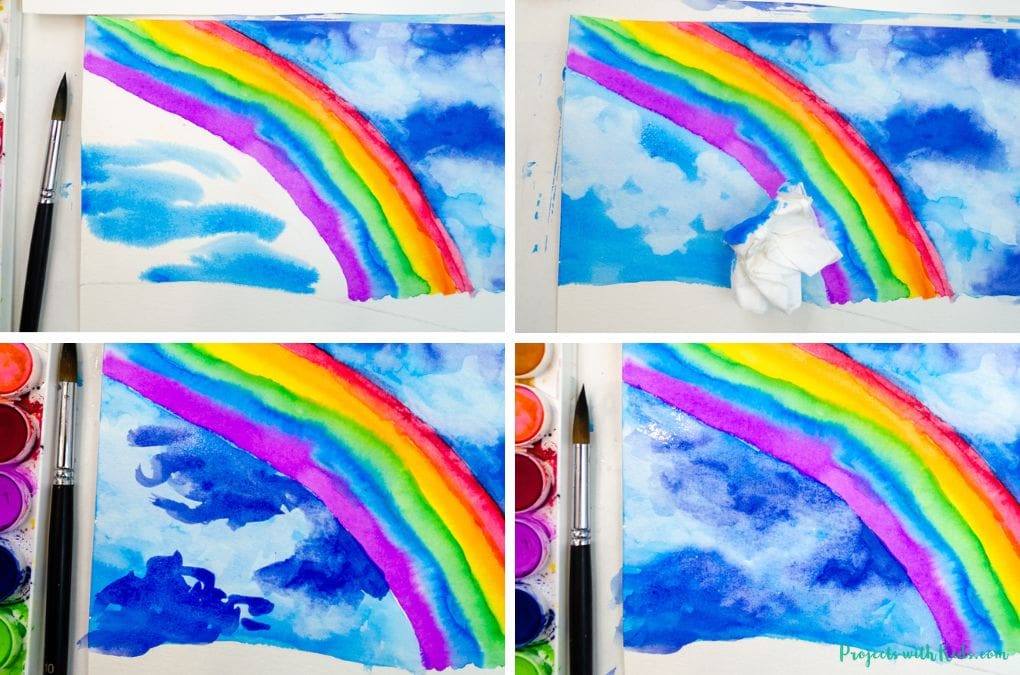
Paint some areas with a darker blue, use a clean wet brush to go over those areas, and soften up the lines to help everything blend together. Use a tissue if needed to bring back the cloud shapes.
Let the sky completely dry before moving on.
5. To paint in the grass area, have 2-3 shades of green paint ready. You also want to have some coarse salt ready.
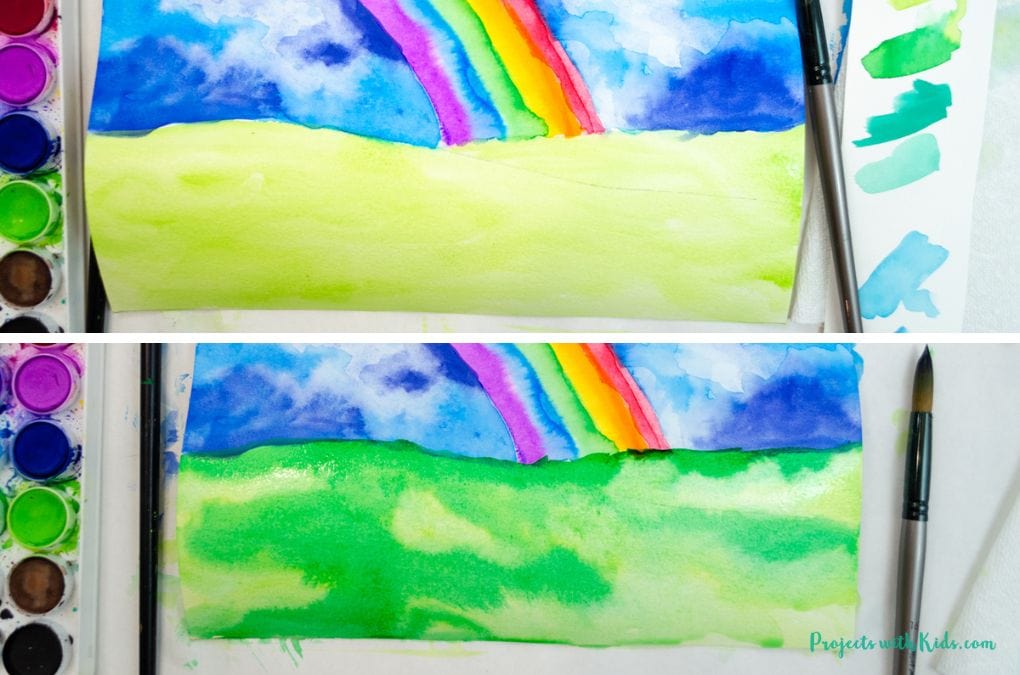
Start to paint in the grass area with clean water, taking care not to paint any water onto the sky or rainbow. Use a light green and paint in the grass. While the paper is still wet, paint in some areas with a darker green.
6. Take some coarse salt and sprinkle it onto the grass area while the paint and paper are still wet. As the salt dries it will start to create texture and patterns in the grass.
Leave the salt to dry completely. Once it’s dry, gently brush it off into the sink. Kids love to see the cool patterns that salt makes with watercolors!
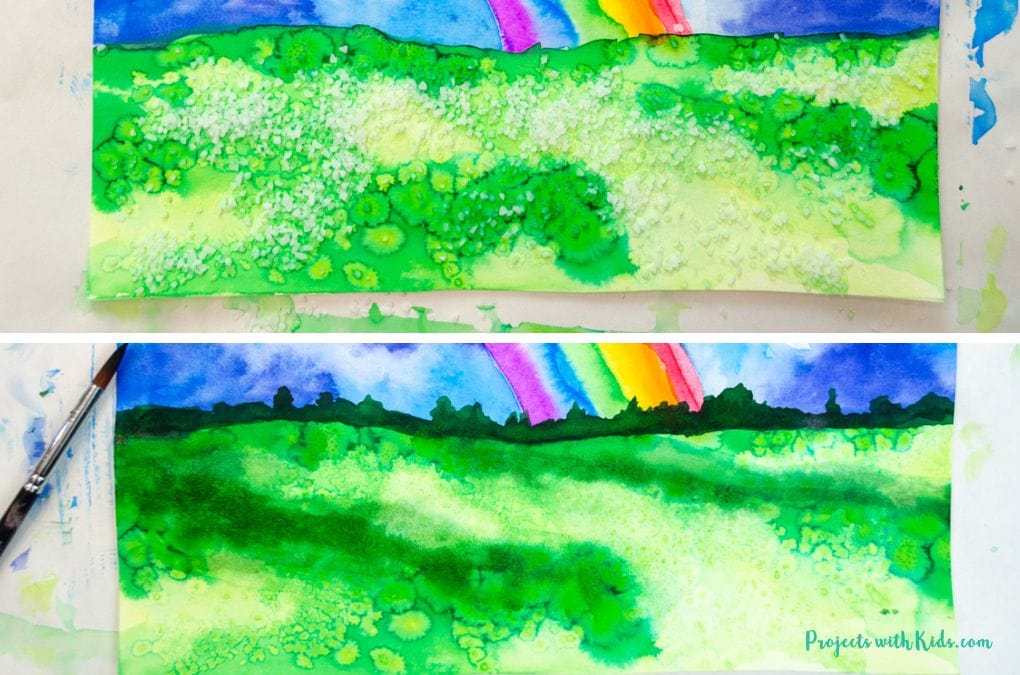
7. The final step is to paint a line of trees and bushes to connect the grass and sky. You will need a fairly dark green for this step. I mixed a small amount of black paint into my darkest green and tested it on scrap paper first.
Carefully paint a thick line with variation to indicate trees and bushes along where the grass and sky meet. This will help to finish off the painting nicely and give it some depth.
Kids can also carefully paint in this color in a few different areas on the grass if they like. Use a wet brush to soften up the lines and help to blend it in.
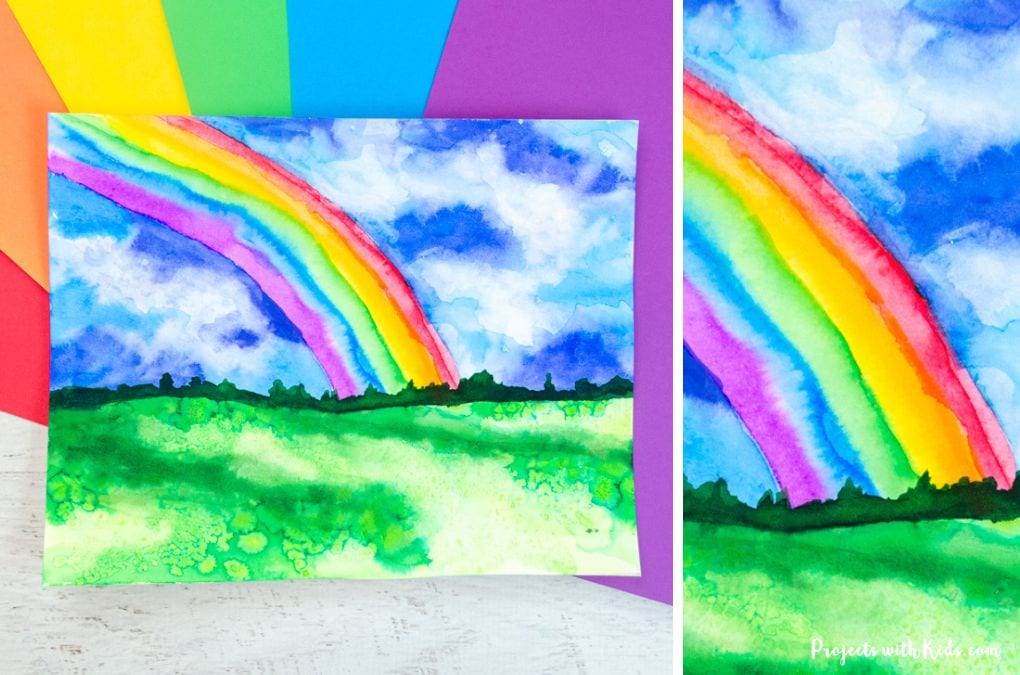
This watercolor rainbow painting idea is a great art activity for kids to explore ways to create depth and texture with some fun watercolor techniques! There is a lot of space for kids to use their creativity and make their paintings unique.
More watercolor painting ideas kids will love
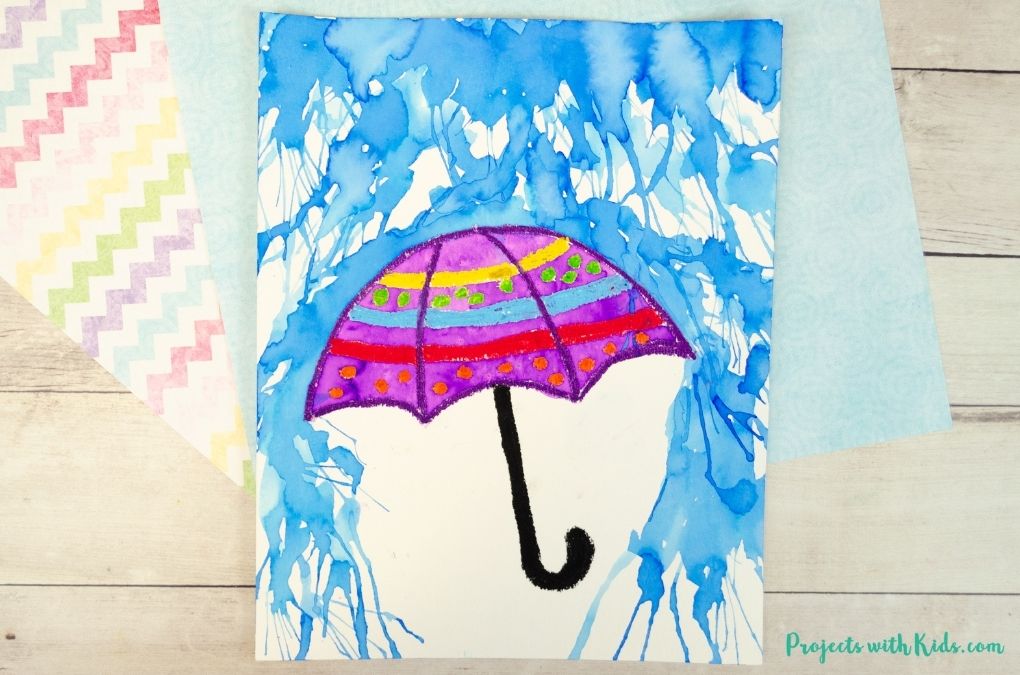
Follow me on Pinterest for more creative project ideas!
Pin this watercolor painting idea for later
Watercolor Rainbow Painting Idea for Kids
Kids will love to make this gorgeous watercolor rainbow painting for spring! Learn watercolor techniques to create depth and texture. A great art project idea for tweens and teens.
Materials
- Watercolor paper
- Watercolor paints (you can use a paint set or liquid watercolors)
- Paintbrushes
- Paint palette and water dish
- Pencil and eraser
- Tissues and paper towels
- Coarse salt
Instructions
- Prepare your watercolor paper by lightly drawing guidelines for the grass area and a curved line for the rainbow.
- Get your paint ready, either using a watercolor paint set or liquid watercolors. Test the colors on scrap paper first to see how they dry.
- Using a medium round brush, start painting the rainbow, following the pencil guideline. Remind kids to clean their brushes between each color and use just water to help blend the colors together if needed.
Let the rainbow dry completely. - Once dry, it's time to paint the sky. Have lighter and darker blue colors ready, along with tissues. Carefully paint one side of the sky with clean water, avoiding any contact with the rainbow. While still wet, paint with a lighter blue color.
Use a tissue to dab and lift some paint off the paper, creating cloud shapes. Add darker blue areas if desired and blend them in with clean water.
Soften lines around edges using a clean brush and tissue if necessary. - Repeat step 4 to paint the other half of the sky.
Let the sky dry completely. - For painting the grass area, have 2-3 shades of green ready and some coarse salt.
Paint the grass area with clean water, being careful not to overlap onto the sky or rainbow. Start with a light green and add darker green in certain areas while still wet. - Sprinkle coarse salt onto the wet grass area to create texture and patterns as it dries.
Allow the salt to dry completely before gently brushing it off into the sink. - The final step is to paint a line of trees and bushes using dark green paint along where the grass meets the sky for added depth and finish. Mix your green with some black watercolor paint if needed to get the right shade of dark green.





Leave a Reply