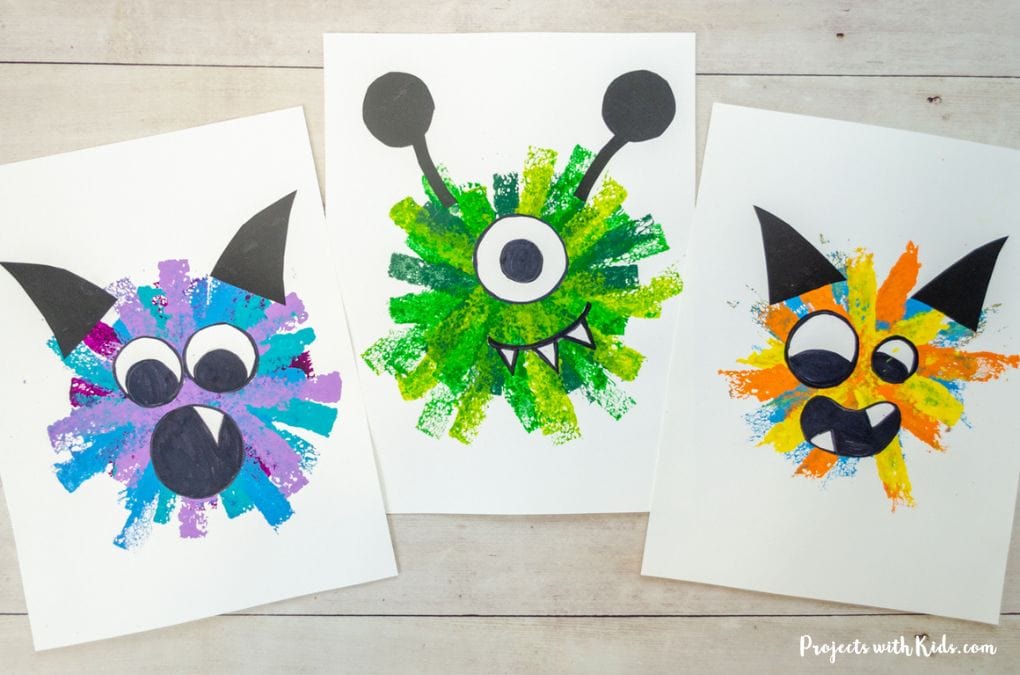
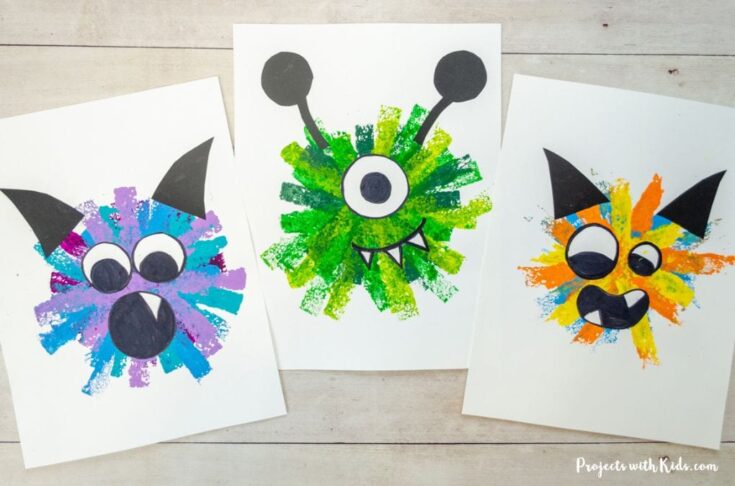
This easy monster craft is a fun and colorful art project that kids will love to make! You only need a few simple supplies and your creativity. Kids can choose the colors they use to paint the monster’s body and how they draw their monster’s facial features. Kids will enjoy creating their own unique and colorful sponge-painted monster art!
Using sponges to paint the monsters is a fun and easy technique that creates texture and interesting shapes. This is a perfect art activity for Halloween or any time for kids in preschool and early elementary.
We love exploring different painting techniques. Take a look at my collection of painting ideas for kids for more fun and creative art projects to try!
Create your own easy monster craft
This post contains affiliate links. As an Amazon Associate, I earn from qualifying purchases. If you would like more information please review my privacy & disclosure policy.
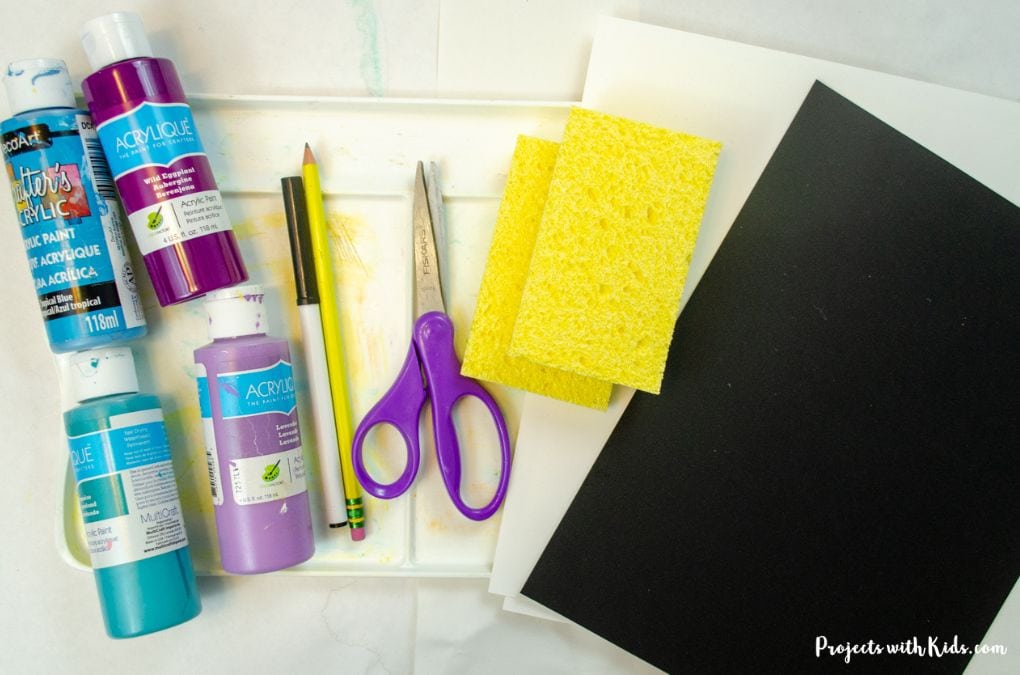
Supplies
- Acrylic paint
- Paint palette
- White cardstock
- Black construction paper or cardstock
- Sponges
- Black marker
- Pencil
- Scissors
- Glue stick
Instructions for your monster art project
1. First you want to get the sponges and paint ready. I used a rectangle-shaped sponge and cut it up into thinner strips. I cut the sponges into the same length, but you could always try different lengths to add even more interest.
You want to use 3-4 colors of acrylic paint for each monster and a piece of white cardstock.
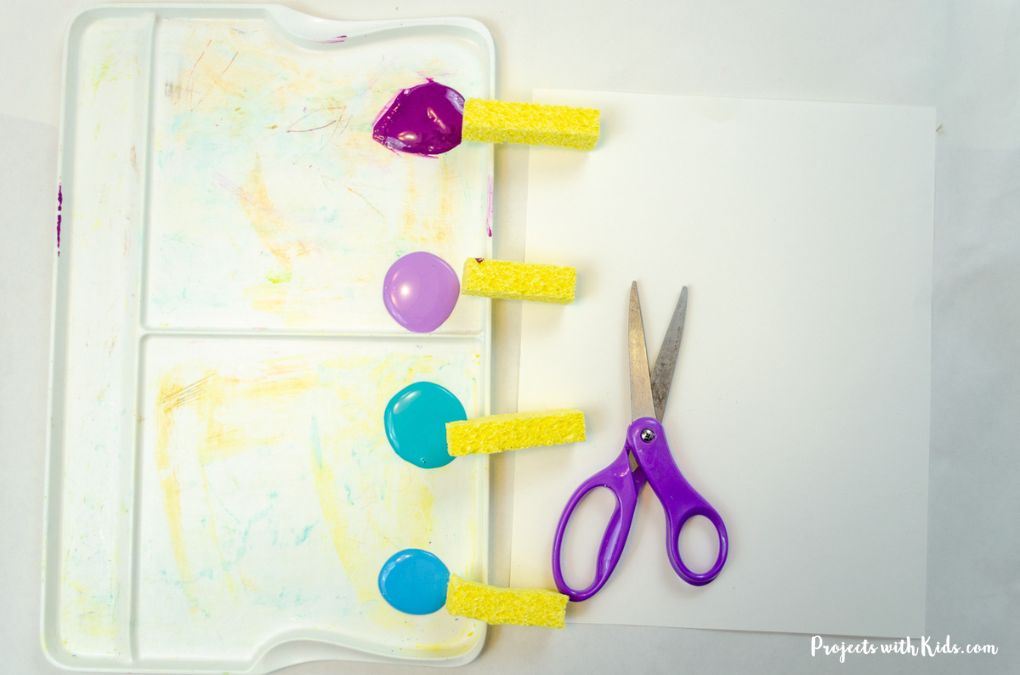
2. Start with the first color, and dip a sponge into the paint. You want to use one sponge per color to avoid the colors mixing and getting muddy.
Gently press the sponge onto your paper to create a print. Remind kids to start in the middle of their paper so they have room to sponge paint in a circle to create the monster’s body.
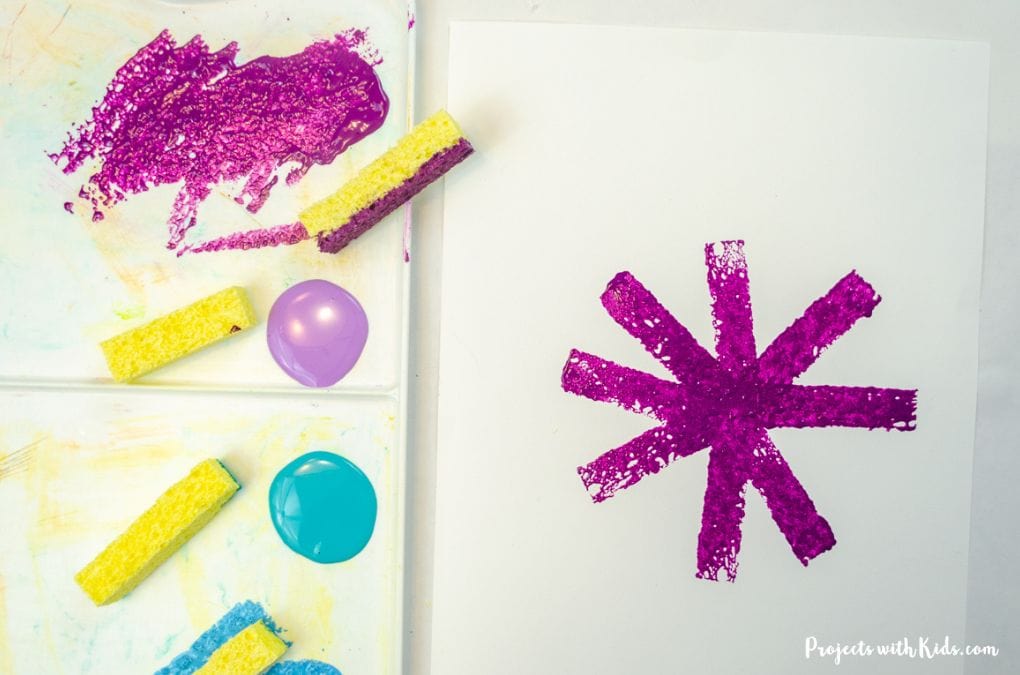
Continue sponge painting with the first color around in a circle, like in the photo above. You want to leave plenty of space between stamping on the first color so there is room to paint more colors.
3. Once you are done with the first color, sponge paint on the second color overlapping the first color a bit and painting in a circle to continue the monster’s body.
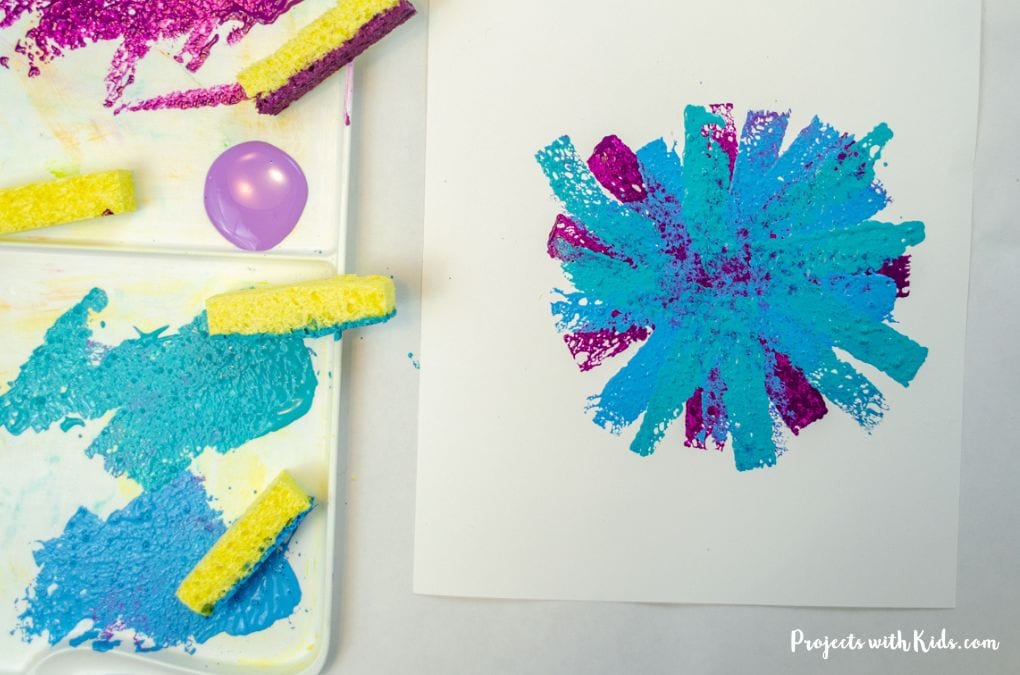
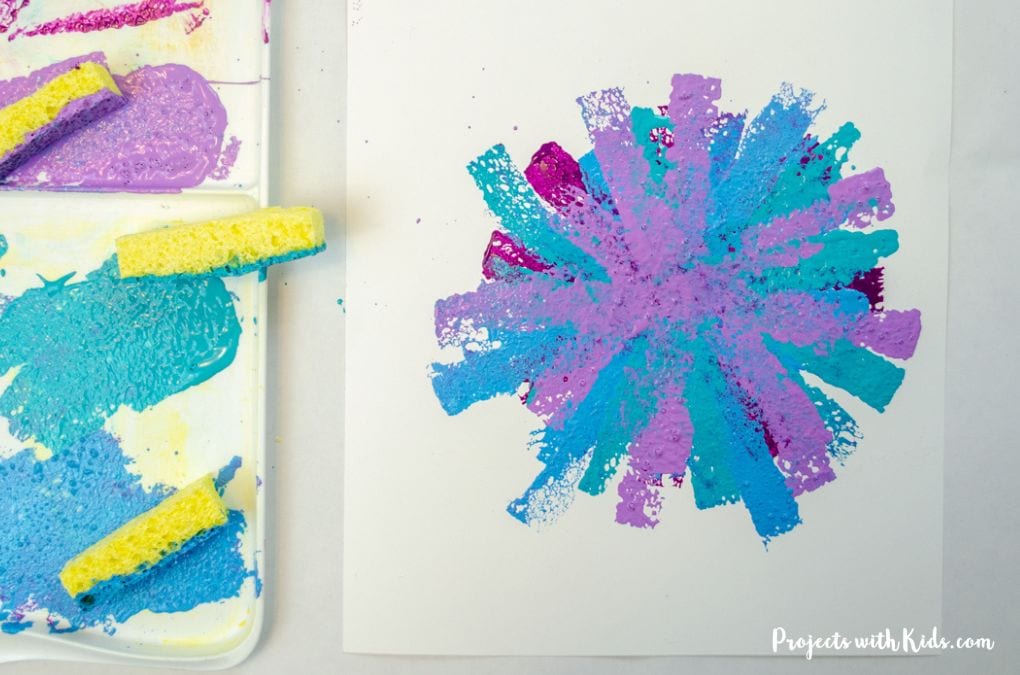
Continue sponge painting the monster’s body with all of the colors of paint you are using. Try varying the way you stamp the sponge so that some of the sponge prints look longer and stick out a bit. This will add to the texture of dimension of the monster’s body.
When you are happy with how your monster’s body looks, let your paper dry completely and move on to the next step.
4. Draw out eyes, a mouth, and some type of horns for your monster. You can use a glue lid or any type of plastic lid for a template for the eyes and mouth if you like.
Draw the eyes and mouth on white cardstock and the horns on black construction paper or cardstock.
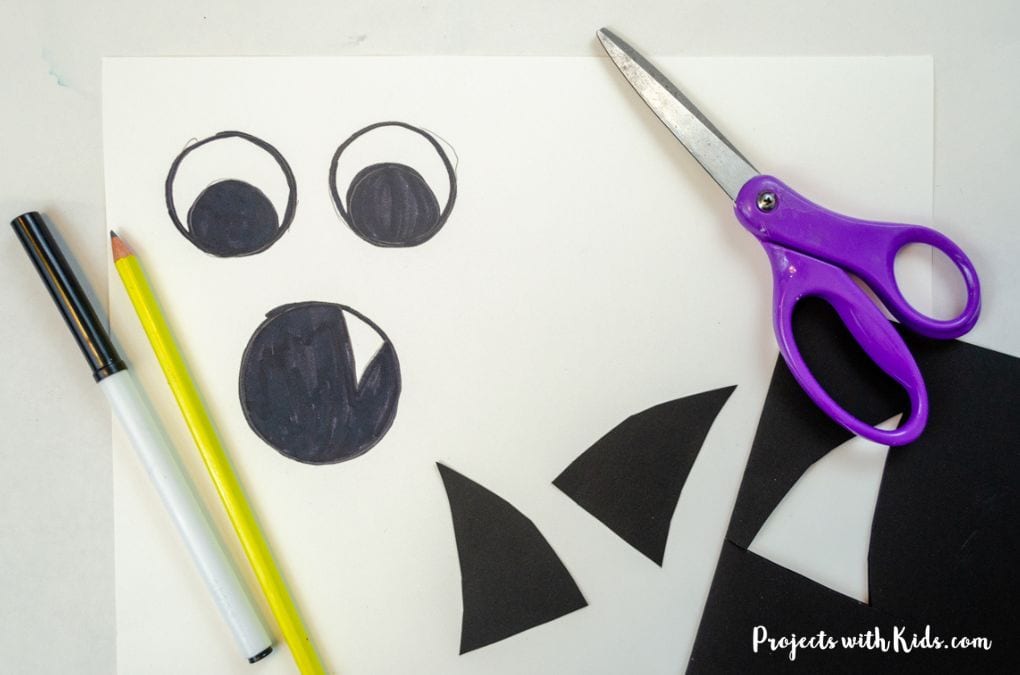
5. Use a black marker to color in the eyes and mouth as needed.
6. Carefully cut all of the pieces out.
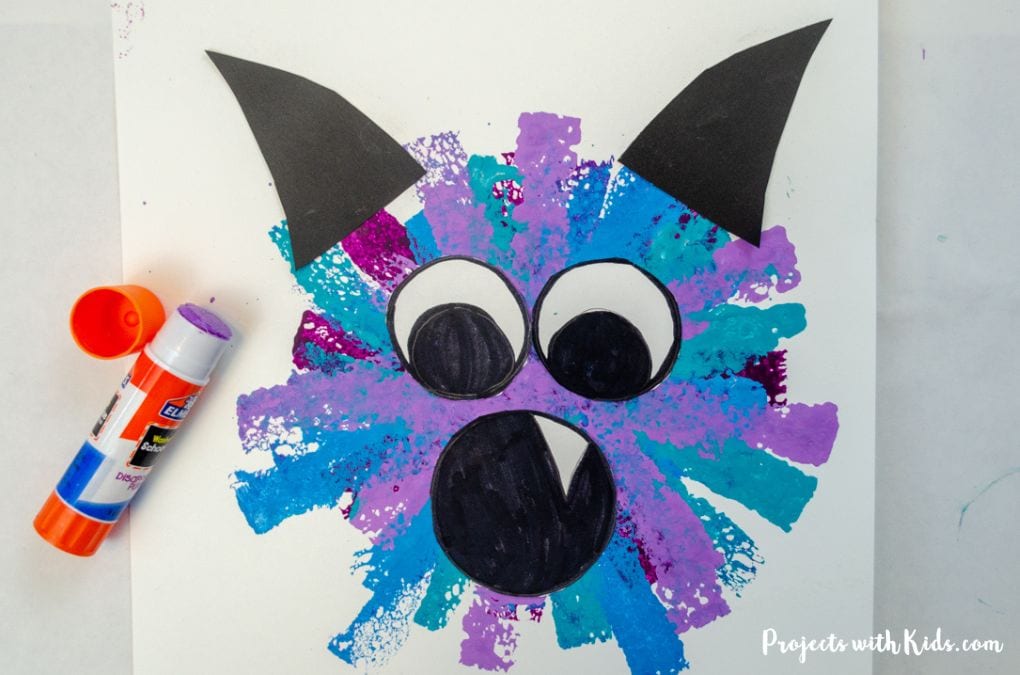
7. Place the eyes, mouth, and horns down first before gluing to make sure you like the placement of everything. When you’re happy with how everything looks, use a glue stick to glue all the pieces down.
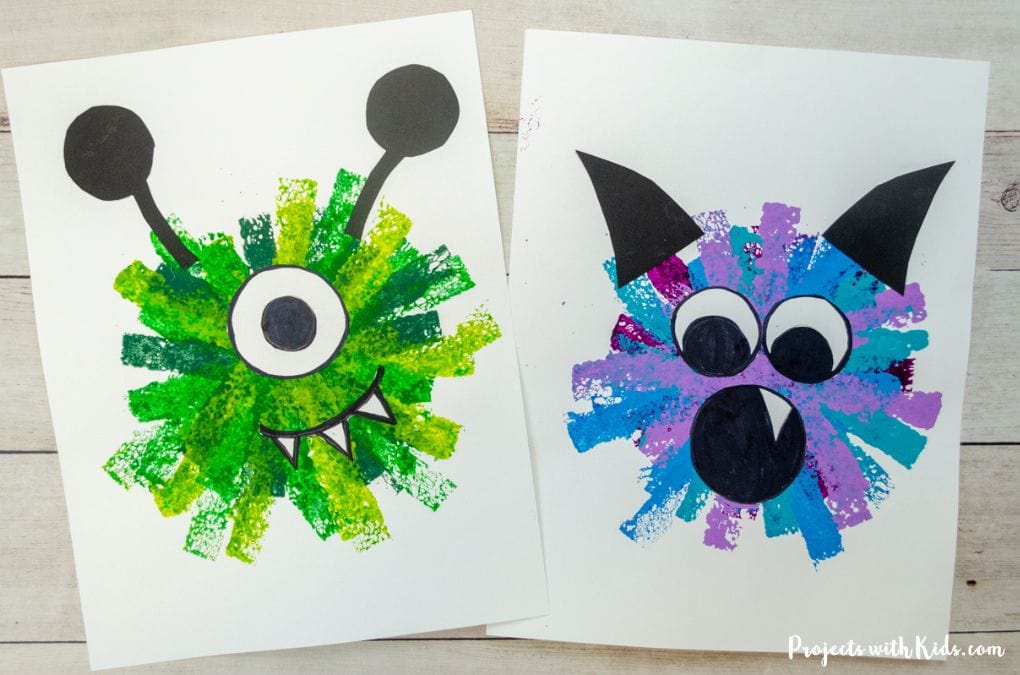
This sponge-painted monster craft is so fun and easy kids will want to make more than one! This is a fun painting idea for Halloween or any time of the year.
More art projects kids will love
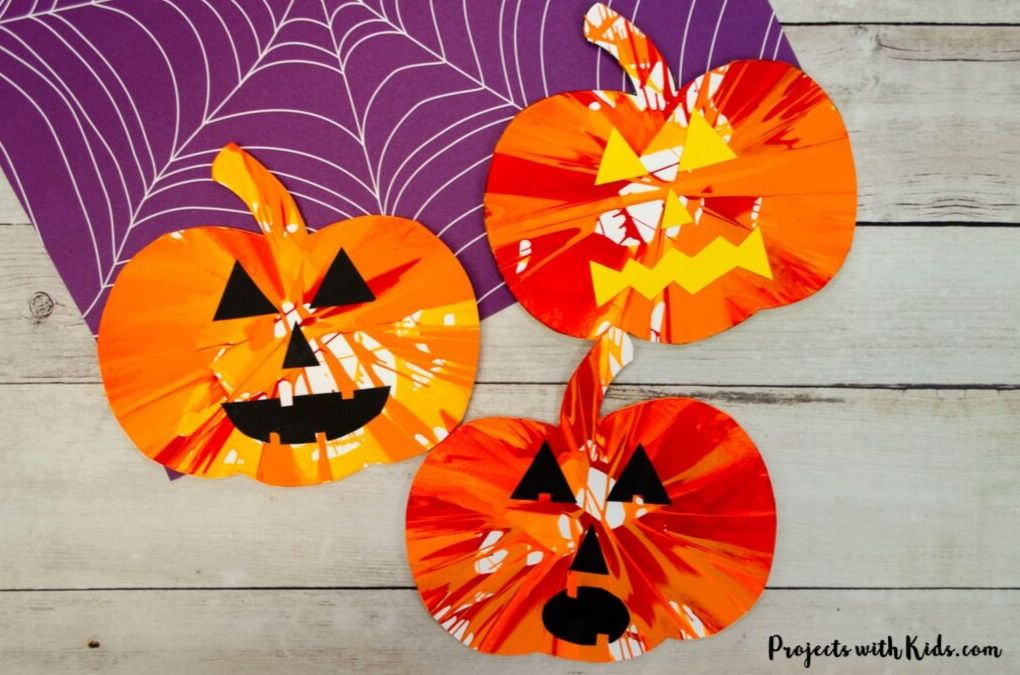
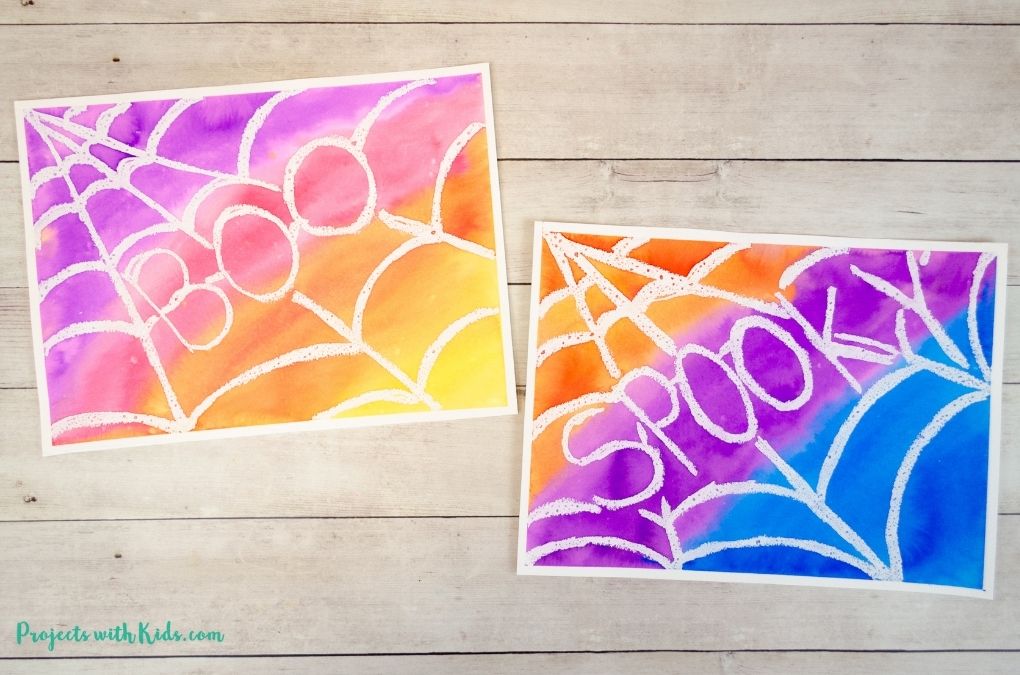
Watercolor Resist Spider Web Art
Follow me on Pinterest for more amazing project ideas.
Pin this monster craft for later
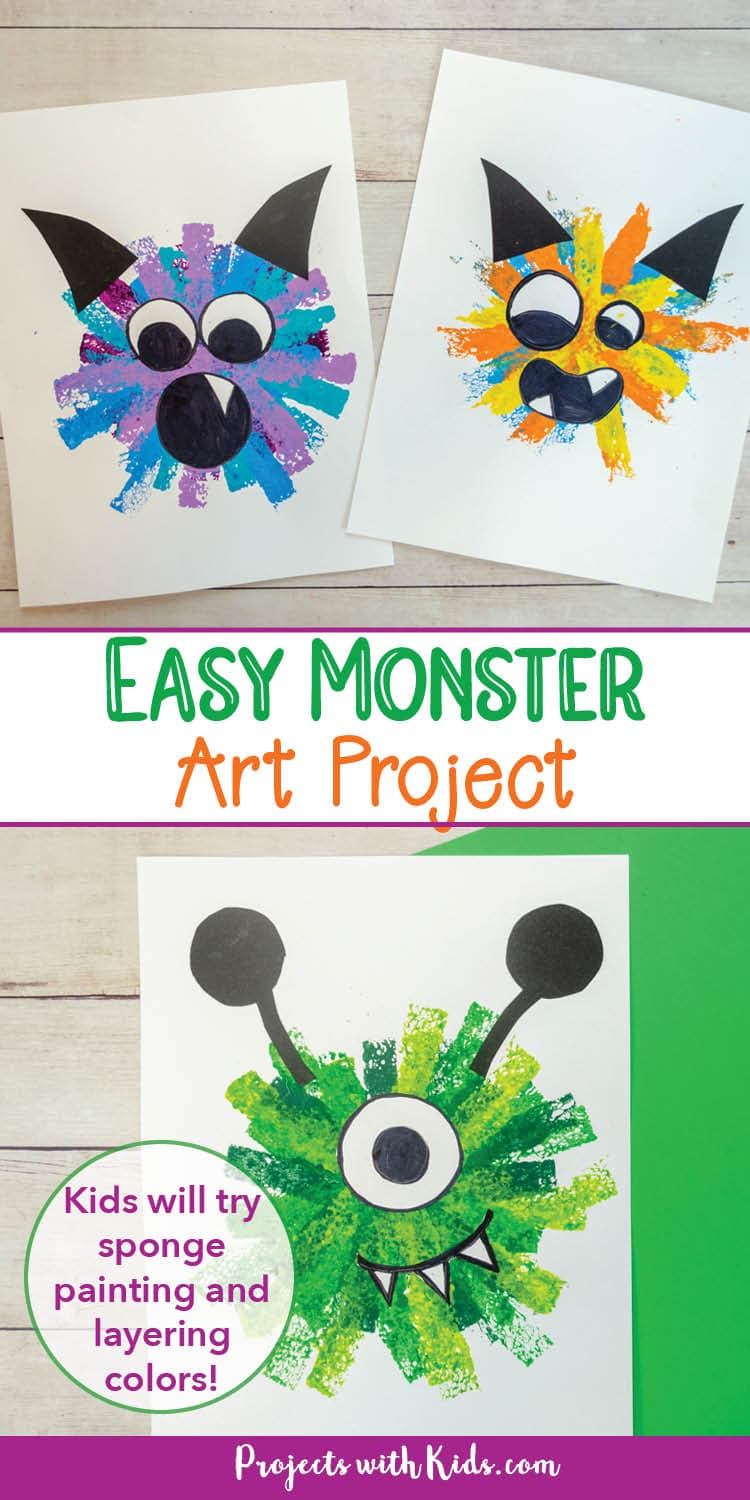
Easy Sponge Painted Monster Craft Idea
A fun and easy monster craft idea using sponge painting! Engage kids in a creative art project that is perfect for Halloween or any time of the year! Great for preschool and early elementary.
Materials
- Acrylic paint
- White cardstock
- Black construction paper or cardstock
- Sponges
- Black marker
- Pencil
- Glue stick
Tools
- Paint palette
- Scissors
Instructions
- Prepare your materials: Get sponges, acrylic paint in 3-4 colors, and white cardstock. Cut your sponges into strips.
- Start with the first color: Dip a sponge into the paint and press it gently onto the middle of the paper in a circular motion to create the monster's body.
- Add more colors: Use a new sponge for each color and overlap them to continue building the monster's body. Vary the way you stamp to create texture and dimension.
- Let the paper dry completely.
- Draw eyes, a mouth, and horns on white cardstock and black construction paper or cardstock.
- Color in the eyes and mouth with a black marker.
- Carefully cut out all the pieces.
- Arrange the eyes, mouth, and horns on the paper before gluing them down.
- Once you're satisfied with the placement, use a glue stick to secure everything in place.


