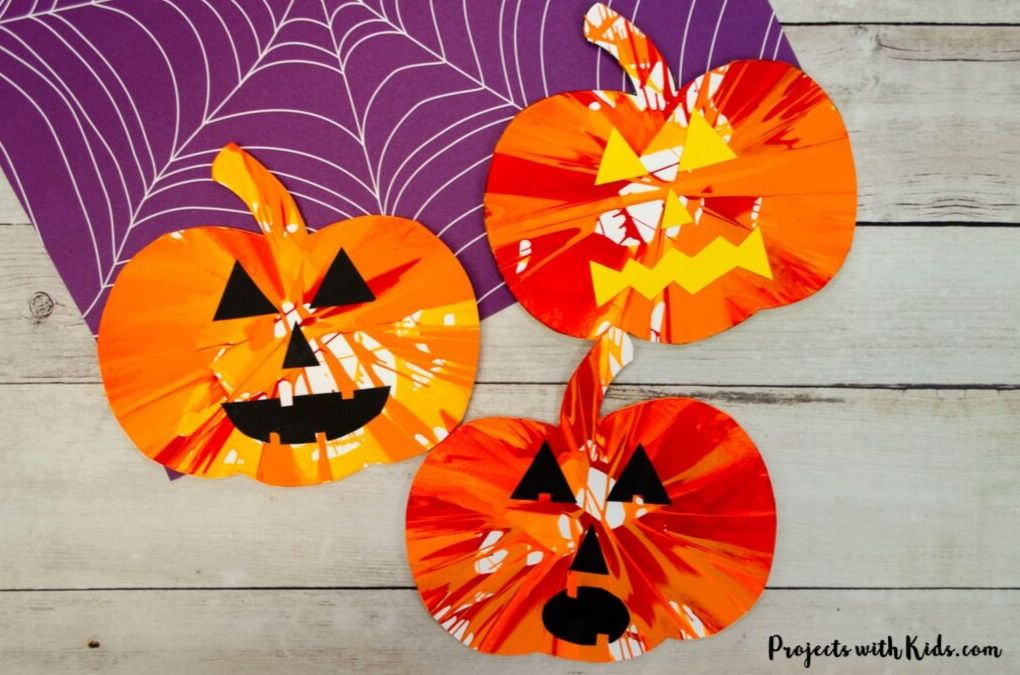
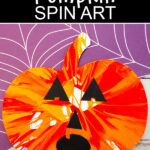
This Halloween pumpkin spin painting is so fun! We love spin art, it’s super easy for kids to do and creates such cool and interesting patterns. It’s always exciting for kids to lift the lid of the salad spinner to see the pattern they made.
Adding on the jack-o-lantern faces to the pumpkins makes this the perfect Halloween art project. Kids can choose to use the faces provided in the template or cut out their own unique ones.
We love exploring different painting techniques. Take a look at my collection of painting ideas for kids for more fun and creative art projects to try!
For more pumpkin art ideas take a look at this pumpkin chalk pastel art done 2 ways, this mixed-media pumpkin patch art project and this fun Q-tip painted pumpkin craft!
Create your own pumpkin spin painting
This post contains affiliate links, which come at no cost to you. If you would like more information please review my privacy & disclosure policy.
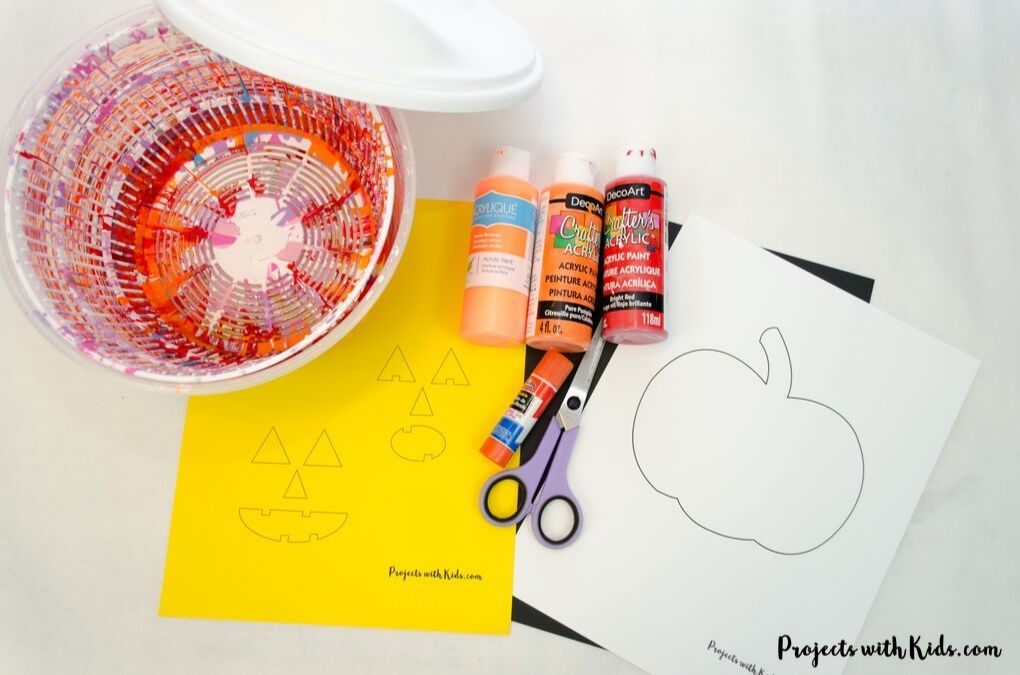
Supplies
- Printable pumpkin templates available here in my shop
- White, yellow, and black cardstock
- Salad spinner ** Use an old salad spinner that will not be used for food
- Glue stick
- Scissors
- Acrylic paint in orange, bright orange and red
Instructions to make your Halloween art project
1. Print out the pumpkin template onto white cardstock. This pumpkin fits perfectly into our salad spinner, you can adjust the print size if you find you need your pumpkin a bit smaller or bigger.
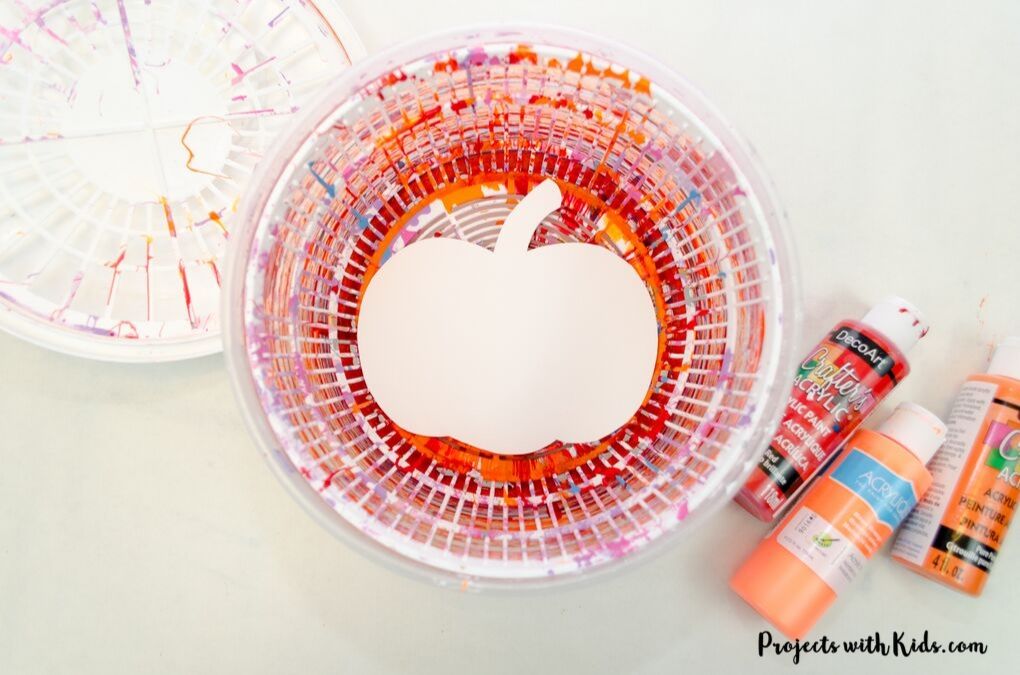
2. Cut out the pumpkin and place it into the bottom of your salad spinner.
** Make sure you are using an old salad spinner that is not going to be used for food. Thrift stores are a great place to find cheap ones!
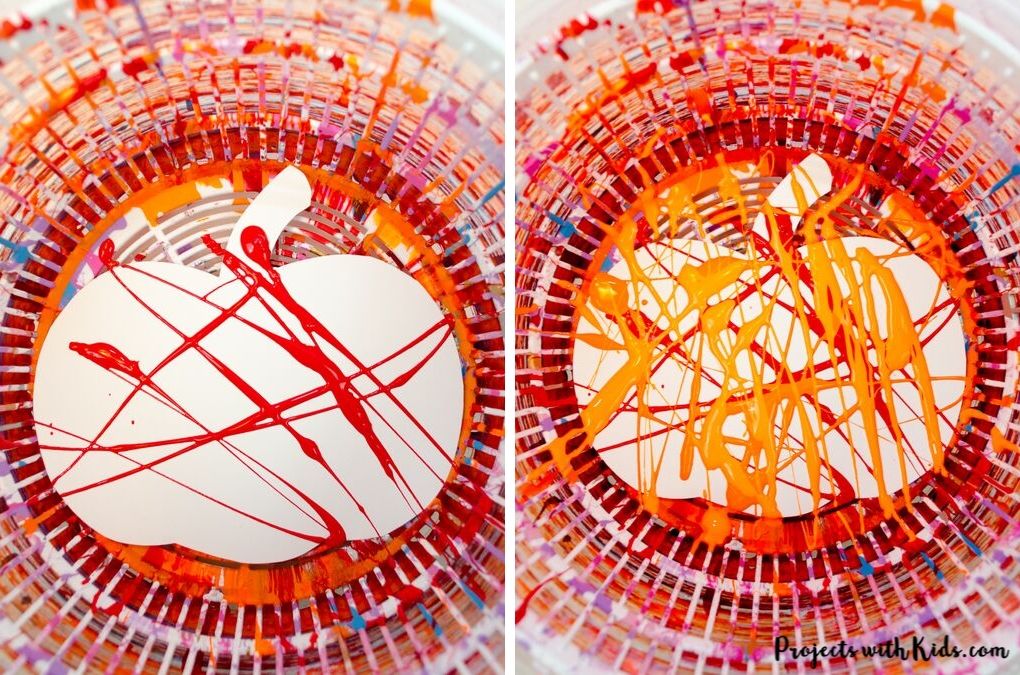
3. Have kids drizzle the orange and red paint onto the pumpkin. I like to start with the darkest color first, so we did red first, then dark orange, and finally bright orange.
Remind kids not to squeeze out too much paint, you want to have white showing through.
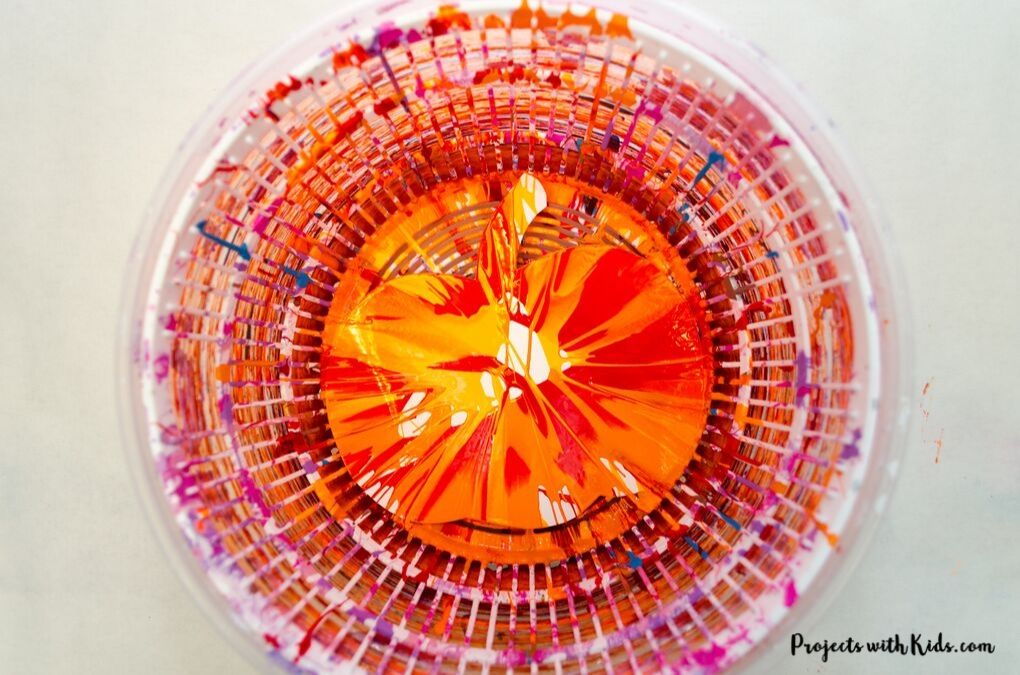
4. Close the salad spinner lid and spin! Some kids might need an adult to hold the bottom of the salad spinner while they spin.
Open up the lid to reveal your amazing pattern! Carefully take out the spin art and set it aside to dry.
5. Now decide how you will do the pumpkin faces. You can use yellow or black cardstock to do this. If you are using yellow, you can print right onto the yellow paper.
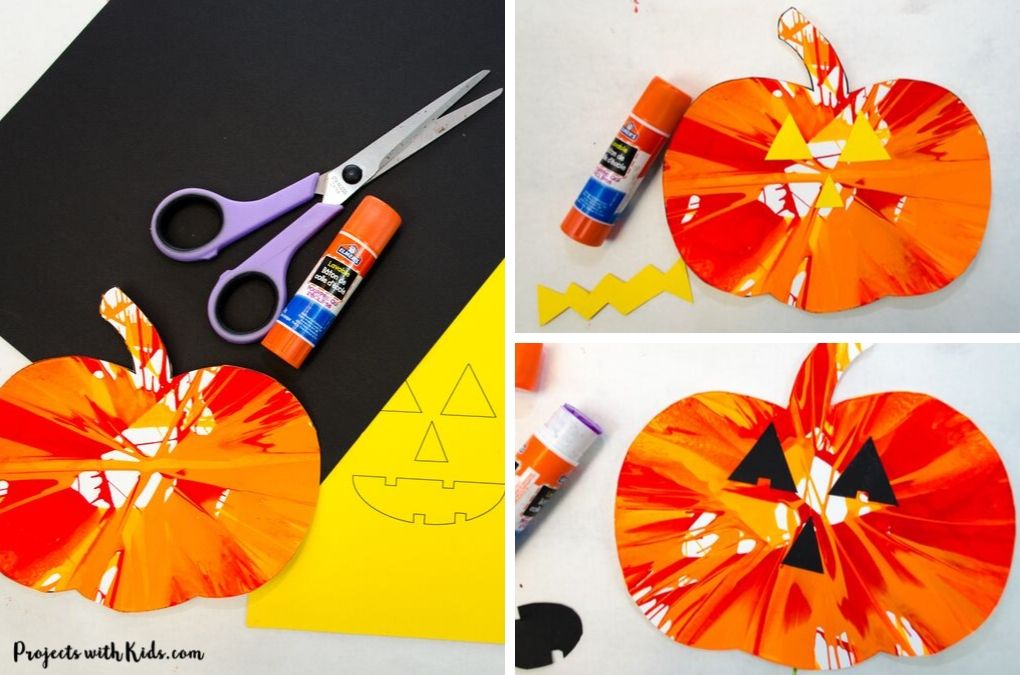
If you are using black, I have included the pumpkin faces filled in with black as well if you want to print them out onto white cardstock.
But if you want to save on ink (like I am always trying to do!), you can simply print them out onto white cardstock, cut them out, and use them as templates for the black paper. This is what we did.
Kids can also draw and cut out their own unique jack-o-lantern faces. Glue the eyes, nose, and mouth onto the pumpkin to finish your spin art Halloween project!
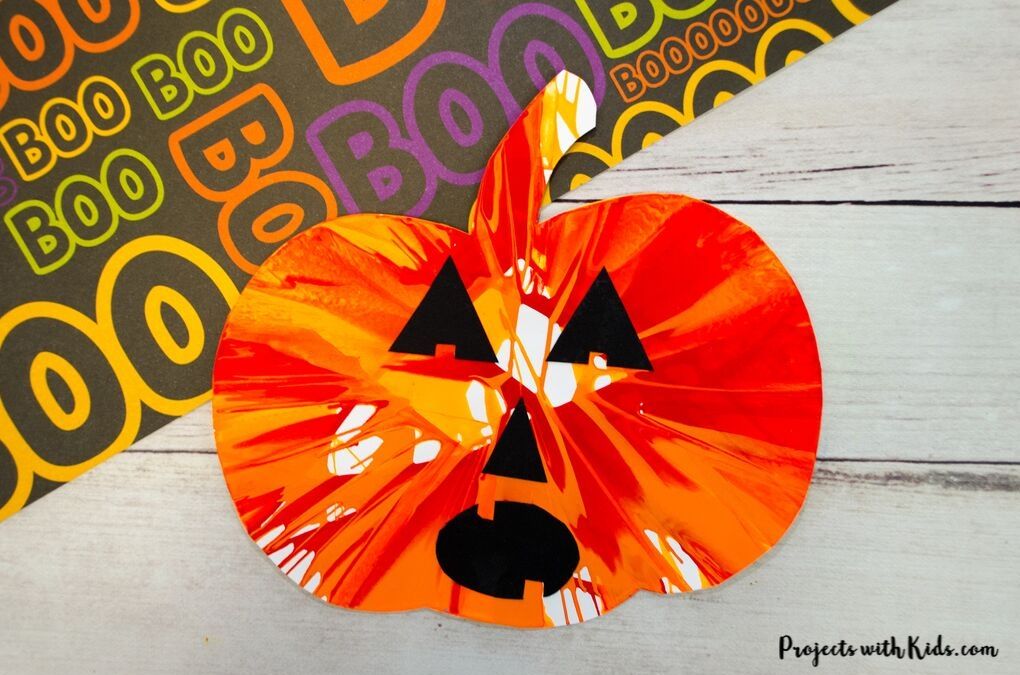
I love how this pumpkin spin painting project turned out! They were so fun and easy to make. They would also be a great Halloween decoration for kids to help decorate around the house!
We love creating and exploring different art supplies. If you are looking for more art projects to try, take a look at our ultimate collection of amazing art projects for kids!
Spin art is one of our favorite painting activities! Take a look at this star spin painting New Year’s art and galaxy spin painting for more fun ideas.
>> Click here to get the printable pumpkin templates and PDF version of this art project.
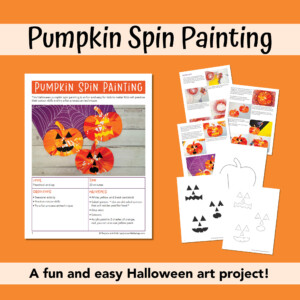
A PDF that is perfect for printing out or projecting onto a whiteboard in the classroom for kids to follow along! PDF includes a lesson plan overview, materials needed, step-by-step instructions and photos, and printable templates.
More Halloween art projects kids will love
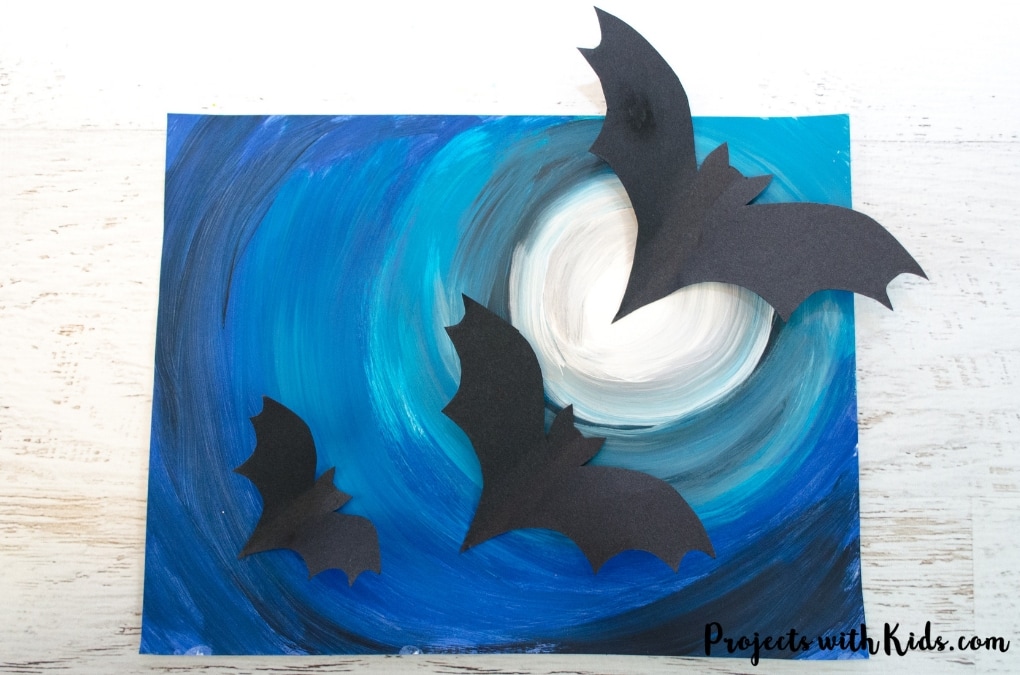
Halloween Art Project with 3D Paper Bats
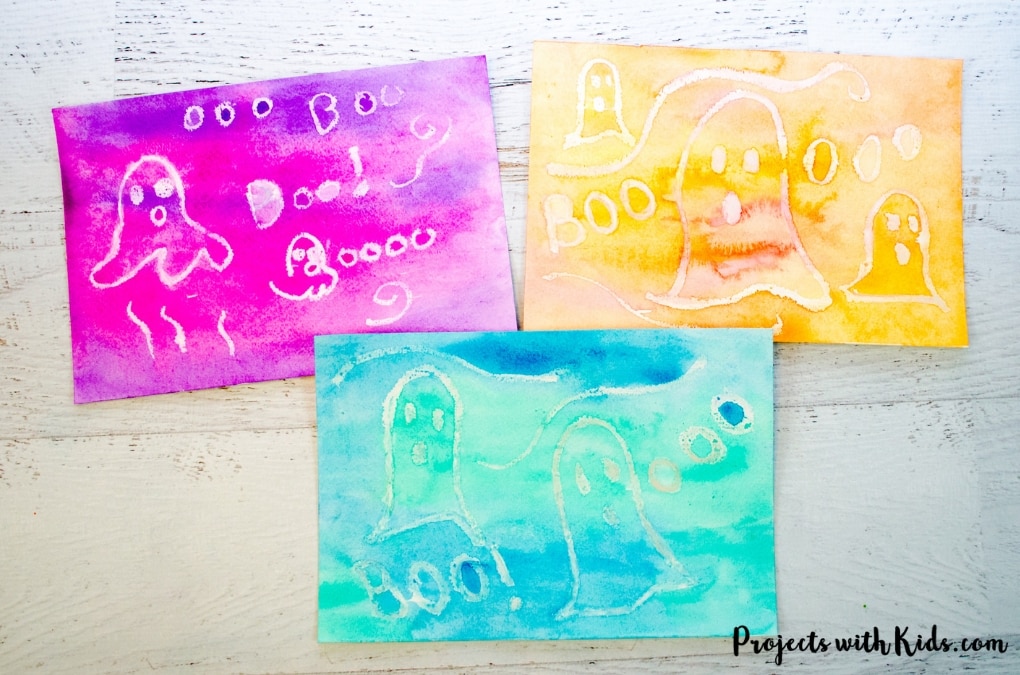
Watercolor Resist Surprise Ghost Painting
Follow me on Pinterest for more amazing project ideas.
Pin this spin art for later
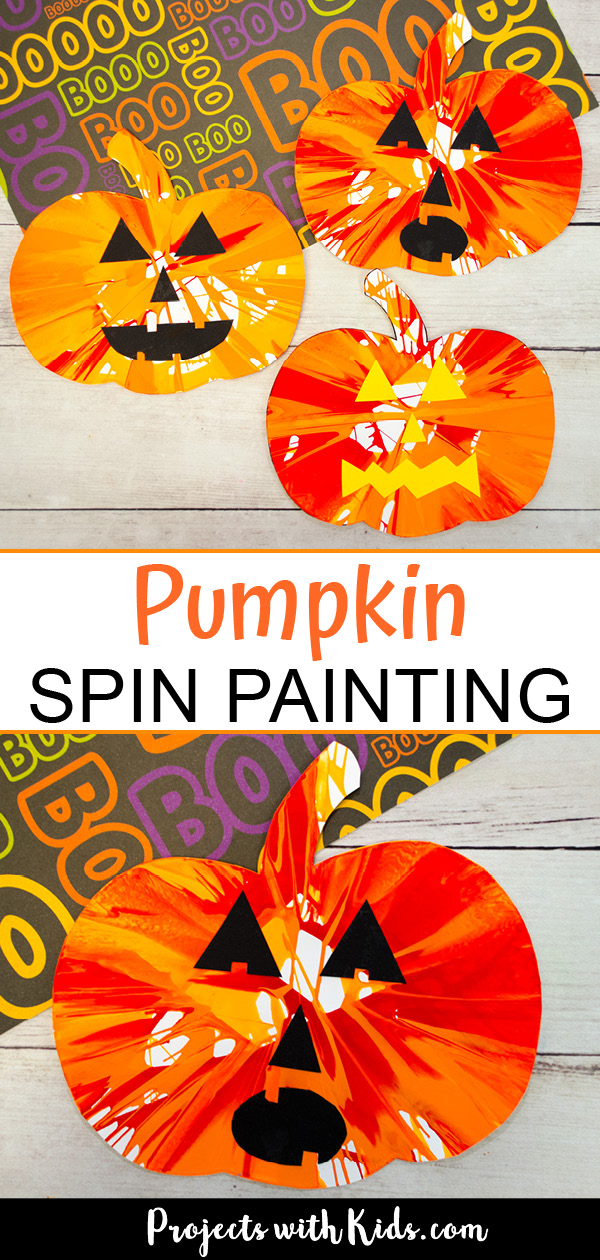
Pumpkin Spin Painting Halloween Art Project for Kids
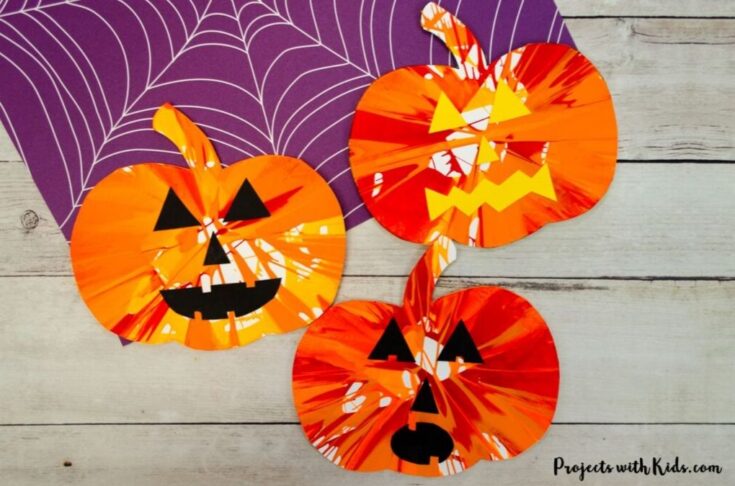
This pumpkin spin painting is such a fun activity for kids! Super easy and a great Halloween art project for kids of all ages.
Materials
- Printable templates
- White, black, and yellow cardstock
- Red and 2 shades of orange acrylic paint
- Glue stick
Tools
- Salad spinner
- Scissors
Instructions
- Print out the pumpkin template onto white cardstock and place it on the bottom of your salad spinner.
** Make sure you are using an old salad spinner that will not be used for food. - Have kids drizzle the paint onto the pumpkin. We squeezed the red paint first, then the dark orange and the bright orange last.
Remind kids not to squeeze too much paint, there should be white showing through. - Spin the salad spinner to create your design. Some kids may need an adult to hold the bottom of the salad spinner while they spin.
- Open the lid to reveal your unique design! Carefully take the pumpkin out and set it aside to dry.
- Decide on the color of your pumpkin face. You can print them out onto yellow cardstock or onto white and use that as a template for the black paper.
I have also included filled-in faces that you can print and cut out. - Glue your jack-o-lantern face onto your pumpkin.




[…] Pumpkin Spin Art Painting by Projects with Kids […]