
Dive into a colorful world of autumn art with this beautiful pumpkin patch art project! This is a great fall painting idea for tweens and teens using a mixed-media approach. Learn some fun watercolor and acrylic painting techniques!
Whether you’re an art teacher looking for an engaging classroom activity or a parent searching for a creative project to do with your child at home, this project is sure to inspire some creativity.
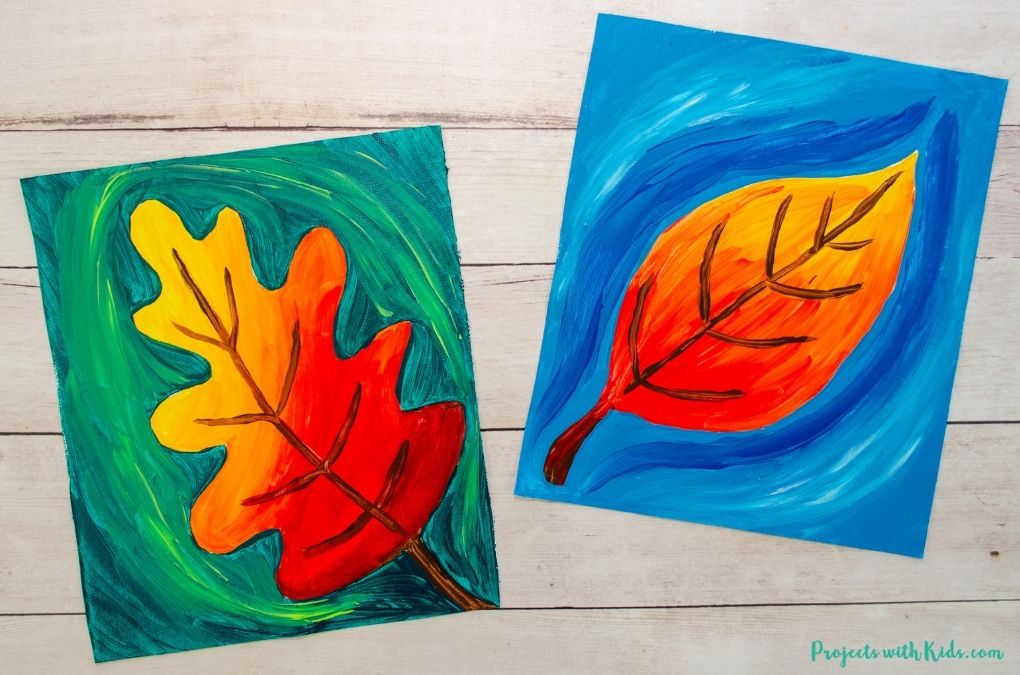
Looking for more fall art ideas? Take a look at these awesome fall painting ideas for kids!

For more great pumpkin art ideas take a look at this pumpkin chalk pastel art project with two different ways to create a pumpkin for either fall or Halloween, and this pumpkin spin art painting that is a great way for kids to practice their scissor skills and use their creativity!
Create your own pumpkin patch art project
This post contains affiliate links. As an Amazon Associate, I earn from qualifying purchases. If you would like more information please review my privacy & disclosure policy.
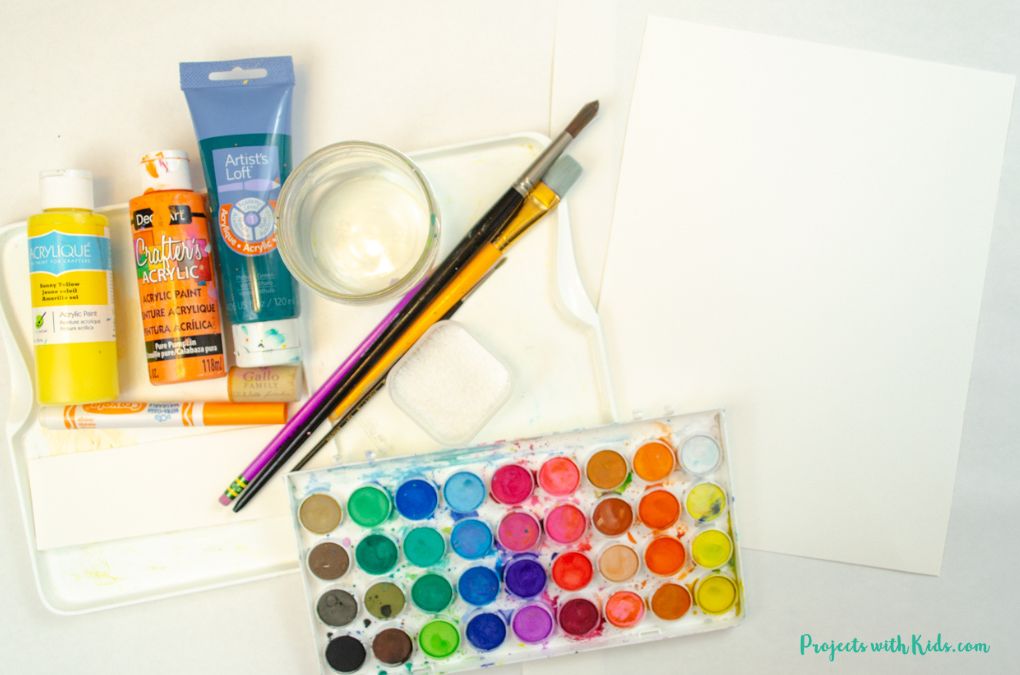
Supplies
- Watercolor paper
- Watercolor paint in shades of green and blue (you can use a watercolor pan set or liquid watercolors)
- Acrylic paint in orange, yellow, and 1 or 2 shades of green
- Paintbrushes & paint palette
- Corks and markers for stamping in paint
- Water dish
- Pencil and eraser
- Coarse salt
Instructions for your fall pumpkin patch painting
1. First prepare your watercolor paper and get your watercolor paints, a water dish, paintbrushes, a pencil, and coarse salt ready. If you like you can also tape down your paper to a wooden board or a table (but this is not necessary).
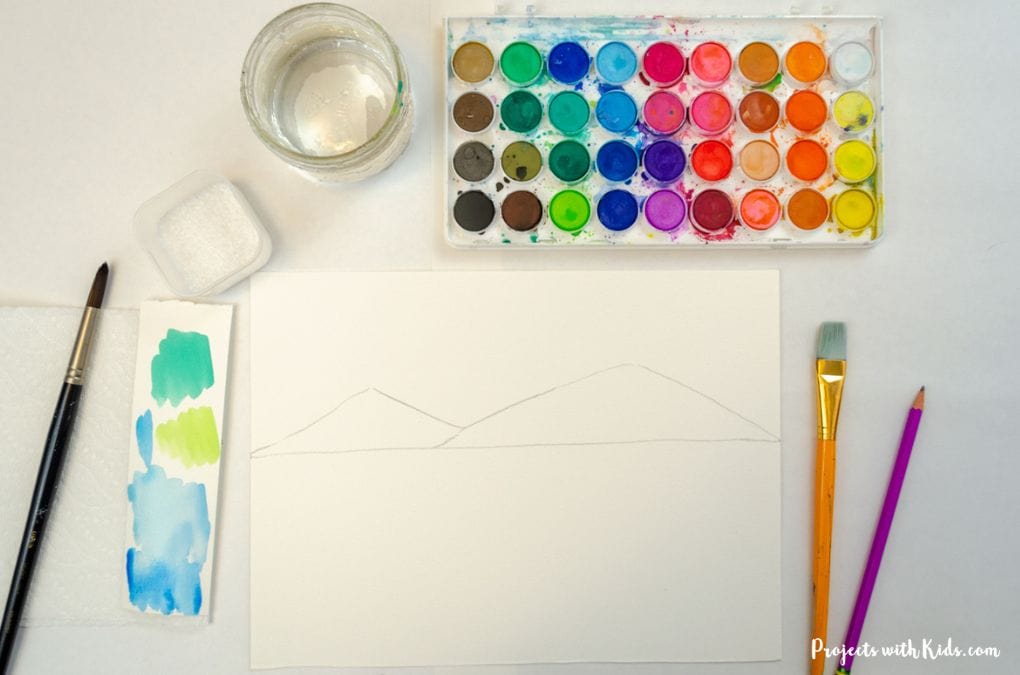
2. Draw in the grass line and mountains with a pencil, pressing lightly. You can erase watercolor paper a bit, but too much and it tends to get messy.
Use a scrap piece of watercolor paper to test out your colors for the sky and grass. If you are using liquid watercolor, you will want to dilute your paint with water. Watercolors always dry a bit lighter so keep that in mind when testing out your colors.
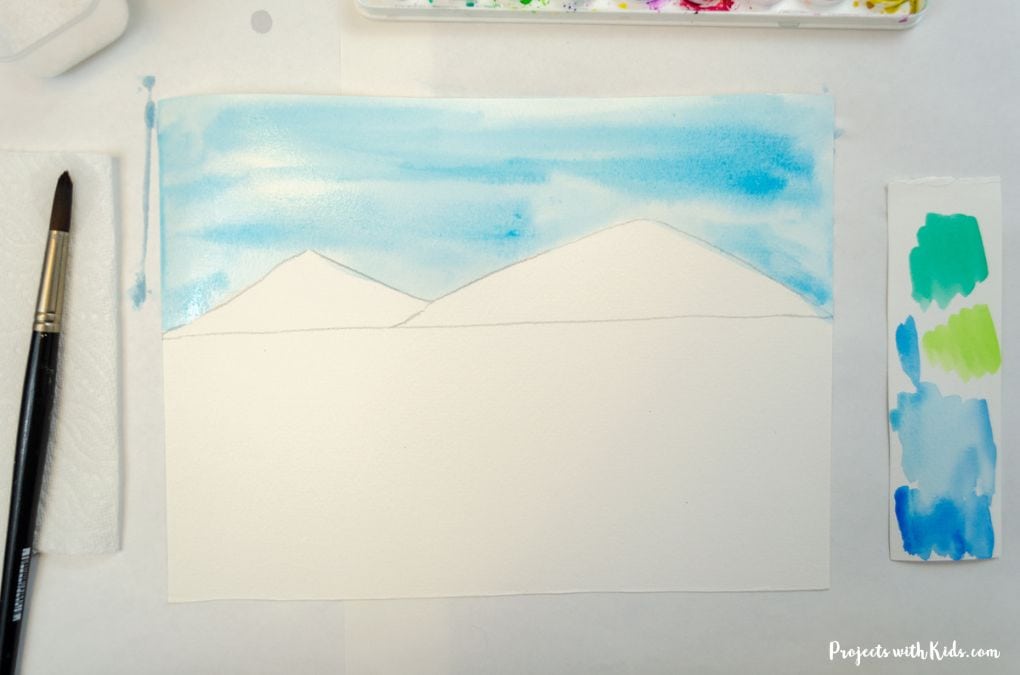
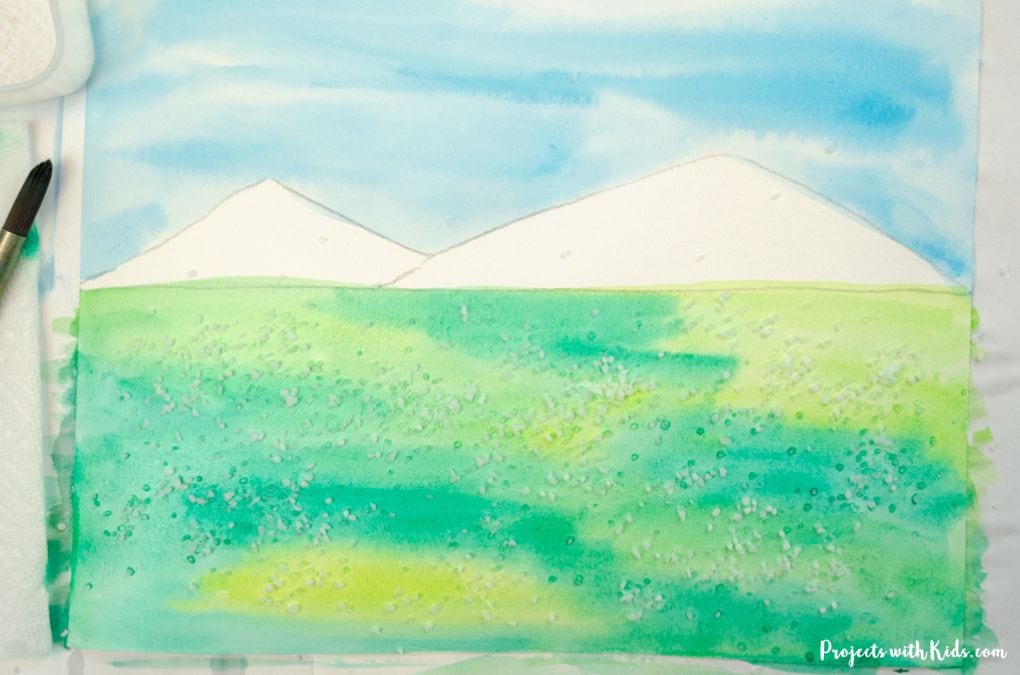
3. Start with the sky. First paint the sky with clean water, careful not to get any water in the mountains or the grass.
Next, paint your sky color with one or two shades of blue watercolor. This is called a wet-on-wet technique and will help the paint spread nicely and mix together, creating a soft blue sky.
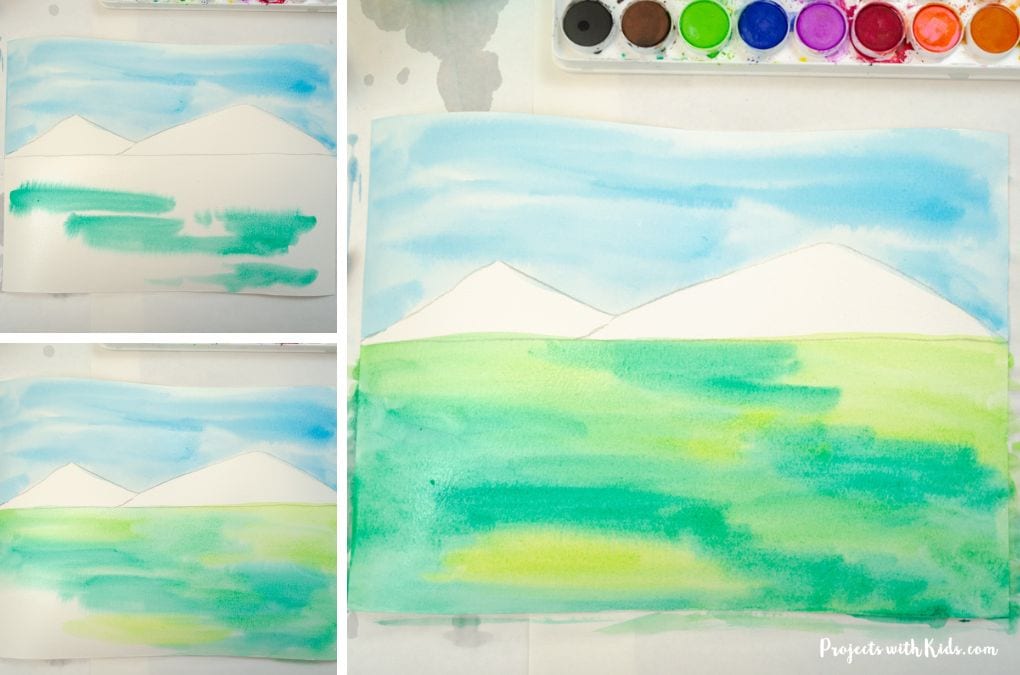
4. While the sky is drying, start painting in the grass. First, paint the area with clean water and then start to add your green. Use two to three shades of green watercolor paint for the grass to create areas of light and dark.
Let the wet paper and paint mix the greens together creating different shades and interesting patterns.
For more details on watercolor techniques for kids, take a look at these 5 easy watercolor techniques that kids can try!
5. While your paper is still wet, sprinkle coarse salt over the grass area. As the salt dries it will create a bit of texture and pattern.
Let your paper dry completely before moving on to the next step. Once your paper is dry, you can brush off the salt into a sink.
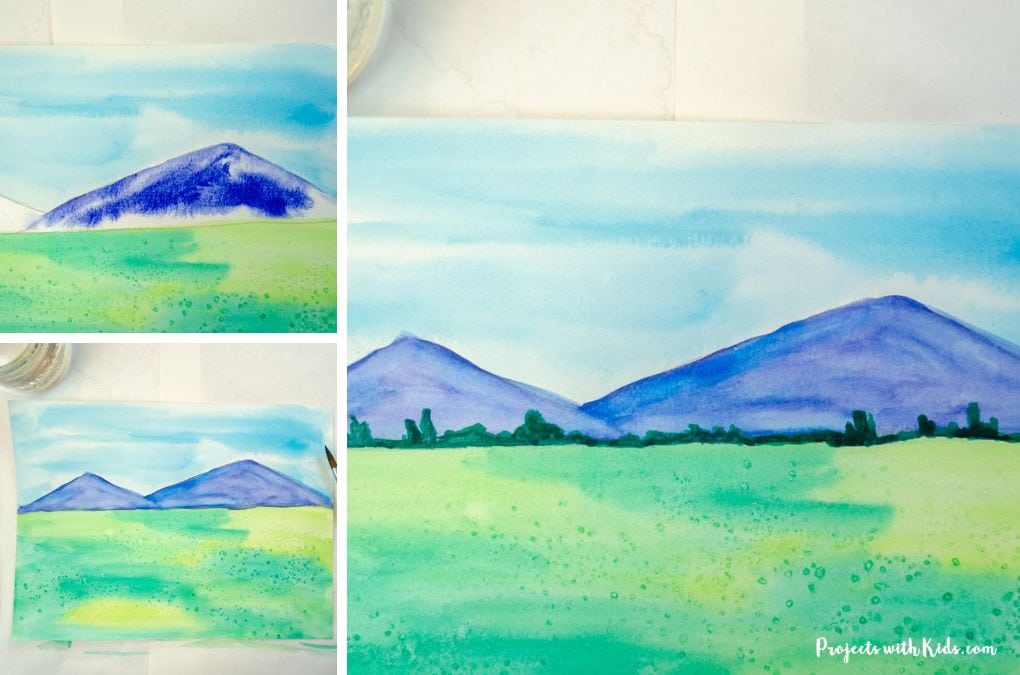
6. Paint in the mountains using the same wet-on-wet technique you used on the sky and grass.
Let this dry completely and then using dark green watercolor and a small brush, paint in some bushes and tree details at the bottom of the mountains.
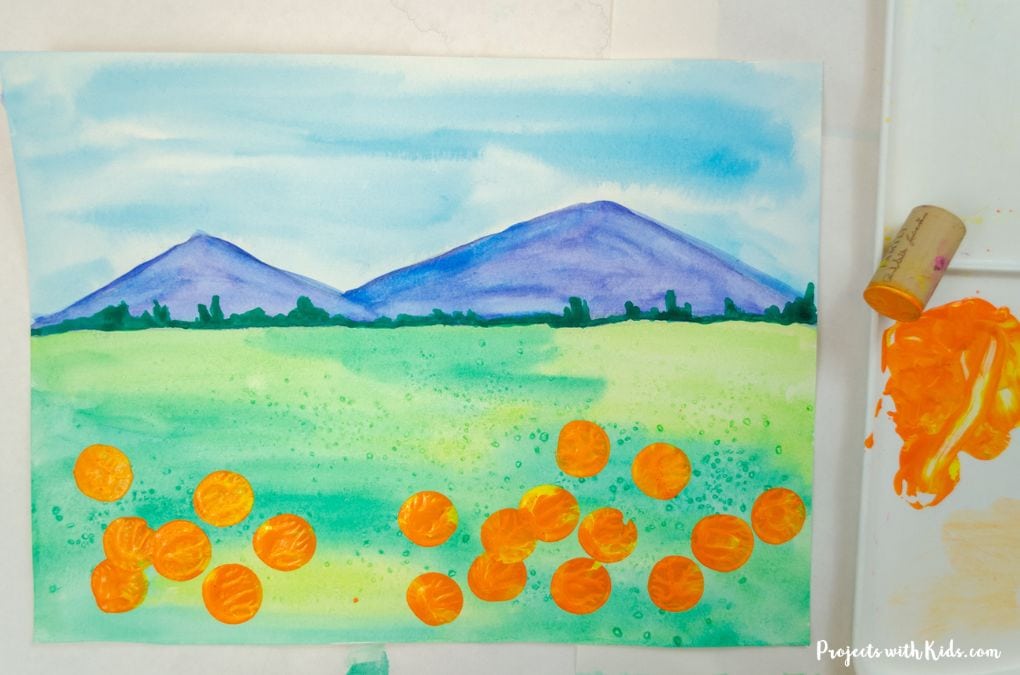
7. Now it’s time to paint pumpkins. Get your acrylic paint ready, swirl some yellow paint into some orange acrylic paint. Using a cork, dip it into the paint, and stamp it on the paper creating a pumpkin. Try grouping some together and overlapping some of the pumpkins to make them look more natural.
Keep stamping with a cork in the foreground until you are happy with how everything looks.
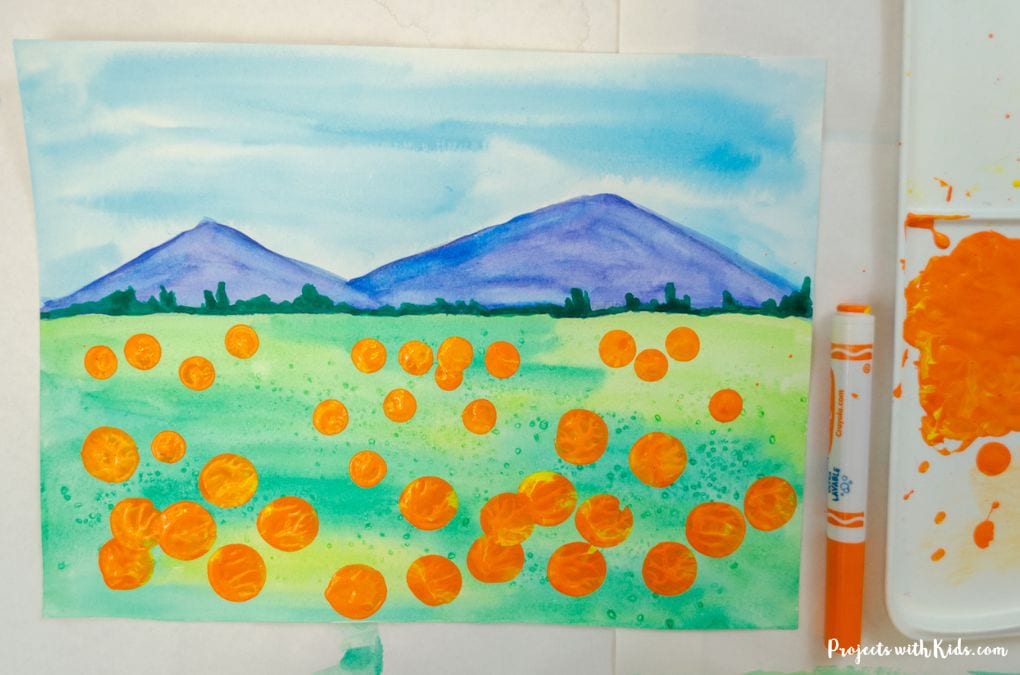
8. Using the end of a marker, stamp on the pumpkins in the background. Having two sizes of pumpkins will give the painting depth and interest.
Again, try grouping the pumpkins together and overlapping some to give a more natural look.

9. When you are happy with how your pumpkins look, use a small detail brush and yellow acrylic paint to add some highlights to each pumpkin. This step is not necessary, so some kids might choose to skip this part.
Let the pumpkins dry completely and paint in the stems and vines using a small detail brush and one or two shades of green acrylic paint. You don’t have to do this on every pumpkin, have the kids take their time with this step.
Paint in the stems facing different directions, have the vines going in different directions and think about leaving some pumpkins with no stems or vines. Having a variety is key.
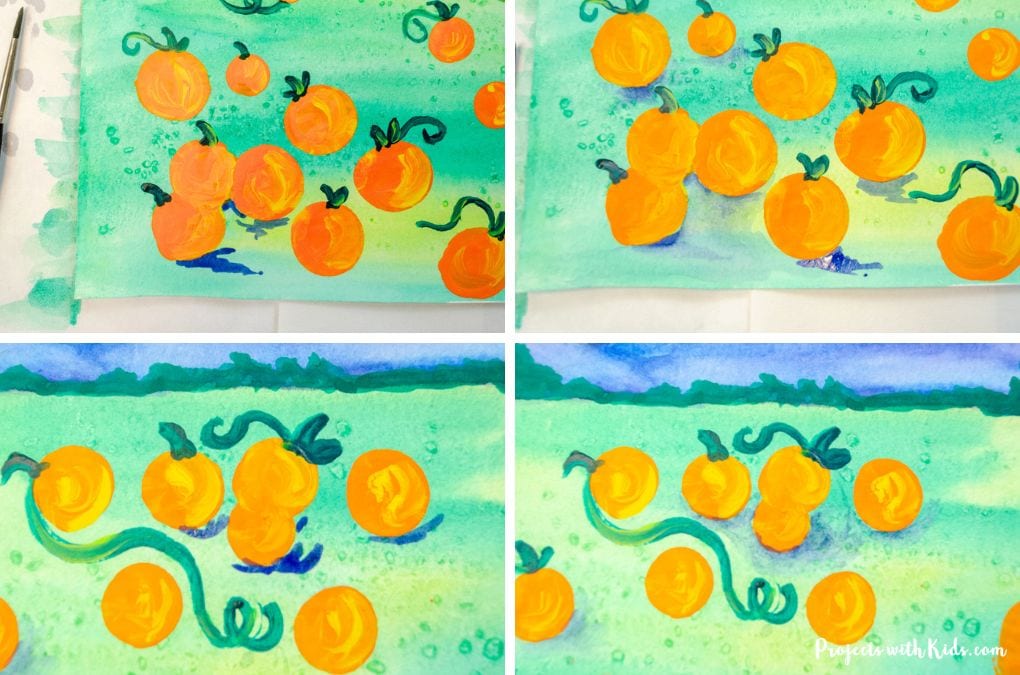
10. The final step is to paint in the shadows. This is an optional step and some kids may choose not to do this, but adding in the shadows really makes the whole painting pop!
Use a small detail brush, clean water, a paper towel, and dark blue watercolor paint. With a small brush, paint a tiny amount of dark blue under a pumpkin. Right away, while the paint is still wet, paint over top of the blue with clean water. This will soften the paint and create a shadow.
Use the paper towel to wipe off excess water on your brush as needed.
Make sure all of the shadows are facing the same direction. Use the photo above to see the shadow details and how they look before and after softening the lines with water.
Some kids might want to practice this first on a scrap piece of paper.
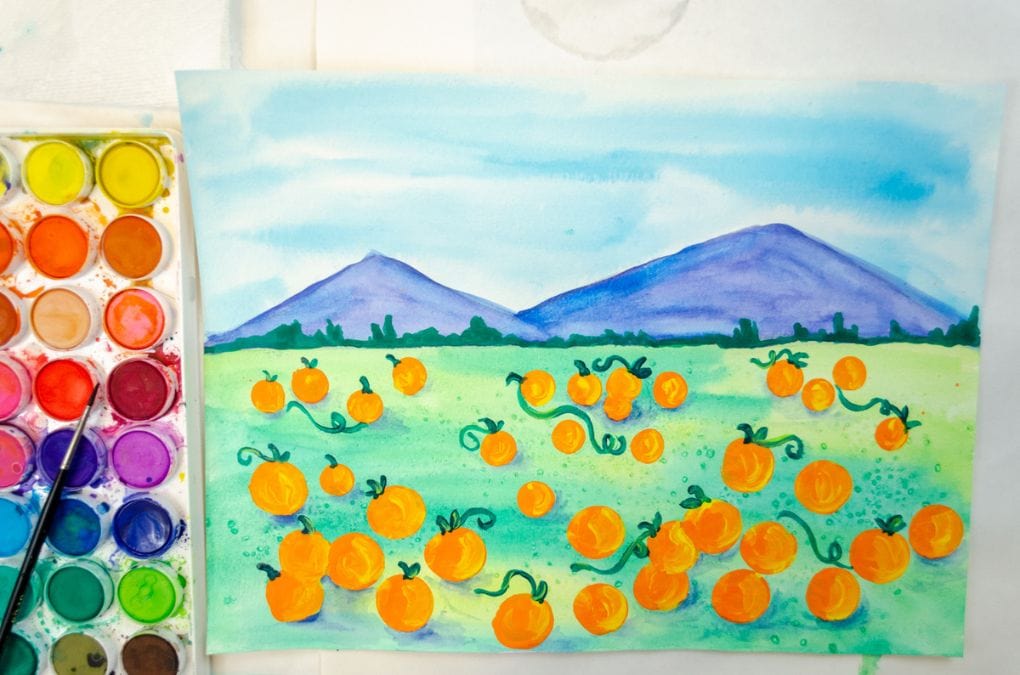
This is a great fall painting activity for tweens and even teens. Kids will love creating this colorful pumpkin patch art project and learning some new painting techniques!
More fall painting ideas kids will love
Watercolor Resist Birch Tree Painting

Follow me on Pinterest for more amazing project ideas.
Pin this autumn painting idea for later
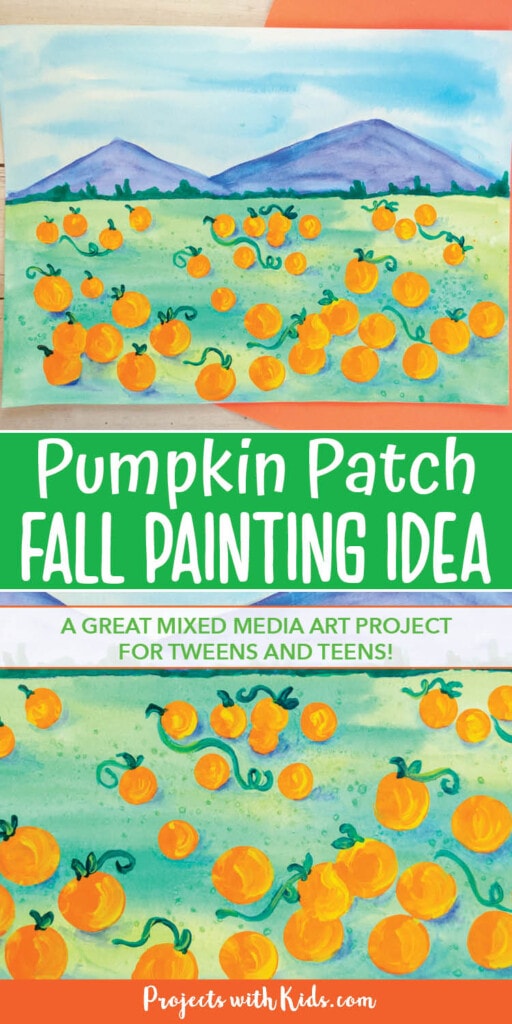
Mixed Media Pumpkin Patch Art Project

Engage young artists with a fun pumpkin patch art project using watercolors and acrylics. A great mixed-media painting for tweens and teens!
Materials
- Watercolor paper
- Watercolor paint in shades of green and blue (you can use a watercolor pan set or liquid watercolors)
- Acrylic paint in orange, yellow, and 1 or 2 shades of green
- Pencil and eraser
- Coarse salt
Tools
- Paintbrushes & paint palette
- Corks and markers for stamping in paint
- Water dish
Instructions
- Get your watercolor paper, watercolor paint, pencil, paper towel, water dish, and coarse salt ready.
- Draw in a grass line and mountains with a pencil on your watercolor paper.
- Use a scrap piece of paper to test your sky, grass, and mountain colors, watercolors will always dry slightly darker.
- Paint the sky with clean water being careful not to get any water on the mountains or grass area. While the sky is still wet, start to paint it using 1 or 2 shades of blue watercolor letting the wet paper and paint mix together on the paper.
- While the sky is drying, start to paint in the grass. First, paint the grass area with clean water and then start to paint with 2-3 shades of green watercolor.
- While the grass area is still wet, sprinkle on coarse salt and let everything dry completely.
Gently brush off the salt into the sink. - Paint the mountains with clear water and then with 1-2 shades of blue. Let the mountains dry completely.
- Use a small detail brush and dark green watercolor paint to paint in some bushes and tree details along the bottom of the mountains.
- Get your paint palette, orange and yellow acrylic paint, cork, and marker ready.
- Put some orange acrylic paint on your paint palette and swirl in a small amount of yellow acrylic. Dip a cork into the paint and stamp it on your paper to create a pumpkin. Use the cork to continue stamping on pumpkins in the foreground. Try stamping some in groups and overlapping some to make them look more natural.
- Using the end of a marker, stamp on the pumpkins in the background. Having two sizes of pumpkins will give the painting depth and interest.
Again, try grouping the pumpkins together and overlapping some to give a more natural look. - When you are done and happy with how your pumpkins look, use a small detail brush and yellow acrylic paint to paint in some highlights on the pumpkins. Some kids may choose to skip this step.
- Now paint in the stems and vines using 1-2 shades of green acrylic paint. Remind kids to paint the stems and vines going in different directions. Also, not every pumpkin needs a stem and vine.
- This final step is optional, you can stop here and your painting will look great! To take it to the next level, you can add in shadows on the pumpkins with dark blue watercolor paint.
Use a small detail brush, clean water, a paper towel, and dark blue watercolor paint. With a small brush, paint a tiny amount of dark blue under a pumpkin. Right away, while the paint is still wet, paint over top of the blue with clean water. This will soften the paint and create a shadow.
Use the paper towel to wipe off excess water on your brush as needed.
Make sure all of the shadows are facing the same direction. Use the photo above to see the shadow details and how they look before softening the lines with water.


