
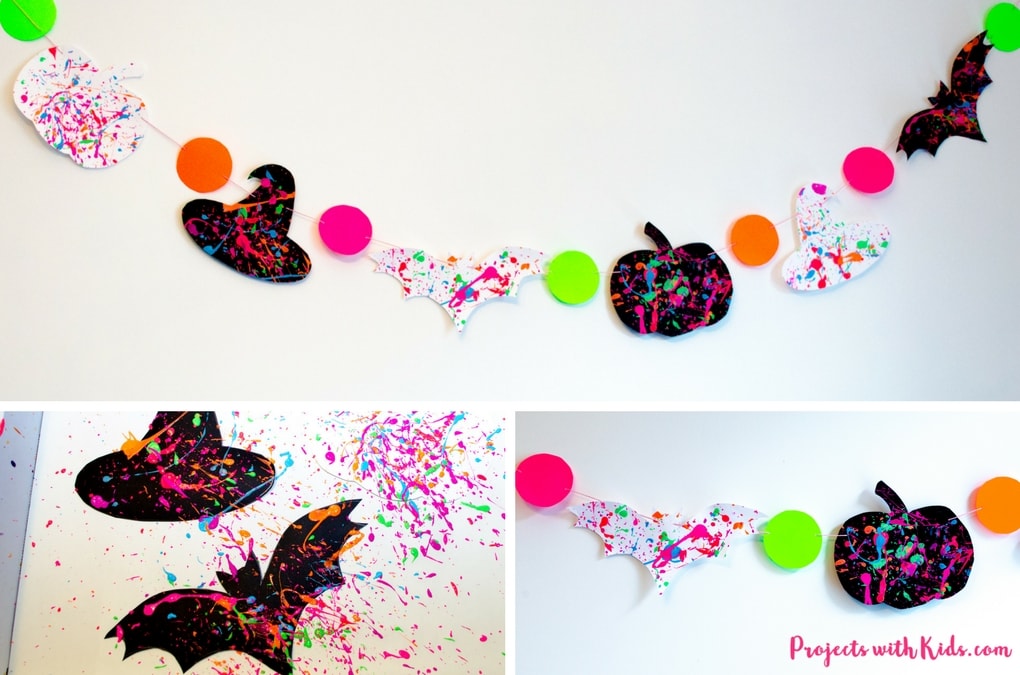
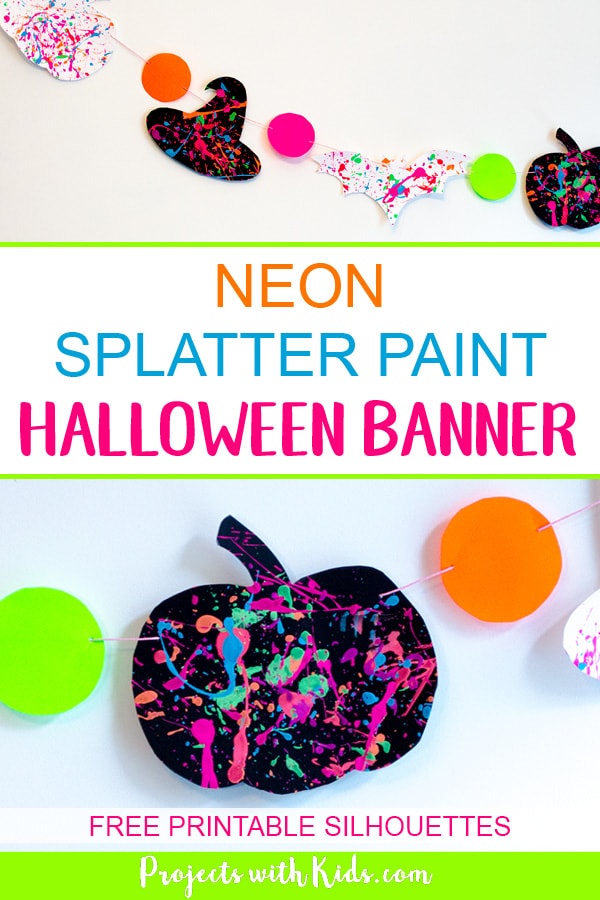
Take your Halloween decor to the next level with this neon splatter paint Halloween banner! This is an easy and fun process art project that kids of all ages will love doing. We had so much fun using all of the bright neon paint colors and getting messy with splatter paint.
We love exploring different painting techniques. Take a look at my collection of painting ideas for kids for more fun and creative art projects to try!
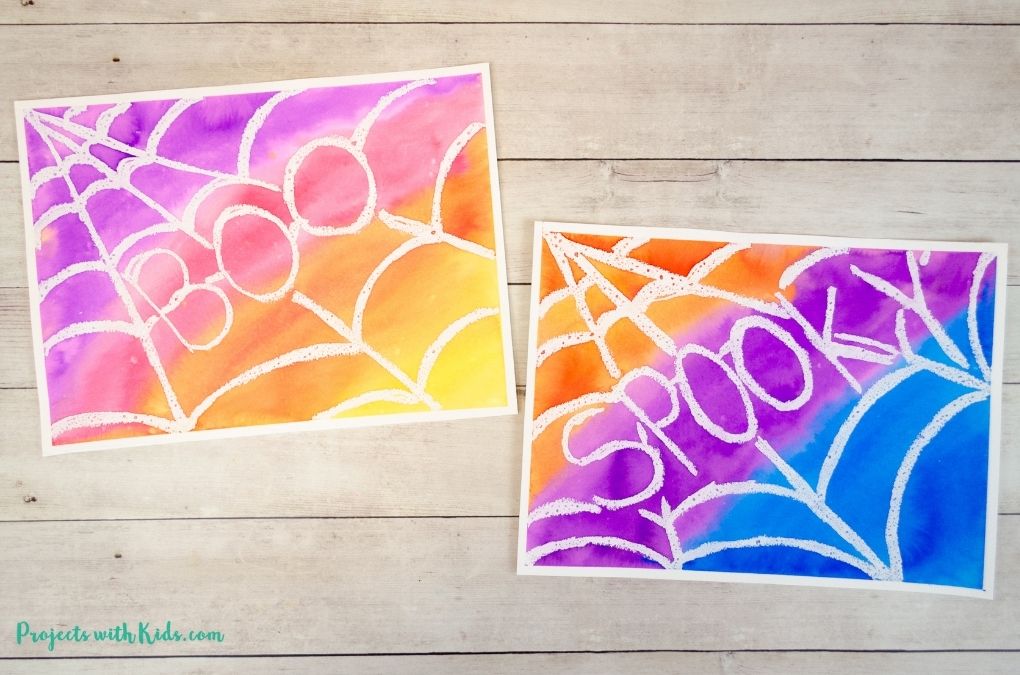
For more creative Halloween art projects, take a look at this pumpkin spin painting and spooky Halloween silhouette art that kids will love!
Scroll down to the bottom of this post to instantly download your Halloween banner printable PDF!
Make your own neon Halloween banner
This post contains affiliate links. As an Amazon Associate, I earn from qualifying purchases. If you would like more information please review my privacy & disclosure policy.
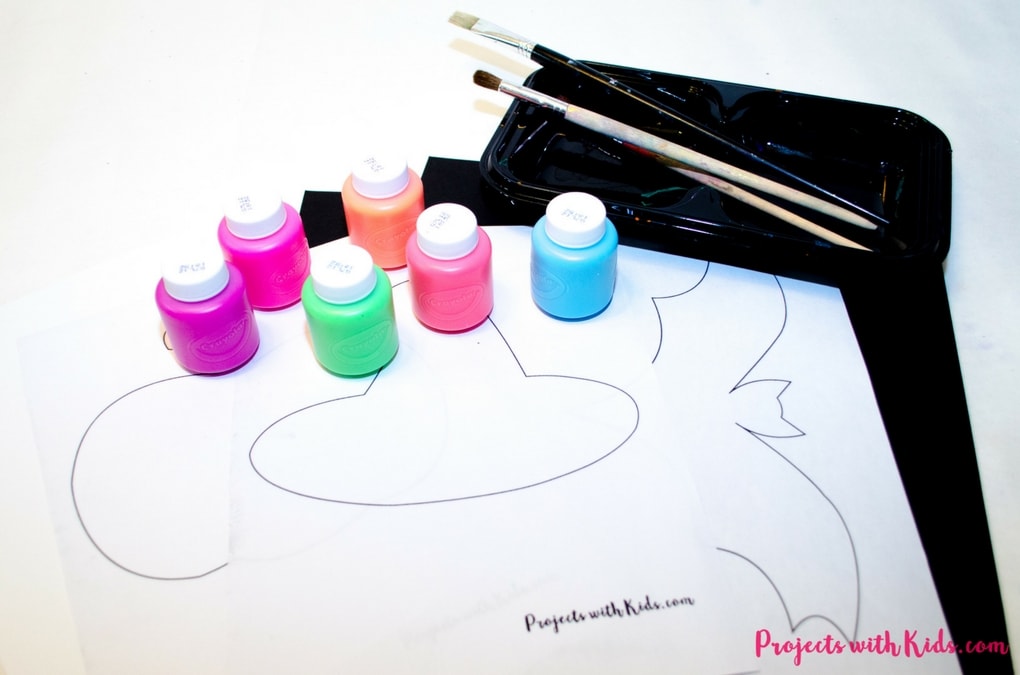
Supplies
- Neon colored paint
- Paintbrushes
- Paint trays or palettes
- Cardstock in black and white
- Scissors
- Neon colored paper
- String
- Hole punch
- Circle template – we used part of a canning jar lid
Instructions for your Halloween craft
1. First print out your Halloween silhouettes, cut them out, and trace them onto cardstock. We used a combo of black and white cardstock but you can choose what color paper works best for you.
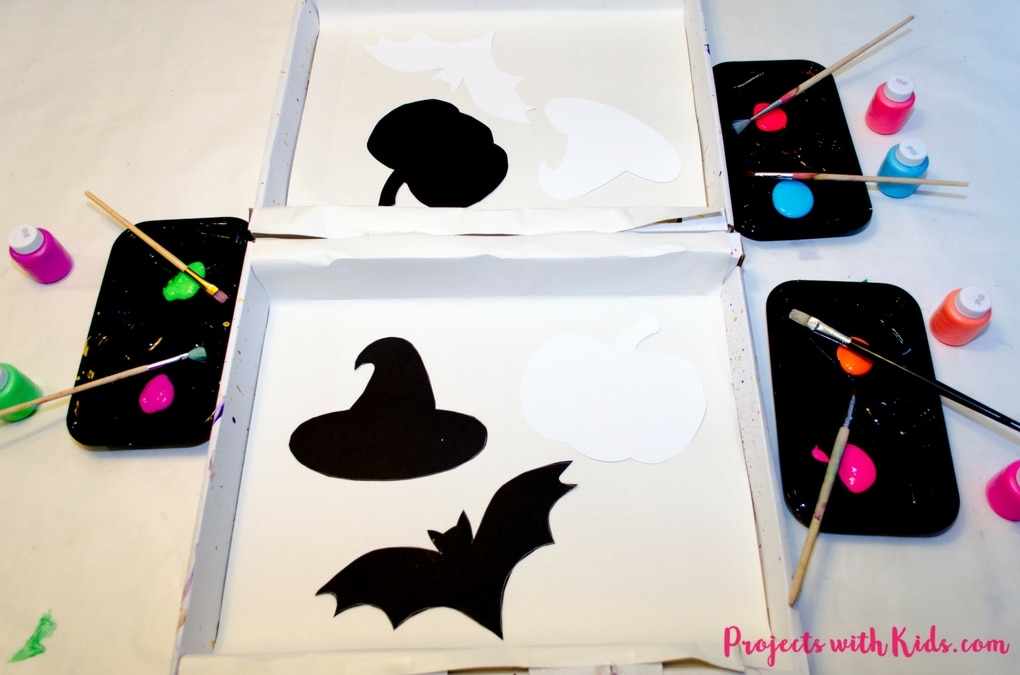
2. If you want to try and keep the paint splatter contained, you can try putting your paper into a shallow box while kids paint. Even with the boxes, we had some paint on the floor. Having the kids wear a painting smock and putting down some newspaper is also a good idea.
3. Set up your paint trays, paint, and paintbrushes. I like to use one paintbrush for each color, that way it cuts down on the paint mixing together and becoming a muddy mess.
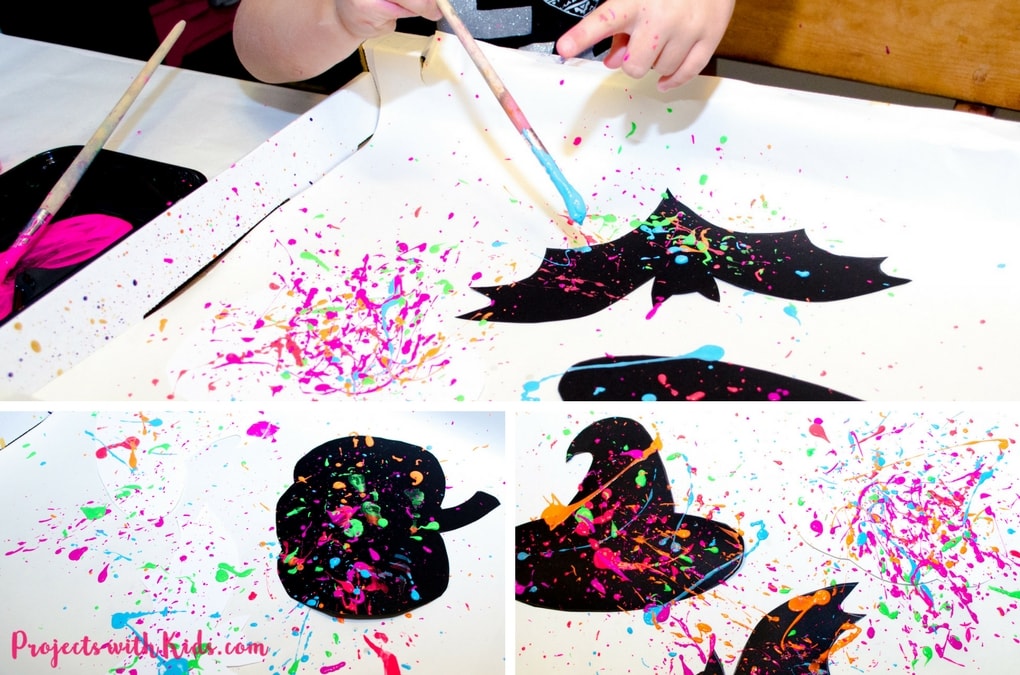
4. Let the kids have fun with splatter painting! One splatter paint technique that I like is to tap the brush with your finger (like in the picture above). But with splatter painting, anything goes, so let the kids experiment and see what they like best.
5. Once you are done with the splatter painting, you want to let the silhouettes dry completely. It’s a good idea to take them out of the box to dry, otherwise, as the paint dries they might get stuck to the box.
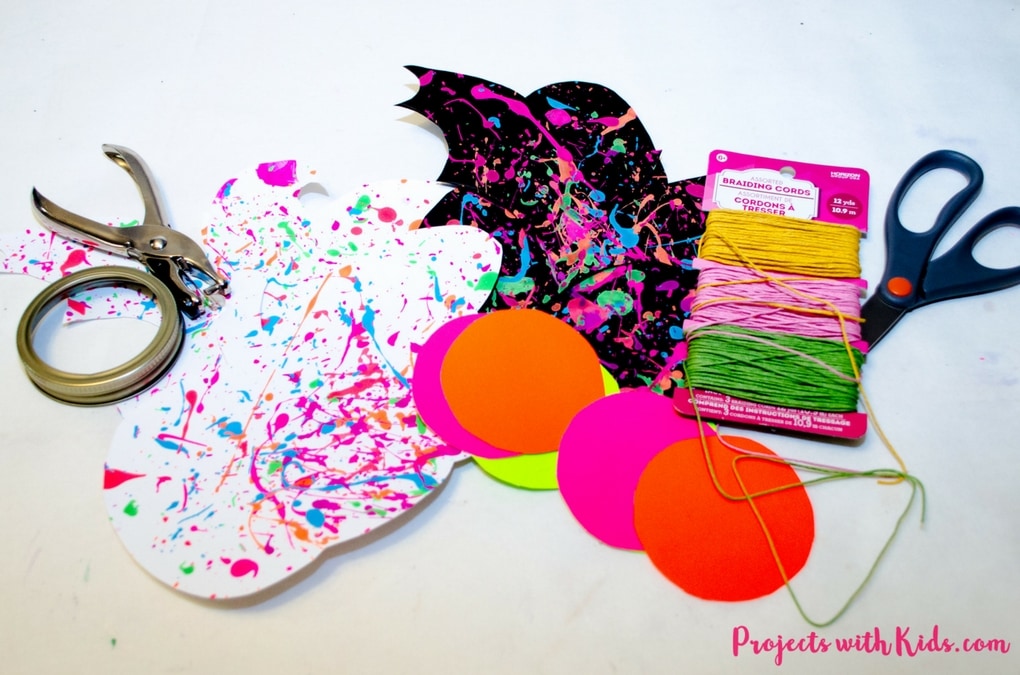
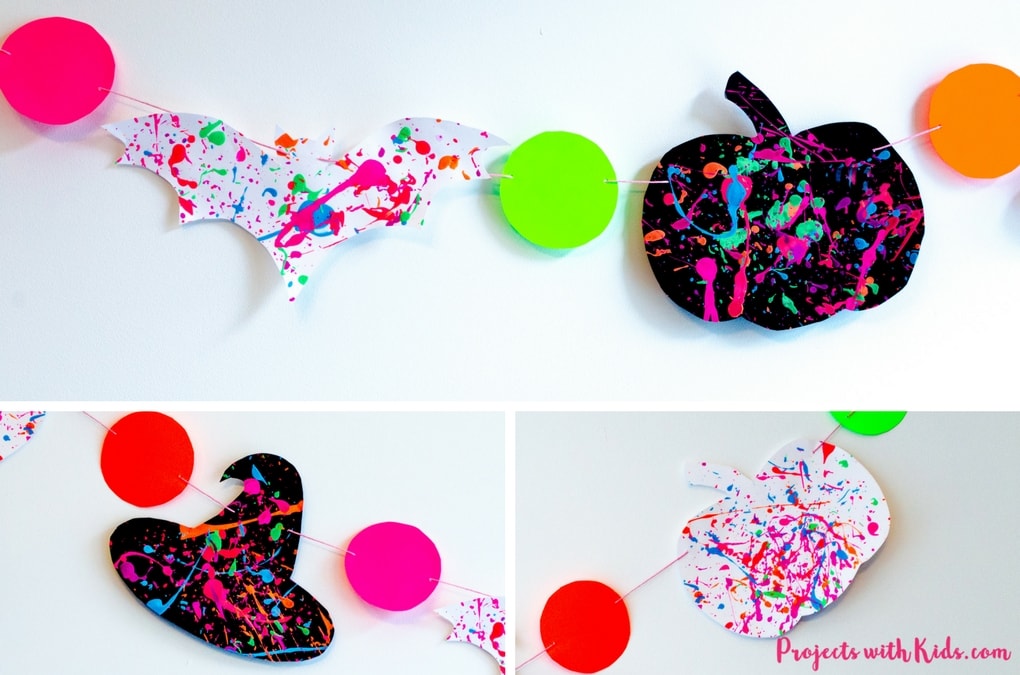
6. After your silhouettes are dry, it’s time to make your Halloween banner. Take your neon-colored paper and your circle template, trace your circles, and then cut them out.
7. Next, you want to lay everything out on the table or the floor for how you want your banner to look. When you are happy with the placement of things, you can string it together.
8. Use a hole punch to make your holes and string your Halloween banner together.
We had so much fun splatter painting and using neon colors for this activity. Splatter painting is such a great process art activity for kids.
>>>Click here to instantly download your Halloween banner printable PDF!
Check out this printmaking with recycled materials project for more process art fun!
More Halloween crafts kids will love
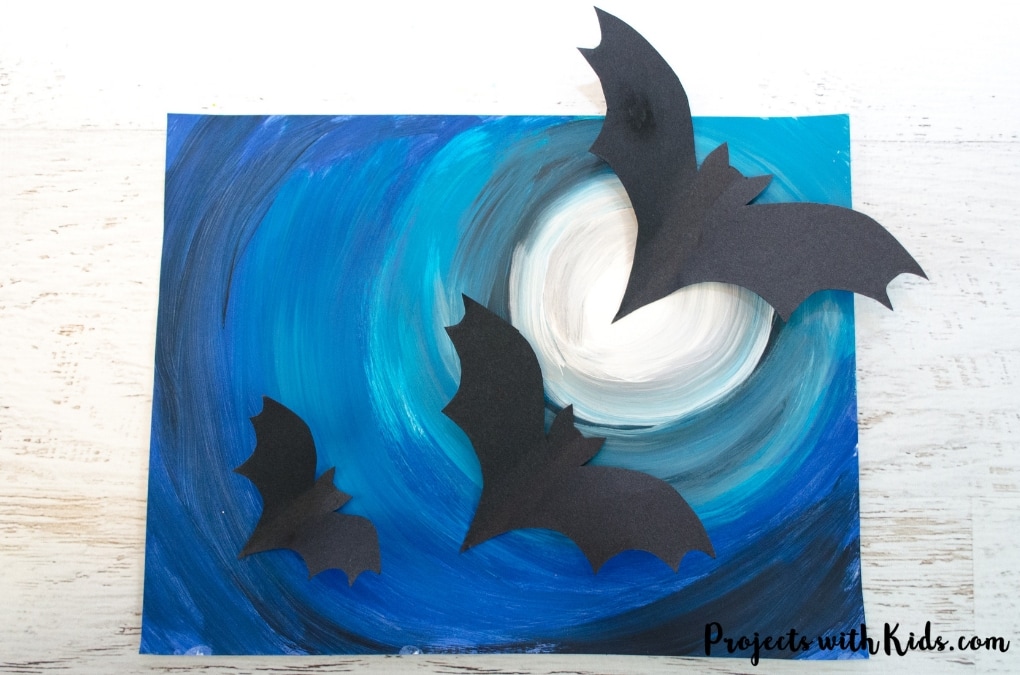
Halloween Art Projects with 3D Paper Bats
Watercolor Resist Spider Web Art
Follow me on Pinterest for more amazing project ideas.
Pin this project for later
More Halloween crafts, activities and recipes below!
The Moments at Home – Halloween Treat Recipe
Mama Smiles – Haunted House Printable
Preschool Toolkit – Sponge Print Ghosts
Mosswood Connections –Jack O’Lantern Mazes & Coloring Page Printable
The Gingerbread House – Teacake Spiders
Growing Play –X-Ray Exercises for Halloween
The Joy of Sharing – Cardboard Tube Monsters


Margaret@GrowingPlay
This looks so fun!!! And the way you set it up is great – a messy activity without a ton of mess! I plan on trying this with my two youngest. Thanks!
ProjectswithKids
Thank you so much Margaret! Yes, those cardboard boxes really helped to contain the mess. I hope you and your kids have fun with this project!
Allison
Looks like such a fun craft! Thanks for sharing!
ProjectswithKids
Thank you Allison!
yvette
Such a fun idea and it looks great! My kids love neons right now and this is a great twist on this craft time favourite. I just love Halloween for craft ideas!
ProjectswithKids
Thanks Yvette! I agree with your kids, neon colors are so fun!
Adrienne Terrebonne
So cute! Thanks for sharing!
ProjectswithKids
Thank you Adrienne!
Jen @ My Healthy Homemade Life
This is adorable, Angela! I love all the neon colors on black. My daughter is going to love making this!
ProjectswithKids
Thanks Jen! I agree, the neon colors on black really pop, I hope you and your daughter have fun with this project!
Shann Eva
What a great craft! I love how the neon paint looks on the black, and I think my boys would love doing the splattering. Can’t wait to try this!
ProjectswithKids
Thanks Shann! I hope you and your boys decide to give this project a try!
Katie
Looks like a fun craft, thanks for sharing!
ProjectswithKids
Thanks Katie!