
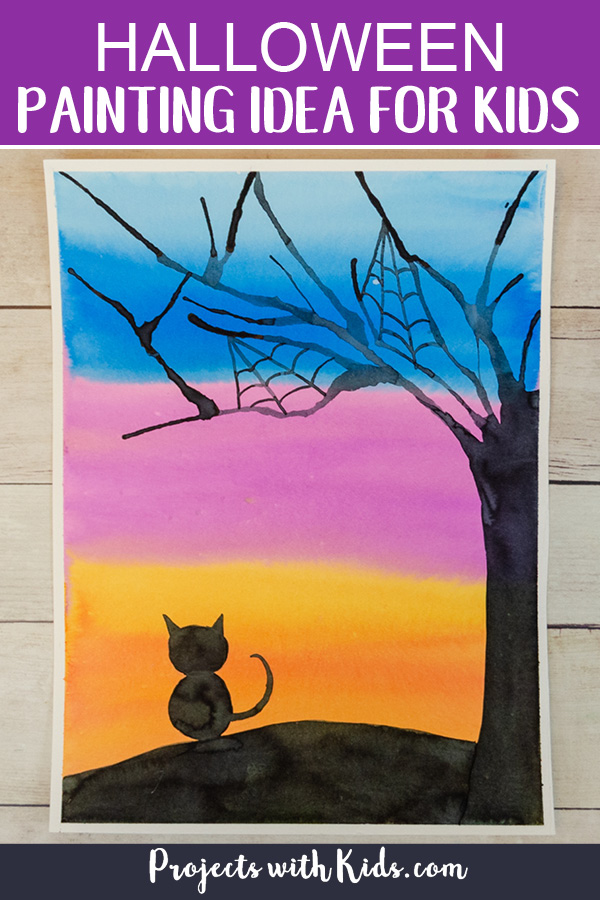
This Halloween silhouette art is a fun and spooky idea that kids will love! We used watercolors and a blow painting technique with straws that makes painting the tree branches easy for kids of all ages.
There are so many fun watercolor techniques for kids to try! Take a look at my collection of watercolor painting for kids for more fun and creative ideas.
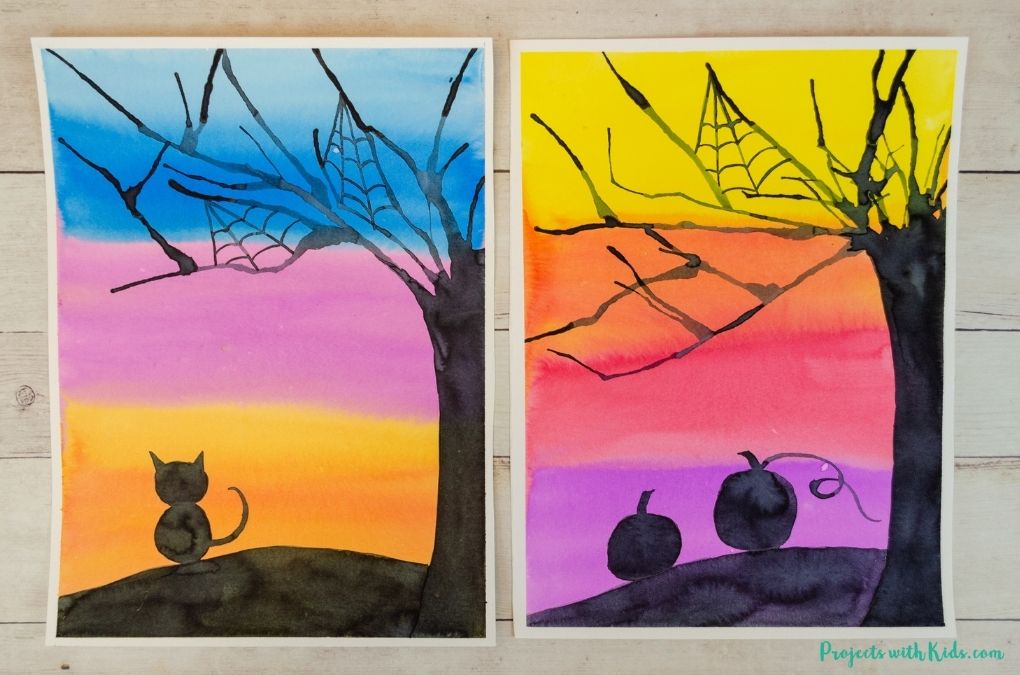
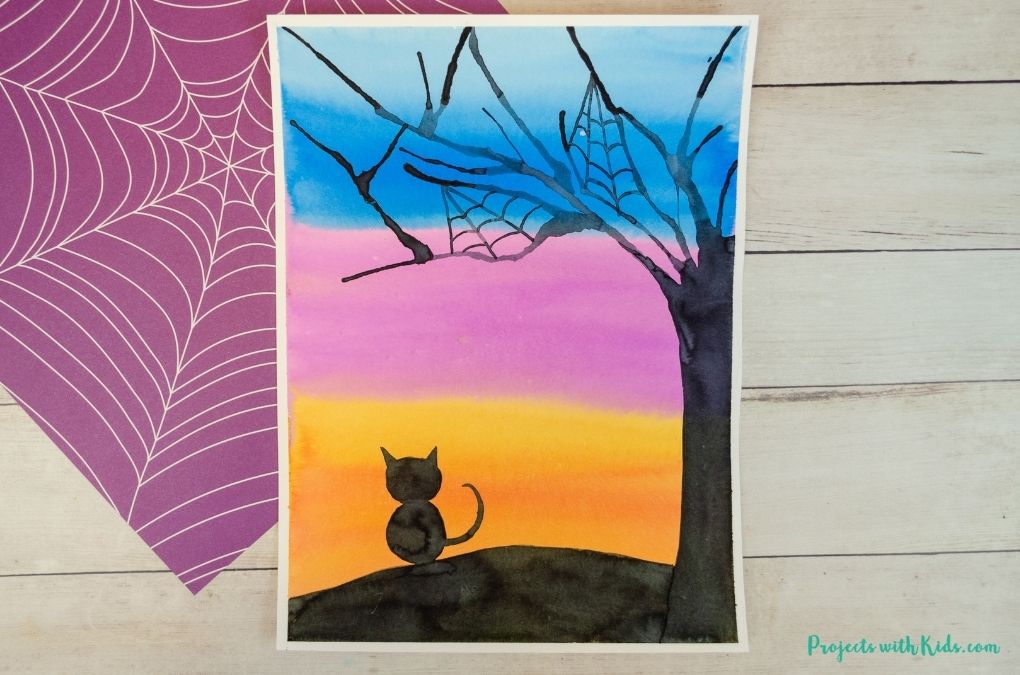
Using liquid watercolors for this project really makes the colors bright and bold. Kids can add their own fun spooky touches to their painting like spider webs, a black cat, pumpkins, bats, or a crescent moon making each project unique!
We love to create Halloween art! Take a look at this Halloween art project with 3D paper bats for another fun idea.
If you are looking for more fall art projects take a look at my collection of creative fall painting ideas for kids! There are ideas for kids of all ages that use different types of art materials and techniques.
Create your own Halloween silhouette art
This post contains affiliate links. As an Amazon Associate, I earn from qualifying purchases. If you would like more information please review my privacy & disclosure policy.
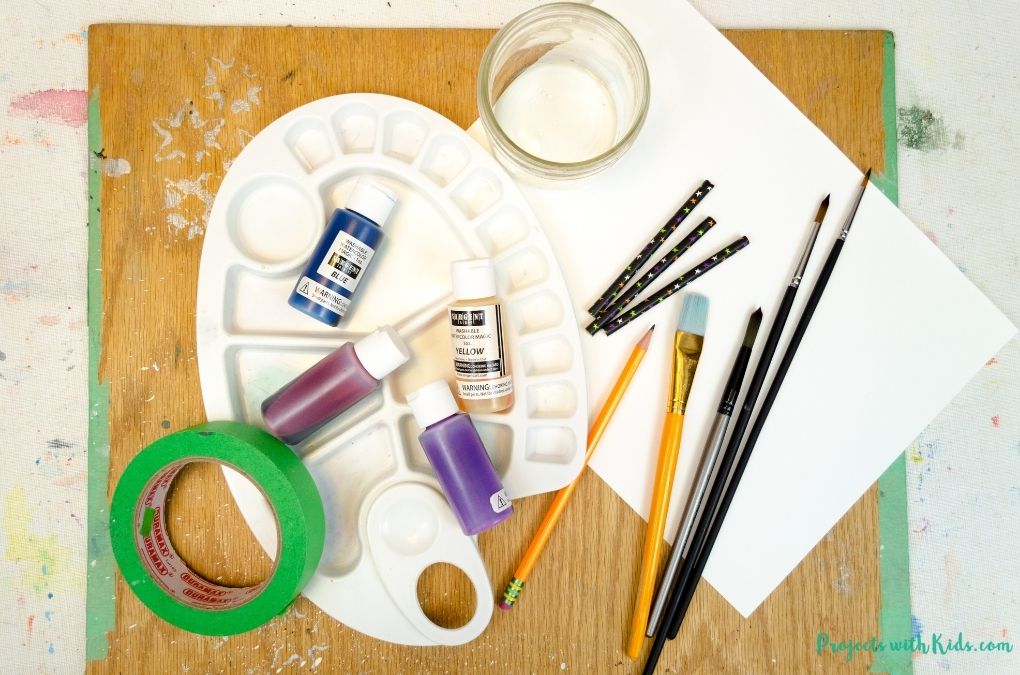
Supplies
- Watercolor paper or white cardstock
- Liquid watercolors or a watercolor paint set
- Paintbrushes
- Paper straws
- Wooden board and painter’s tape (optional)
- Paint palette and water dish
- Pencil and eraser
Instructions for your Halloween art project
1. First, prepare your watercolor paper. I like to tape our paper down to a wooden board, this helps with the paper sliding around and also helps it to dry flat.
If you don’t have a wooden board or are doing this project in the classroom, you can simply skip this step or try taping the paper down to a desk.
If you do not have watercolor paper you can also use white cardstock, but the colors might not blend together as nicely.
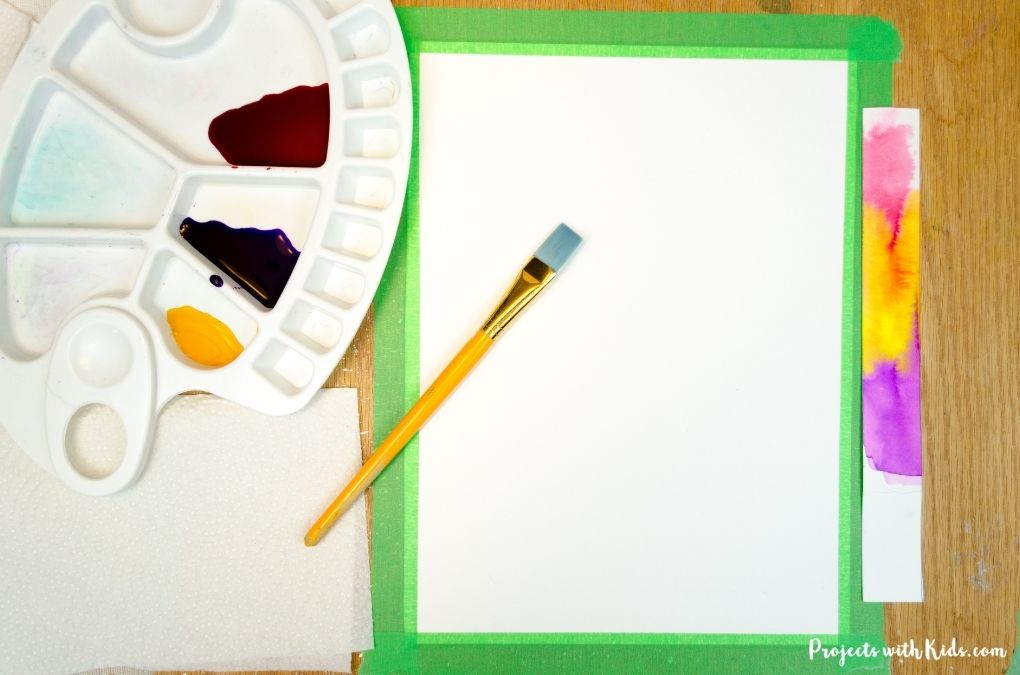
2. Get your paint colors ready for the sky. Have kids choose 3 – 4 colors for this part. We used liquid watercolors but a regular watercolor paint set would also work.
Test your colors first on a scrap piece of paper to make sure they are bright enough. Watercolors will always dry lighter.
Paint your paper with clean water first. You want the paper to be wet but not soaking. If you are using cardstock, you will skip this step.
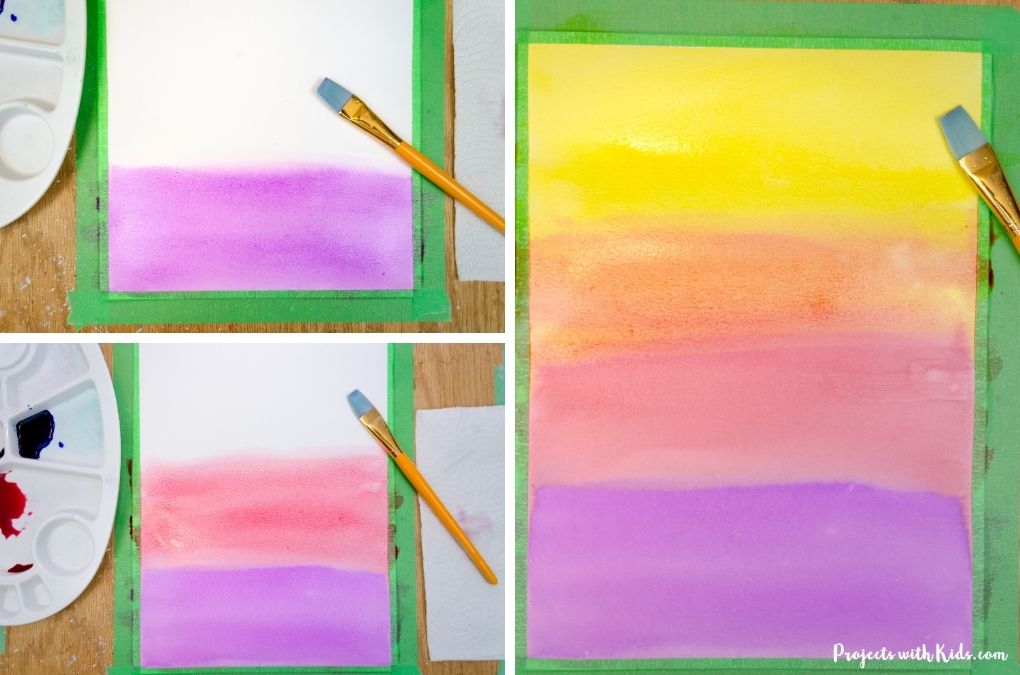
3. Start at the bottom of your paper and using a flat brush, paint your first color onto the wet watercolor paper. Clean your brush and paint the next color right away.
You want to paint the background fairly quickly. The wet paper and wet paint will mix together and create a soft blend between colors.
This is called a wet on wet technique. Take a look at these 5 easy watercolor techniques for beginners for more details.
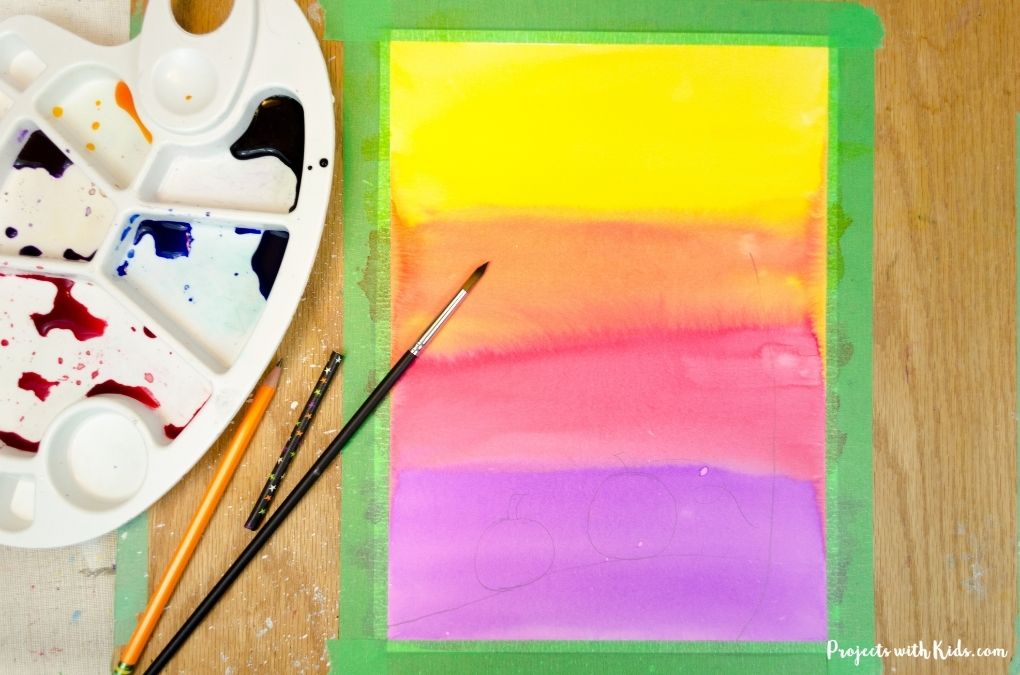
4. Once the background has completely dried, kids can draw their Halloween silhouettes with a pencil. Remind kids to press lightly so if they need to erase anything it won’t ruin the background.
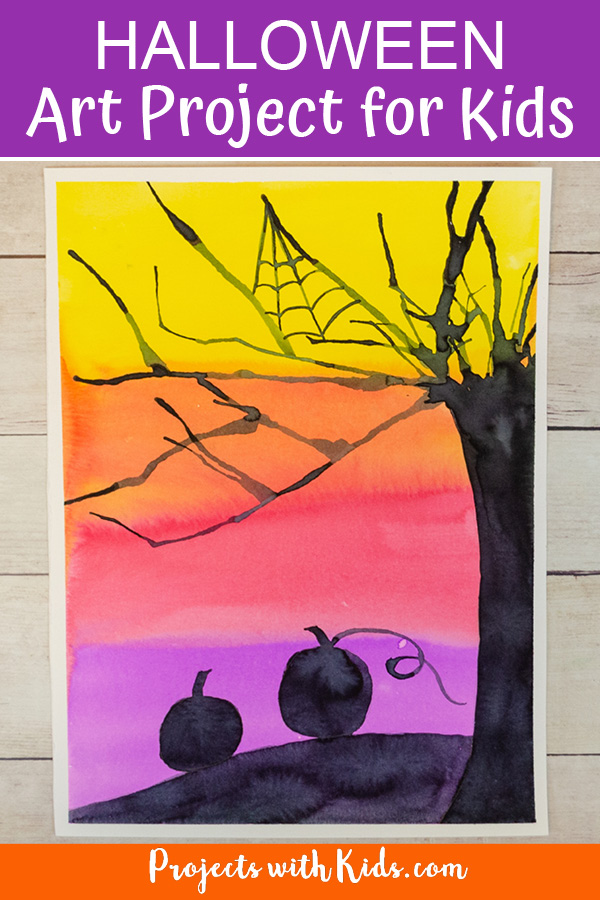
Start by drawing the tree trunk on the side, add the hill, and then kids can add their own special spooky touches. I drew pumpkins and a black cat for the examples but kids can choose to include anything they like.
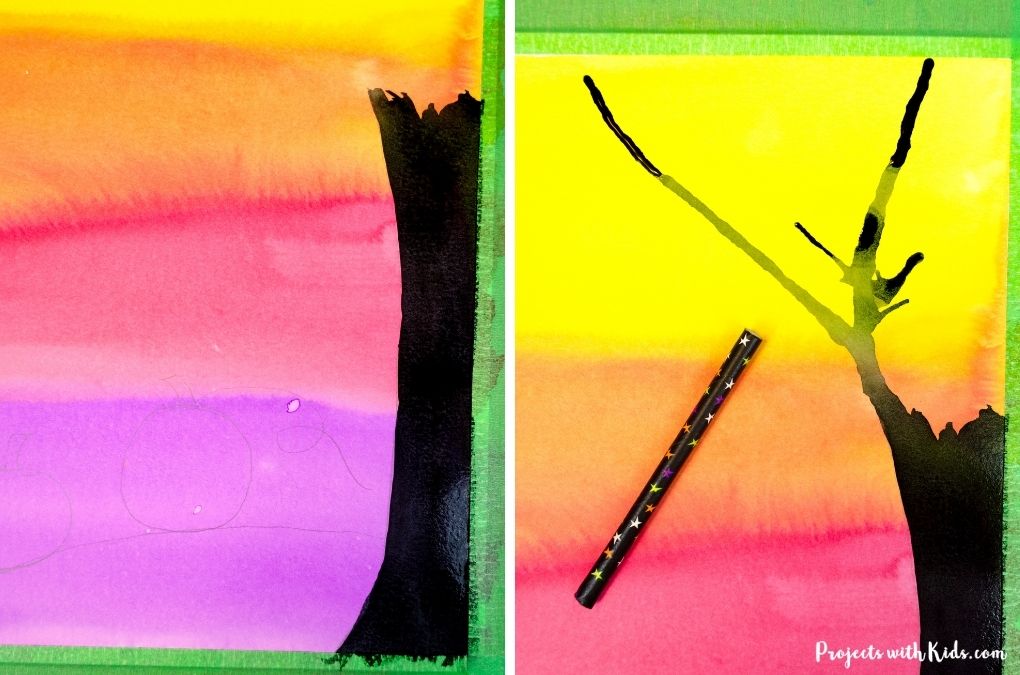
5. Using black watercolor paint and a round brush, paint in the tree trunk. To create the branches, use a paintbrush to put a fairly big drop of paint down where you want to start a branch and then blow through a straw to create the branch.
This technique will create branches in different sizes that go in all directions, making the tree look extra spooky!

I find that cutting the straw in half works well for this. You also want to make sure that you put enough paint down on the paper for the blow painting to work properly.
Keep creating branches using the blow painting technique until you are happy with how your tree looks.
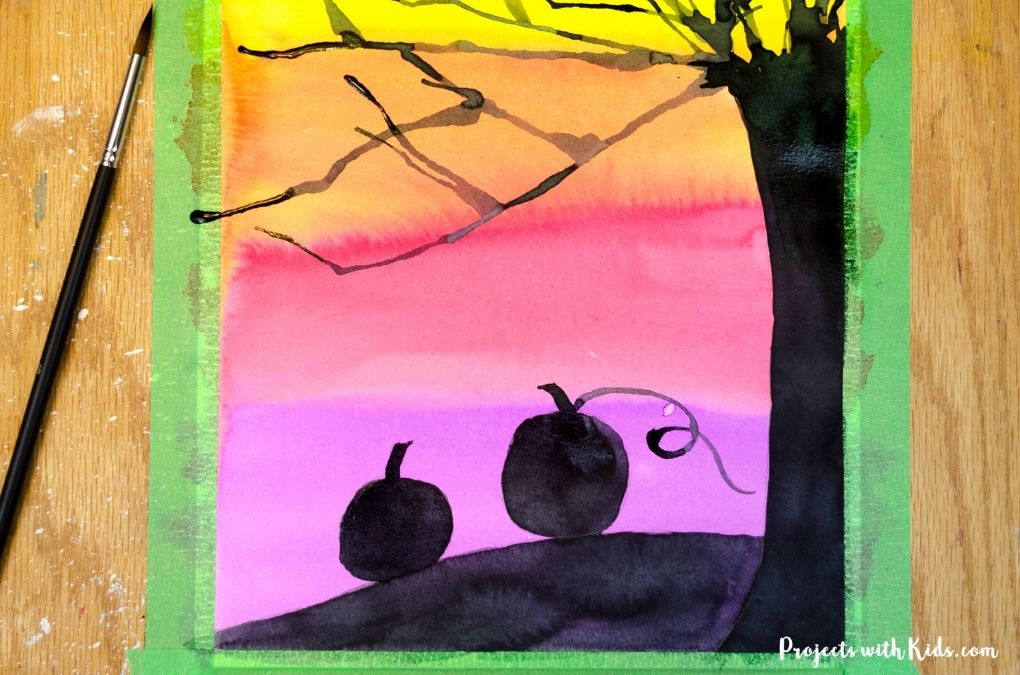
6. Use black paint to paint in your details at the bottom of your painting. Have kids use a smaller round brush for this step.
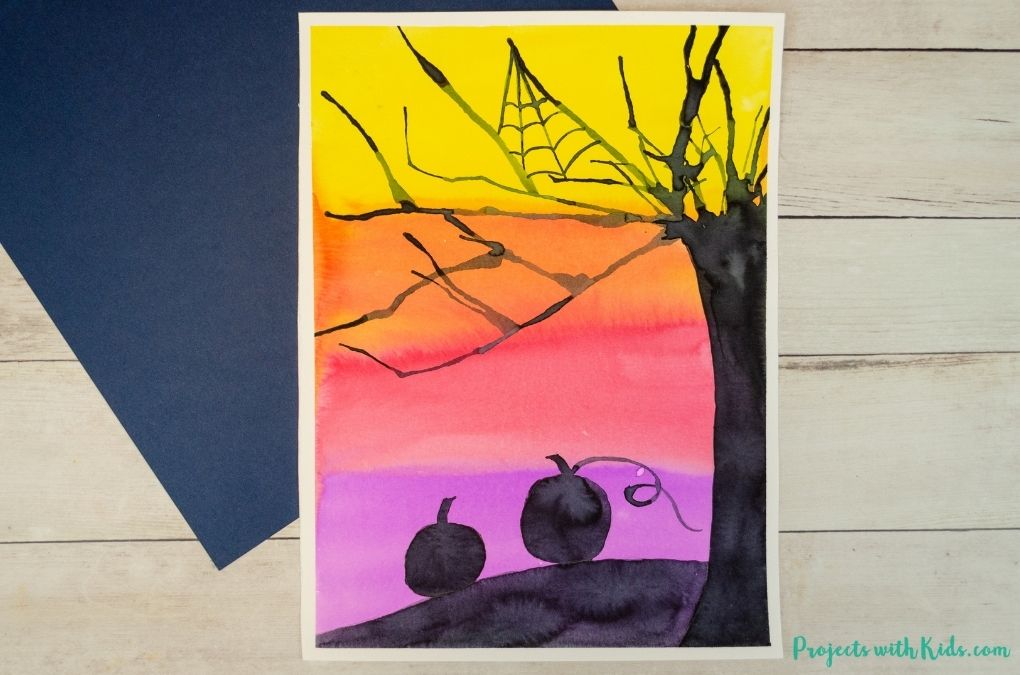
7. Once the painting is dry, try drawing in a spider web or two in the tree branches! Use a pencil to draw them in first and then paint over top of your pencil lines with black watercolor and a small detail brush.
Carefully remove the tape from around your painting after everything is completely dry.
This is a fun and creative Halloween silhouette art project that kids will love to make!
For another watercolor painting idea, take a look at this spider web art project that uses a watercolor resist technique and a fun Halloween word!
More Halloween art ideas kids will love
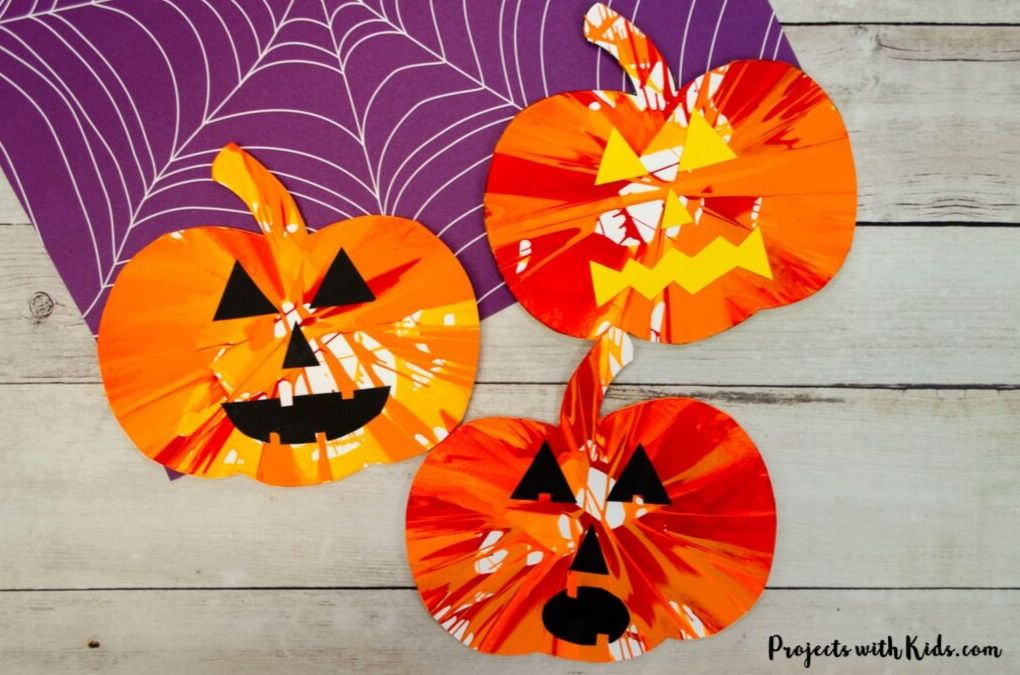
Pumpkin Spin Painting Halloween Art Project for Kids
Make Colorful Watercolor Spider Web Art

Follow me on Pinterest for more amazing project ideas.
Pin this Halloween painting for later
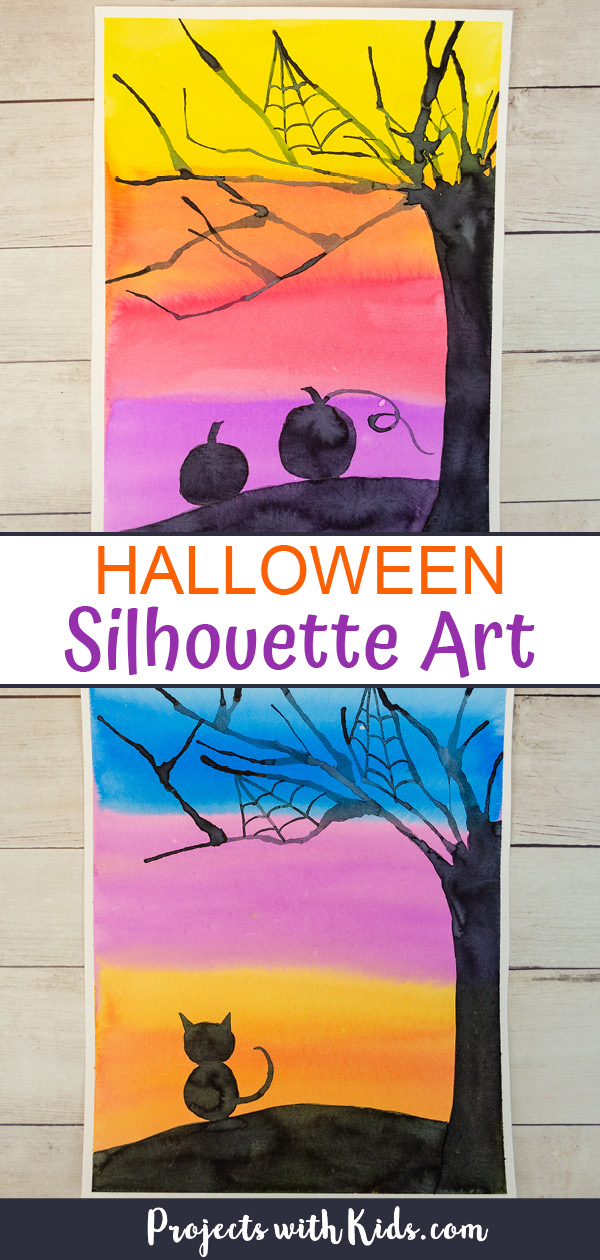
Spooky Halloween Silhouette Art for Kids

This Halloween silhouette art is a fun and spooky idea that kids will love! Kids will learn easy watercolor techniques and add their own spooky touches to make each painting unique.
Materials
- Watercolor paper or white cardstock
- Liquid watercolors or a watercolor paint set
- Paper straws
Tools
- Paintbrushes
- Wooden board and painter’s tape (optional)
- Paint palette and water dish
- Pencil and eraser
Instructions
- First, prepare your watercolor paper. Tape your paper down to a wooden board with painter's tape. This helps to keep the paper from sliding around and also helps it to dry flat.
If you don't have a wooden board or are using cardstock, you can skip this step. - Have kids choose 3-4 colors for the sky. I used liquid watercolors but you could also use a regular watercolor paint set.
Start by painting your watercolor paper with clean water. If you are using cardstock, you can skip this step as well. - Use a flat brush and paint the sky one color at a time. Let the wet paper and wet paint blend together to create soft lines between the colors.
Let everything dry completely before moving on. - Use a pencil to lightly draw in the tree trunk, hill, pumpkins, or black cat and any other Halloween details that kids want to add.
- Start by painting the tree trunk with black watercolor paint.
- To create the branches, use a paintbrush to put a fairly big drop of paint down where you want to start a branch and then blow through a straw to create the branch. Keep creating branches using the blow painting technique until you are happy with how your tree looks.
Cutting the straw in half makes this process a bit easier. You also want to make sure that you put enough paint down on the paper for the blow painting to work properly. - Paint in all of your other details to your Halloween silhouette painting, including any spider webs in the tree branches.
- Carefully remove the painter's tape from around your paper.


