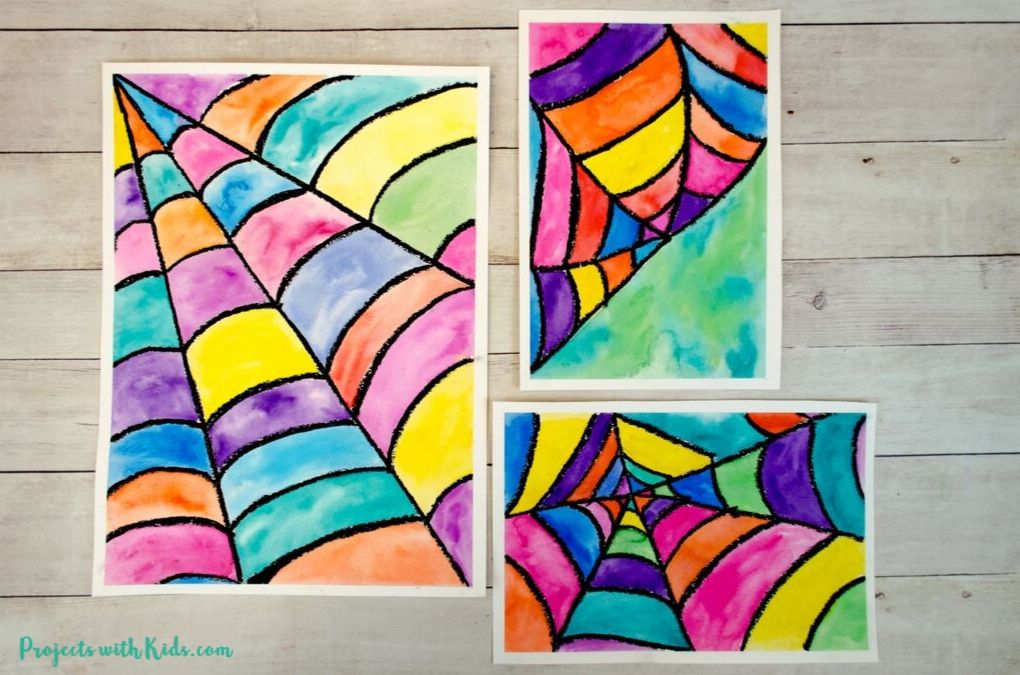
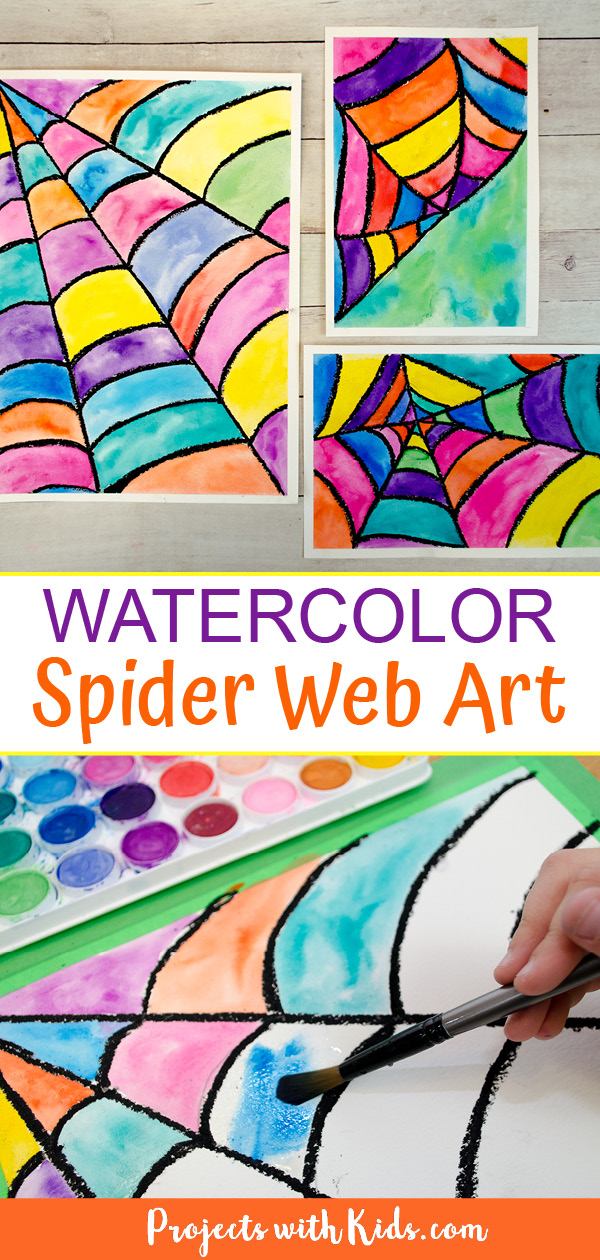
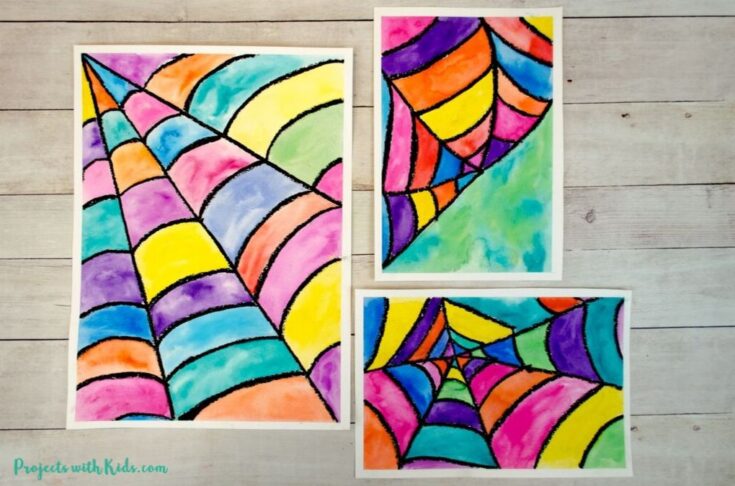
I love the bright colors of this watercolor spider web art! This was such a cool project to do and makes a great fall or Halloween art project idea.
We love painting with watercolors and using black oil pastel is an easy resist technique that younger kids, as well as older kids, will be able to do!
There are so many fun watercolor techniques for kids to try! Take a look at my collection of watercolor painting for kids for more fun and creative ideas.
Check out this spooky Halloween silhouette art project for another creative watercolor painting idea!
If you are looking for more fall art projects take a look at my collection of creative fall painting ideas for kids! There are ideas for kids of all ages that use different types of art materials and techniques.
How and why do spiders spin webs?
Looking at real spider webs for inspiration is a great way for kids to learn a bit about why and how spiders spin their webs.
Even if you don’t like spiders or find them creepy (like I do!), you have to admit that their webs are pretty cool! The intricate design and the variety of webs that different spiders can make are super interesting for kids to learn about.
Spiders spin their webs to catch their prey. Part of the web is spun with a sticky substance so that the insects will get stuck to the sticky threads.
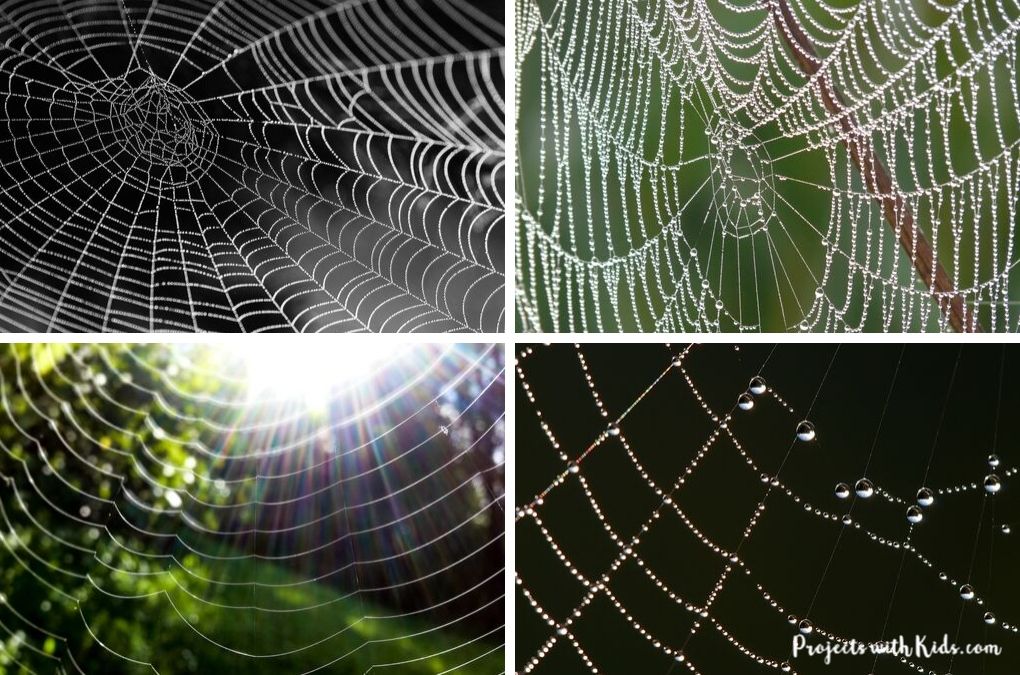
There are two different types of lines that spiders spin when making their webs. The first one is called “radial” lines, they go from the center of the web outward.
The second type of thread is called an “orb” line. These are the lines that go around and around the web making the intricate patterns. You can read more about spiders and their webs here and see a cool illustrated video about how spiders spin their webs here.
Create your own watercolor spider web art
This post contains affiliate links, which come at no cost to you. If you would like more information please review my privacy & disclosure policy.
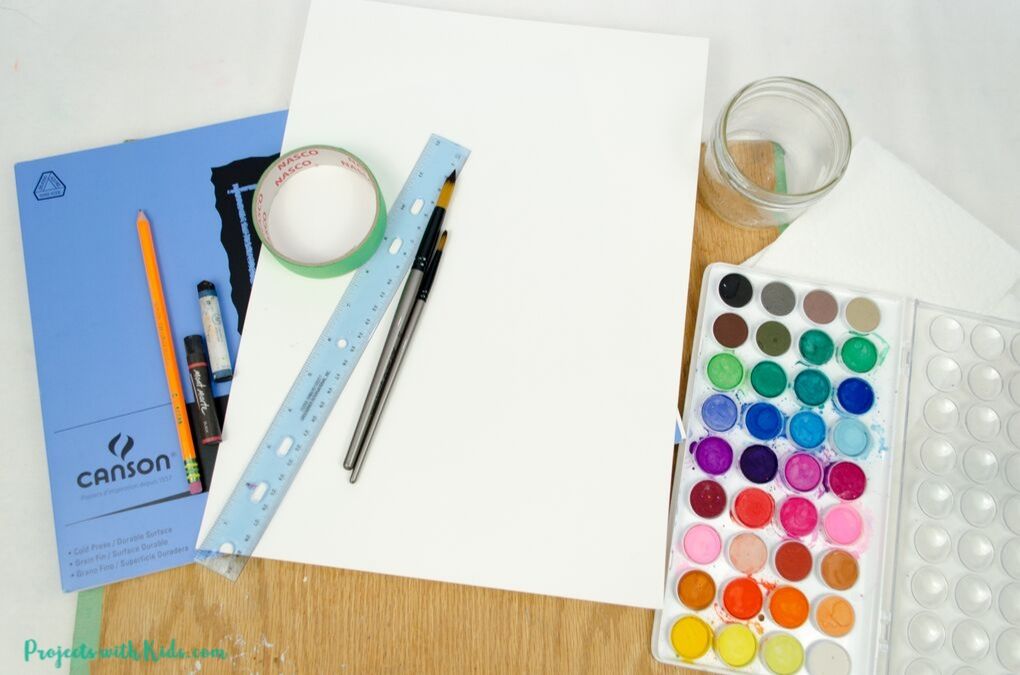
Supplies
- Watercolor paper
- Watercolor paint
- Paintbrushes
- Ruler (optional)
- Pencil
- Black oil pastel
- Painters tape and wooden board (optional)
- Paper towels
- Water dish
How to draw and paint your spider web
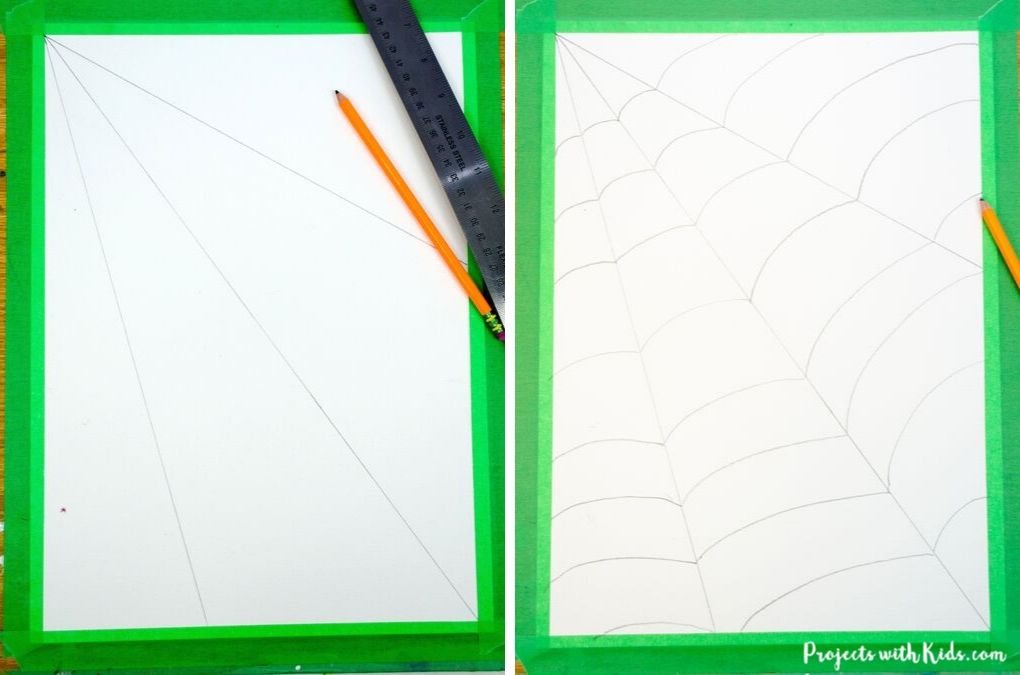
1. First, prepare your watercolor paper. I like to tape our paper down to a wooden board, this helps with the paper sliding around and also helps it to dry flat.
If you don’t have a wooden board or are doing this project in the classroom, you can simply skip this step or try taping the paper down to a desk.
If you find that the paper wrinkles, try pressing it with some heavy books overnight after everything is dry.
2. Have kids take a look at some photos of different types of spider webs, they are so neat to look at! Some of them are very intricate and some are more on the simple side.
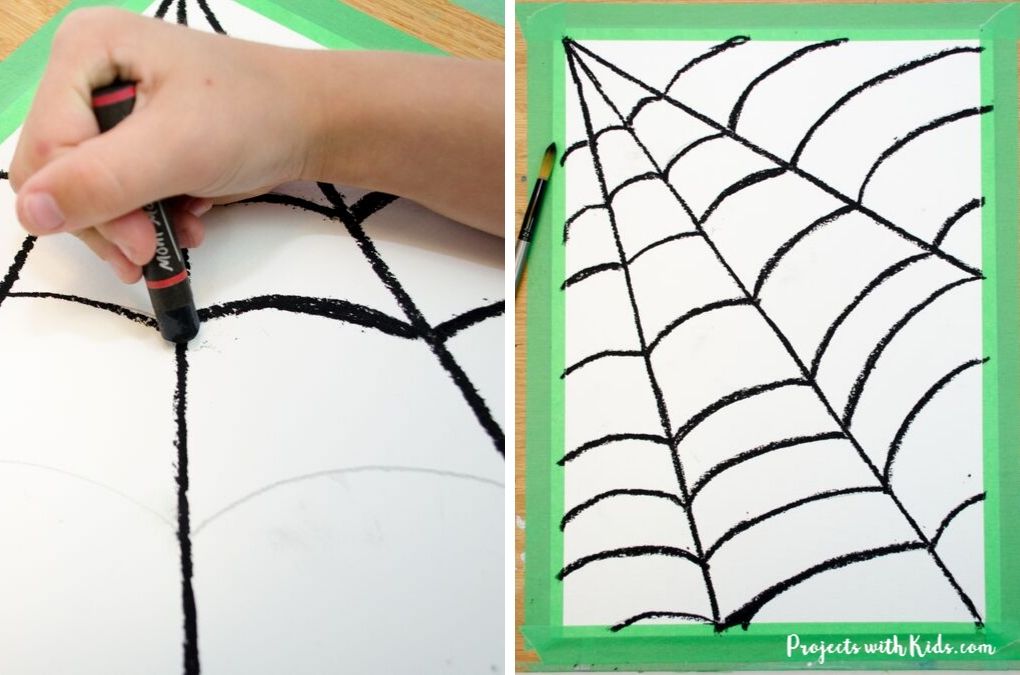
Kids can choose one of the spider web designs as inspiration for their art project.
Draw out the spider web design using a pencil. Remind kids to press lightly, so they can erase their pencil lines if they need to.
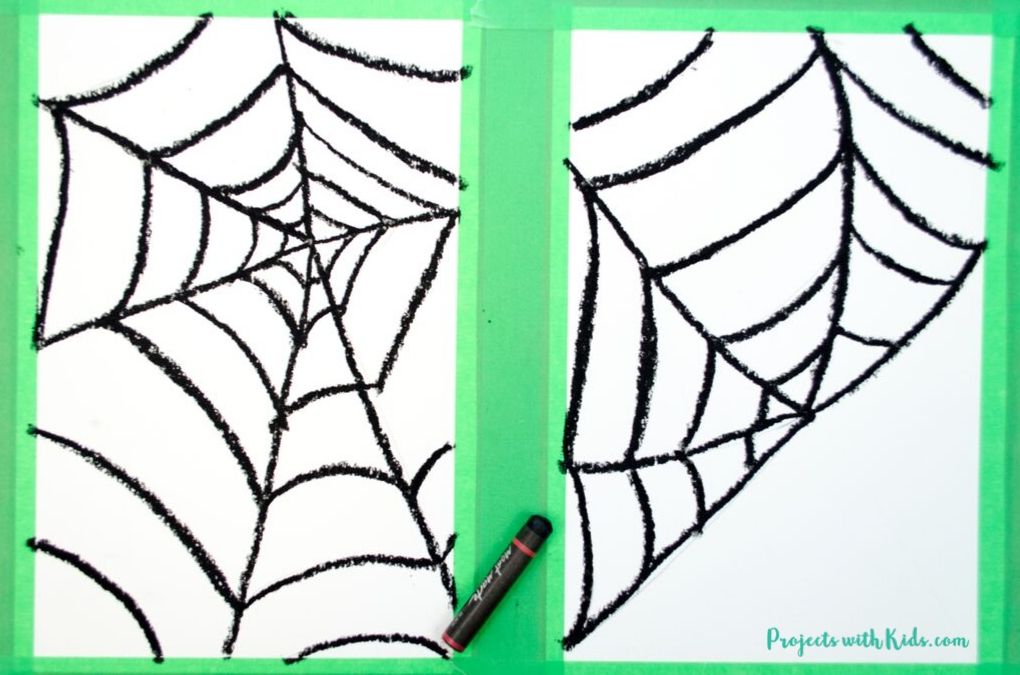
There are so many interesting spider web designs, I ended up doing 3 different paintings! Each child’s drawing will be unique and look beautiful.
2. Use black oil pastel to trace the pencil lines, making sure to press hard.
For another spider web art idea, take a look at this watercolor resist spider web art project that uses white oil pastels and includes a fun Halloween word!
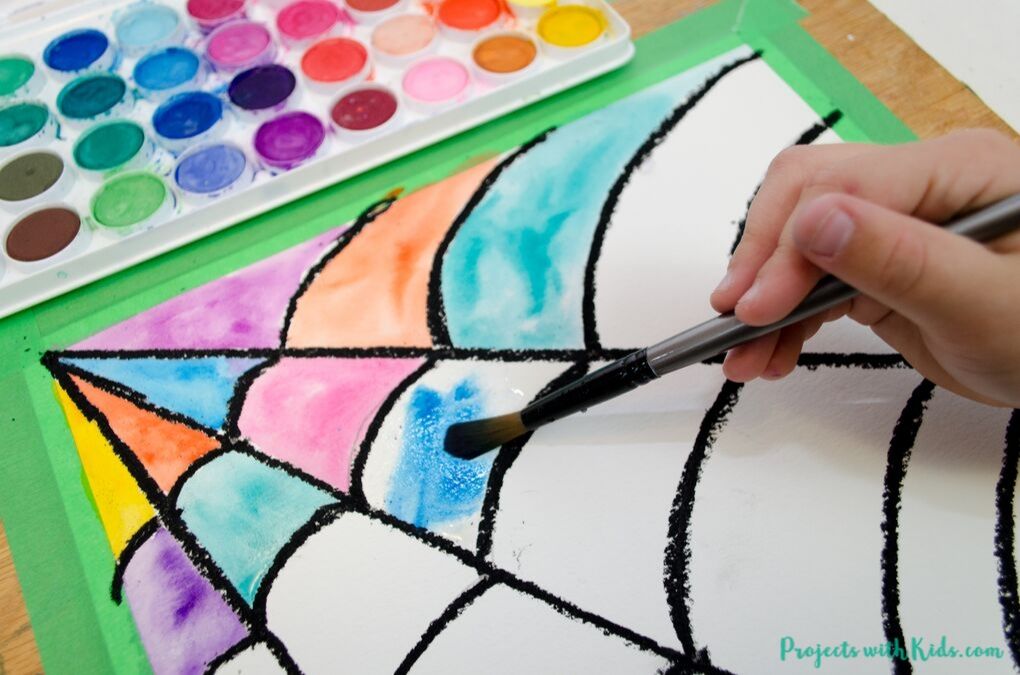
3. For the watercolor painting, we used a wet on wet technique, which is super easy for kids and always looks great!
Paint a few squares with plain, clean water first and then paint in the sections with watercolor paint before the paper dries. Continue doing this until all of the spider web sections are painted. You might need to change your water a few times during this process.
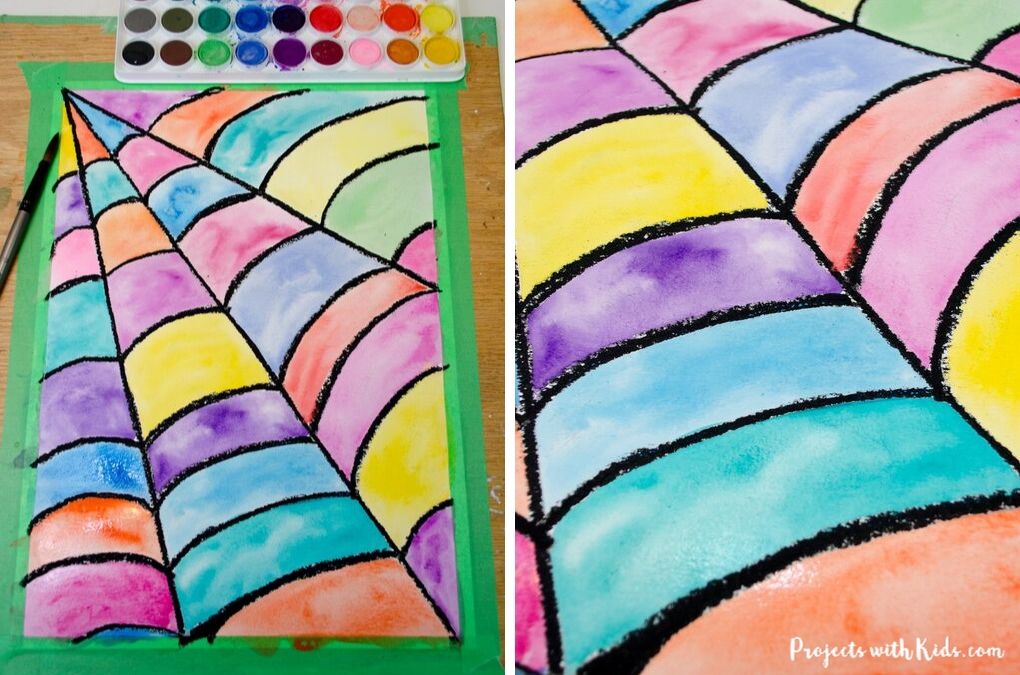
I painted straight from the paint set, I wanted the colors to be really bold and bright.
Let kids choose their own colors, some might want to do a pattern and some kids might want their color choice to be random. You could also do warm and cool color webs for something different.
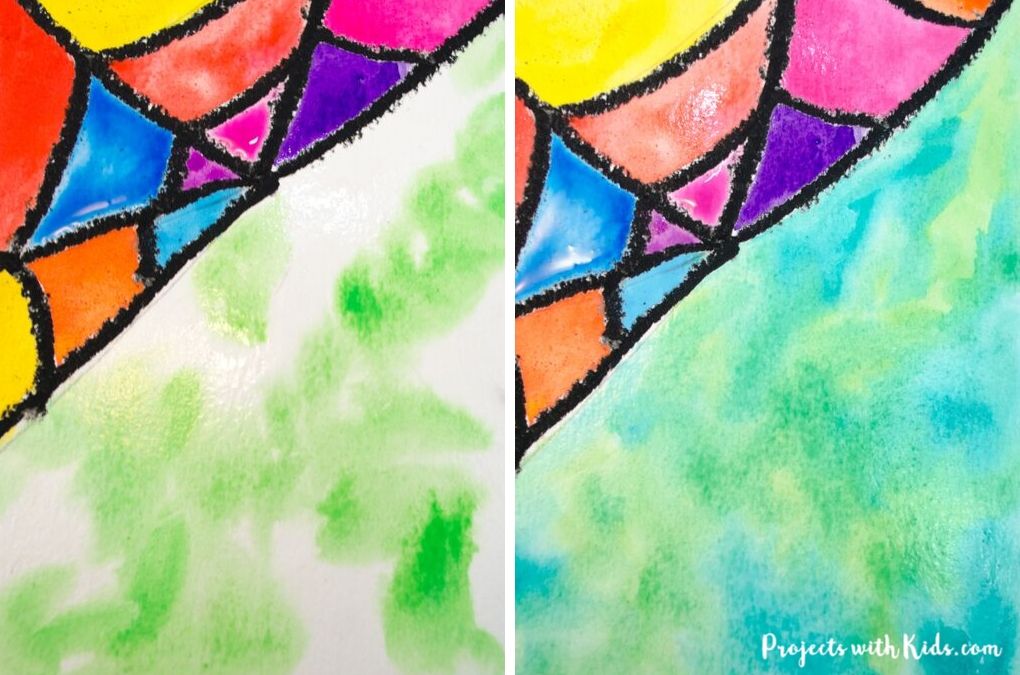
4. For the partial spider web, I did a wet on wet technique with 2 shades of green to look like out of focus plants or trees in a garden.
If you have your paper taped down to a wooden board or desk, leave it to dry before taking the tape off. This will help keep the paper from wrinkling.
If you find it’s not drying completely taped to a desk, remove the tape, let it dry and then press the paper between books to help flatten it out.
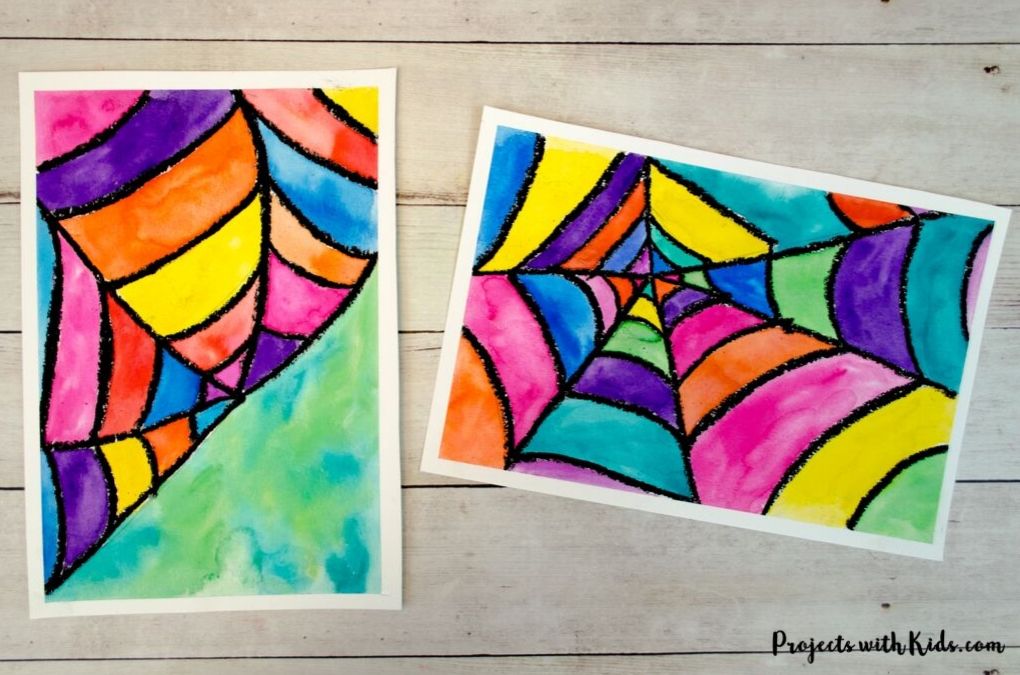
This watercolor spider web art was so fun and easy to do and looking at the different types of spider webs and how the webs are made is a really cool learning extension for kids.
We love creating and exploring with different art supplies. If you are looking for more art projects to try, take a look at our ultimate collection of amazing art projects for kids!
More watercolor painting kids will love
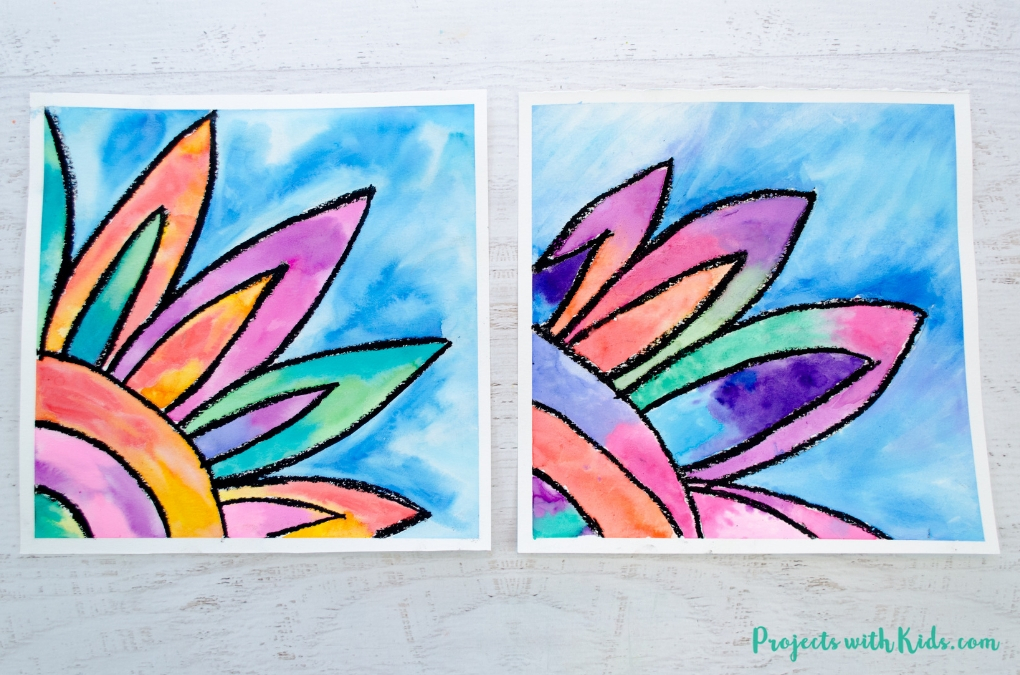
How to Make A Beautiful Watercolor Flower Painting
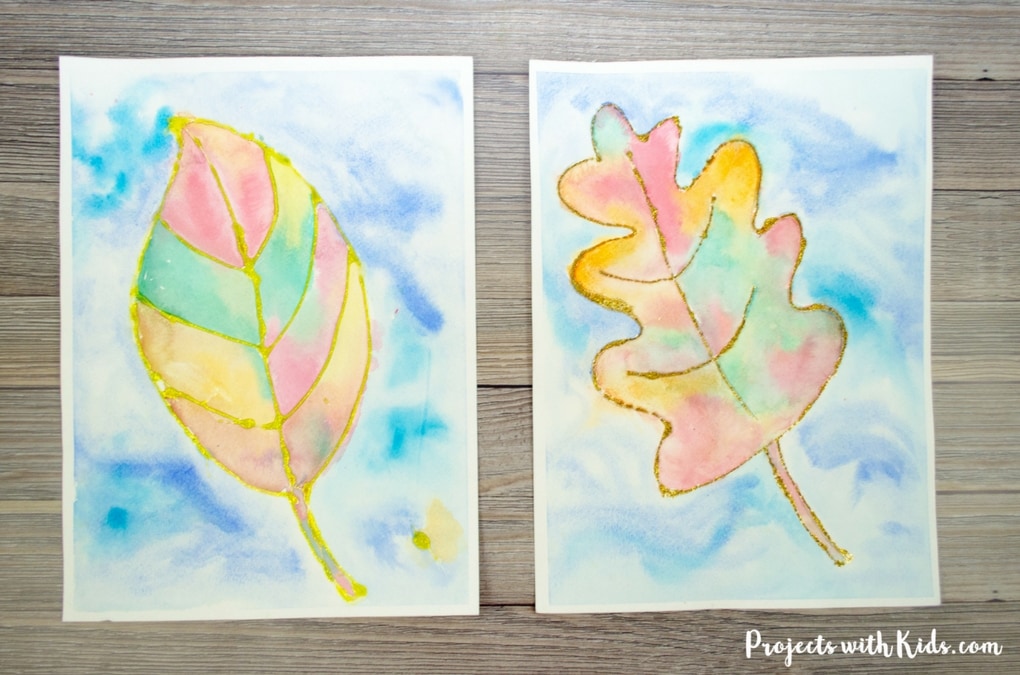
Fall Leaf Painting with Watercolors & Glitter
Follow me on Pinterest for more amazing project ideas.
Pin this art project for later
Make Colorful Watercolor Spider Web Art with Kids
This watercolor spider web art is so fun and colorful. Kids will love making this easy Halloween and fall art project!
Materials
- Watercolor paper
- Watercolor paint
- Black oil pastel
- Painter's tape and wooden board (optional)
Tools
- Ruler (optional)
- Paintbrushes
- Water dish
Instructions
- Get your paper ready, if you are taping it down, tape around the edges of the paper.
- Start by looking at the different spider web designs that spiders spin. Have kids choose a web design as their inspiration for their spider web drawing.
There are so many cool intricate spider webs to look at! - Draw out your spider web design lightly with a pencil.
- Trace your pencil lines with black oil pastel.
- Use a wet on wet technique to paint in the different sections of the spider web.
Start by painting a few sections with plain, clean water and then paint in those sections with the watercolor paint while the paper is still wet.
Continue painting in each section using the wet on wet technique. - If your paper was taped down, let it dry before taking the tape off.
If you had your paper taped down to a desk, you can remove the tape, let the paper dry and then press the paper between books to help flatten it out.


