
Use parts of a real sunflower to make this colorful and easy sunflower art project! Learn about the different parts of a sunflower, perfect as part of a plant unit, class art activity, or a fun summer painting idea. This is a great beginner printmaking project for younger kids!
We love exploring different painting techniques. Take a look at my collection of painting ideas for kids for more fun and creative art projects to try!

If you are looking for more sunflower art projects, take a look at this gorgeous chalk pastel sunflower art for elementary and middle school students and this easy sunflower craft with oil pastels that is perfect for preschool and kindergarten!

Create your own sunflower art project
This post contains affiliate links. As an Amazon Associate, I earn from qualifying purchases. If you would like more information please review my privacy & disclosure policy.

Supplies
- A fresh sunflower (with intact petals and a sturdy stem)
- Brown, yellow, and green acrylic paint
- Paper plate or paint tray
- White cardstock
- Paper towels or wipes for cleanup
Instructions for your sunflower painting
1. Choose the right sunflower
When choosing a sunflower to make prints with, you need to look out for a few things. Pick a sunflower with plenty of petals that are still firm and colorful (not wilted or dried out). You want to make sure the centre (disk) of the flower is firm and textured and that the stem has small leaves attached.

Avoid sunflowers that are droopy, dried, or shedding too easily. They won’t stamp well and can fall apart quickly.
2. Gather your supplies
Make sure you have your white cardstock, acrylic paint in brown, green, and yellow, your sunflowers for stamping, and lots of paper towels on hand.

Older kids can experiment with different shades of yellow or even shades of yellow and orange to create some depth and interest.
If kids are going to experiment with using different shades of yellow and orange for the petals, I would suggest practising on a spare piece of paper first.

3. Stamp the sunflower centre
Pour brown paint onto a plate or tray. Take the entire sunflower head and gently press the middle (seeded part) into the paint. Carefully press it down onto your paper to create the center of your flower. You may need to press gently but firmly to get the full texture.
Tip: Test the stamp on a scrap piece of paper first so kids get a feel for the pressure needed.

4. Add the Petals
Gently pull petals off the sunflower one at a time. Dip the petal into the yellow paint (don’t overdo it), then press the painted part onto the paper, surrounding the brown center to look like real sunflower petals. Just like the centre of the flower, it might be a good idea for kids to practice first.
Keep stamping petals until your flower looks full and bright.

5. Print the Stem and Leaves
Cut a small piece of the sunflower stem that includes at least one small leaf. Dip the entire section into green paint, making sure the leaf and stem are both coated. Then press it under the flower center to make the stem.
If you are using more than one leaf, stamp again to build a fuller stem and leaf cluster. You can remove the leaves to re-stamp afterwards, if needed.

Let your printed sunflowers dry on a flat surface before displaying.
This is such a fun painting idea that kids will want to try more than once! Using a real sunflower to make this art project is a creative and unique idea that kids will love.
More unique painting ideas for kids to try
Easy Jellyfish Bubble Painting

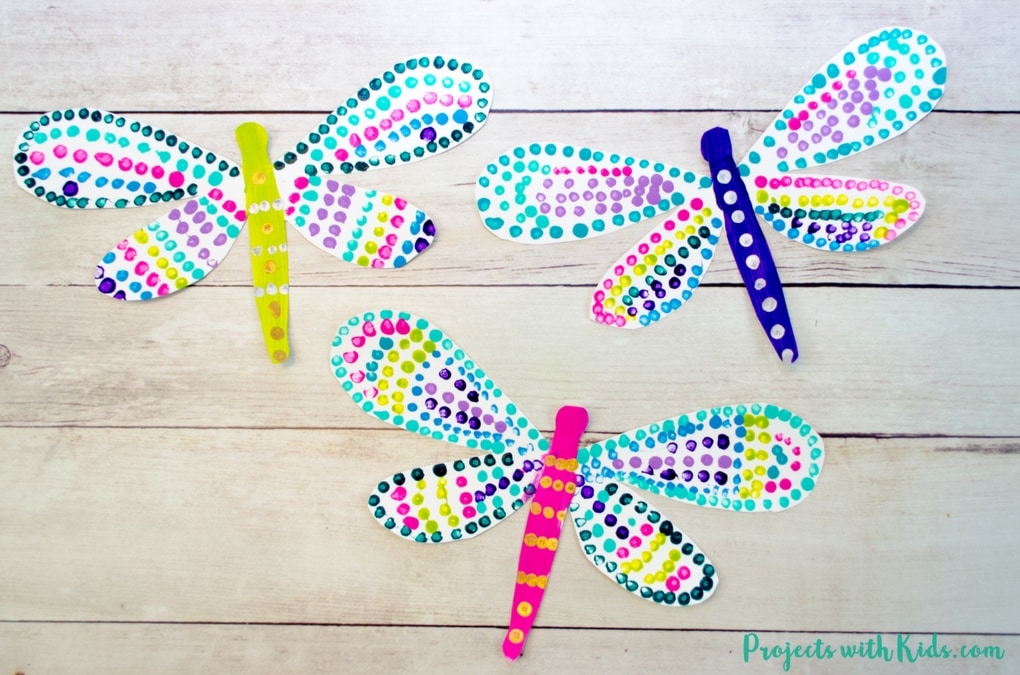
Colorful Q-Tip Painted Dragonfly Craft
Follow me on Pinterest for more creative project ideas!
Pin this sunflower painting for later

Sunflower Art Project with Real Sunflowers

Use parts of a real sunflower to make this colorful and easy sunflower art project! Learn about the different parts of a sunflower, perfect as part of a plant unit and a fun summer art activity.
Materials
- A fresh sunflower (with intact petals and a sturdy stem)
- Brown, yellow, and green acrylic paint
- Paper plate or paint tray
- White cardstock
- Paper towels or wipes for cleanup
Instructions
- Pick the right sunflower. Choose a fresh sunflower with lots of firm, colorful petals and a textured center. Avoid droopy or dried-out flowers—they won’t stamp well.
- Get your supplies ready.
- Stamp the flower center. Pour brown paint onto a plate. Press the middle of the sunflower head into the paint, then stamp it onto your paper to create the center of the flower. Try it on scrap paper first to get the feel of it.
- Add the petals. Gently pull off sunflower petals. Dip one side into yellow paint and stamp them around the brown center. Keep going until your flower looks full. Practice on scrap paper if needed.
- Print the stem and leaves. Cut a piece of the sunflower stem with a small leaf. Dip it into green paint and stamp it below the flower. Add more leaves if you like by stamping them separately.
- Let everything dry completely before displaying.


