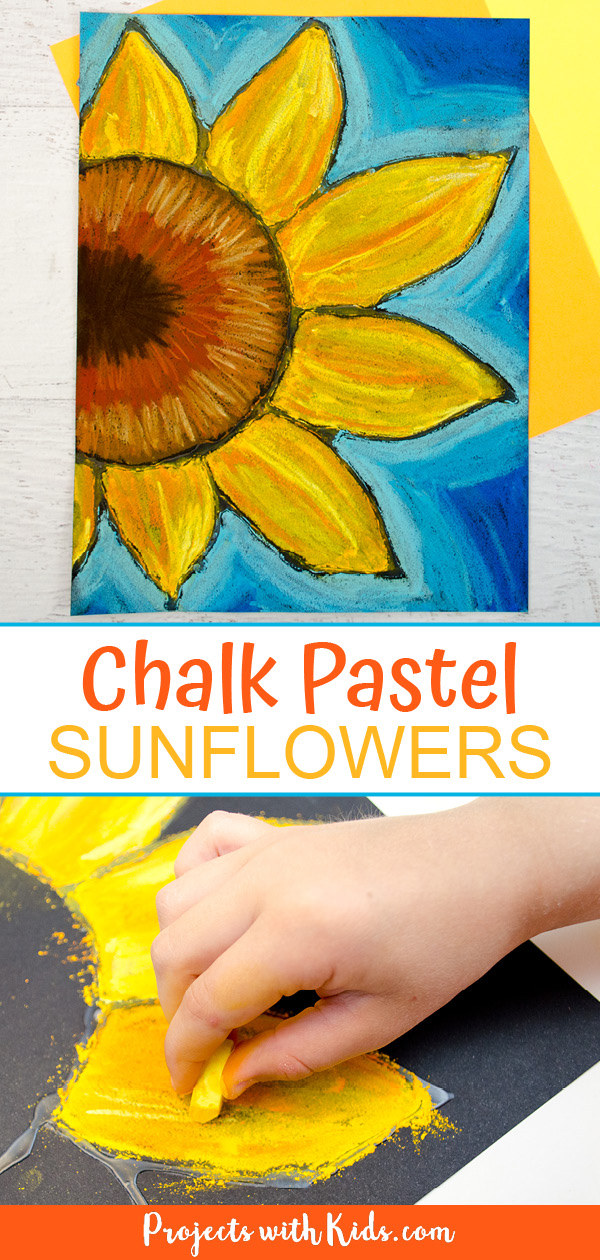
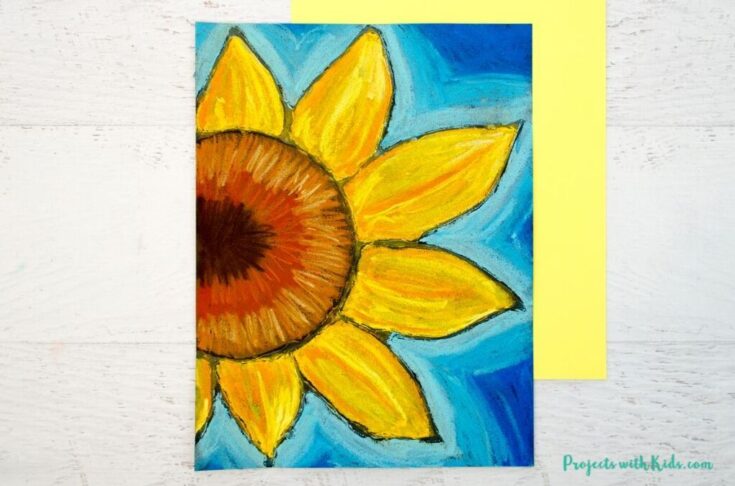
These chalk pastel sunflowers are so beautiful! We used a fun technique for this project that uses chalk pastels and glue. Kids will love to create this sunflower art with this technique and play around with layering colors.
Pastels are so fun for kids to explore! Take a look at my collection of chalk pastel art for more creative ideas kids will love.
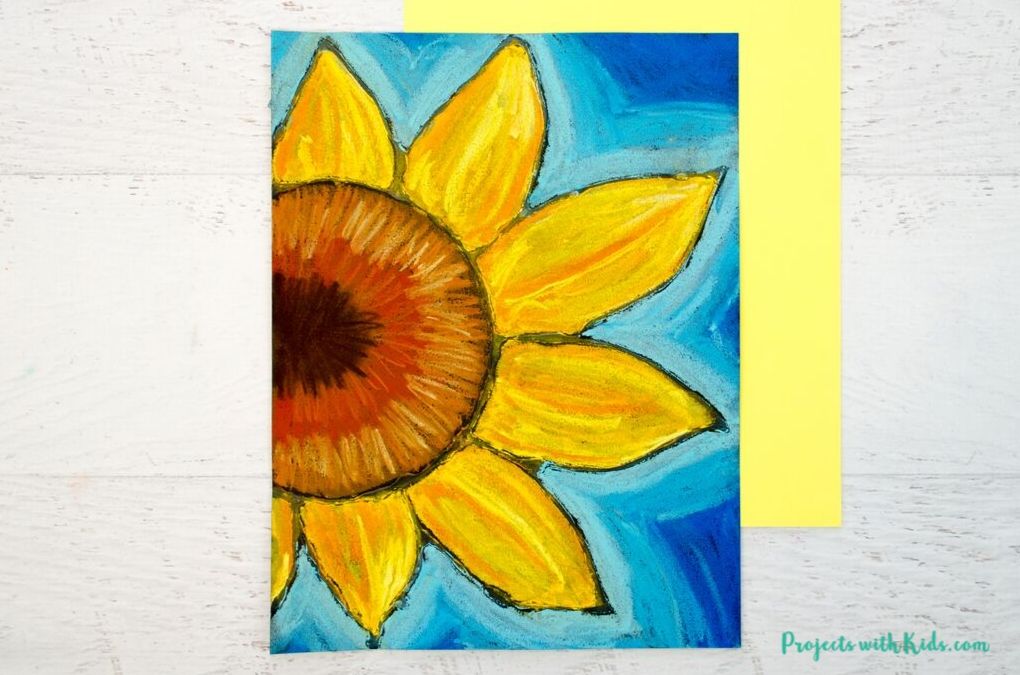
This is a great project for kids to try out layering and blending different shades of colors together to create their own unique sunflower art. This would also make a great addition to any sunflower unit for the classroom or at home.
We love creating and exploring with different art supplies. If you are looking for more art projects to try, take a look at our ultimate collection of amazing art projects for kids!
Famous Sunflower paintings
Sunflowers are a feature of many famous artists paintings!
Vincent Van Gogh painted multiple sunflower paintings over the course of his career and are some of his most famous works of art.
Georgia O’keefe, who is famous for her large flower paintings, also painted sunflower pictures. A Sunflower for Maggie is a beautiful example!
Have kids take a look at sunflower art created by other artists to see how they painted sunflowers in their own style. Each artist took the same subject matter and created completely different works of art.
How can children do the same with their sunflower picture?
Books to connect to this project and further learning
This post contains affiliate links. As an Amazon Associate, I earn from qualifying purchases. If you would like more information please review my privacy & disclosure policy.
Create your own chalk pastel sunflowers
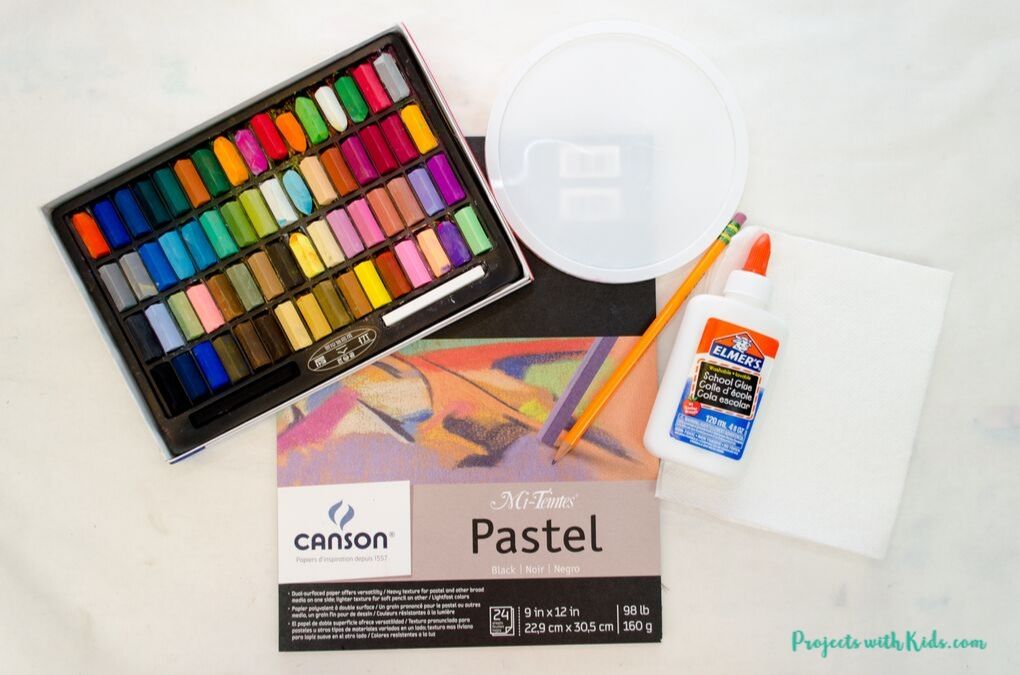
Supplies
- Chalk pastels
- Black pastel paper, drawing paper, scrapbook paper or construction paper
- White glue
- Large plastic lid or cardboard template for the sunflower center
- Pencil
- Paper towels
Instructions
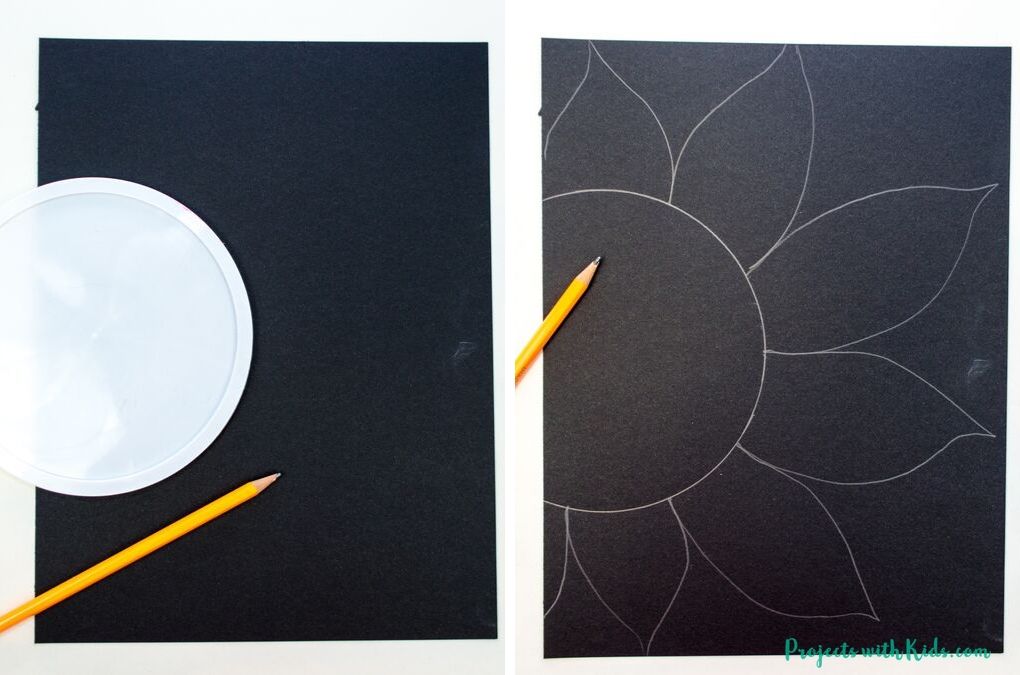
1. First, get your paper and plastic lid or cardboard template ready. We used 9 x 12 black pastel paper for this project but you can also use black drawing paper (which we use all the time), scrapbook paper or even construction paper.
Use a large plastic lid or cardboard template to draw the center of your sunflower, and draw the petals around. Kids can also try drawing the sunflower without a template.
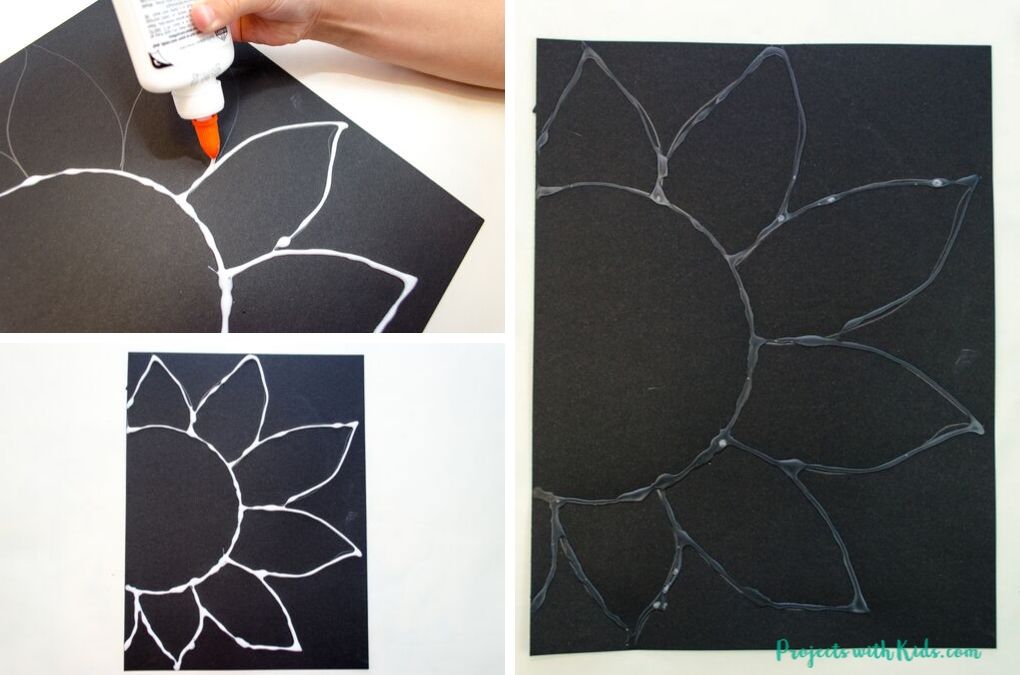
2. Use white glue to trace your drawing and let it dry. The glue takes a while to dry, ours took overnight. You want to make sure the picture is drying on a flat surface, or the glue will run.
The glue acts as a barrier for the pastels and is a great way to keep the different parts of the picture separated.
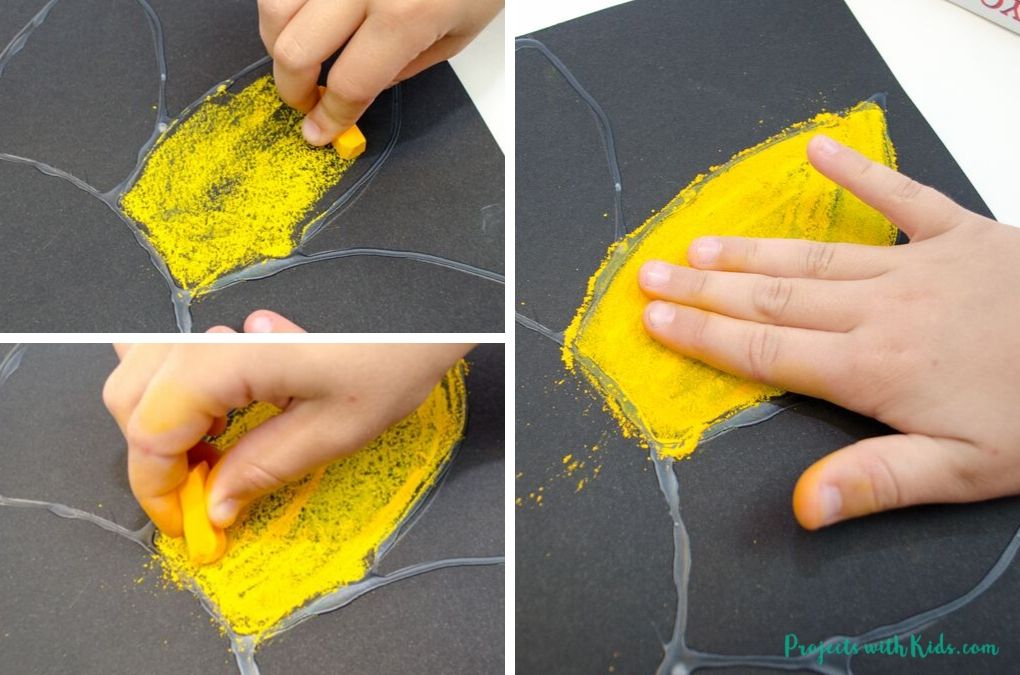
3. Have kids pick out shades of yellow and orange for the sunflower petals. You can also bring in real sunflowers for kids to take a closer look!
Start with one shade of bright yellow and color in a petal. Add in another shade of yellow or orange and blend the colors together. Kids can use their fingers or a q-tip or blending tool for this step.
Have lots of paper towels ready for kids to wipe their hands after blending the pastels together.
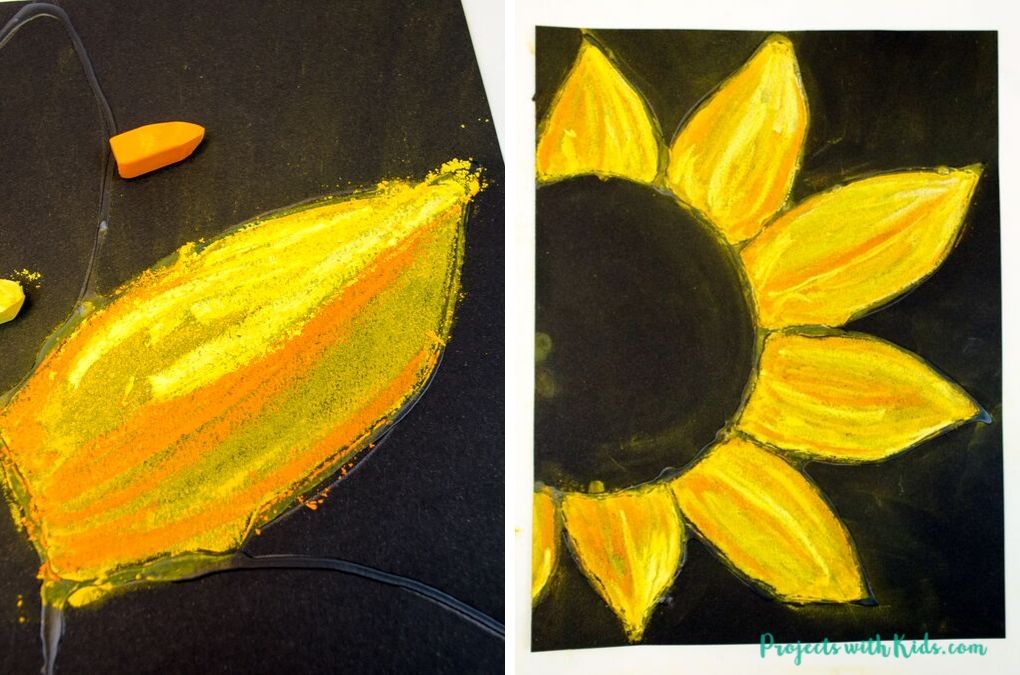
4. To finish off the petals, have kids add in a darker orange and light yellow color, like in the picture above. Kids can try blending these colors in a bit or leave them un-blended.
Let kids have fun layering and blending colors together in their own way.
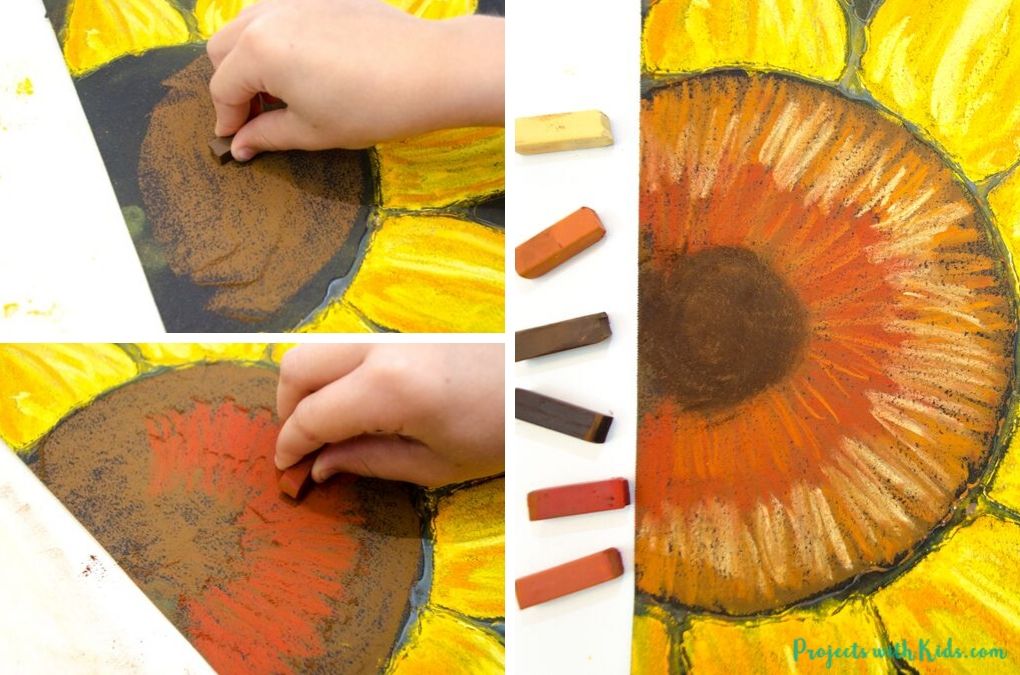
5. Color in the center of the flower with a dark brown, add in 2-3 more shades of brown like in the picture above. There is no wrong way to color in the center, let kids experiment with different lines and shades of brown.
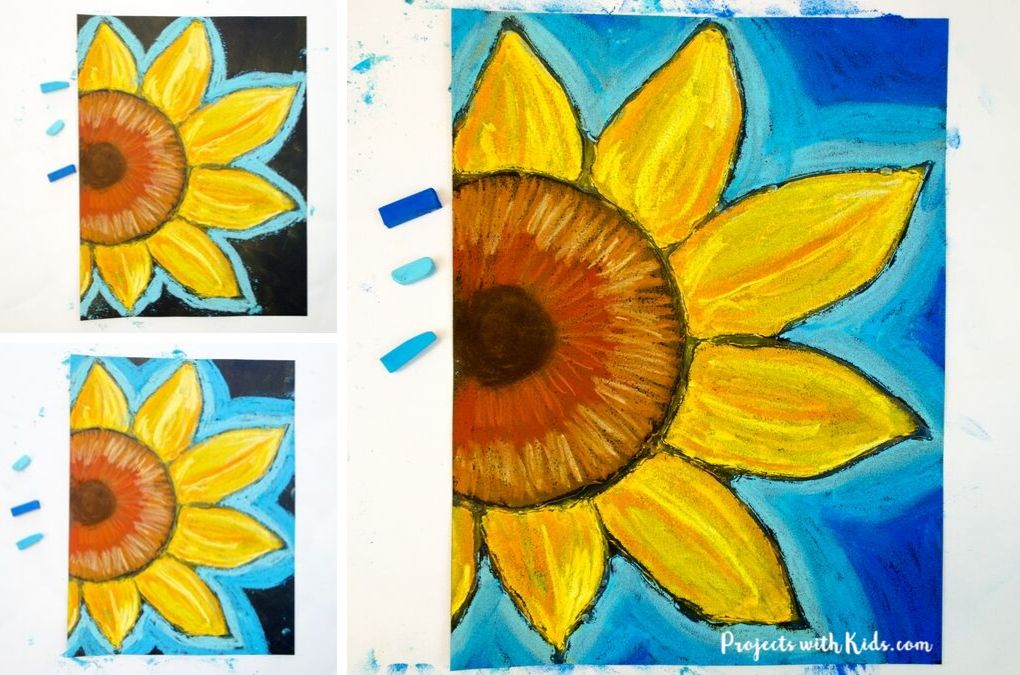
6. Finally, color in the background with different shades of blue. Kids might want to use another color for the background to make their artwork unique to their own style. I could see different purple shades look amazing with the colors of the sunflower!
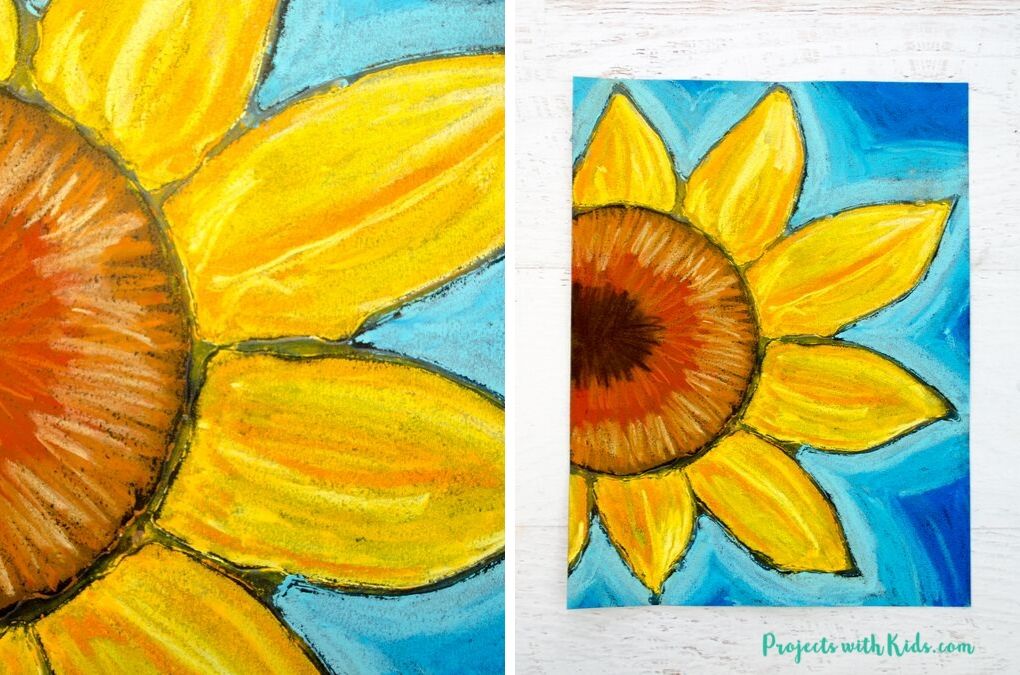
I love the way these chalk pastel sunflowers turned out. This project gives kids lots of practice with layering and blending pastels together. They can choose their own colors and style to make this art totally unique!
Talking about sunflowers in nature or art is a great way to extend the learning for this project.
Tips for working with chalk pastels
Chalk pastels can be messy (but so fun!). There are a few things you can do to keep some of the mess contained:
- Put newspaper down on desks or tables
- Put your project on a tray or a shallow cardboard box which will keep the most of the mess inside the tray
- You can try doing your project outside
- Have lots of paper towels handy
- Once you are done with your project, take it outside to gently blow or shake off the excess dust
- If you are using chalk pastels in the classroom and the kids are ready to take their artwork home, simply place the art between some newspaper to keep it from smudging and for easy transport.
More art projects kids will love
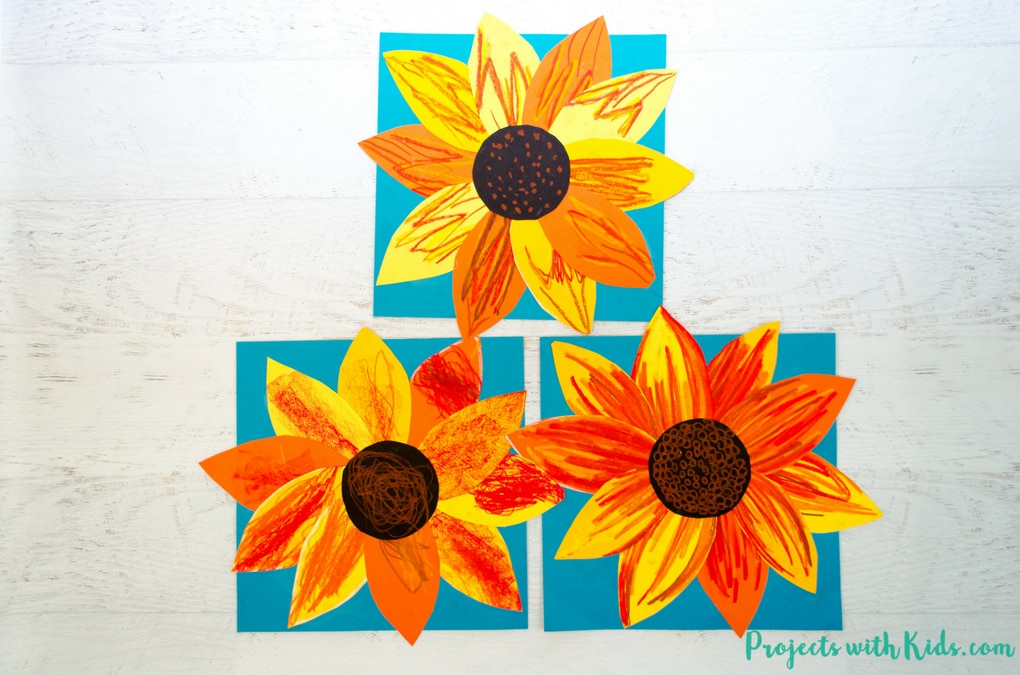
Autumn Sunflower Craft with Oil Pastels
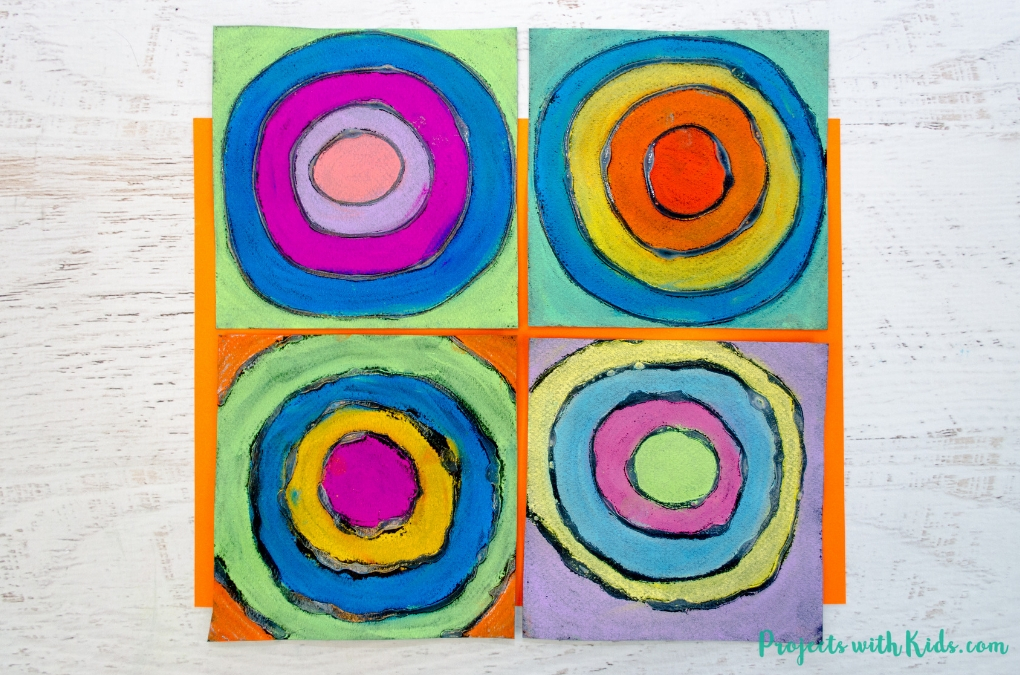
Easy Kandinsky Art for Kids with Chalk Pastels
Follow me on Pinterest for more amazing project ideas.
Pin this sunflower art for later
Beautiful Chalk Pastel Sunflowers - Art Project for Kids
These chalk pastel sunflowers are so colorful and beautiful! Kids will learn easy chalk pastel techniques to create this fun sunflower art project!
Materials
- Black pastel paper, drawing paper or construction paper
- Chalk pastels
- Pencil
- White Glue
- Paper towels
Tools
- Plastic lid or cardboard template for the center of the sunflower
Instructions
- Draw your sunflower on black paper. Use a large plastic lid or cardboard template to draw the center of the flower. Draw the petals around.
- Use white glue to trace your drawing. Let this dry flat overnight.
- Use different shades of yellow and orange chalk pastels to color in the petals. Let kids explore layering and blending the colors together.
They can use their fingers to blend or try using q-tips or a blending stick. - Have kids color in the center of the sunflower with a dark brown. Layer 2-3 shades of brown on top like in the picture above. Looking at a real sunflower will give kids ideas on what the center can look like!
- Finally, use shades of blue to color the background. Kids can also choose their own colors for the background.


