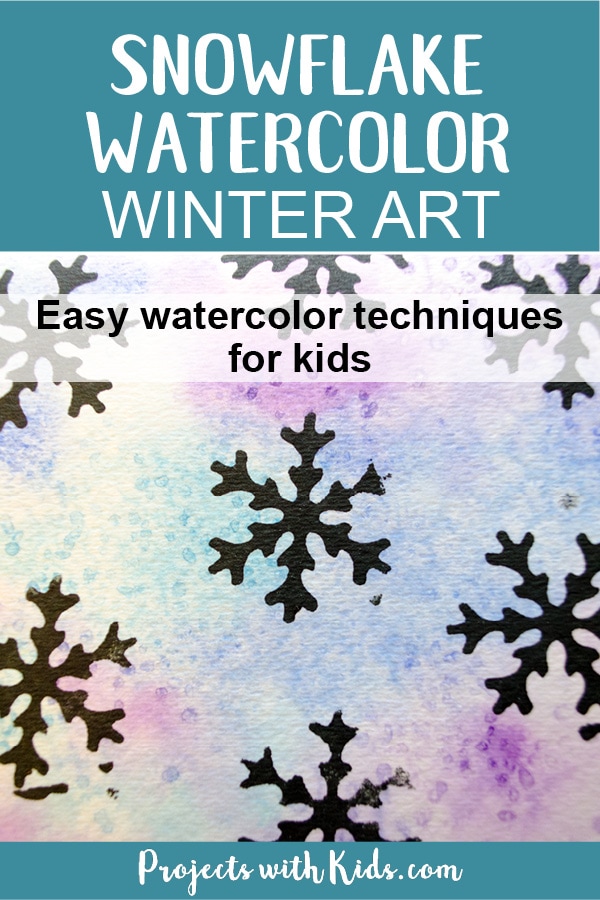
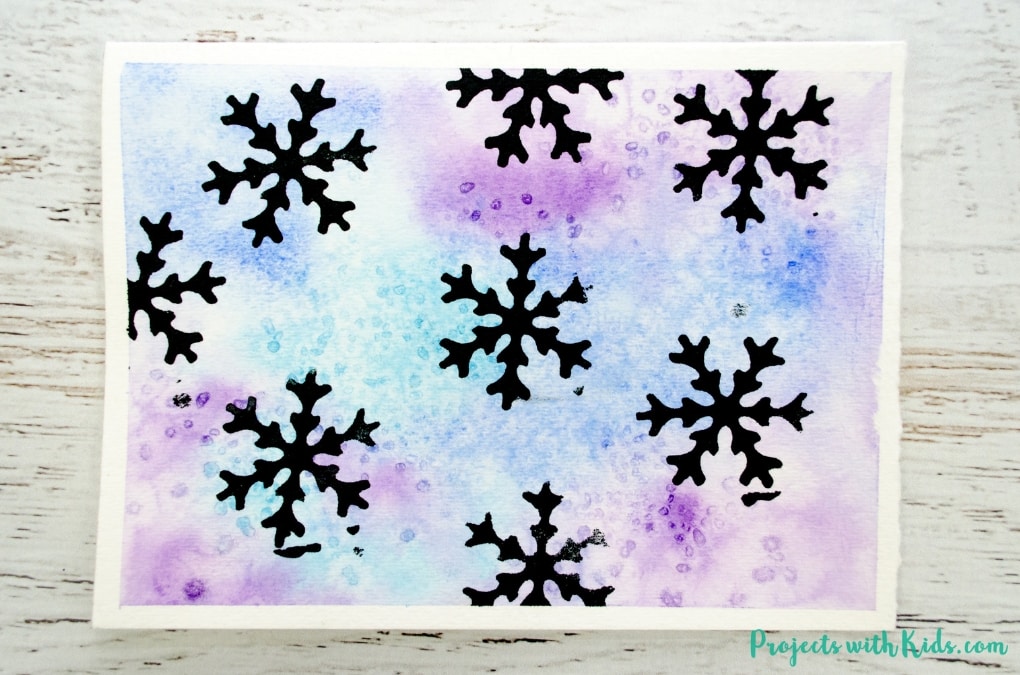
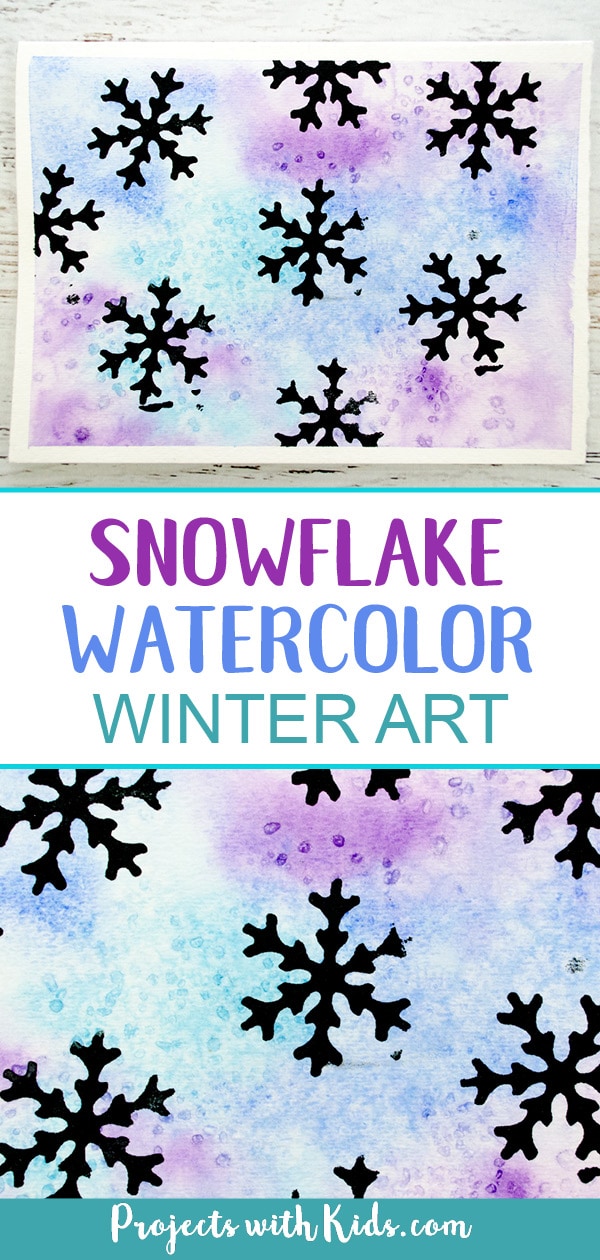
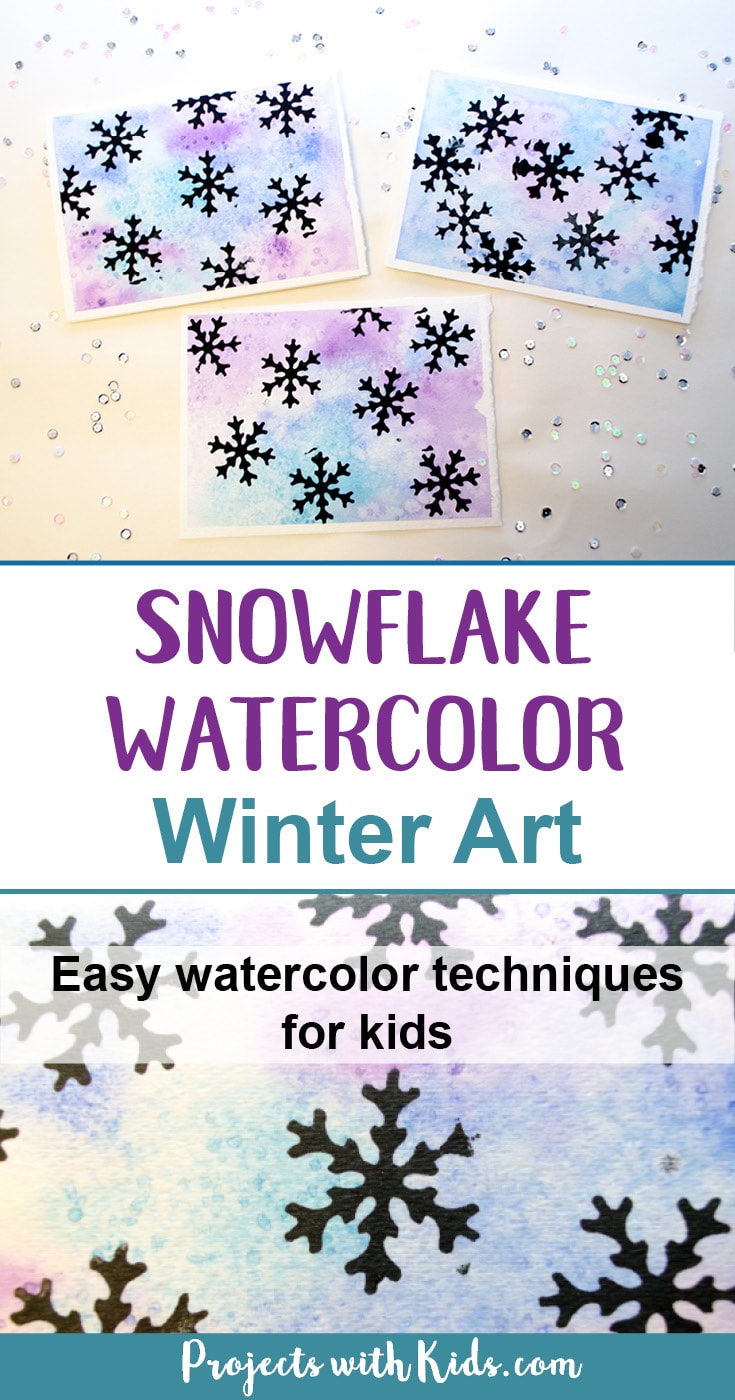
I love how wintery and icy these watercolor winter art paintings turned out! We used simple and fun watercolor techniques that kids of all ages can do and get amazing results.
I love using watercolors with kids, they are easy to set up and always turn out great. There is so much room for kids to explore and experiment, each painting will be unique. Check out our awesome collection of watercolor painting for kids for more fun and creative ideas kids will love!
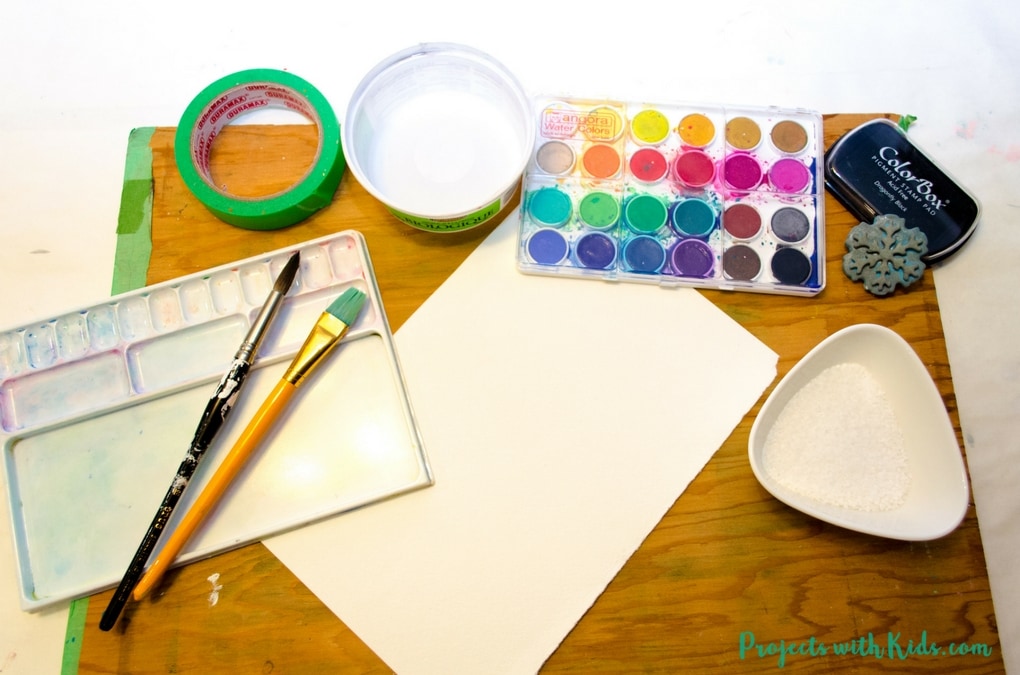
One thing that makes a big difference in using watercolors with kids is the type of supplies that you use. I find that using real watercolor paper and artist quality paint makes a big difference.
The colors turn out more vibrant and the watercolors really soak into the paper creating unexpected and unique patterns. A little goes a long way with watercolor paints and you really don’t need to spend a lot of money to get these beautiful results.
We love exploring different painting techniques. Take a look at my collection of painting ideas for kids for more fun and creative art projects to try! For more Christmas projects check out my collection of creative Christmas arts and crafts for more great ideas.
Make your own snowflake watercolor winter art
This post contains affiliate links, which come at no cost to you. If you would like more information please review my disclosure policy.
Supplies
- Watercolor paint
- Watercolor paper
- Paint trays
- Watercolor brushes
- Tape
- Coarse salt
- Black ink pad
- Snowflake stamp
Instructions
Related: 5 Easy Watercolor Techniques for Kids with Amazing Results
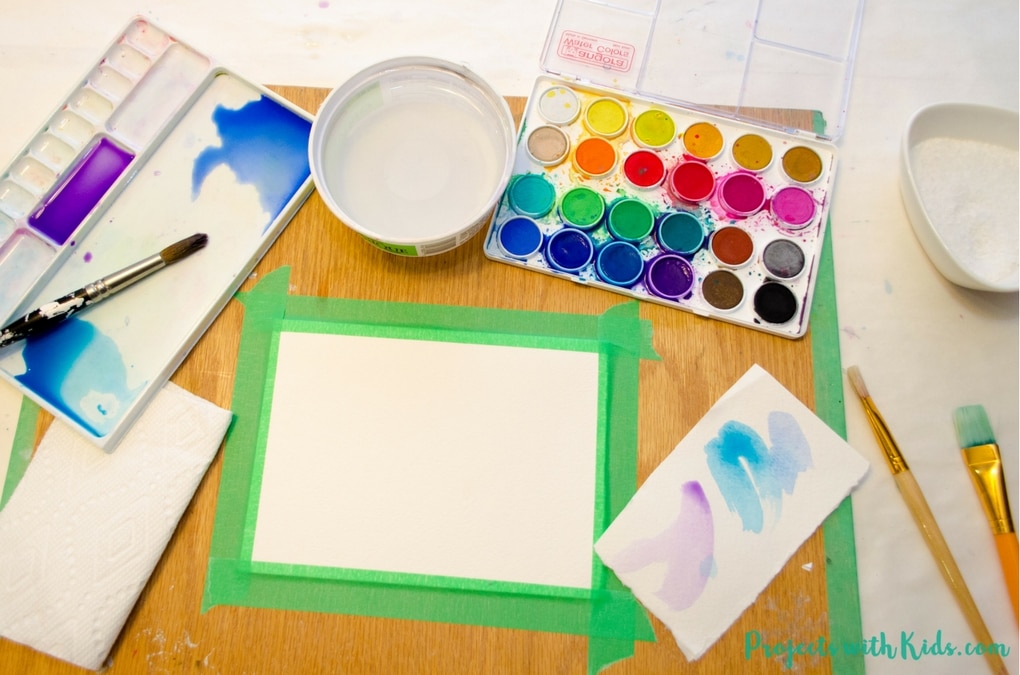
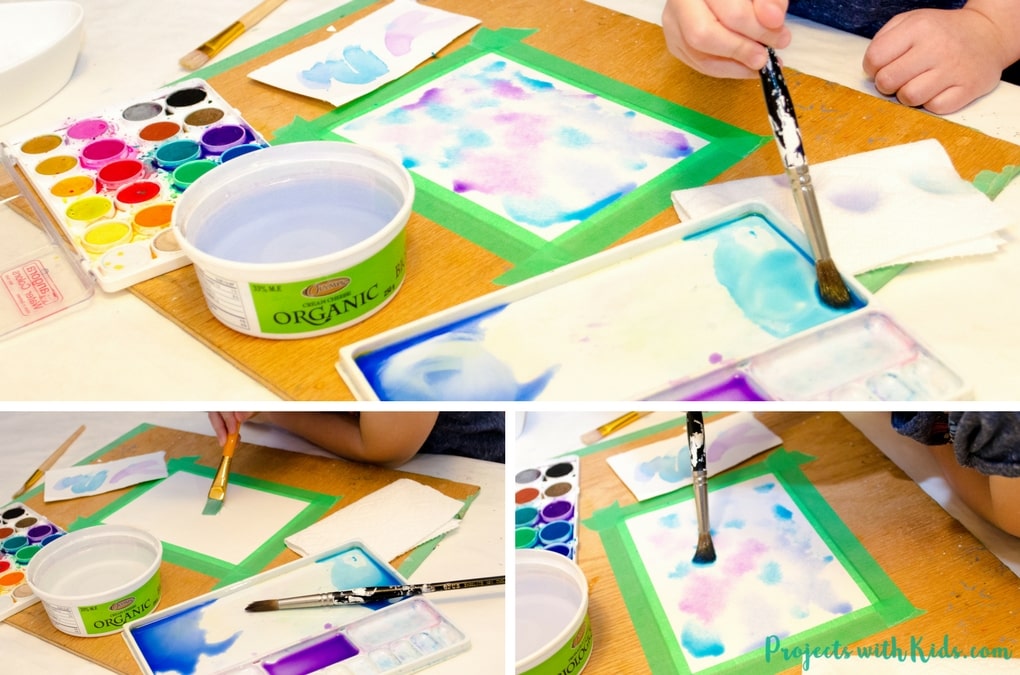
1. Gather all of your supplies and tape your paper down to a wooden board. Doing this will help to keep the paper from buckling and also gives the painting a nice crisp edge.
2. Mix 3 or 4 colors of wintry blues and purples. I find that using 3 or 4 colors works best and produces the best results, allowing the watercolors to mix together and create new colors and patterns without becoming too muddy. I like to keep a piece of scrap paper handy to test out my colors on.
Related: Northern Lights Watercolor Painting for Kids
3. Taking a larger brush, paint your entire paper with water. You want the paper to be wet not soaking, you can always dab the excess water away with a paper towel.
4. Painting with one color at a time, have kids dab and paint their colors onto the paper. Remind them not to mix the colors too much on the paper, let the wet paper spread the colors and do the mixing for them. This is fun and kids love watching their colors mix together and create patterns on their paper!
Related: Glitter Snowflake Ornaments with Air Dry Clay
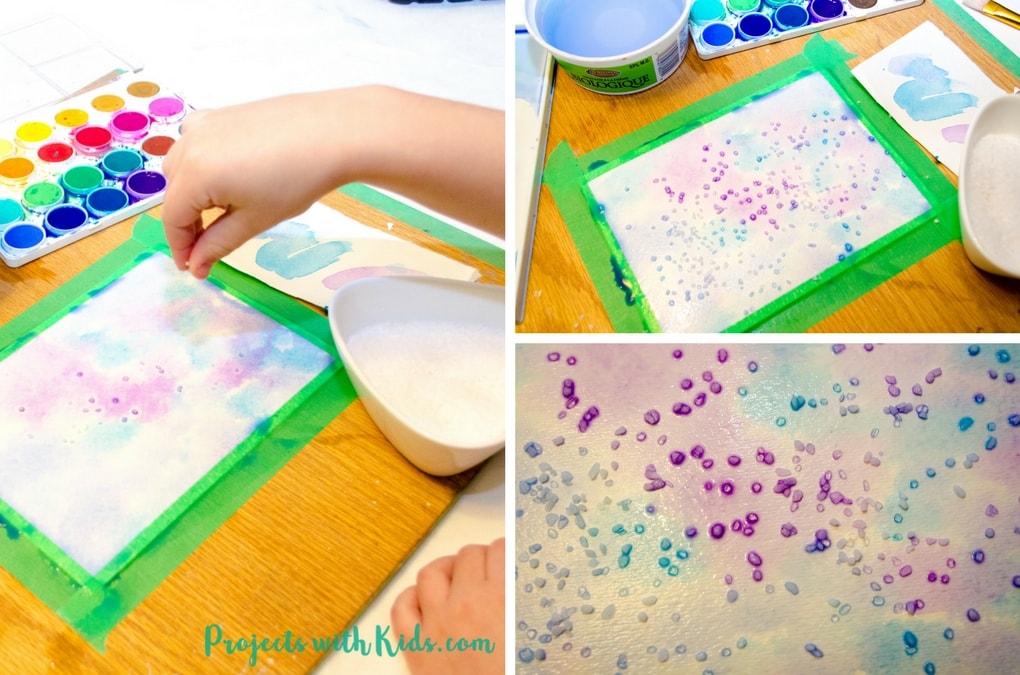
5. Once they are done painting, it’s time to sprinkle their paintings with salt. This will add to the icy look of the paintings and create even more beautiful and unique patterns. Have the kids try sprinkling the salt in a few spots, leaving some areas without any salt.
6. Let the paintings completely dry. This may take a while depending on how wet the paper is. The salt will continue to create more patterns as it dries.
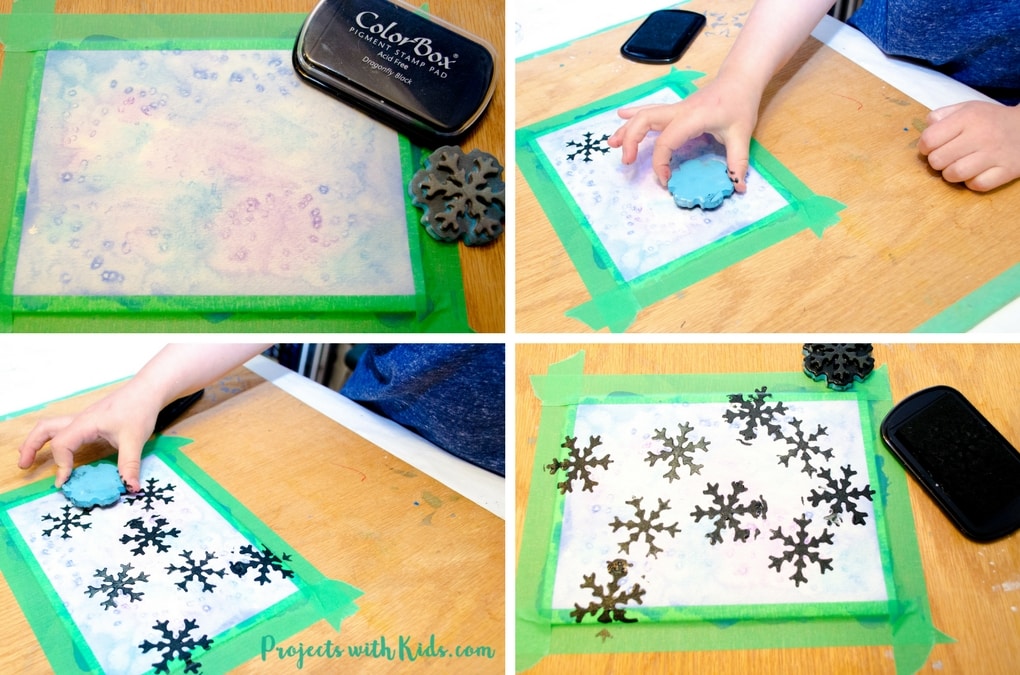
7. Once the paintings are dry, brush the salt off and it’s time to stamp on your snowflakes! Have kids stamp their snowflakes on their paintings, being extra careful not to smudge the ink. Let the ink completely dry before removing the tape around the edge of the paper. Our ink took a long time to dry, we let it dry overnight.
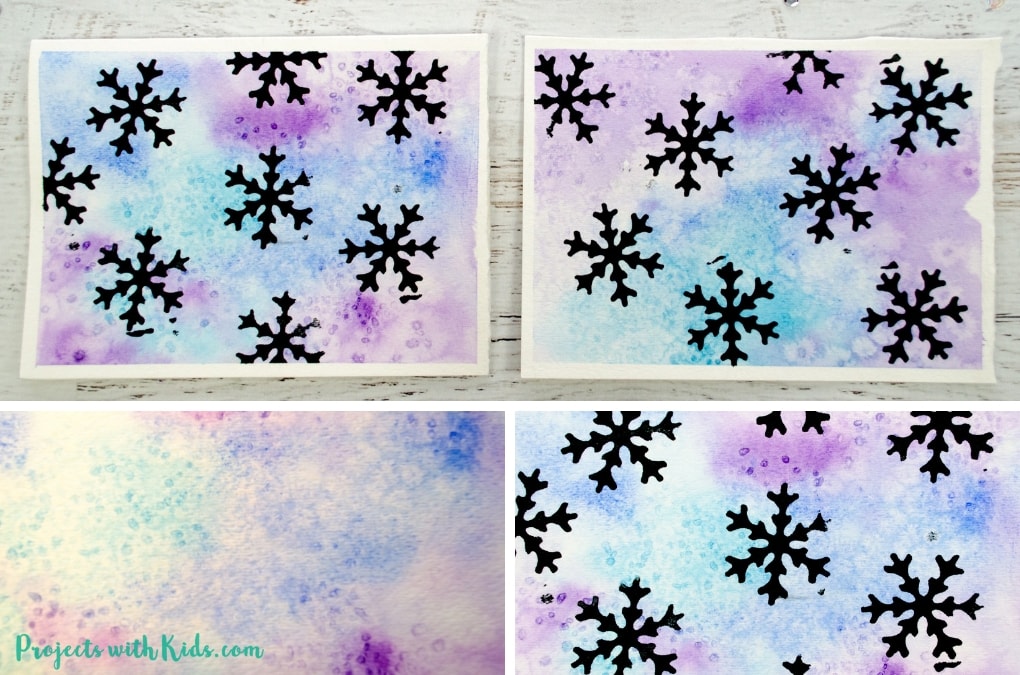
I love how our winter watercolor art turned out they look so beautiful displayed on our wall! My kids love painting with watercolors and exploring different techniques.
If you are looking for more watercolor projects to try with kids take a look at these beautiful northern lights paintings and these unique watercolor bookmarks that also make a great handmade gift. For more winter project ideas check out my collection of winter art for kids to make.
Follow my Watercolor Projects for Kids board on Pinterest for more great ideas!
Pin this project for later




Debbie
These are so pretty! I love water color projects because they have such a soft, pretty tone to them!
ProjectswithKids
Thanks, that’s one of the reasons I love watercolors too.
Michele
I feel relaxed just looking at these. They are lovely. They would even be pretty with stars. I love them.
ProjectswithKids
Thank you so much, Michele! I really love how they turned out.
Shann Eva
I love this! I love the way you combined the two medias, and it looks so pretty. I’ve never thought to tape down the paper before painting…such a great tip.
ProjectswithKids
Thanks, Shann! Taping down your paper can make all the difference, and it gives the paintings such a nice crisp edge.