
These easy watercolor techniques produce magical results! I had so much fun creating these northern lights watercolor paintings alongside my kids, they really created gorgeous paintings.
Using a few very simple watercolor techniques involving wet paper and salt was all it took to create these beautiful Northern Lights paintings. Check out our awesome watercolor painting for kids post for more fun and creative ideas kids will love!

Both my 4-year-old and 6-year-old loved doing this project and we all loved watching the watercolors and salt create interesting patterns on our paper. Watercolors are so much fun to play around with, they can produce such lovely and unexpected results no matter the age or skill!
If you are looking for more winter project ideas take a look at my collection of beautiful winter art for kids to make!
A note about art supplies
I love introducing my kids to new art materials and this project was the perfect opportunity to use some luxurious art supplies that we don’t really use in our day to day crafting. We used Arches 300lb watercolor paper, which is an amazing paper to work on!
It is especially great when using a wet on wet technique since the paper doesn’t buckle and it really holds the water and paint well. It is, however, a very thick paper, 140lb paper would also work great for this project.
I used a set of artist quality watercolor discs, or pans, that is a step up from the traditional watercolors that most kids would use at school. You could also use any watercolor tubes that you may have, either option would work well.
Even though they cost a bit more I really love using artist quality watercolors with kids, a little goes a long way, they are just a dream to paint with and you really can’t beat the vibrancy of the colors.
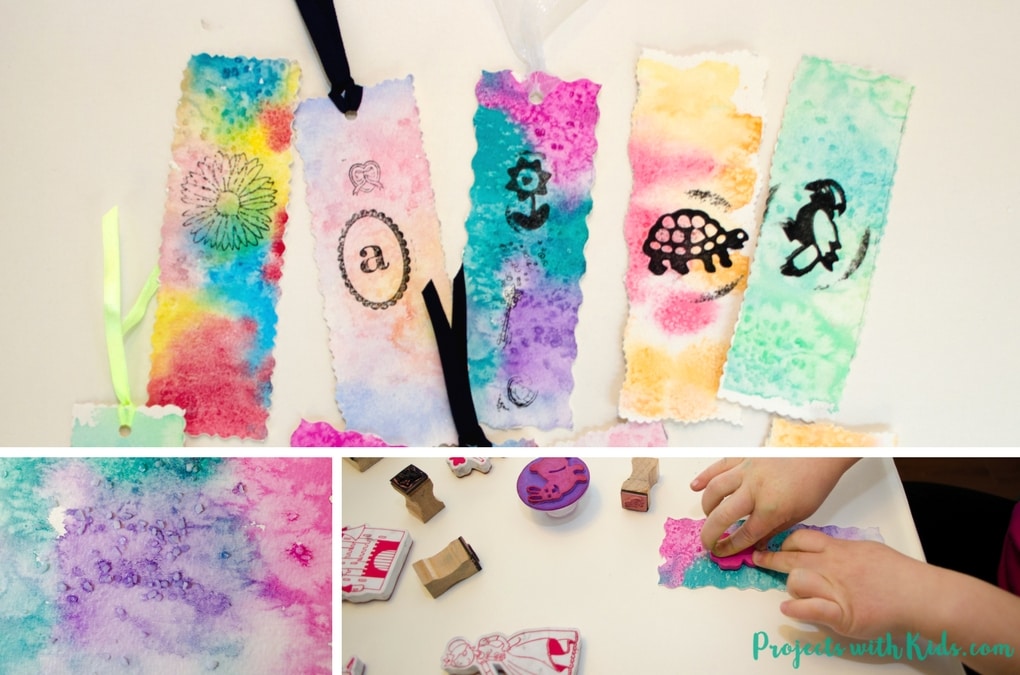
Related: 5 Easy Watercolor Techniques for Kids with Fantastic Results
Create your own northern lights watercolor painting
This post contains affiliate links. If you would like more information please review my disclosure policy here.
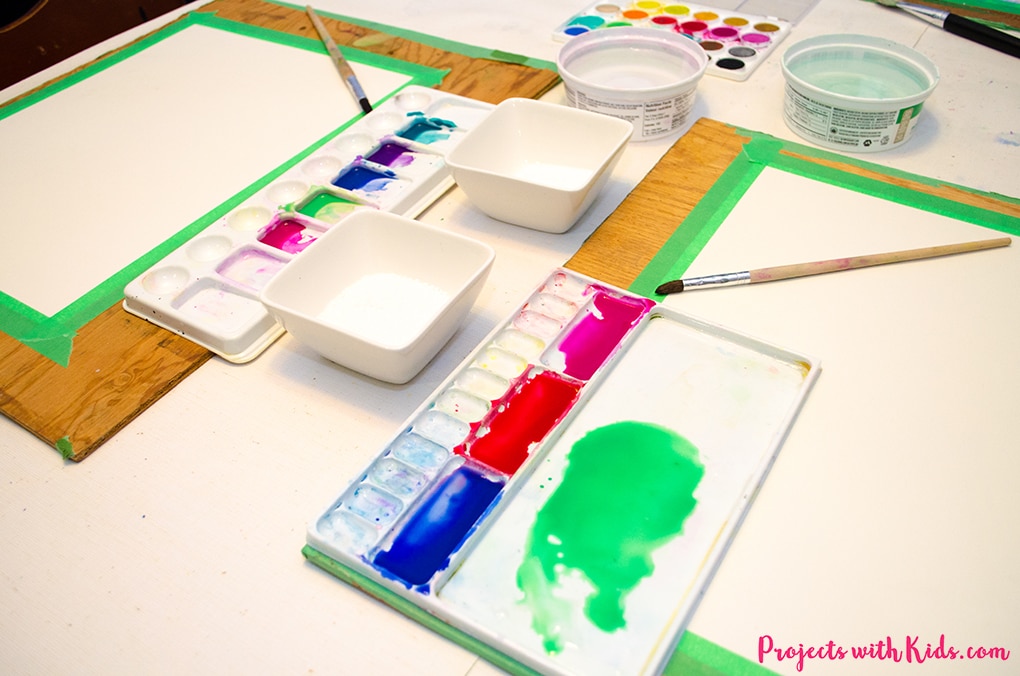
Supplies
- watercolor paper cut to your desired size. I cut our paper to 15 x 11 and 15 x 8.
- watercolor paints, we have this set and love it!
- paint palettes and water containers, this can be recycled containers or lids
- wooden boards that can be used to tape the paper down on, ours is just plywood from the hardware store
- painters tape
- paintbrushes
- coarse and fine salt
Instructions
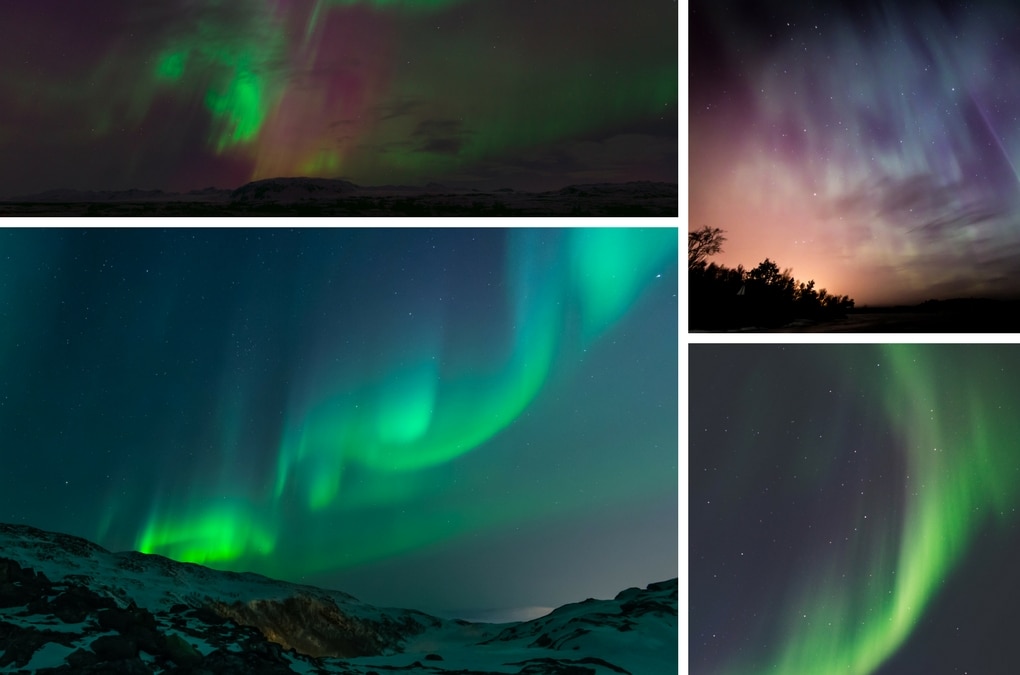
1. The first thing we did was look at northern lights images on my laptop for inspiration. This will help with color selection and also show how the lights streak across the sky. Northern lights pictures are amazing and inspiring! We spent quite a while looking at all of the beautiful colors and light patterns that they make.
2. Next, tape your paper to your board using painters tape. This helps keep the paper from sliding all over when painting(which can be frustrating for kids) and also creates a nice border around the finished painting. If you are using a thinner paper, it will also help keep the paper from buckling.
3. Mix your paint colors, I let the kids pick out 3-4 colors each and mixed for them. You want the paint to be quite watery to help achieve the desired effect. It’s a good idea to have a small piece of test paper to test out the colors first and then add more water if needed.
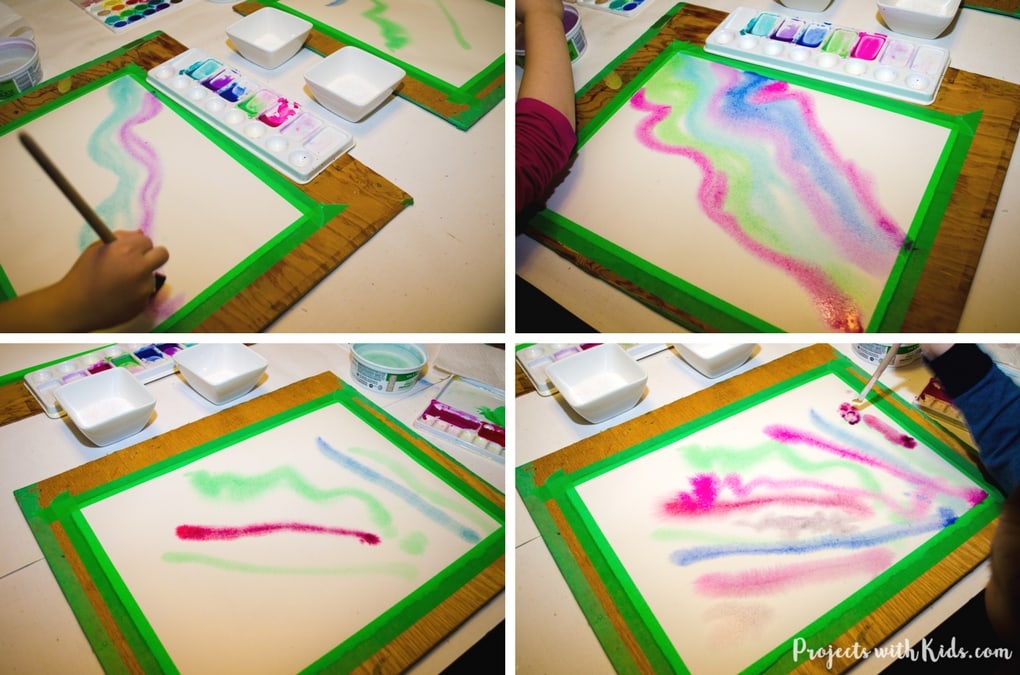
4. Brush your whole paper with water, using a larger brush for this step will help it to go faster. You don’t want the paper to be soaking wet, or the paint will run off. If it’s too wet you can dab it with some paper towels.
5. Once the paper is wet they can start painting. I had my kids paint across the sky in a sort of streaking motion to help with the northern lights effect.
* It’s also important to tell them not to mix their colors on the paper or the colors will look muddy. They want to paint each color separately, rinsing their brushes in between colors. Let the wet paper do its job and the colors will mix beautifully!
Painting on wet paper is a really easy watercolor technique that produces great results! The colors blend and spread in such lovely ways, creating different results every time.
Sprinkle with salt

Related: 47 Creative Watercolor Painting Ideas Kids Will Love
6. After they have covered the paper with their desired colors then they can start to use the salt! The paint needs to be wet in order for the salt to work so this step needs to be done right after the painting is done. We used both coarse and fine salt and found that the coarse salt produced more of a striking effect.
Pinch the salt between your fingers and sprinkle on the paper. Experiment with sprinkling salt more heavily in some areas and sparingly in others so you can see the different types of patterns that are made.
7. Let the paper completely dry (this may take a while) and brush the salt into the sink or outside. This can be quite messy so you may want to do this step for the kids.
After your paper is completely dry it’s time to add the finishing touches!

Related: Snowflake Watercolor Winter Art
8. Mix up some black watercolor paint and paint your trees. The paint should be on the thicker side so that the trees add a contrast to the painting. This is where your test paper would also come in handy so you can make sure the black is dark enough.
Everyone has their own style and painting the trees will give each painting a unique look. My Daughter(6 years old) wanted to paint a star on top of one of her trees and my son(4 years old) wanted to paint a circle beside his trees.

Related: The Best Painting Ideas for Kids to Try Today
9. Once the black paint is dried you can mix up some white watercolor paint (or even white acrylic if you have it) and splatter paint the snow on the painting for the final touch. Make sure the paint is on the watery side so it will splatter easily.
Hold the brush over the painting with one hand and tap the brush with your fingers to make it “snow”. Apply as much or as little snow as you like, kids love this part!
Stand back and admire everyone’s beautiful paintings!
These northern lights watercolor paintings turned out so well, my kids really love their paintings and love seeing them displayed in our house. They really liked using all of the “fancy” art supplies that I brought out and have been asking to do more watercolors with salt.
I hope you have as much fun trying out these easy watercolor techniques and creating your own paintings as we did!
More watercolor painting ideas you will love
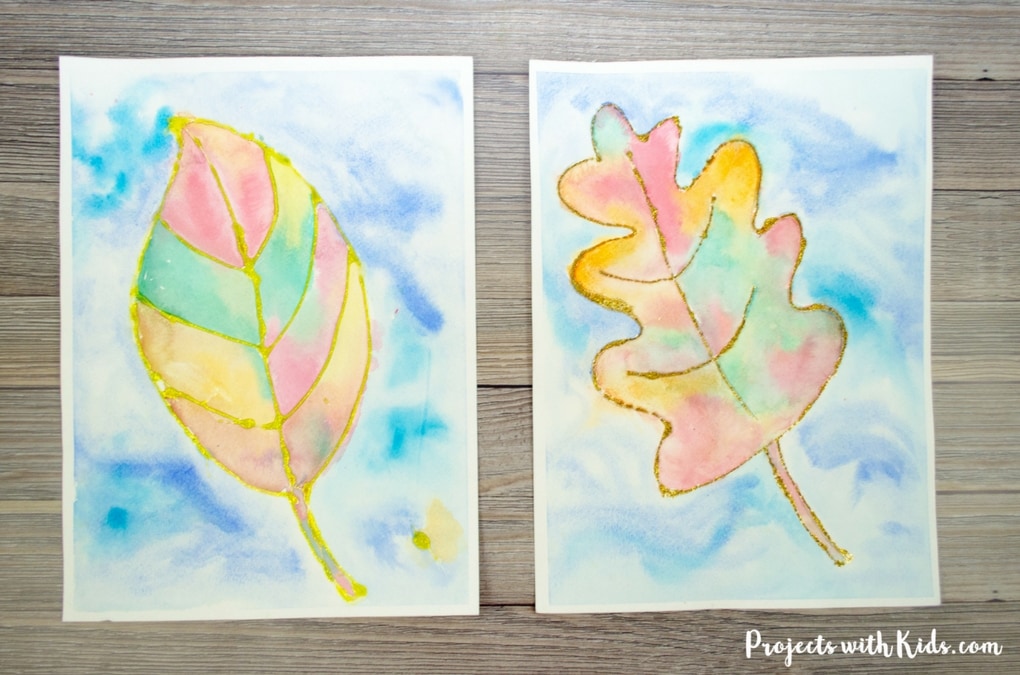
Beautiful fall leaf paintings with watercolors and glitter
Follow my Watercolor Projects for Kids Pinterest Board for more great ideas!
Pin this project for later


