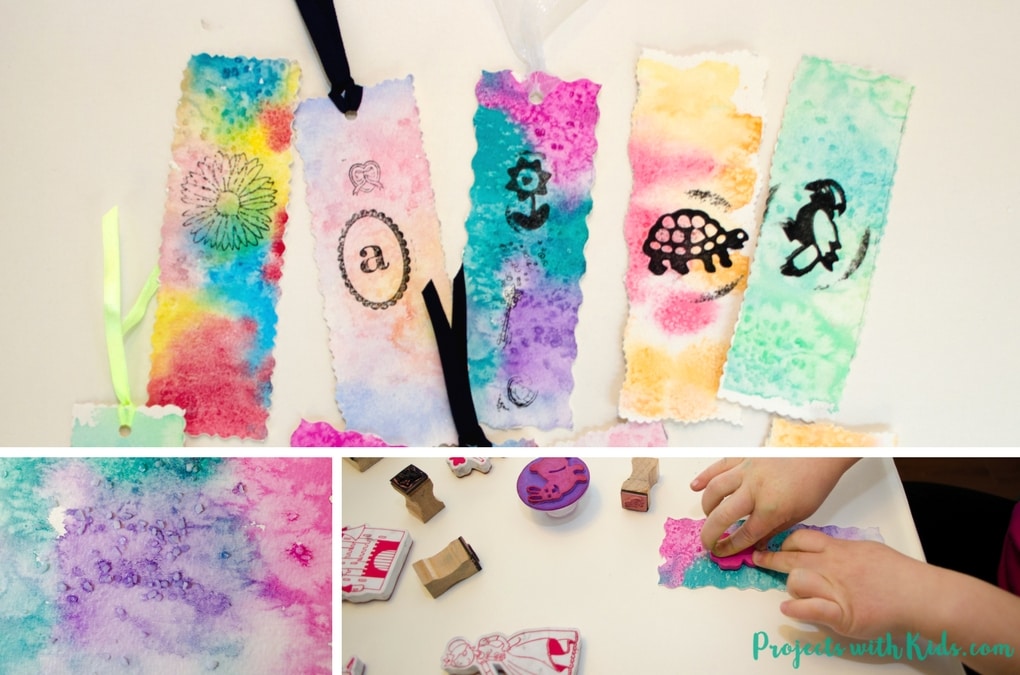
These watercolor bookmarks turned out so unique and beautiful! Each one can be customized with types of stamps, choice of colors and edging details. They would make perfect Mother’s Day or Father’s Day gifts, teacher gifts, even gifts that your kids can give to their friends(or keep for themselves!).
Check out our awesome watercolor painting for kids post for more fun and creative watercolor ideas kids will love! We love exploring different painting techniques. Take a look at my collection of painting ideas for kids for more fun and creative art projects to try!
A note about using art supplies with kids
I love introducing my kids to new art materials, it gives us a chance to use some luxurious art supplies that we don’t really use in our day to day crafting. We used Arches 300lb watercolor paper but for this project, I think that was a little too thick(even though it’s an amazing paper to use!) because I found the bookmarks a bit tough to cut out. I think 140lb paper would work better.
I used a set of artist quality watercolor discs or pans that are a step up from the traditional watercolors that most kids would use at school. I love love love using artist quality watercolors! They cost a bit more but really a little goes a long way and they are just a dream to paint with and you really can’t beat the vibrancy of the colors.
This post contains affiliate links. If you would like more information please review my disclosure policy here.
Create your own watercolor bookmarks
Supplies
-
- Watercolor paper cut to 5 x 7 inches. This will make 2 bookmarks.
- Watercolor Paints
- Salt, we used coarse and fine salt
- Painters tape
- Wooden boards to tape your projects to, we used some plywood scraps from the hardware store
- Paintbrushes
- Paint and water containers
- Decorative edged scissors
- Hole punch (optional, only if using ribbon)
- Stamps and ink of your choosing
- Ribbon in your choice of colors (optional)
Instructions
First, create mini paintings
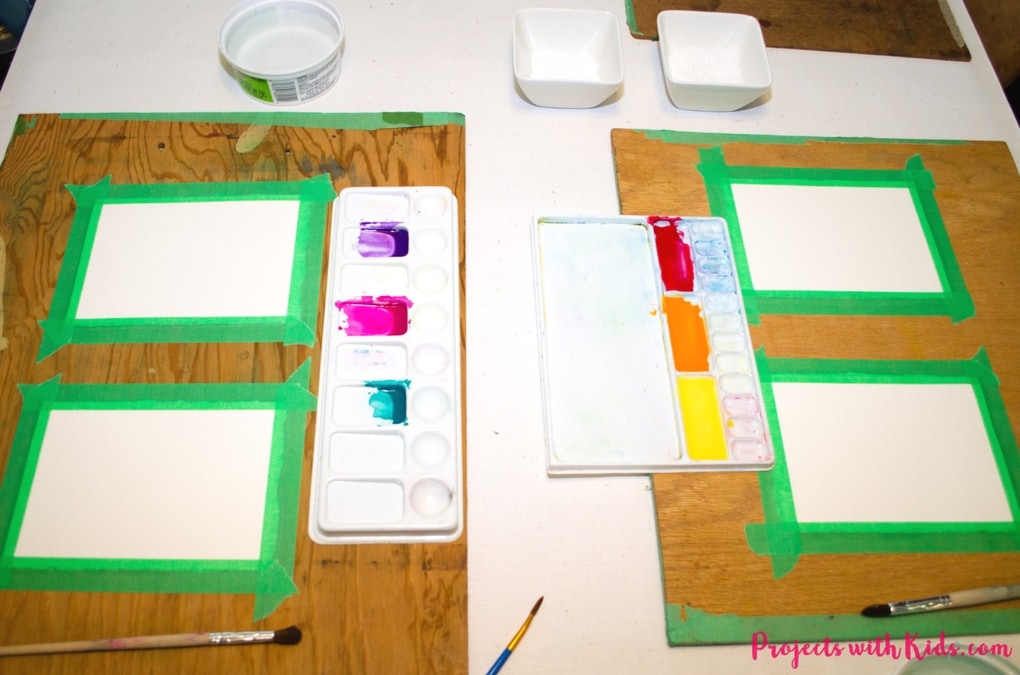
1. Tape your paper to your wooden board or whatever surface you are using with painter’s tape, this will help to keep the paper from sliding around.
Decide on 3-4 colors per piece of paper, my kids each did 2 pieces of paper so they could choose more colors and make more bookmarks. Mix up your colors, keeping them on the watery side. It’s always a good idea to keep a tester piece of paper close by so you can test out your colors beforehand.
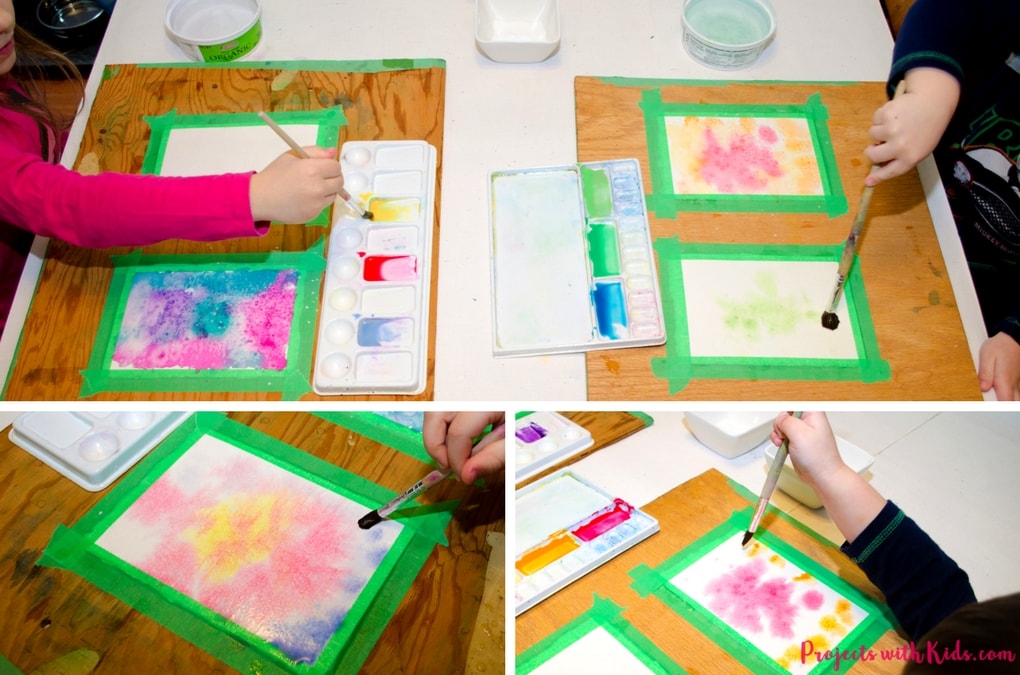
2. Completely wet the paper. You don’t want the paper soaking wet. The wetter the paper, the more the paint will pool instead of start to spread and create patterns. If the paper is too wet just dab a bit with a paper towel.
Related: 5 Easy Watercolor Techniques with Amazing Results
3. Begin painting, remind your kids not to mix the colors too much with their brushes but rather let the paint spread and mix on its own. Let the wet on wet technique do its job!
Related: Sticker Resist Watercolor Valentine Bookmarks
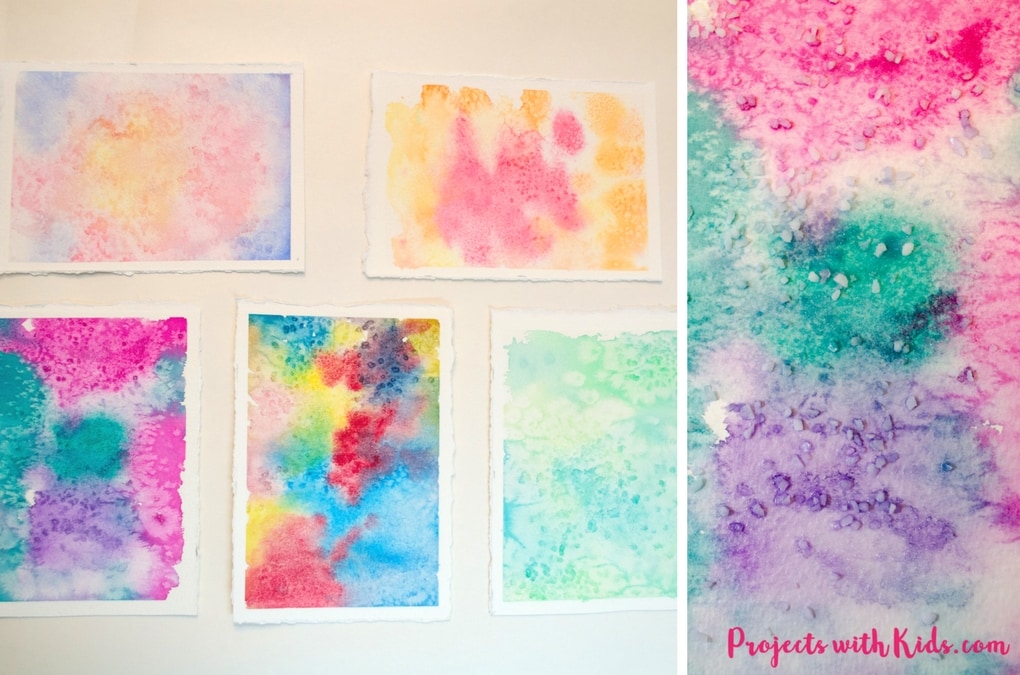
4. Once done painting, start to sprinkle on the salt. Experiment with coarse and fine salt, they each create their own unique patterns. It’s fun to watch as the salt starts to create patterns on the paper!
Let the paper completely dry. This may take a while. Once dry, brush all of the salt off and take the tape off. These will be beautiful little paintings with lovely patterns created by the wet on wet technique and the salt!
Cut and decorate your bookmarks!
Related: 47 Creative Watercolor Painting Ideas Kids Will Love
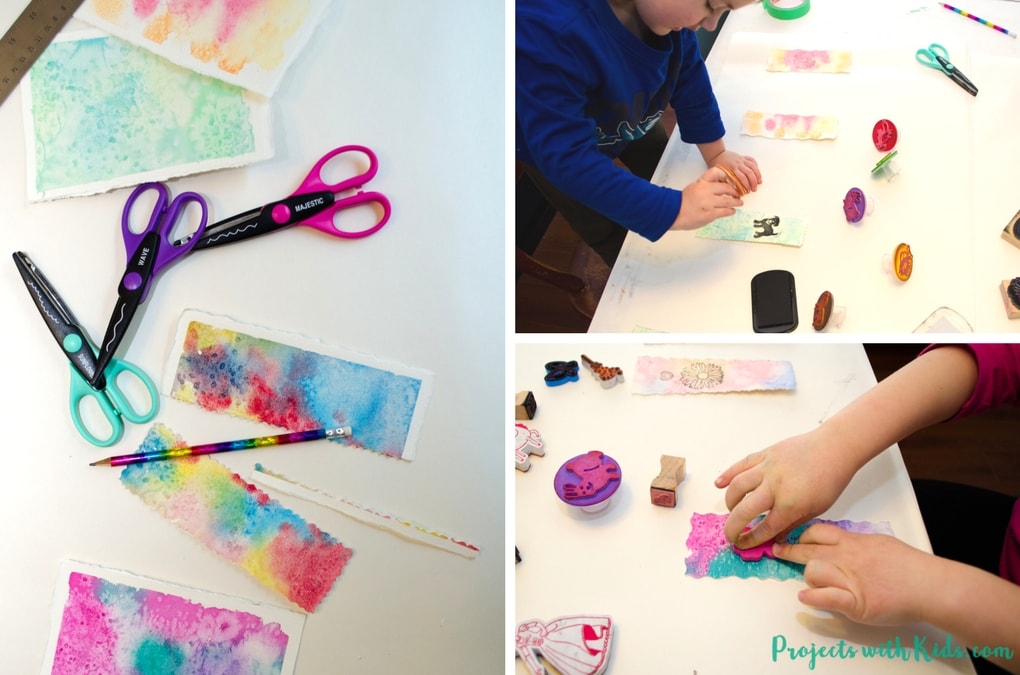
5. Choose the type of decorative edged scissors that you would like to use. Depending on the thickness of the paper(ours were very thick!) and the age of the kids, you may want to cut the bookmarks out for them. I cut ours to approximately 2.5 x 6.5 inches.
6. Next, set out the stamps and ink that you would like to use. We stuck to black so it would show up the best on top of the watercolors. Let the kids choose one or two stamps per bookmark (or more if they like) and stamp away!
7. Once the ink is dry you can punch a hole at the top and add your ribbon, although this step is optional. You can also personalize the bookmark even more by writing your child’s name and date on the back and adding a personal message.
The Finished Bookmarks!
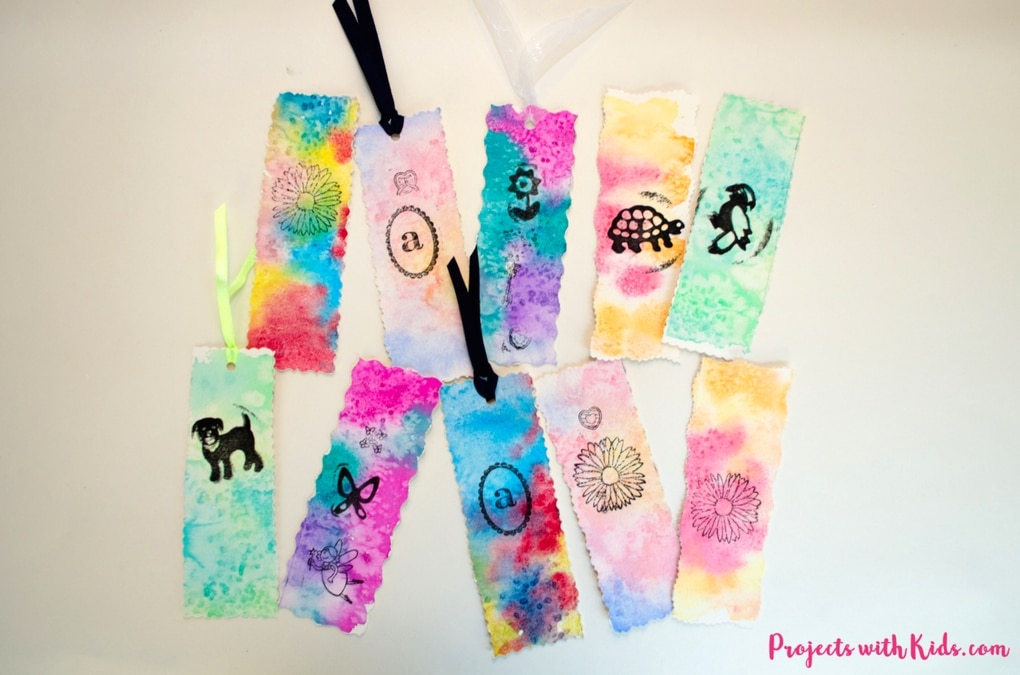
These watercolor bookmarks were definitely a hit in our house. My kids were excited to give some to their friends and grandparents. And of course, keep a couple for themselves!
My daughter especially was planning to use hers for the chapter books we read at bedtime. I hope that you have just as much fun making these beautiful and unique bookmarks and that your kids love giving them out as gifts. You can find more great kid-made gift ideas here.
If you are looking for more watercolor projects that use these techniques take a look at these beautiful watercolor snowflake winter art paintings and check out this post on creating a beautiful northern lights painting.
If you are wanting to try making some more bookmarks take a look at these super easy felt paper clip bookmarks!
Follow me on Pinterest for more great project ideas!
Pin this project for later


Karla
I love these! What a great idea.
ProjectswithKids
Thank you Karla! We had a lot of fun making these.