
This simple winter watercolor art is stunning! It makes a great winter art project for older kids and tweens and uses easy watercolor techniques. Kids will learn about using color to create depth and using different types of brushstrokes to achieve different effects.
There are so many fun watercolor techniques for kids to try! Take a look at my collection of watercolor painting for kids for more fun and creative ideas.
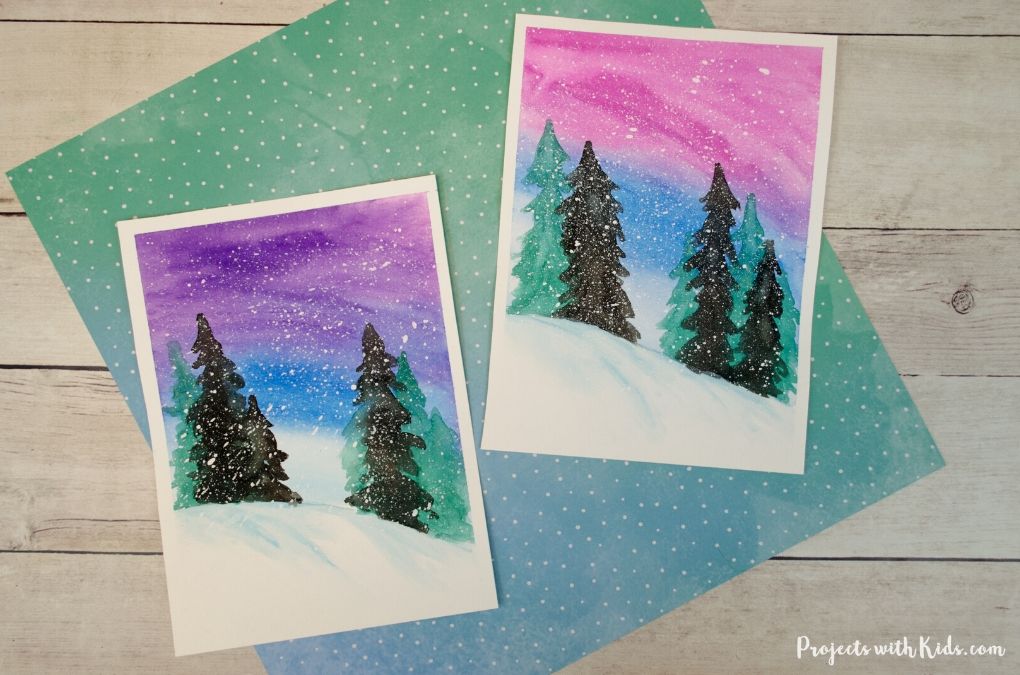
I love the smaller size of this painting, it makes a great card size! Working on a smaller scale can sometimes be easier for kids, plus these little paintings just look adorable!
Take a look at this gorgeous snowflake watercolor winter art for another fun winter painting idea. For more winter project ideas check out my collection of beautiful winter art for kids to make!
Create your own simple winter watercolor painting
This post contains affiliate links. As an Amazon Associate, I earn from qualifying purchases. If you would like more information please review my privacy & disclosure policy.
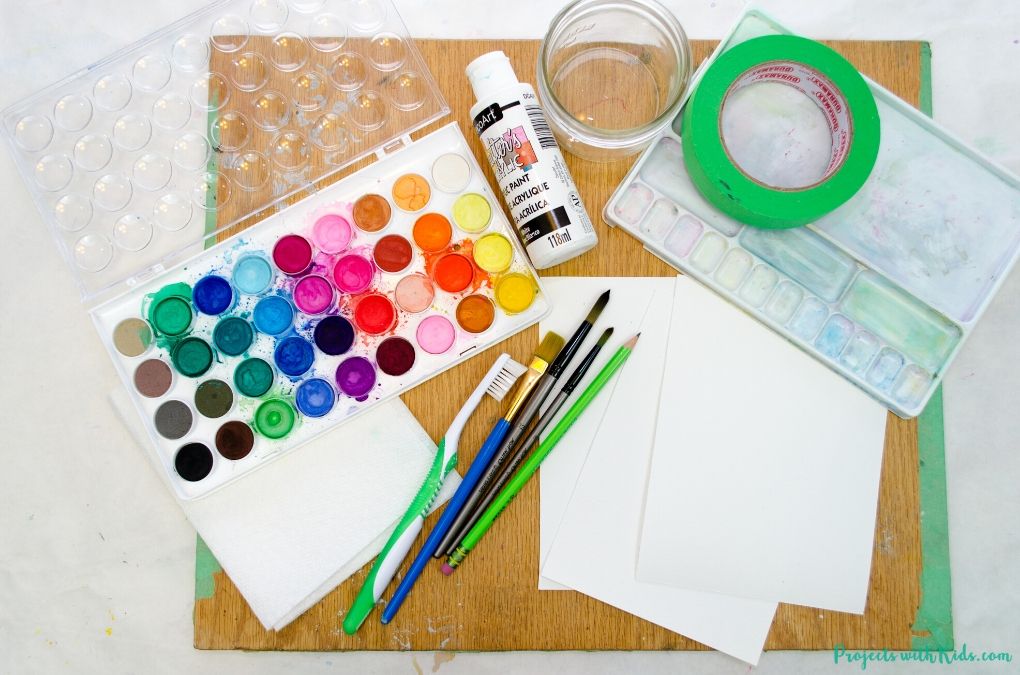
Supplies
- Watercolor paper
- Watercolor paint
- Paintbrushes
- Paint palette
- Pencil
- Old toothbrush
- Wooden board and painter’s tape (optional)
- Paper towels
- White acrylic paint
- Water dish
Instructions to paint your simple winter watercolor scene
1. First, get your paper ready. I cut our 11 x 15 inch watercolor paper in four, so each piece measures 5.5 x 7.5 inches. Tape your paper down to your board if you are using one.
Using a wooden board is an optional step, but it really helps to keep the paper steady as you are painting, helps the paper to dry flat and gives a nice white border around your finished painting. If you don’t have a board, your painting will still look great!
You can check out this post on beginner watercolor supplies for kids for more details about using a wooden board and the other types of supplies to use.
With a pencil, lightly draw in the snow hill. You don’t need to draw in where the trees will go just yet.
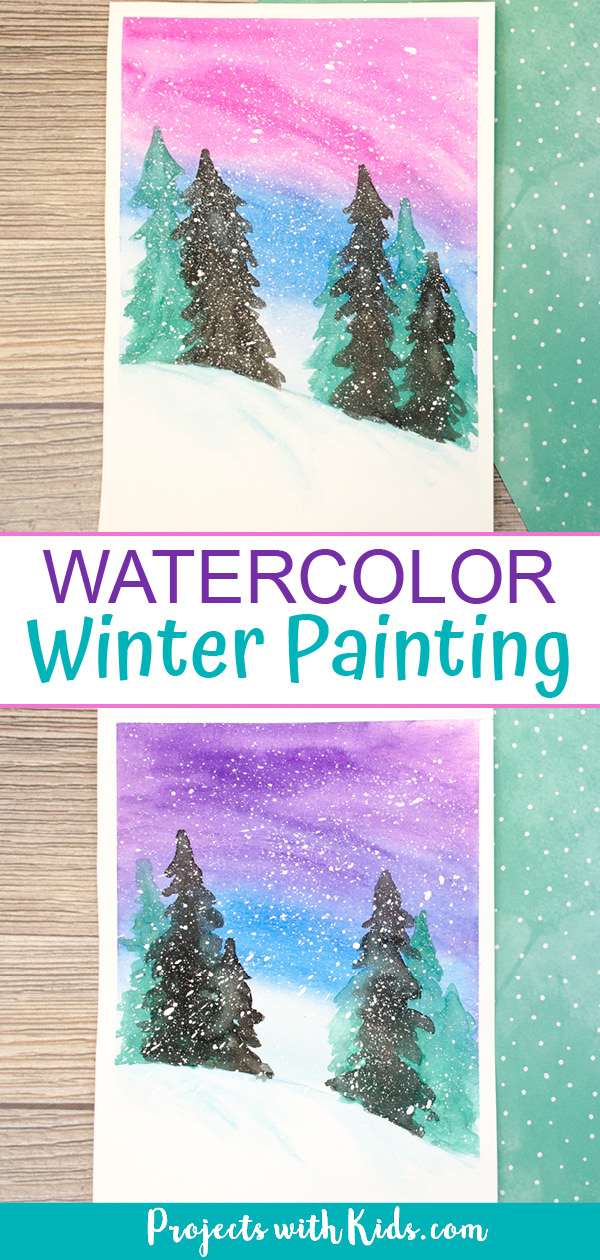
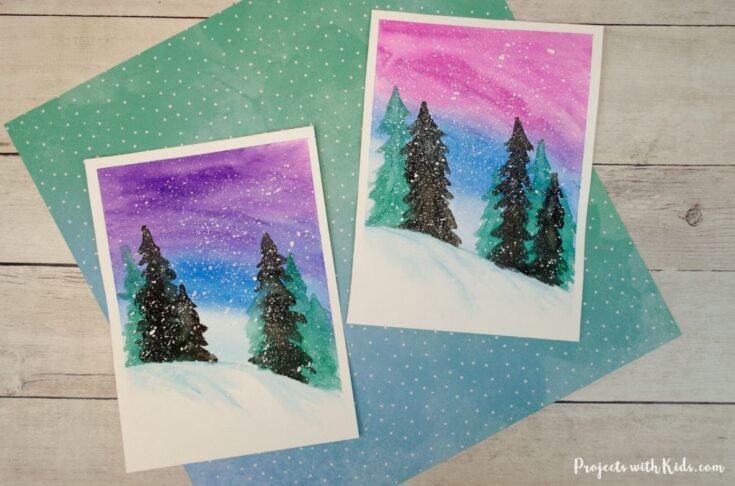
2. Have kids decide on three colors for the sky. A light blue, a medium blue and then a color for the sunset. We used purple for one painting and bright pink for another painting. Both colors looked beautiful in the sky!
Kids will also love: Mixed Media Winter Art Project for Kids
Test out your colors on a scrap piece of paper first, remember that they will dry slightly lighter.
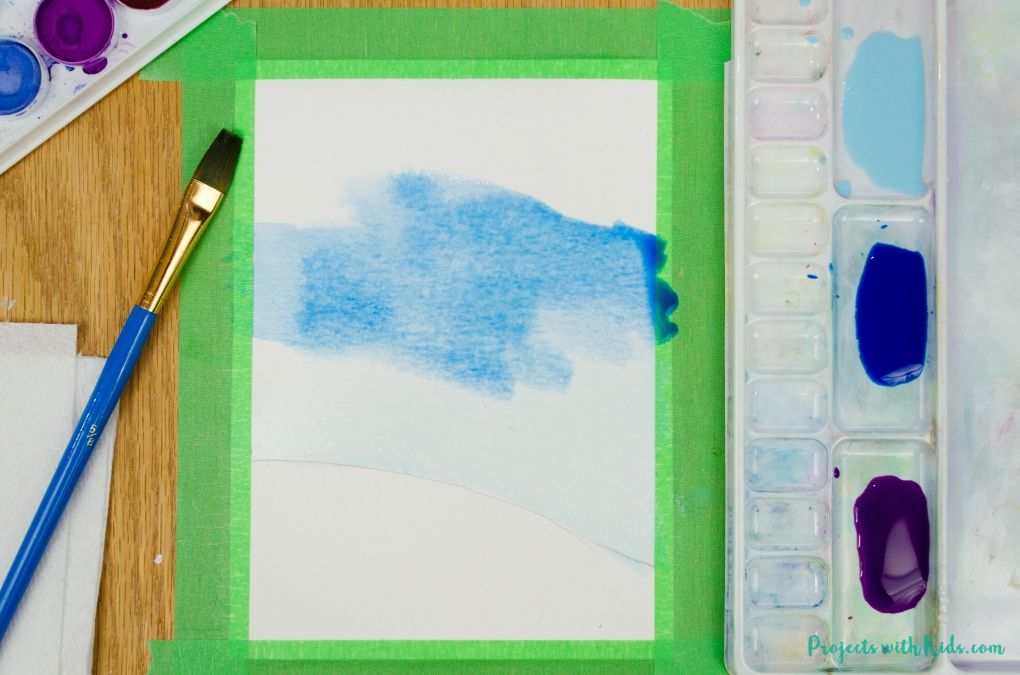
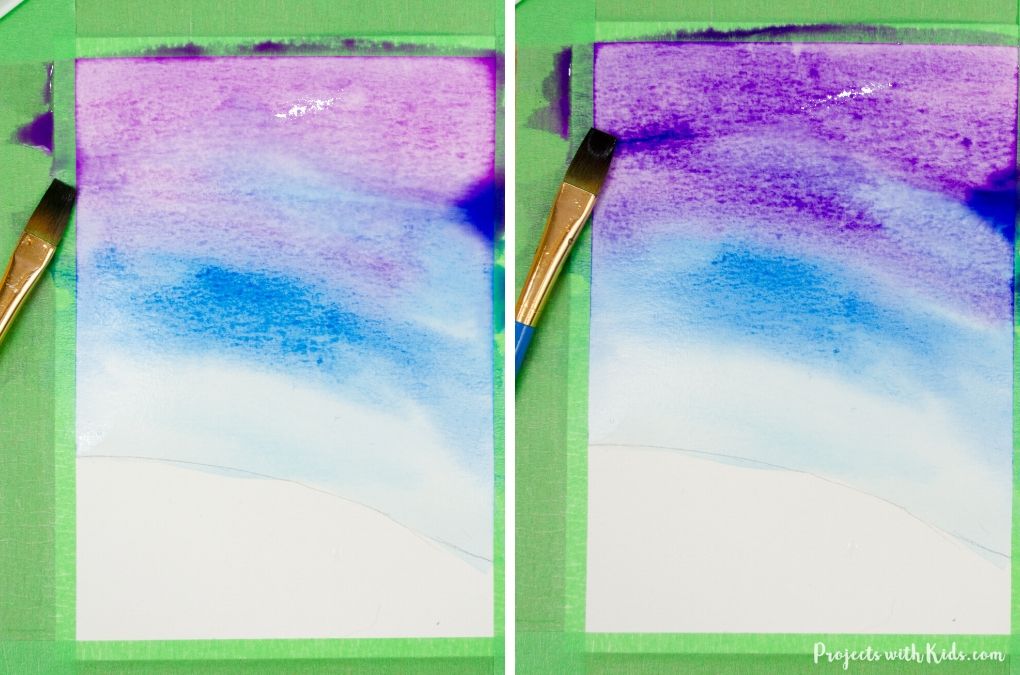
Paint your sky with water first. Use a clean brush and clean water for this step. You don’t want your paper to be soaking, if you find it too wet, you can dab it with some paper towels.
Start with the lightest blue and paint the sky closest to your snow hill. Use a flat brush for this step with your brush strokes going across the sky, not up and down.
While the paint is still wet, quickly move on to your bright blue color and paint more of the sky. Finally, paint your third color in and have that go all the way to the top.
You might find that your sky looks too light, you can go in and add more color in to darken up some areas while the paint is still wet.
Let your paper dry completely before moving on to the next step.
This is called a wet on wet technique, you take a look at these 5 watercolor techniques for kids for more details.
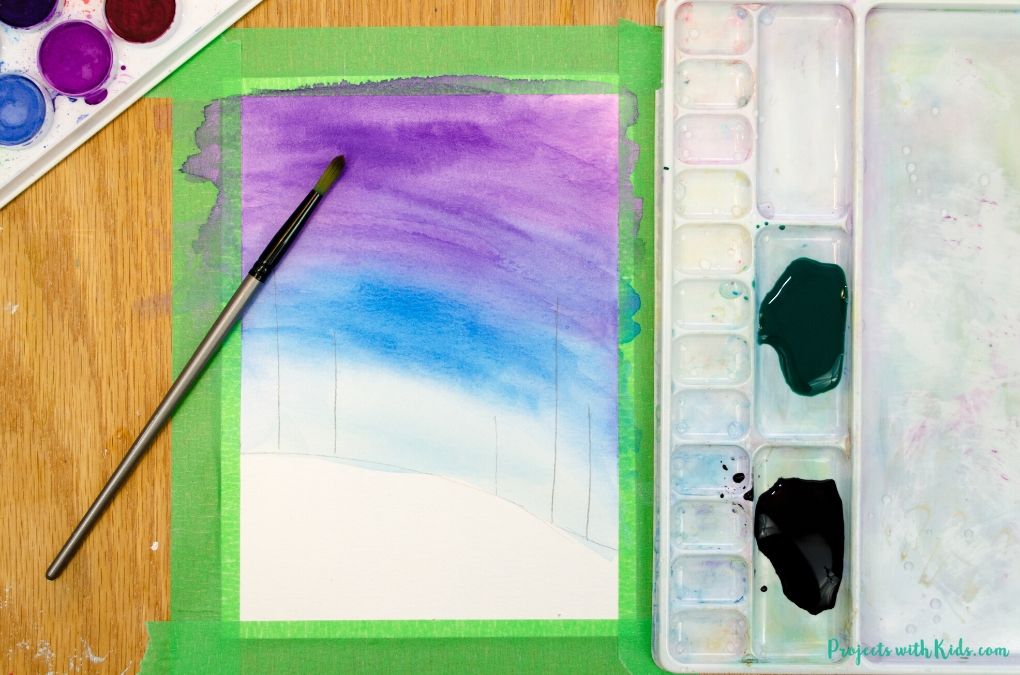
3. Once your paper is dry, you can draw in where your evergreen trees will go. Use a pencil to draw straight lines to indicate where your trees will go. You are only drawing in the green trees first.
There are two colors for the trees, dark green and black. The dark green ones are painted first and the black trees are painted on top. This will give the illusion that the green trees are farther away and the black trees are in the foreground.
Mix your two colors for the trees, dark green and black, and test them out on scrap paper.
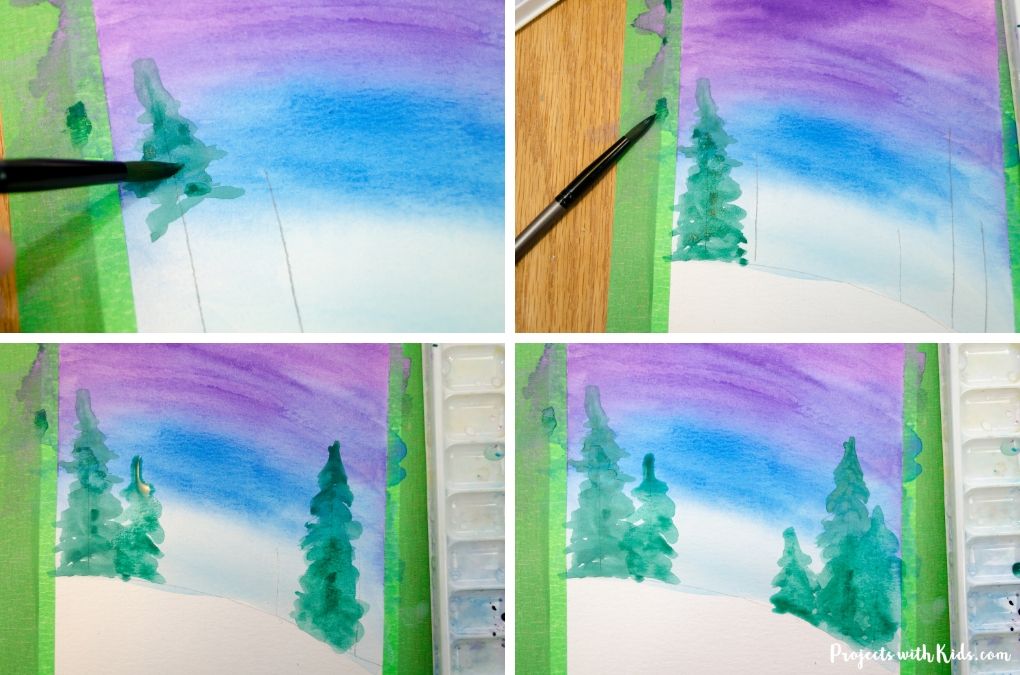
This is a good time for kids to practice painting evergreen trees on scrap paper to get a feel for the brushstrokes they need. With a round brush start at the top of a tree and paint in the tree branches. Keep the tree shape by painting the trees slightly wider at the bottom.
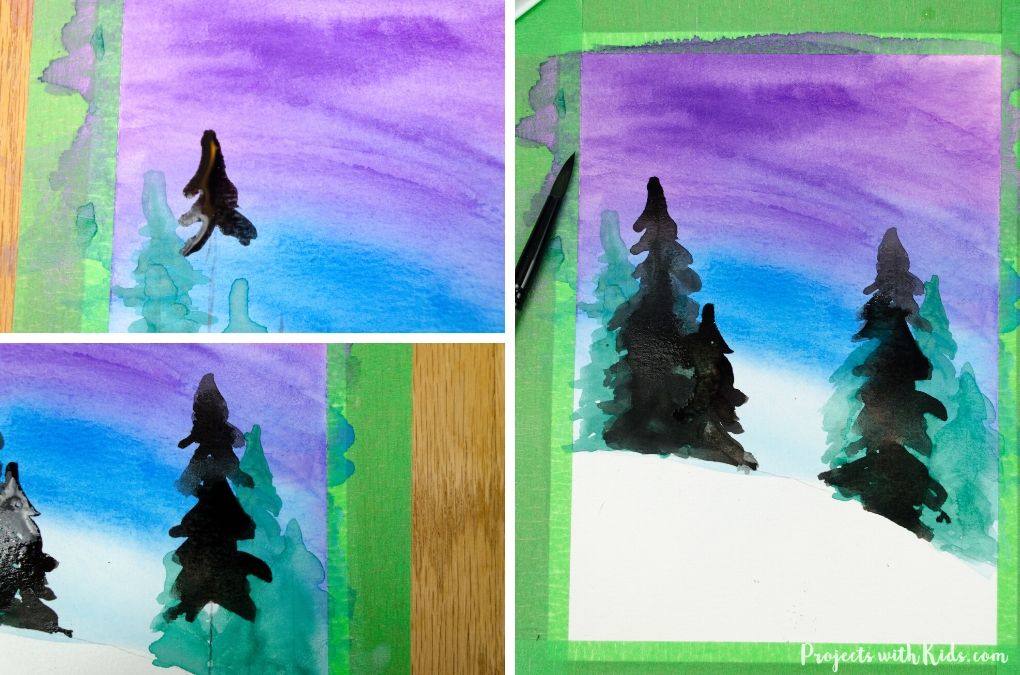
Once kids get the hang of painting trees, they can paint in their trees on their paper. Paint all of the green trees and let them dry.
4. Draw where you want your black trees to go. Make sure that they are not completely covering up your green trees.
Using the same round brush, paint in your black evergreen trees. Remind kids to go slowly and carefully for this step and not to completely paint over the other trees.
Let the trees dry before moving on.
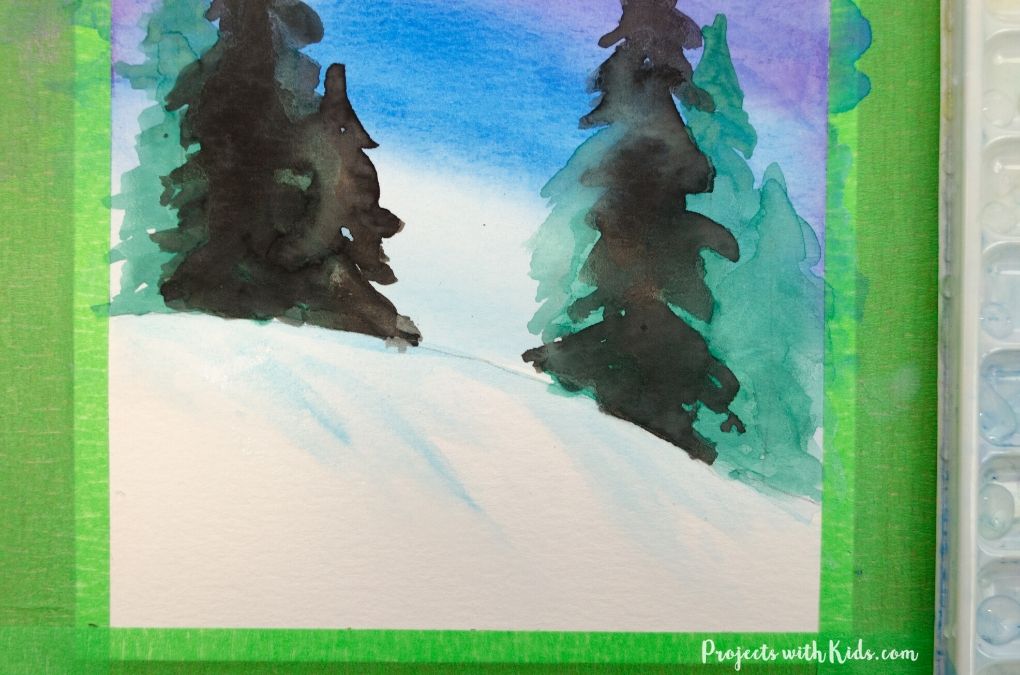
5. The next step is to paint the shadows on the snow. You need very light blue paint for this and you don’t want to overdo it!
Paint over the pencil line for the snow hill and paint a few brushstrokes coming down the hill. Soften up these lines by painting over them with a clean brush and clean water.
6. The final step for this simple winter watercolor is to splatter on the snow with a toothbrush. You will need white acrylic paint, dilute the paint with water to make it easier to splatter.
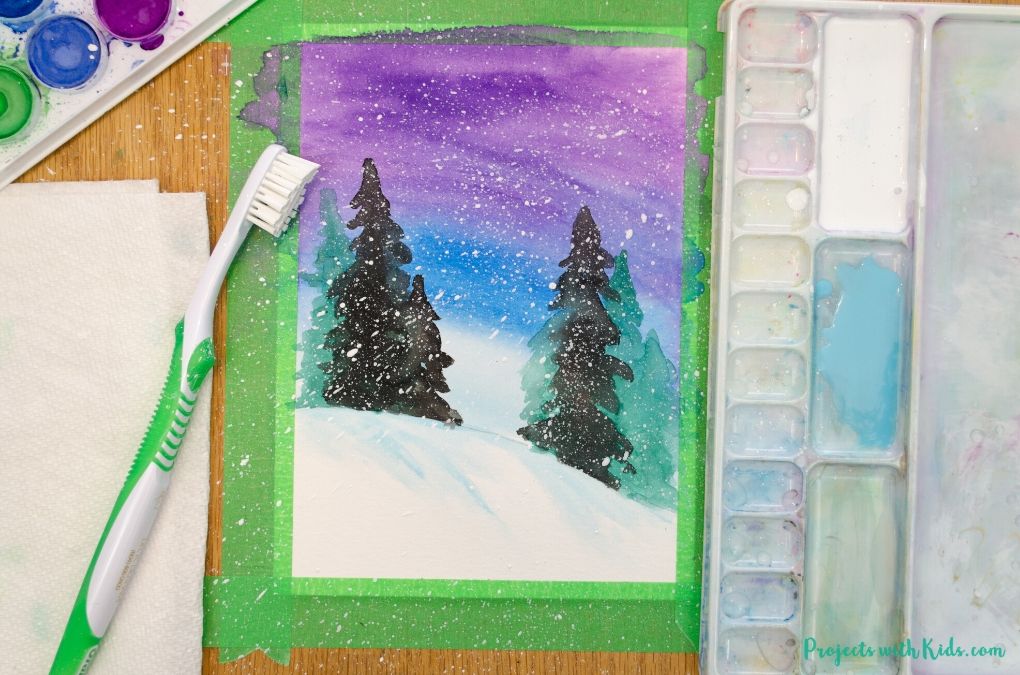
Take an old paintbrush, dip it into the diluted paint and run your finger over the bristles to create the snow splatters. Kids love this part!
This is a messy step! It might get on your clothes and your table, so wearing old clothes or a paint smock for kids is a good idea. Also having newspaper down will protect your table. It even splattered on to our floor! Not sure how it got that far, but it wiped off just fine.
If you taped your paper down, let your painting dry completely before carefully peeling off your tape.
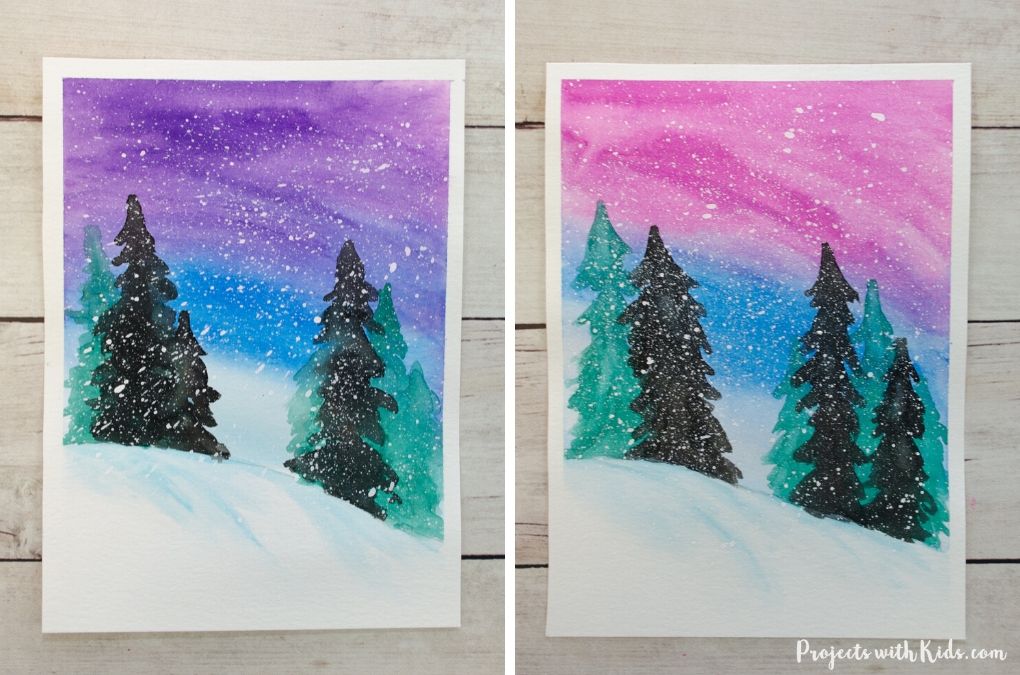
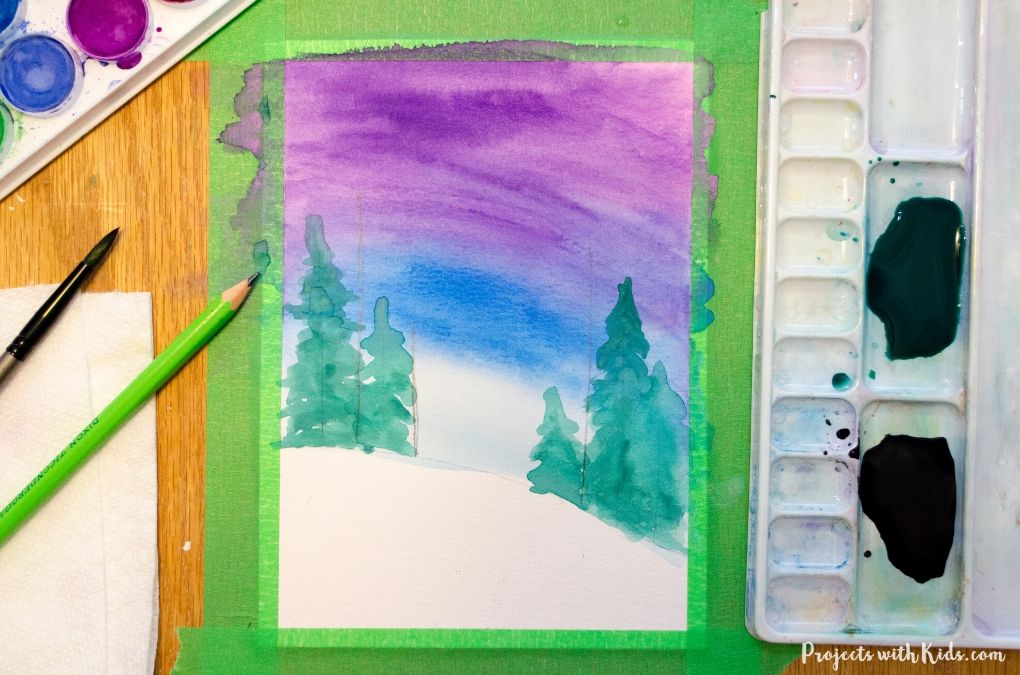
This simple winter watercolor painting is so pretty! I love how the colorful sky contrasts against the evergreen trees and how the snow makes the whole painting look magical. This is such a great winter art project that kids will love to make and be proud to display!
If you are looking for more art projects to try, take a look at our ultimate collection of amazing art projects for kids!
More winter art projects kids will love
Create Stunning Northern Lights Chalk Pastel Art

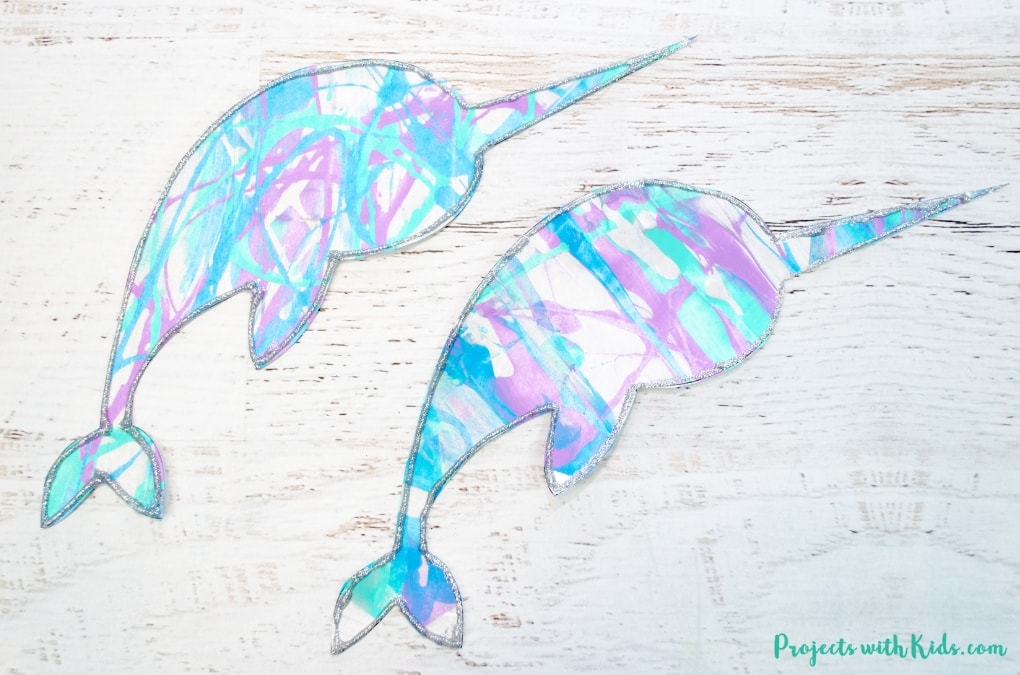
Winter Scrape Painting with Narwhal Printable
Follow me on Pinterest for more amazing project ideas.
Pin this winter painting idea for later
Simple Winter Watercolor Art Project for Kids
This simple winter watercolor art project is stunning and a great painting idea for older kids and tweens! A fun winter project with an easy to follow tutorial.
Materials
- Watercolor paper
- Watercolor paint
- Pencil
- Paper towels
- White acrylic paint
Tools
- Paint palette
- Old toothbrush
- Paintbrushes
- Wooden board and painter’s tape (optional)
- Water dish
Instructions
- First, cut your paper to size. I cut our paper to 5.5 inches x 7.5 inches.
Tape your paper down to a wooden board if you are using one.
With a pencil lightly draw in a snow hill. - Mix three colors for the sky. A light blue, bright blue and purple or pink.
With a clean flat brush and clean water, paint over your sky.
Start with the lighter blue and paint the bottom of the sky.
While the paint is still wet, paint more of the sky with the bright blue watercolor.
Finally, paint the top part of your sky with the purple or pink color.
If your sky looks too light, go back in and paint some areas again with the bright blue and either your pink or purple.
Let the sky dry completely before moving on. - With a pencil draw in straight lines to indicate where you want your trees to go. There are two colors for the trees, dark green for the background trees and black for the foreground trees.
With a smaller round brush, start with the dark green and paint in your evergreen trees. It's a good idea for kids to practice panting a few trees first on some scrap paper. - Once your dark green trees are dry, draw straight lines where you want your black trees to go.
Paint in the black trees with a round brush.
Let the trees dry. - Mix up a light blue color for the shadows on the snow. I used the same blue for the shadows as the light blue for the sky.
Using a small round brush, paint over the pencil line for the hill and paint a few brushstrokes coming down the hill. Less is more, you only want a few shadow lines.
To soften up the shadow lines, take a clean wet brush and paint over the blue paint.
Let the paint dry. - Time to add the snow splatters! Take white acrylic paint and dilute it in a paint palette with some water. This will make it easier to splatter with.
Take an old toothbrush, dip it into the diluted paint and run your finger over the bristles to create the snow splatters.
This can be very messy. Having kids wear old clothes or a paint smock and covering your table in newspaper will help keep the mess down. - If you taped your paper down, let your painting dry completely before carefully peeling off your tape.


