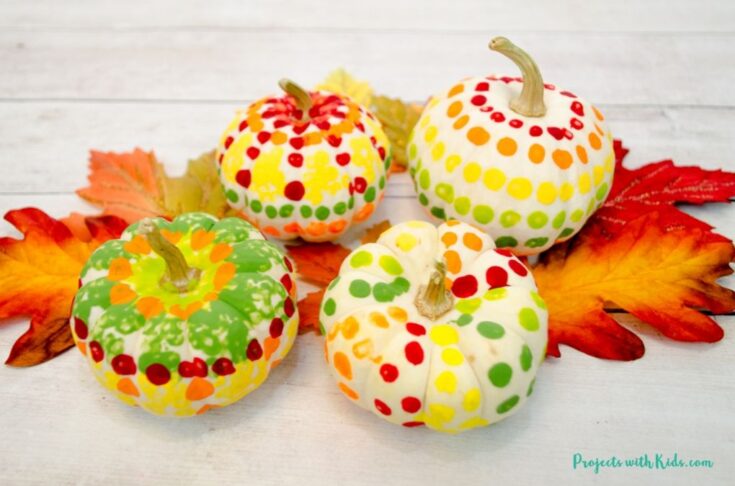
These q-tip painted pumpkins are just the cutest! They make such an easy fall craft idea for kids of all ages and would look beautiful as a Thanksgiving table centerpiece.
We love exploring different painting techniques. Take a look at my collection of painting ideas for kids for more fun and creative art projects to try!
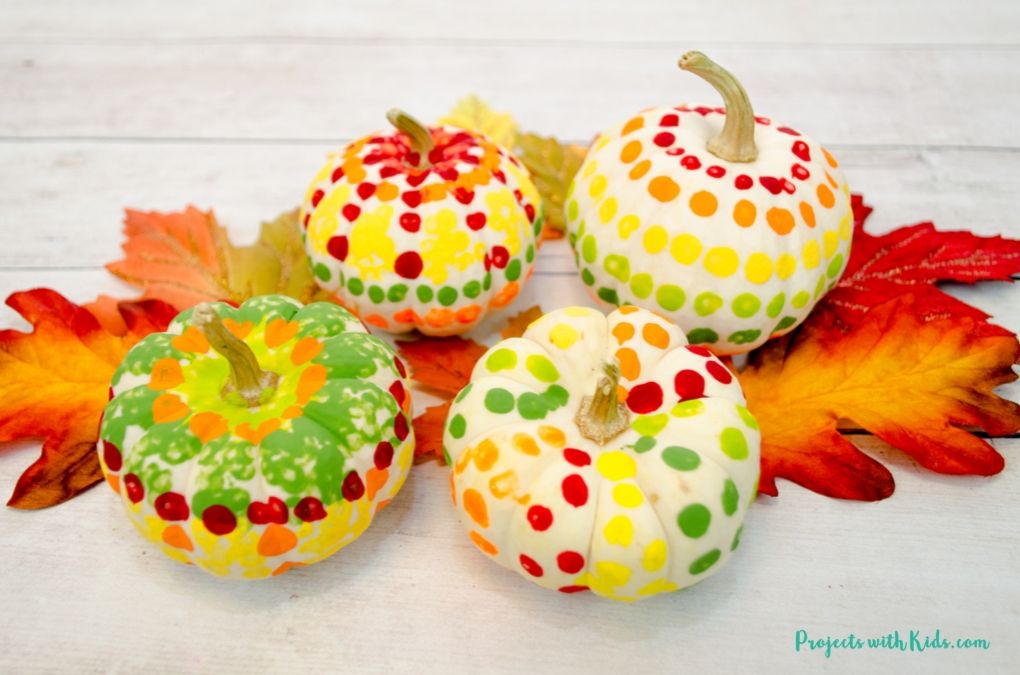
Painting with q-tips is always fun for kids. There are so many ways that kids can paint these pumpkins, they can do different types of patterns or just random dots. The dots can be close together or farther apart.
We played around with all sorts of different ways to paint our pumpkins, it was so much fun we could have painted a lot more but ran out of pumpkins!
Create your own q-tip painted pumpkins
This post contains affiliate links. As an Amazon Associate I earn from qualifying purchases. If you would like more information please review my privacy & disclosure policy.
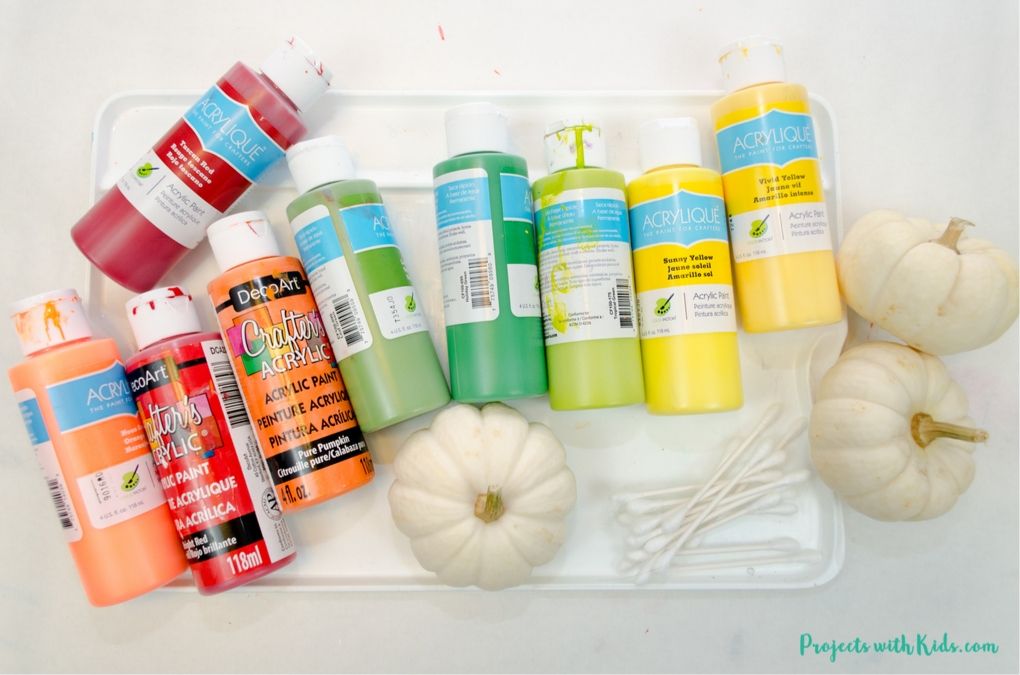
Supplies
- White mini pumpkins
- Acrylic paint
- Q-tips
- Paint palette
Get started painting your pumpkins
1. First, prepare your pumpkins by making sure they are clean and dry. The ones we got had some dirt on them, so I washed them quickly and let them dry.

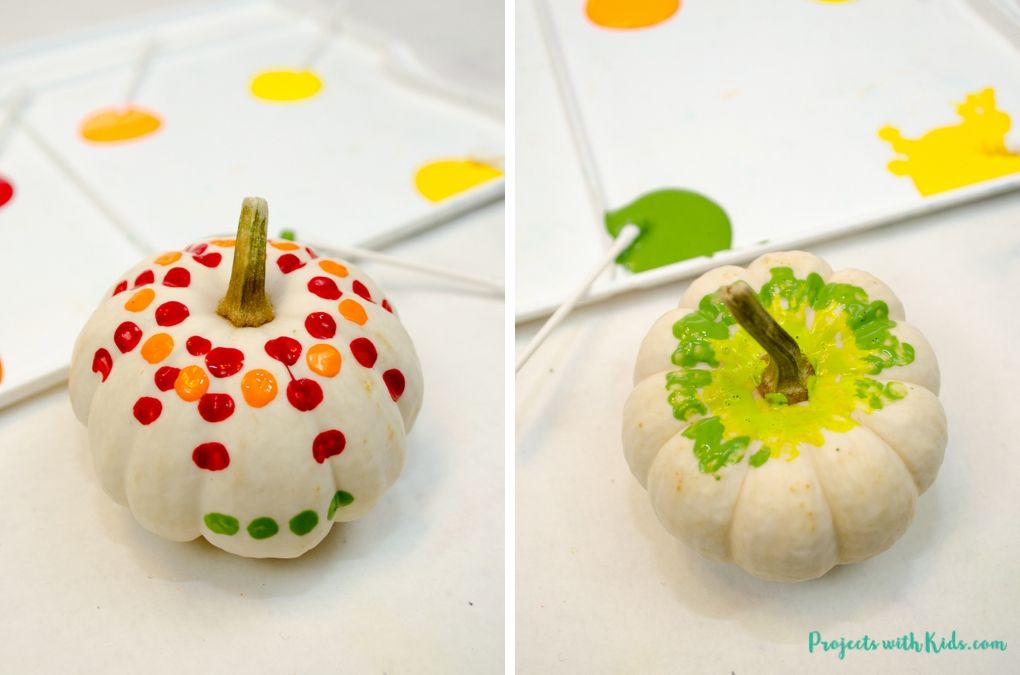
2. Prepare your paints and your q-tips. We used a large paint palette and I squeezed out small amounts of paint onto it but was careful not to have the paints too close together.
Use one q-tip per paint color. We used fall colors because my daughter wanted to use them as a Thanksgiving centerpiece for dinner but kids could choose any colors they like.
A rainbow-painted pumpkin would be beautiful! Or you could turn them into Halloween pumpkins and use orange, black and some purple. Whichever design kids choose they will be unique and look great!
3. Have kids start to paint their pumpkins with the q-tips. This is the fun part! Let kids get creative about how they want their pumpkins to look.
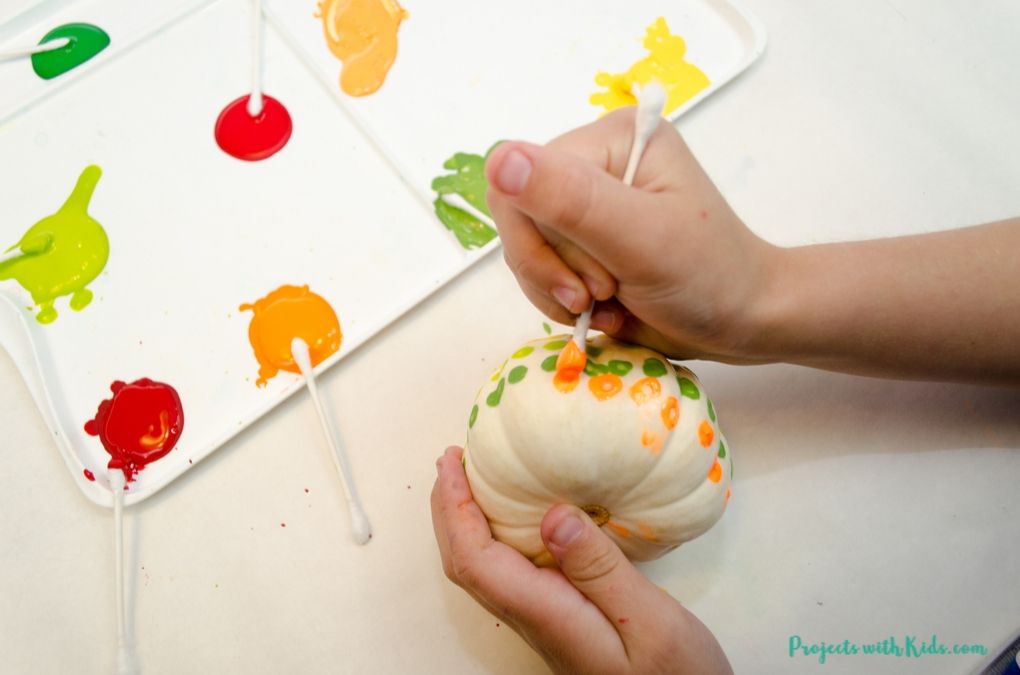
They can try making patterns, spacing the dots out in a certain way or just try a completely random pattern.
I liked to keep my pumpkin on the table and tilt it a bit when I was painting, my daughter liked to hold her pumpkin but had to be careful not to smudge the paint. We found that the paint dried really fast between colors.
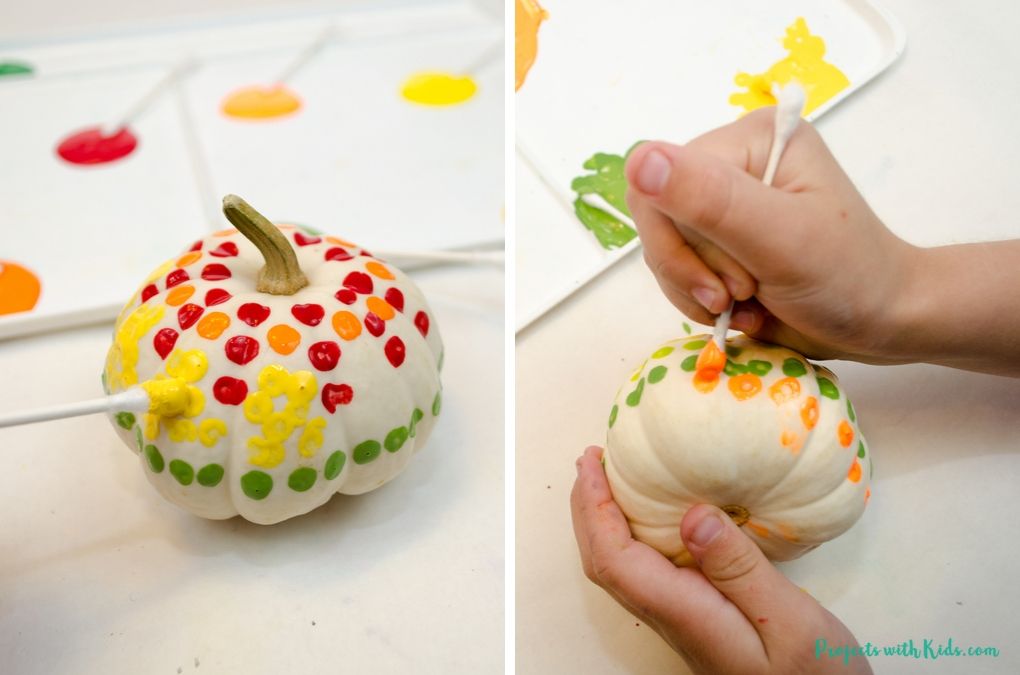
4. When you are done painting your pumpkins set them aside to dry. If you are using them as a Thanksgiving table centerpiece, try placing some fall leaves underneath them. We used fabric leaves, but real pressed leaves would also work.
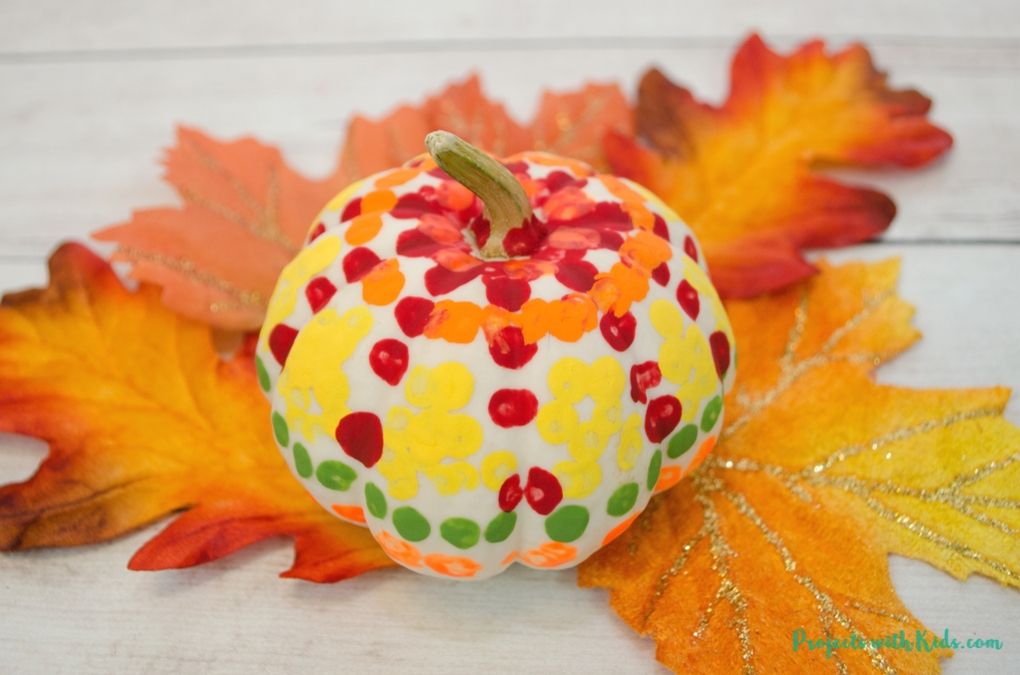
I loved how easy and quick these q-tip painted pumpkins were to make! They are fun for kids of all ages and require only a couple of supplies. They would be beautiful as a Thanksgiving table centerpiece and kids will love to see their craft on display!
We love making Thanksgiving table crafts, take a look at these beautiful pinecone place card holders and these cookie-cutter fall placemats for more great ideas!
More Thanksgiving crafts kids will love
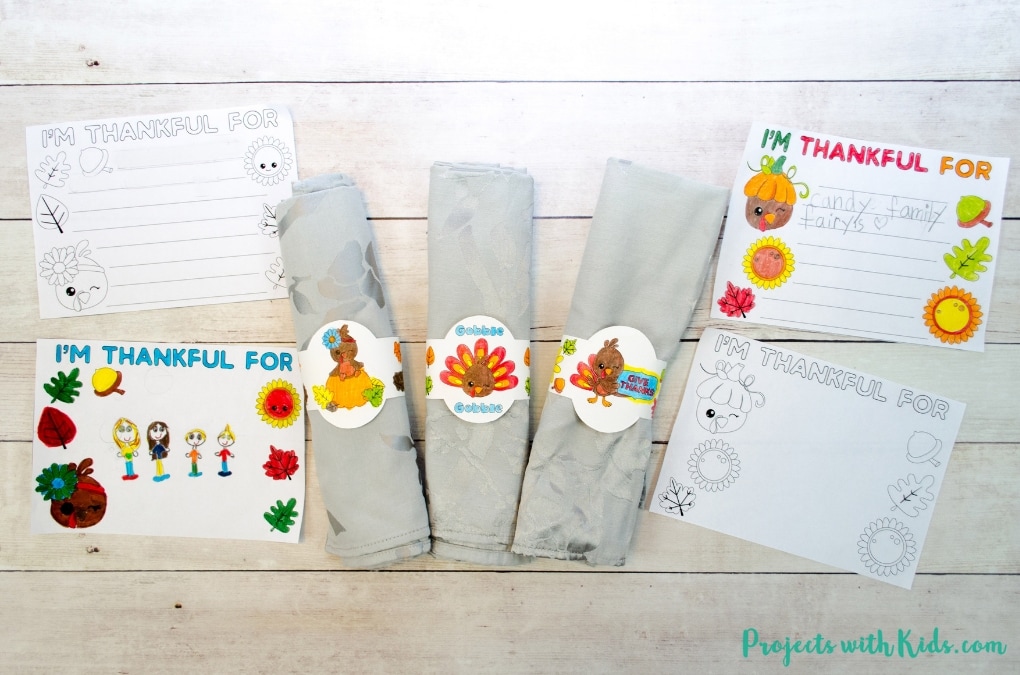
Thanksgiving Kids Table Free Printables
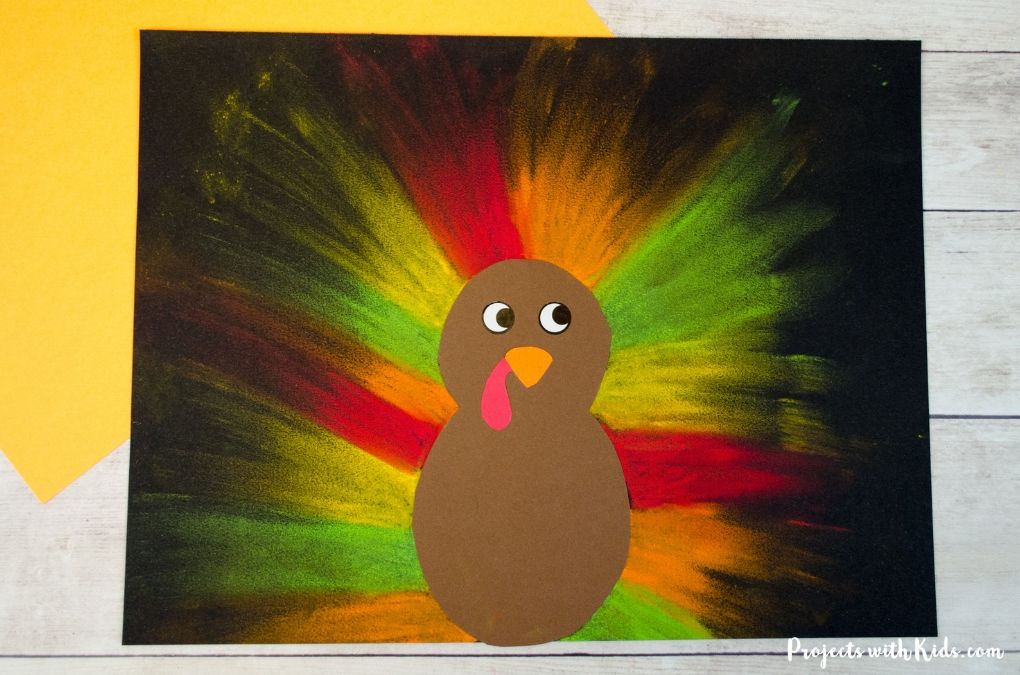
Colorful Chalk Pastel Turkey Craft
Follow me on Pinterest for more amazing project ideas.
Pin this fall craft for later
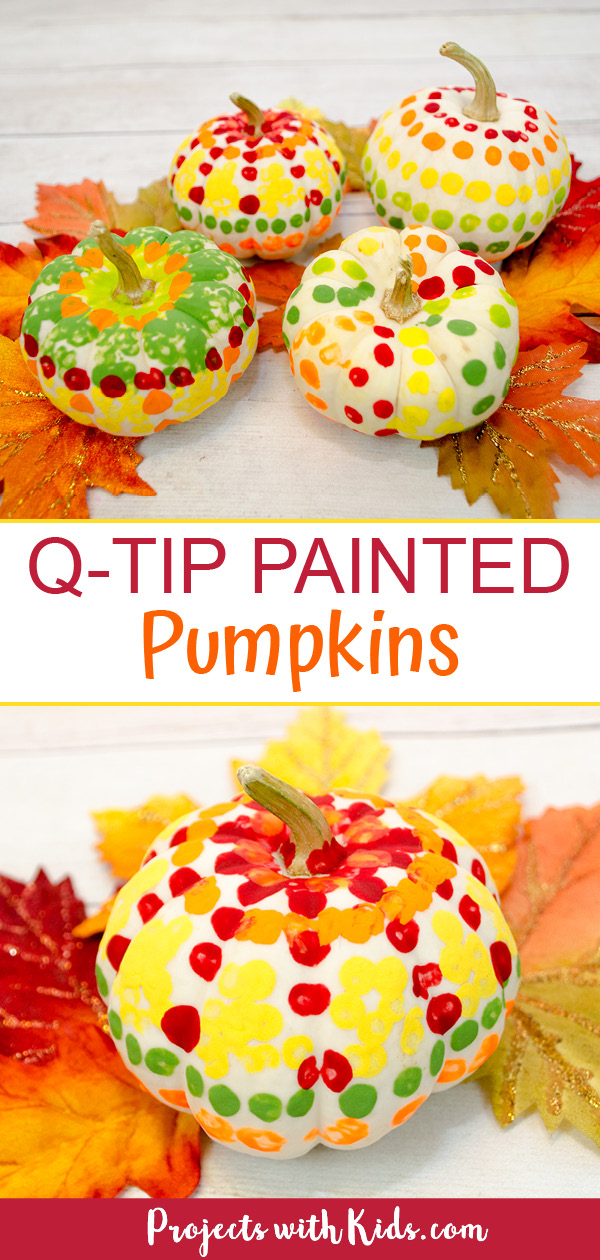
Easy Q-tip Painted Pumpkins for Kids
These q-tip painted pumpkins are absolutely adorable! They make such an easy and colorful fall craft for kids of all ages. A great Thanksgiving centerpiece idea that kids can make themselves.
Materials
- White mini pumpkins
- Acrylic paint
- Q-tips
Tools
- Paint palette
Instructions
- First, wash and dry your pumpkins.
- Get your paint ready. Squeeze out your paint colors onto a paint palette.
Add one q-tip per color. - Let kids have fun painting their pumpkins! They could try making different types of patterns, spacing their dots out close or far apart, or just painting random dots.
You could also try using different colors for your pumpkins. Orange, black and purple would make great Halloween decor or try making rainbow-painted pumpkins for something different.
We had a lot of fun painting our pumpkins! - After the pumpkins are dry, you could place fall leaves under the pumpkins to make a beautiful Thanksgiving centerpiece!
We used fabric leaves for ours, but real leaves would also work.


