
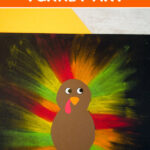
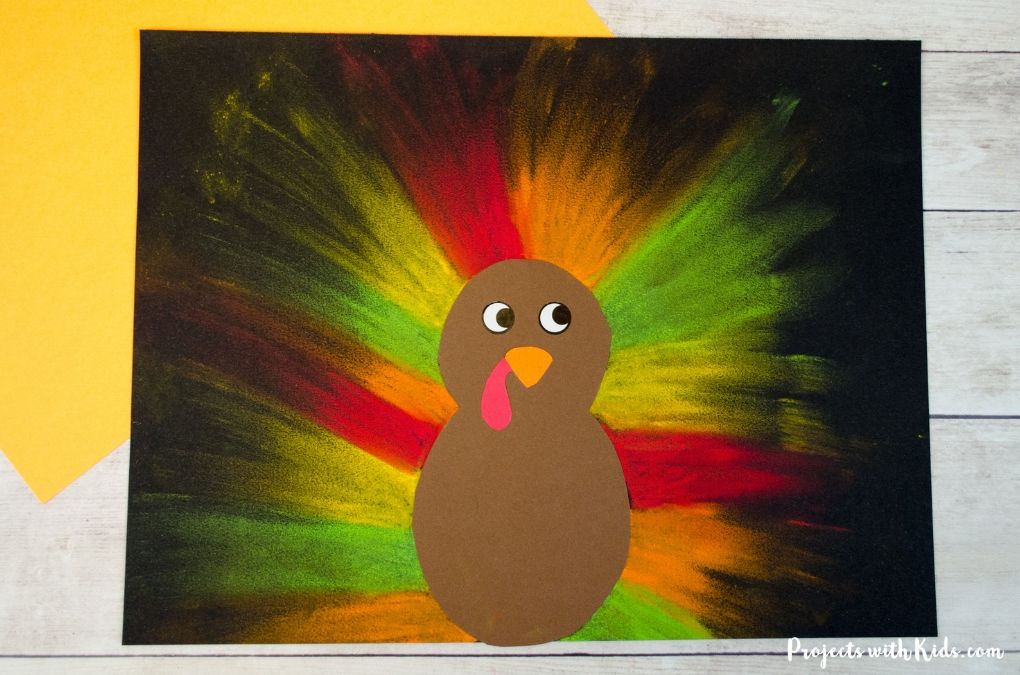
This chalk pastel turkey craft is so bright and colorful and such a fun Thanksgiving craft for kids! The chalk pastels on the black paper make everything look like it’s glowing. Kids will love using this easy technique for this art project.
Pastels are so fun for kids to explore! Take a look at my collection of chalk pastel art for more creative ideas kids will love.
For this project, I created a free printable template to make this art project even easier for you. This template is available to my email subscribers. Fill out the form below to get the free template.
After signing up you will receive a welcome email with your download link.
We used this same template to create our colorful watercolor turkey craft and nature inspired leaf printing turkey craft!
Create your own turkey chalk pastel craft
This post contains affiliate links. As an Amazon Associate, I earn from qualifying purchases. If you would like more information please review my privacy & disclosure policy.
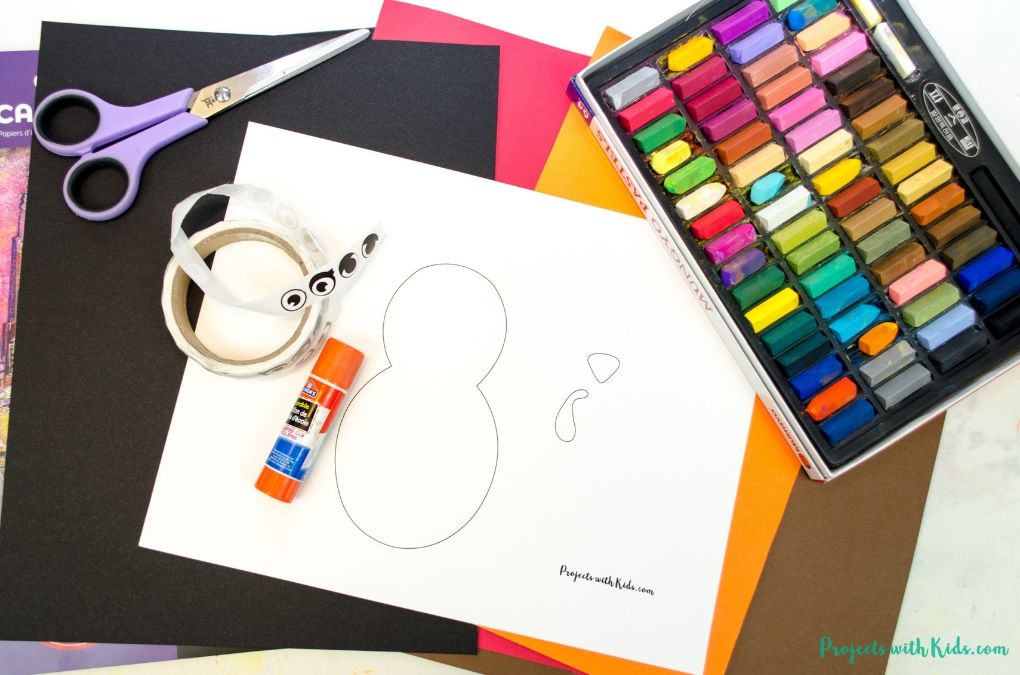
Supplies
- Printable template (available below)
- Chalk pastels
- Black drawing paper
- Brown, yellow or orange and red cardstock or construction paper
- Glue stick
- Scissors
- Painter’s tape
- Eye stickers
- Q-tip or blending stick (optional)
- Workable fixative (optional)
Tips for working with chalk pastels
Chalk pastels can be messy (but so fun!). There are a few things you can do to help keep some of the mess contained:
- Put newspaper down on desks or tables
- Put your project on a tray or a shallow cardboard box which will keep most of the mess inside the tray
- You can try doing your project outside
- Have lots of paper towels handy
- Once you are done with your project (or even halfway through if it gets really dusty), take it outside to gently blow or shake off the excess dust
- If you are using chalk pastels in the classroom and the kids are ready to take their artwork home, simply place the art between some newspaper to keep it from smudging and for easy transport.
Instructions to make your turkey art
1. First, print out your turkey template onto white cardstock. Using cardstock instead of just printer paper makes it easier for kids to trace around.
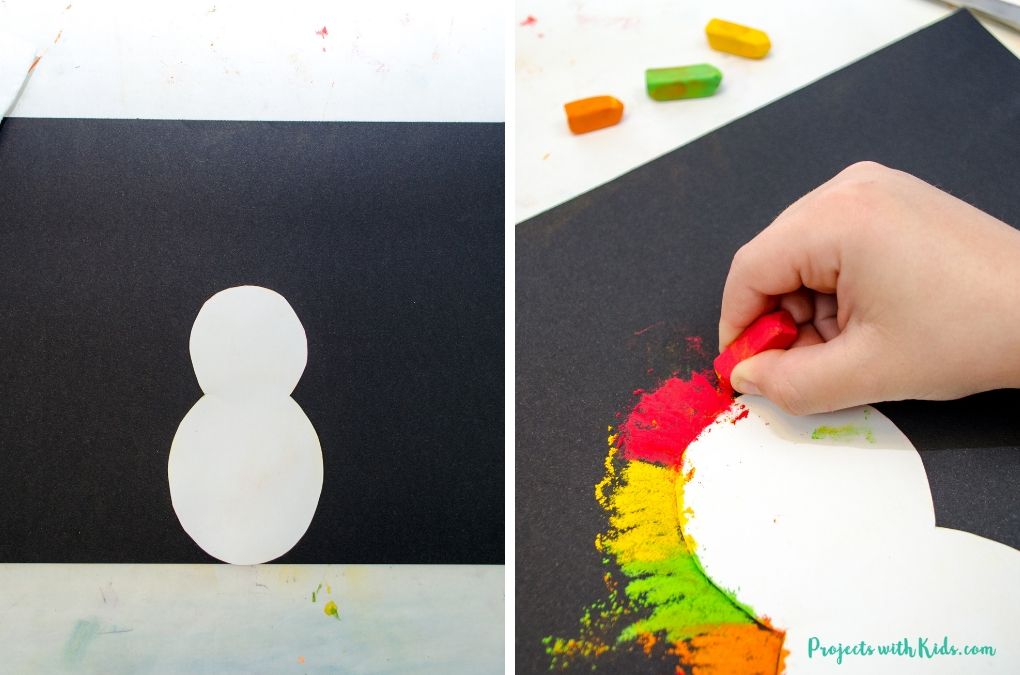
Cut out the turkey body and tape it down in the middle of your black paper. We used black drawing paper for this project but you could also use cardstock or construction paper.
2. Let kids choose the pastel colors they want to use. We stuck with orange, red, green and yellow but a multicolor turkey would also look great.
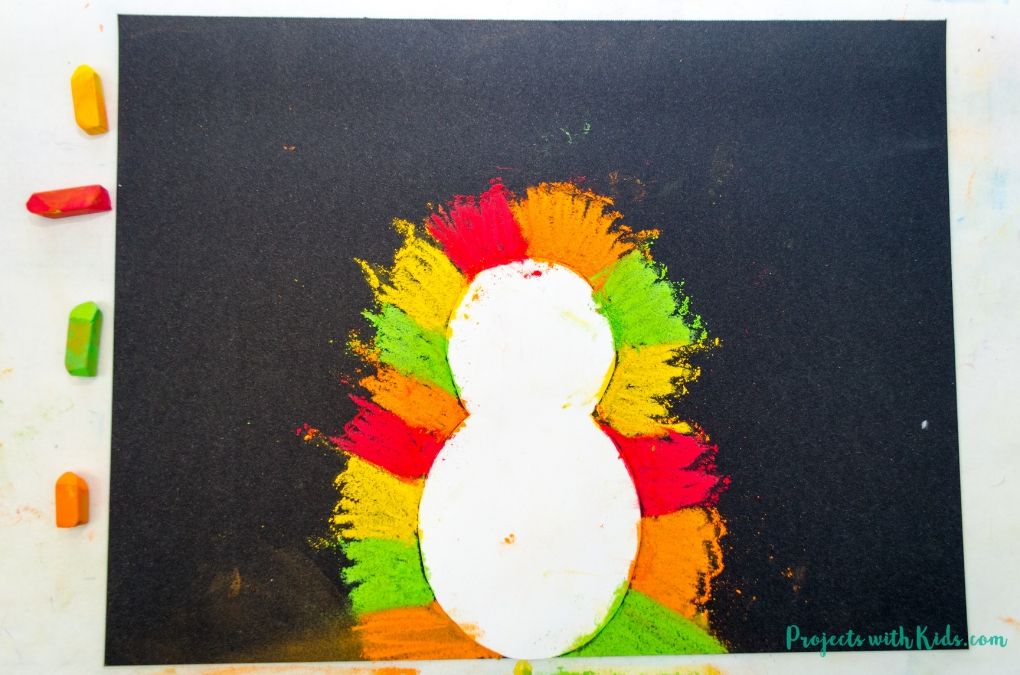
Draw around your turkey template with the chalk pastels. You want the lines to be really thick here to help with the smudging. So try drawing in an up and down motion to make the lines thicker like in the examples above.
This is a slightly different way to draw around a template then we have done before. You can see another example of a similar project with this fall leaf chalk pastel art.
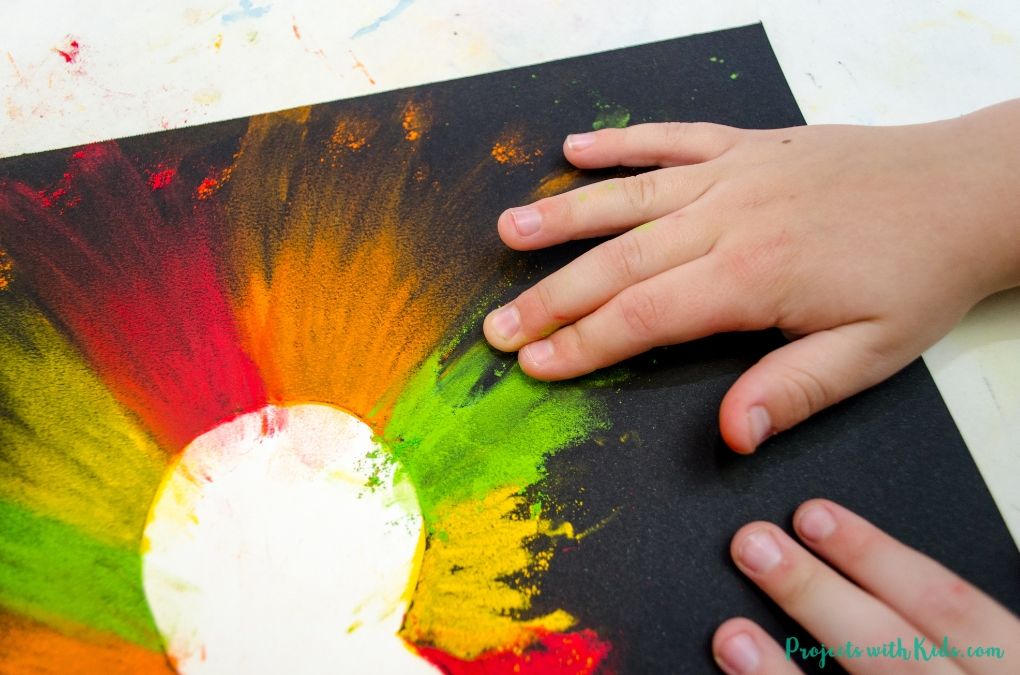
3. Once kids are done drawing around the template, it’s time to smudge! Using your fingers smudge the pastels in an outward direction around your turkey.
Have paper towels on hand to wipe your hands when they start to get dirty. This will help keep each color looking bright and not muddy. Some kids don’t like to smudge the pastels with their fingers, they can try using a q-tip or blending stick instead.
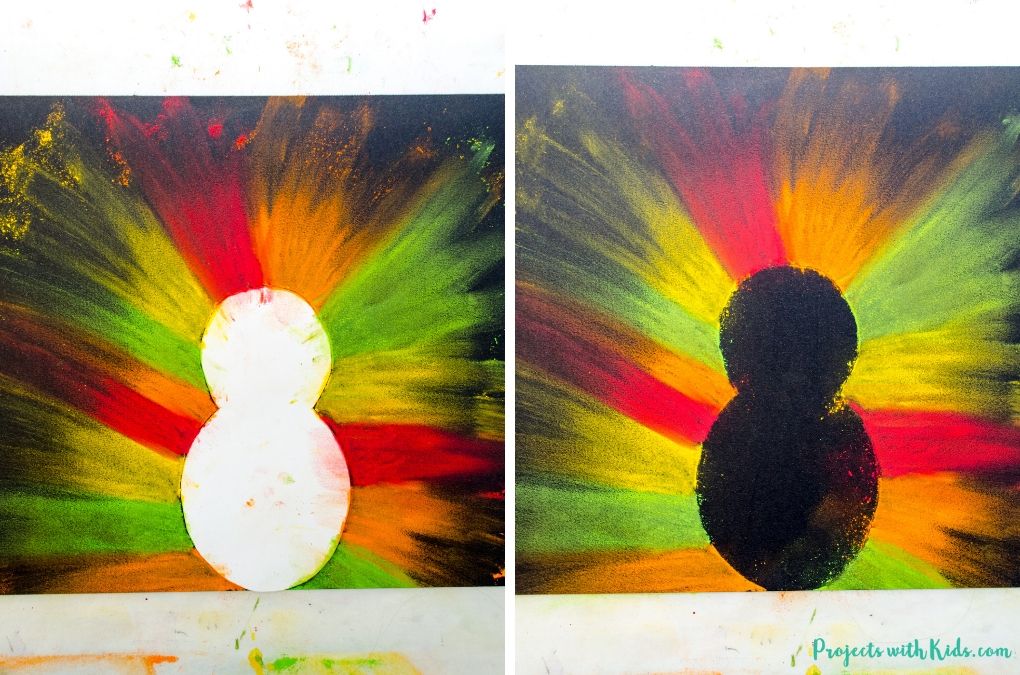
If your paper is full of chalk pastel dust at this point, take it outside and blow off the excess dust.
4. Carefully lift off the template to reveal your amazing art! If there is a lot of dust underneath the template, use a q-tip to wipe it away.
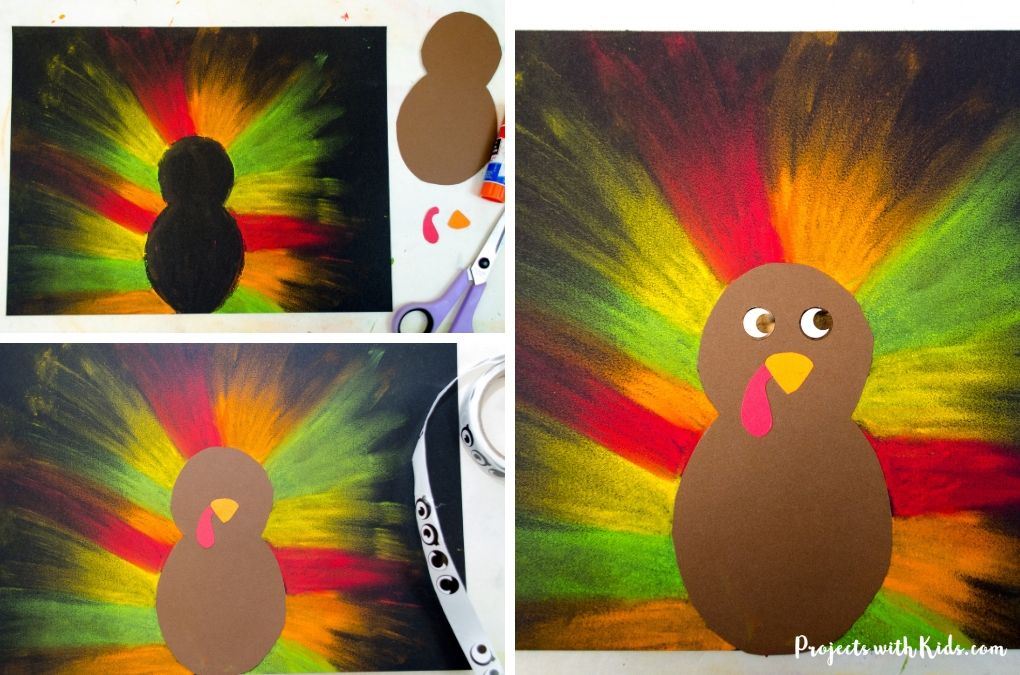
5. Now it’s time to put the rest of the turkey together. Use the templates to cut out brown for the body, and orange and red for the beak and glue everything down.
Stick on your turkey’s eyes. We used eye stickers, but you could also use googly eyes.
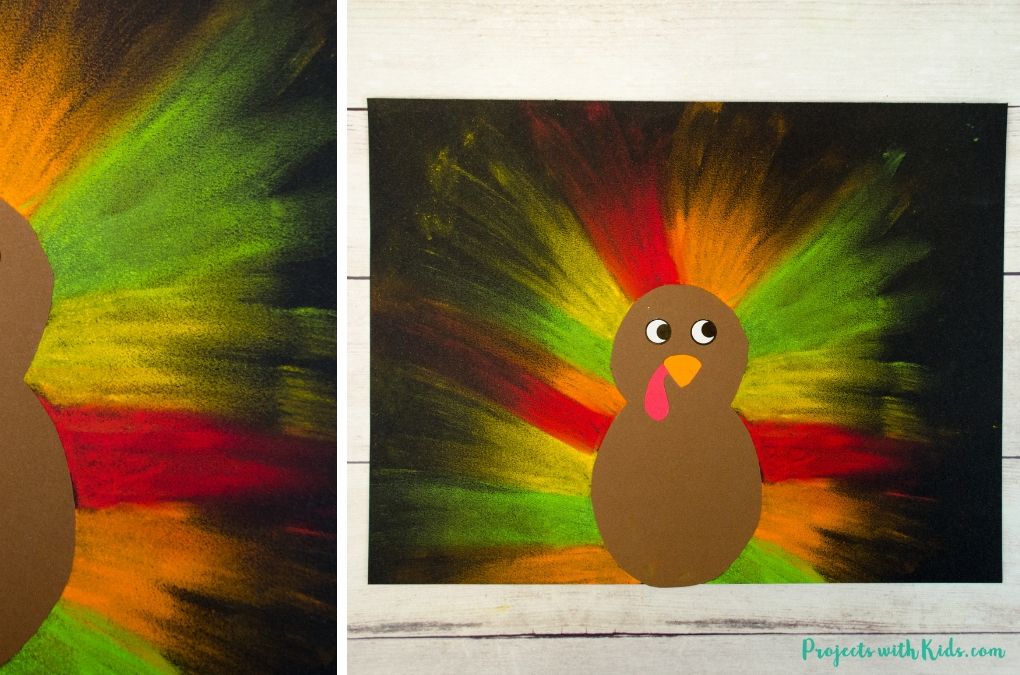
I love how bright and colorful this chalk pastel turkey craft turned out. Using the templates and colored paper for the turkey’s body makes this an easy Thanksgiving craft that kids of all ages will have fun making.
This smudging technique is one of my favorite chalk pastel techniques for kids to try. Take a look at these 5 essential chalk pastel techniques for beginners for more fun ideas!
Fill in the form below to get your free printable template!
After signing up you will receive a welcome email with your download link.
We love creating and exploring with different art supplies. If you are looking for more art projects to try, take a look at our ultimate collection of amazing art projects for kids!
More art projects kids will love
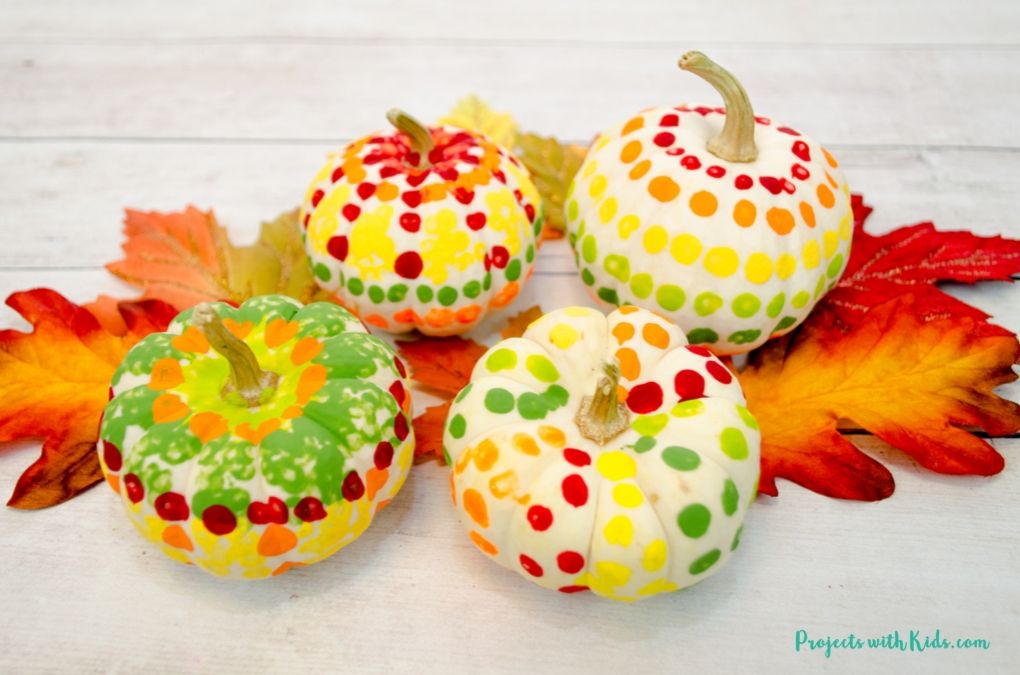
Easy Q-tip Painted Pumpkins Thanksgiving Centerpiece
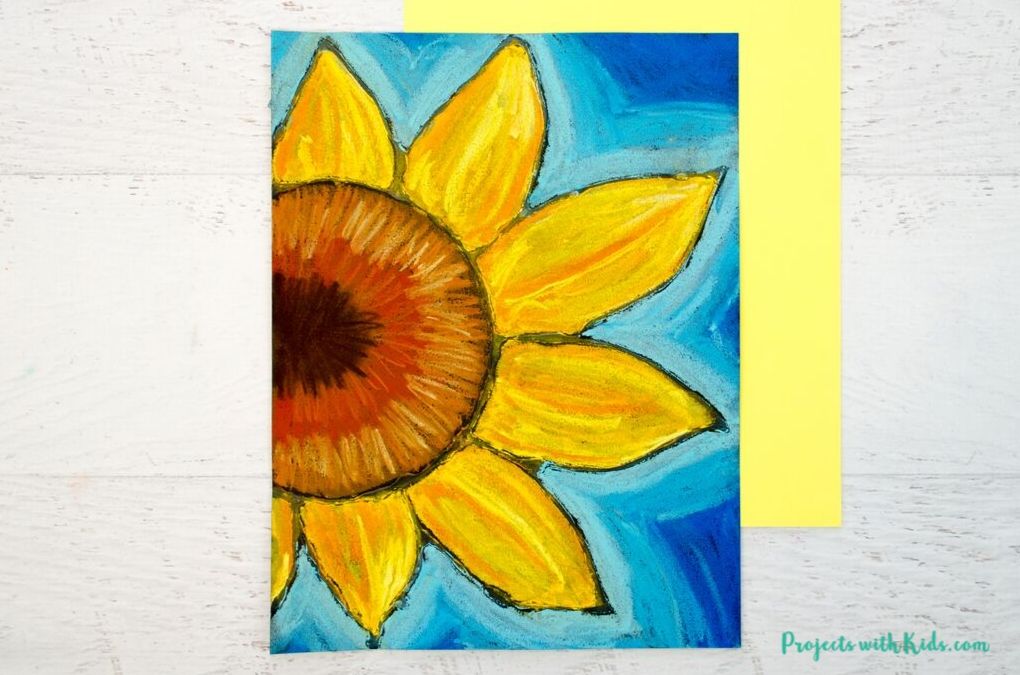
Beautiful Chalk Pastel Sunflowers
Follow me on Pinterest for more amazing project ideas.
Pin this turkey craft for later
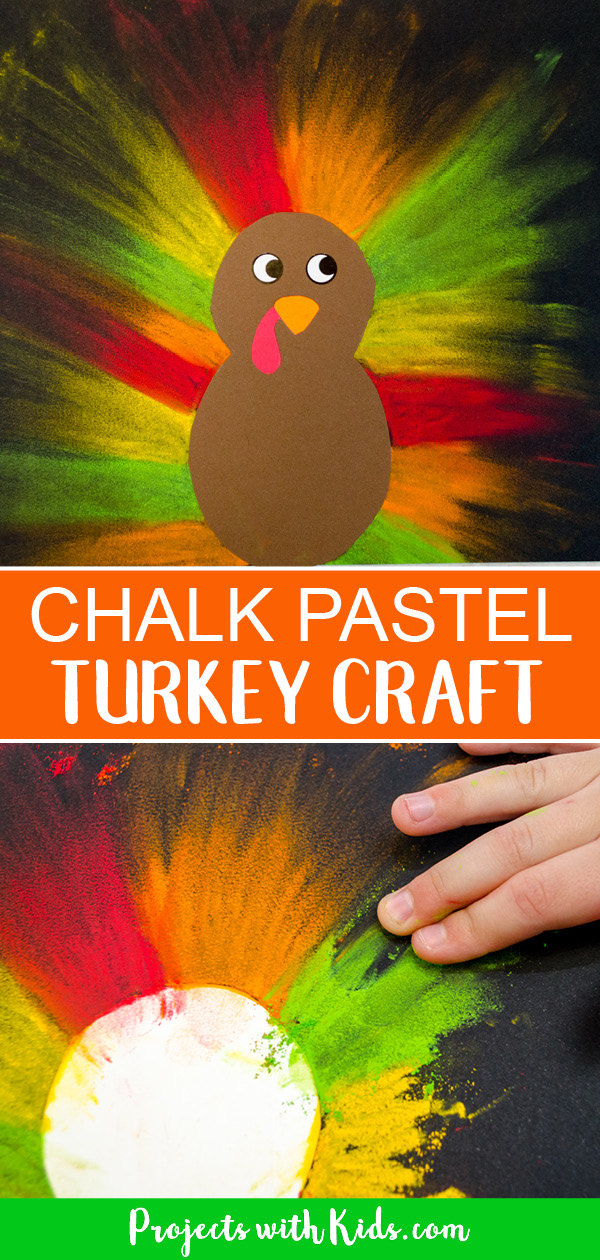
Colorful Chalk Pastel Turkey Craft for Kids

Kids will love making this brightly colored chalk pastel turkey craft for Thanksgiving! An easy and fun art project for kids of all ages.
Materials
- White Cardstock
- Chalk pastels
- Black drawing paper
- Brown, red and orange cardstock or construction paper
- Glue stick
- Eye stickers or googly eyes
Tools
- Scissors
Instructions
- Print your template onto white cardstock.
- Cut out and glue the turkey body in the middle of your black paper.
- With chalk pastels, draw thick lines around your turkey template like in the photos above.
- Smudge the pastels in an outward direction all the way around the turkey.
- Carefully take off the template and blow the excess dust off outside.
- Cut out the turkey body using brown cardstock or construction paper and glue it down.
- Cut and glue the beak using orange and red paper.
- Put on the sticker eyes or glue on googly eyes to finish the turkey craft.


Donna White
Thank you so much for sharing these ideas. Simple and easy for even a one year old. Little messy but so much fun.