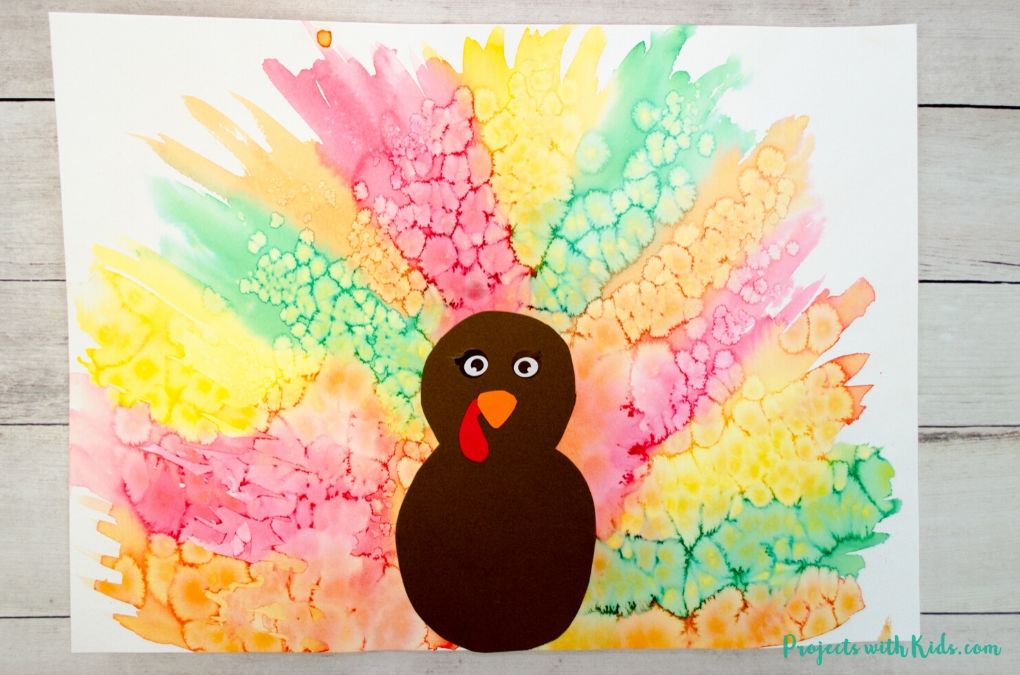
This watercolor turkey craft is so pretty and colorful! Kids will love using these easy watercolor techniques to create the turkey feathers and working on their fine motor skills cutting out the rest of the turkey.
This turkey painting makes a great Thanksgiving craft that kids of all ages will enjoy making!
There are so many fun watercolor techniques for kids to try! Take a look at my collection of watercolor painting for kids for more fun and creative ideas.
For this project, I created a free printable template to make this art project even easier for you. This template is available to my email subscribers. Fill out the form below to get the free template.
After signing up you will receive a welcome email with your download link.
This is the same template that we used for our chalk pastel turkey craft, which also turned out great!
Create your own watercolor turkey craft
This post contains affiliate links. As an Amazon Associate I earn from qualifying purchases. If you would like more information please review my privacy & disclosure policy.
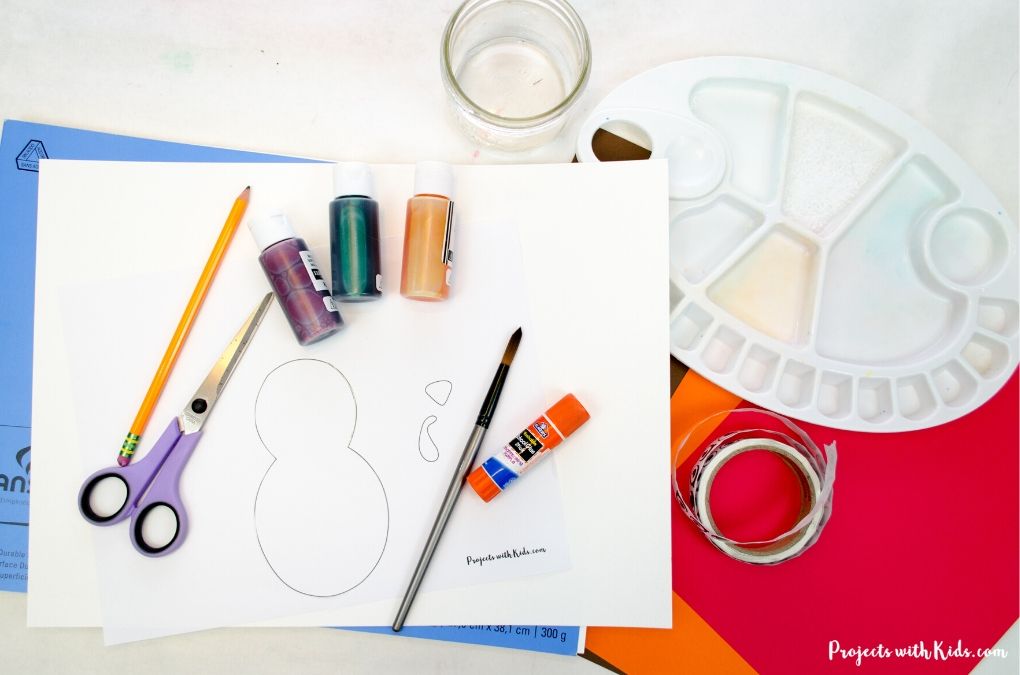
Supplies
- Turkey template
- Watercolor paper
- Watercolor paints in red, orange, green and yellow (we used liquid watercolors but you can use whatever watercolors you have)
- Paintbrush (a larger round brush will work well for this project)
- Cardstock or construction paper in red, orange and brown
- Paint palette
- Coarse salt
- Scissors
- Glue stick
- Pencil
- Eye stickers or googly eyes
Instructions to make your Thanksgiving turkey craft
1. Print out your turkey template onto white printer paper and cut everything out.
2. Trace the turkey body with a pencil in the middle of your watercolor paper. We used 11×15 watercolor paper but you can use whatever size works for you.
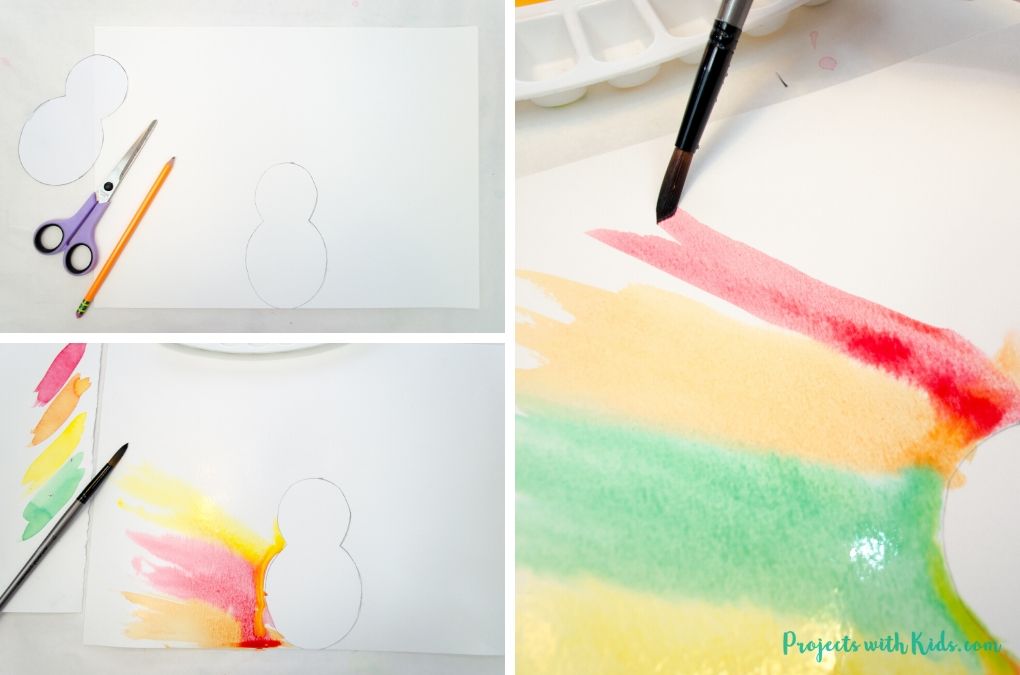
3. Mix your paint colors. We used red, green, yellow and orange liquid watercolors. But kids can choose any colors that they like.
Our liquid watercolors didn’t come with orange so I just mixed some red and yellow together to make the color I wanted. I also diluted our watercolors with some water in a paint palette.
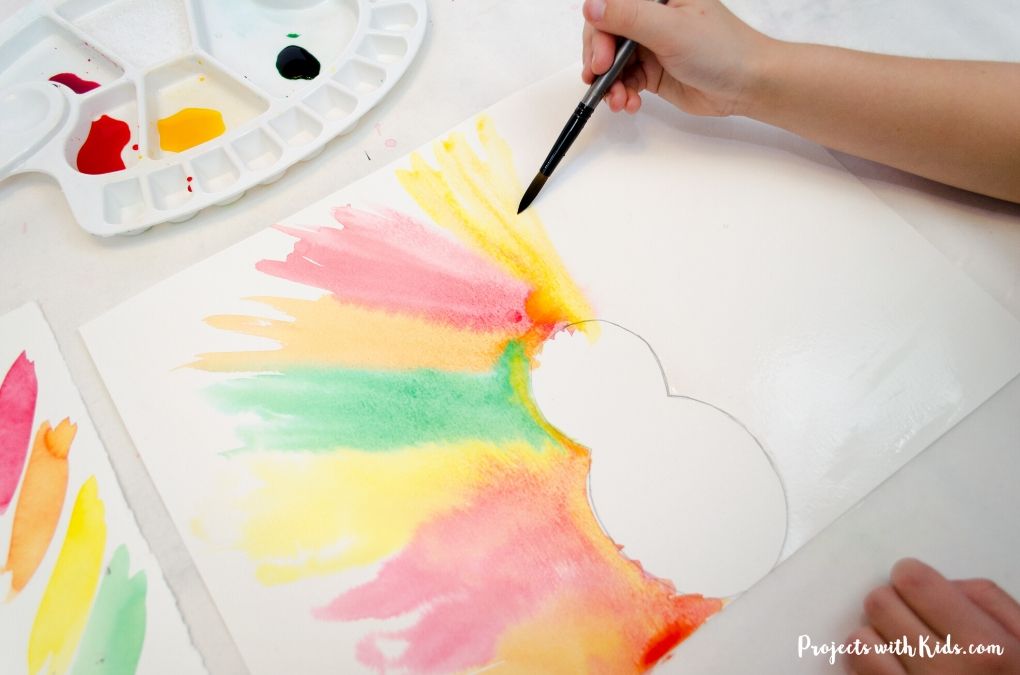
It’s a good idea to test out your colors on some scrap paper first, your colors will always dry slightly lighter.
4. Paint your watercolor paper with clean water, painting around the turkey. Do not paint inside the turkey.
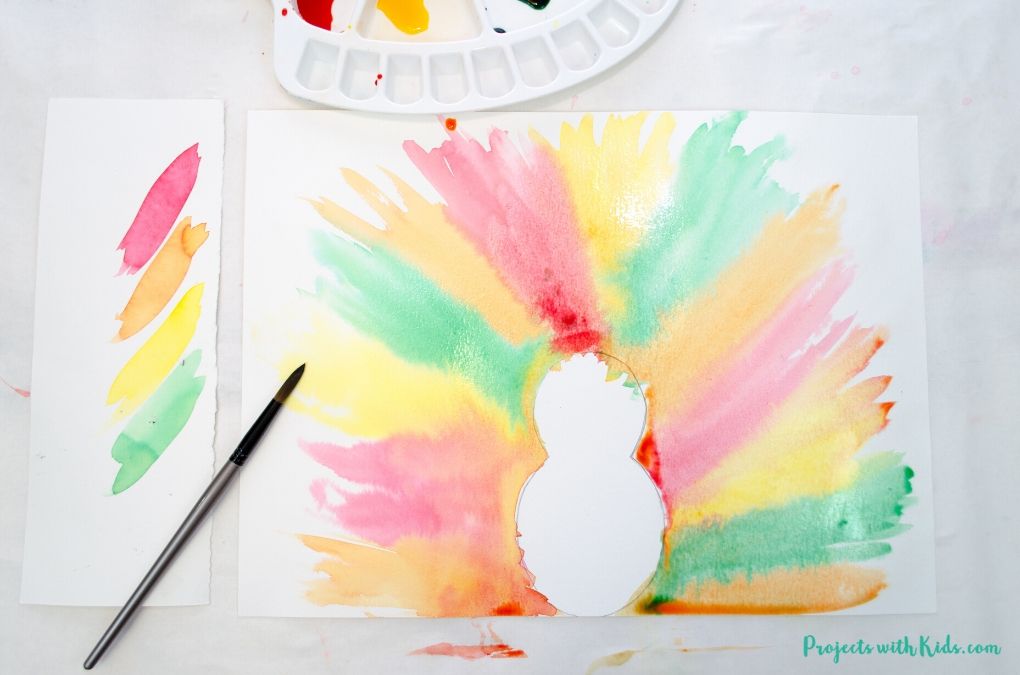
5. While your paper is still wet, start to paint your turkey feathers one color at a time. You want to use a fairly large round brush and paint in an upward direction.
Remind kids to not move their brush up and down but to stick to that upward motion. Rinse your brush before moving on to the next color.
Paint around your entire turkey in the same way. It’s ok if colors mix together slightly, it will only add to the unique quality of your turkey!
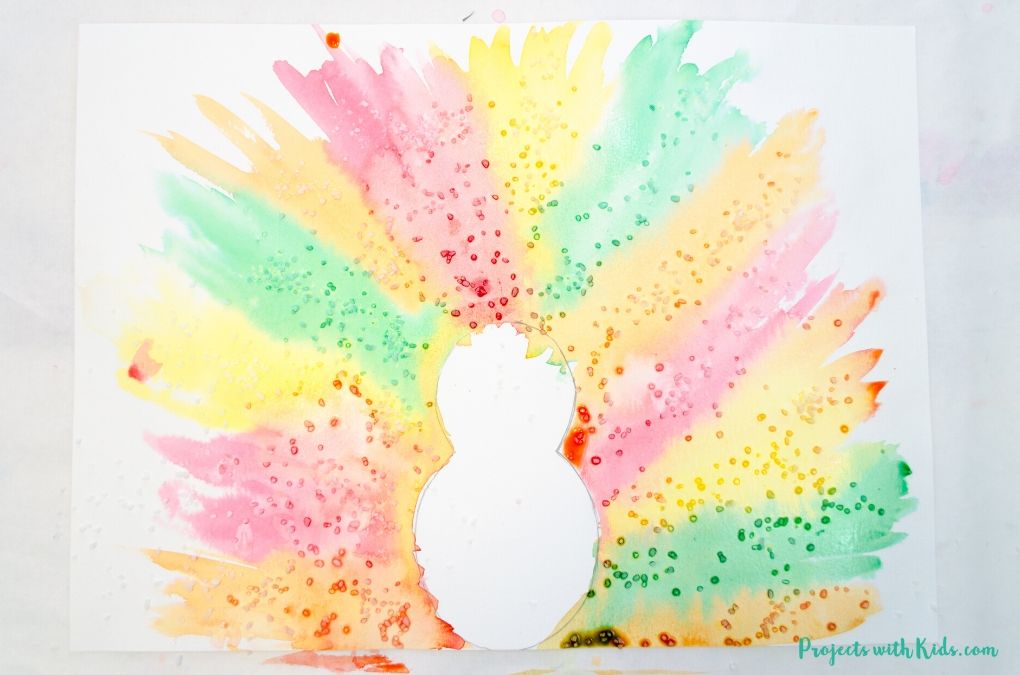
We painted all of our turkey feathers at once and by the time we had finished, some of the paper was starting to dry. So I suggest painting half the paper at a time to avoid the paper drying out or have kids paint quickly.
6. While the paint is still wet, sprinkle coarse salt over your painting. As the salt dries, it will create interesting patterns! Kids love to see the patterns that the salt makes on their painting.
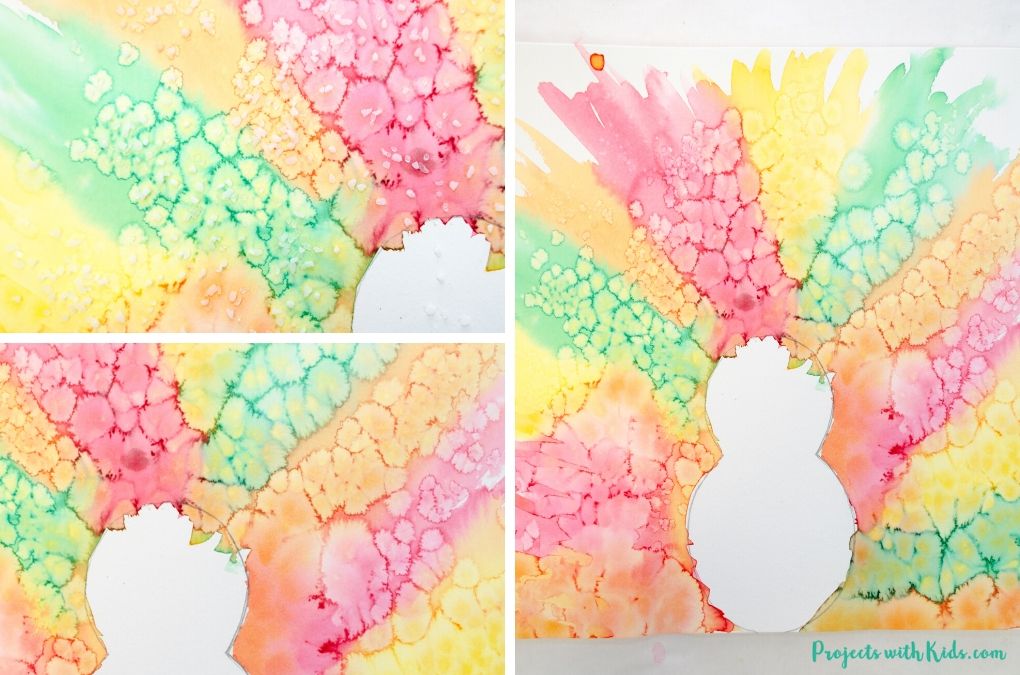
Using salt on wet paint is a really fun technique for kids, take a look at these 5 easy watercolor techniques for more great ideas!
Set your paper aside to dry completely. Make sure that the paper is lying flat.
7. While the watercolors are drying, it’s time to start your turkey! Use the templates provided to cut out the turkey body and beak using brown, red and orange cardstock or construction paper.
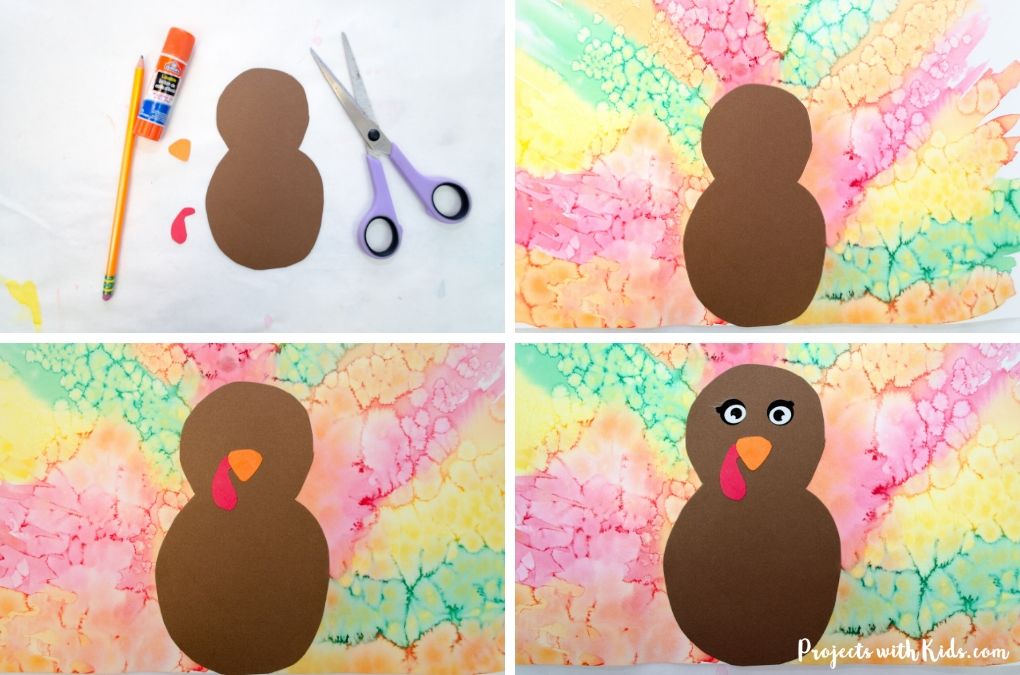
8. Once your paper is dry, brush the salt off into a sink or outside to reveal your amazing turkey feather design. Kids love this part!
9. Glue the turkey onto your watercolor painting and add some sticker or googly eyes to finish it off.
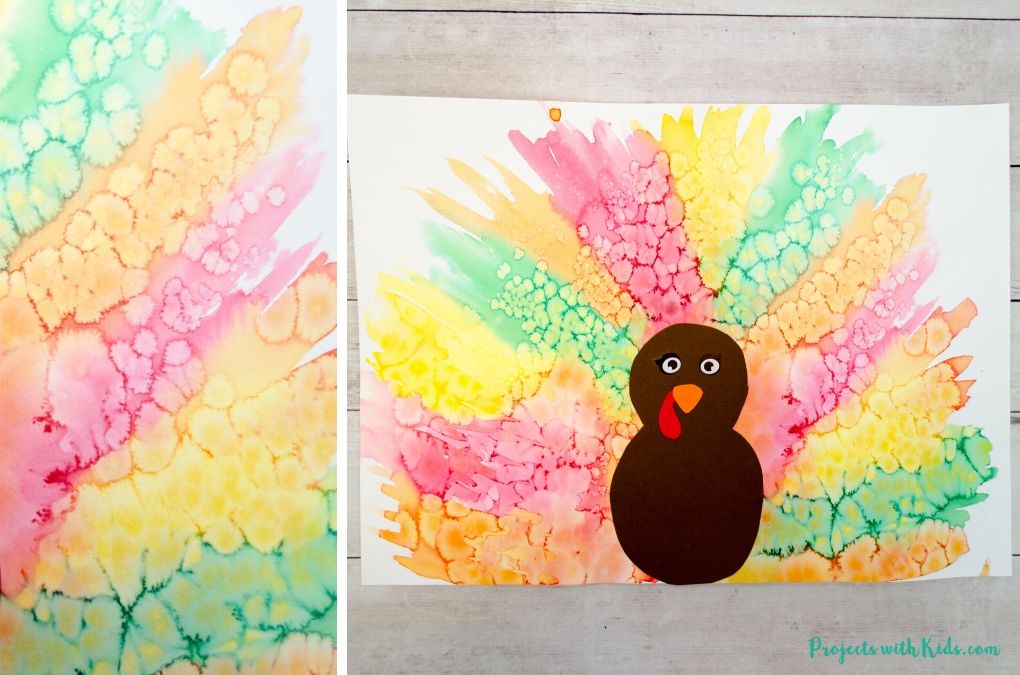
I love how cool the feathers look on this watercolor turkey craft! Using salt to create patterns in the paint, will make each turkey painting unique. Kids will love making this art project for Thanksgiving.
If you are looking for more art projects to try, take a look at our ultimate collection of amazing art projects for kids!
Fill in the form below to get your free printable template!
After signing up you will receive a welcome email with your download link.
More Thanksgiving crafts kids will love
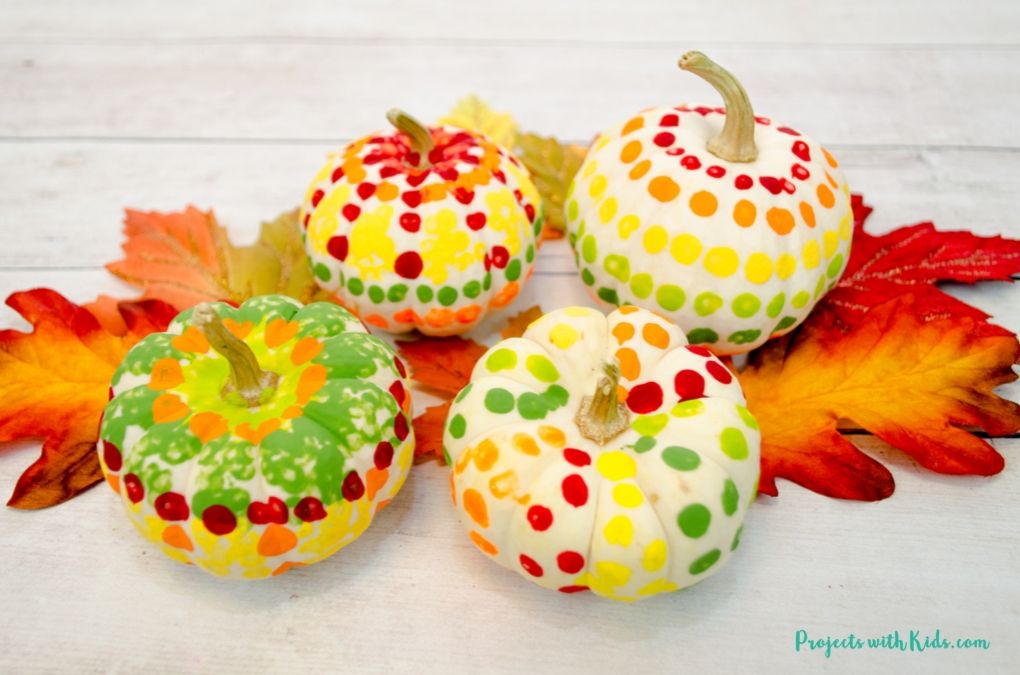
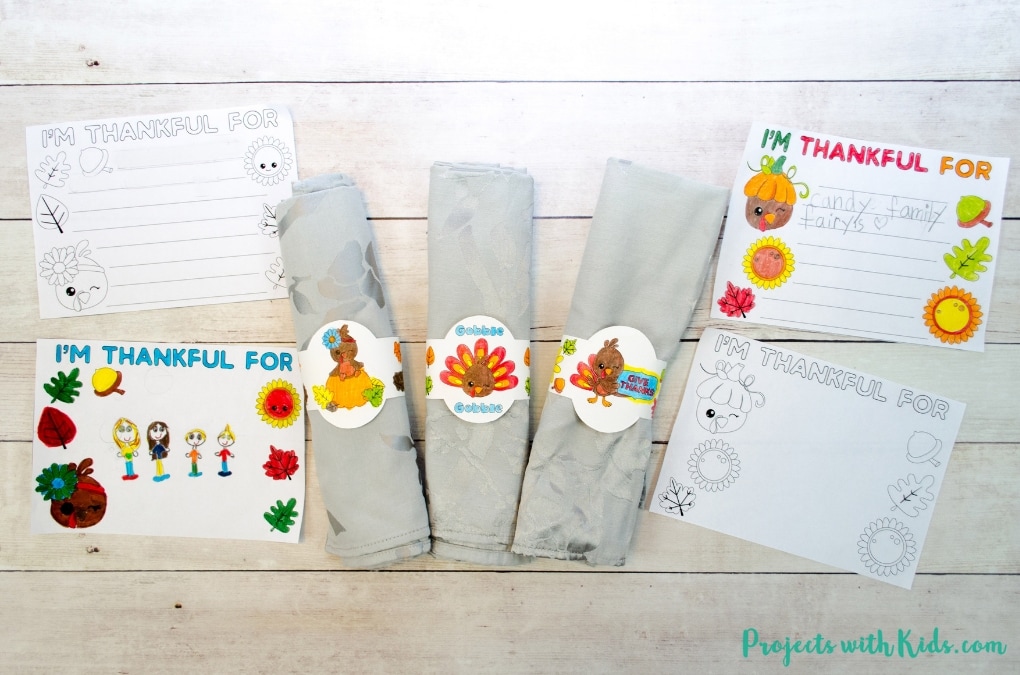
Thanksgiving Kids Table Free Printables
Follow me on Pinterest for more amazing project ideas.
Pin this turkey painting for later
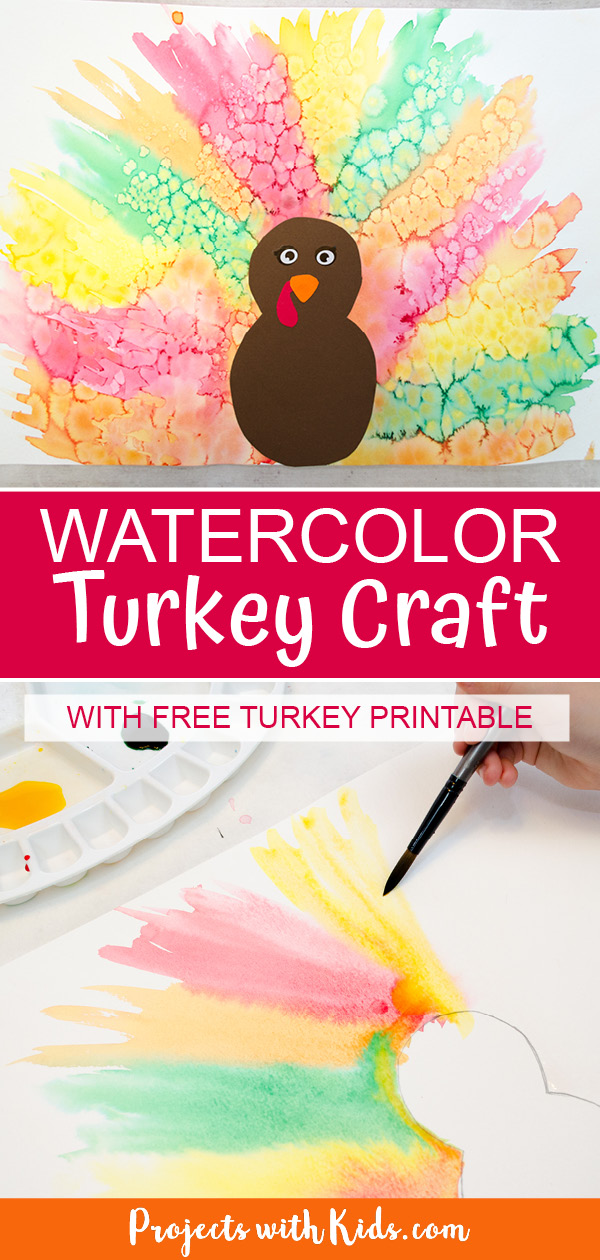
Colorful Watercolor Turkey Craft for Kids to Make
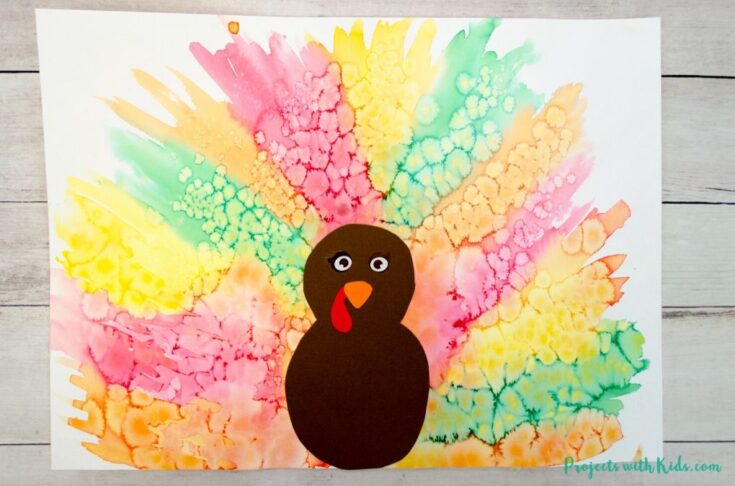
Kids will love making this watercolor turkey craft for Thanksgiving using fun and easy watercolor techniques!
Materials
- Turkey template
- Watercolor paper
- Liquid watercolor paints
- Cardstock or construction paper in red, orange and brown
- Eye stickers or googly eyes
- Coarse salt
- Paintbrush
- Glue stick
Tools
- Scissors
- Paint palette
- Pencil
Instructions
- Print and cut out your turkey template.
- Trace the body of the turkey onto watercolor paper.
- Mix your paints, we used red, green, yellow and orange but kids can choose any colors they like.
- Paint your paper with clean water, painting around the turkey. Do not paint inside the turkey.
- Start to paint your turkey feathers, using one color at a time. Paint with a large round brush in an upward direction.
Continue to paint around your turkey, rinsing your brush in between colors and sticking to that upward motion.
Kids will have to paint fairly quickly before their paper dries. You can also try painting half of your feathers at a time, instead of doing everything quickly all at once. - While your paint is still wet, sprinkle on coarse salt. As the salt dries it will create interesting and unique patterns in your paint.
Set aside your paper to dry completely, make sure your paper is lying flat. - Using the templates provided, cut out the turkey with brown, red and orange cardstock or construction paper.
- Once your paper is dry, brush off all of the salt into a sink or outside to reveal all of the cool patterns in the feathers. Kids love this part!
- Glue the turkey onto your painting and add sticker eyes or googly eyes to finish off your turkey craft.


