

This Q-tip candy corn painting is a fun and easy Halloween art project that kids will love! Using Q-tips to make colorful dots of paint, kids can create the classic candy corn look with simple supplies. This type of dot painting is great for fine motor skills and allows kids to explore color and pattern.
If you enjoy this project, be sure to check out more fun Q-tip painting ideas for kids on my Q-tip painting page.

You only need black paper, a few Q-tips, and white, orange, and yellow paint — making this an easy classroom or homeschool art activity. It’s also a great addition to your collection of fall and Halloween art projects.
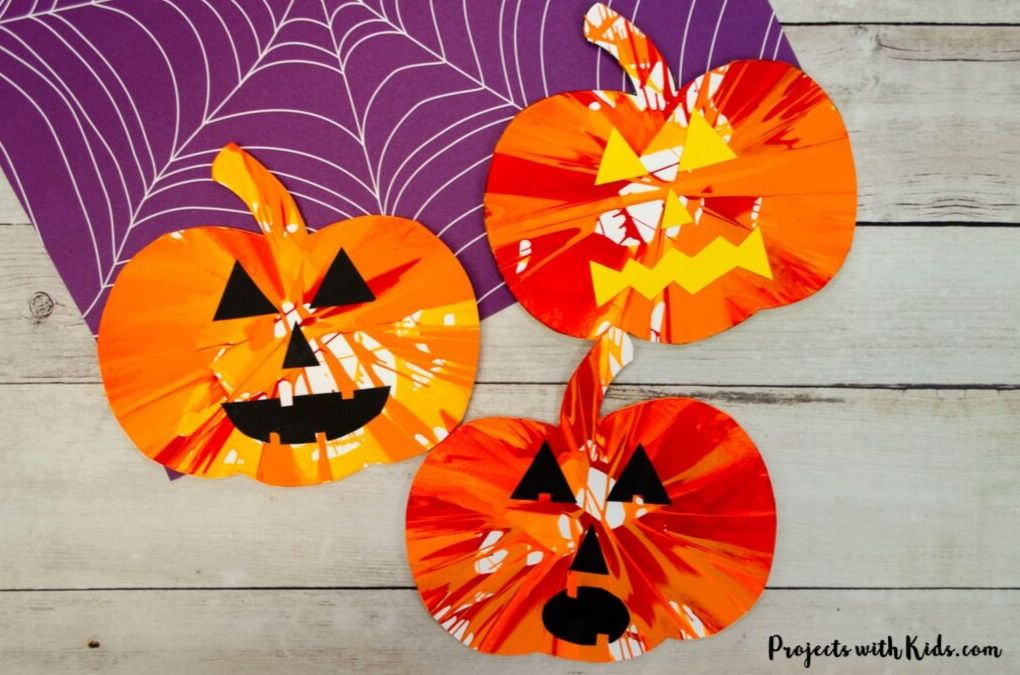
If you are looking for more easy Halloween painting ideas take a look at this witch’s cauldron Halloween bubble painting that comes with a free printable template!
Create your own candy corn Q-Tip painting
This post contains affiliate links. As an Amazon Associate, I earn from qualifying purchases. If you would like more information please review my privacy & disclosure policy.

Supplies
- Black construction paper
- Q-tips
- White, orange, and yellow acrylic paint
- Small paint palette or paper plate (something with a lot of sections makes this easier for kids)
- Pencil
Instructions for your candy corn art project
1. Draw a candy corn shape
Start by lightly sketching a candy corn shape on your black construction paper. Draw a triangle with soft, rounded corners — this gives it that familiar candy corn look. Then, use your pencil to divide the triangle into three horizontal sections: one for white at the top, one for orange in the middle, and one for yellow at the bottom.
As you can see from the examples, kids can choose to draw one big candy corn shape or a few smaller shapes. You can also vary the sizes, let kids decide, and each one will be unique!

2. Set up your paint
Squeeze white, orange, and yellow paint onto a paper plate or palette. If you have a paint palette with sections in it, this works well to keep the colors separate. These are the classic candy corn colors! Give each color a little space so they don’t mix together.
You’ll also need a few Q-tips — one for each color — so the colors stay bright and clean while painting.

3. Q-Tip dotting – white section
Dip one end of a Q-tip into the white paint. Begin dotting along the top section of your candy corn outline.
Make small, close-together dots to fill in the space completely. Kids can experiment with dot spacing — placing them closer together will create a bold, solid look, while spreading them out adds a lighter texture. Continue until the top section is filled with white paint dots.

4. Q-Tip Dotting – orange section
Next, grab a new Q-tip and dip it into the orange paint. Start dotting in the middle section of your candy corn. Fill in the entire middle section with bright orange dots.

5. Q-Tip dotting – yellow section
Use a fresh Q-tip for the yellow paint and begin filling in the bottom section of the candy corn. Fill it in completely with dots to complete the classic candy corn look.
Don’t worry if a few dots overlap — that’s part of the charm! The three colors together will create a classic candy corn design that really pops against the black paper.

Once your candy corn painting is finished, set it aside to dry completely.
This easy Q-tip candy corn painting is such a fun way for kids to celebrate Halloween with art! The simple dot painting technique makes it accessible for all ages, and the bold colors look fantastic on black paper. Whether you use it as a quick fall craft, a classroom art center, or a family Halloween project, kids will love seeing their candy corn designs come to life.
More Halloween painting ideas kids will love
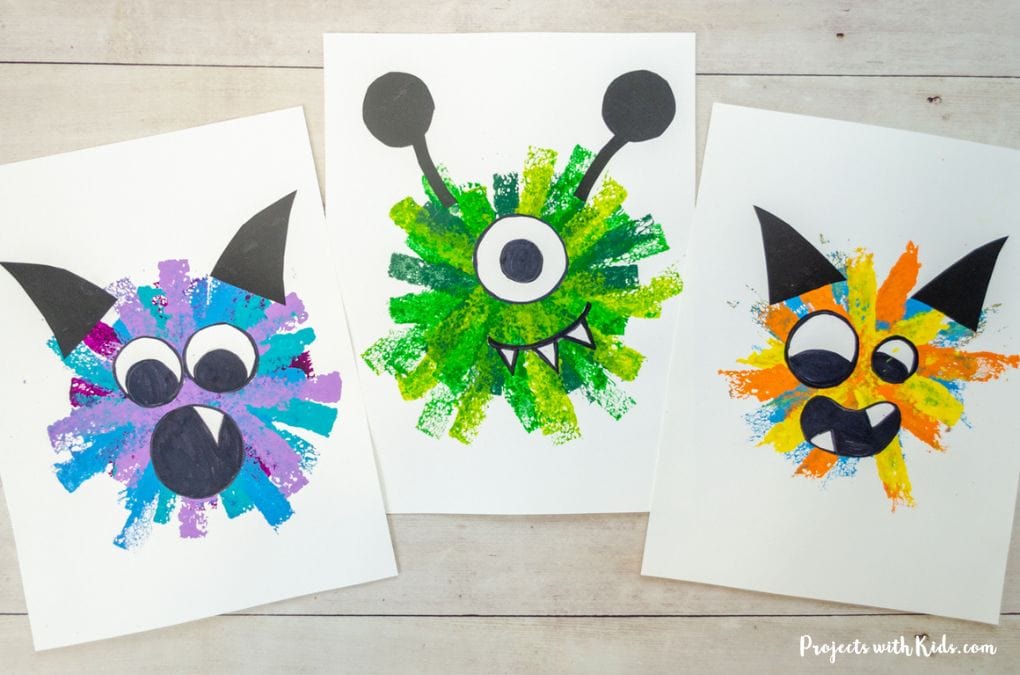
Easy Sponge Painted Monster Craft
Follow me on Pinterest for more creative project ideas!
Pin this easy painting idea for later

Easy Q-Tip Candy Corn Painting for Halloween

Create a colorful Q-tip candy corn painting for Halloween! This easy dot painting craft is perfect for kids of all ages and makes a fun, easy art project for the classroom or at home.
Materials
- Black construction paper
- Q-tips
- White, orange, and yellow acrylic paint
- Small paint palette or paper plate (something with a lot of sections makes this easier for kids)
- Pencil
Instructions
- Draw a candy corn shape
Lightly sketch a triangle with rounded edges onto your black paper. This will be your candy corn outline. Divide it into three horizontal sections. - Set up paint
Squeeze a small amount of white, orange, and yellow paint onto a plate or palette. - Q-tip dotting - white section
Dip a Q-tip into the white paint. Begin dotting along the top section of the candy corn, filling it in with small, close-together dots. - Q-tip dotting - orange section: Grab a new Q-tip and dip it in orange paint. Dot along the middle section of your candy corn, just like you did with the white.
- Q-tip dotting - yellow section: Use a fresh Q-tip to dot yellow paint along the bottom section of the candy corn. Fill it in completely with dots to complete the classic candy corn look.
- Let It Dry
Set your artwork aside to dry completely.


