


Looking for a fun and magical Halloween art activity for your students or kids at home? This magical witch’s cauldron Halloween bubble painting is the perfect mix of spooky and creative! Using bubble paint and simple supplies, kids will create colorful rings that look like a witch’s potion bubbling right out of the cauldron.
We love exploring different painting techniques. Take a look at my collection of creative painting ideas for kids for more fun and creative art projects to try!

This project is easy to set up, uses just a few materials, and gives kids a chance to explore texture, color mixing, and stamping. It’s a low-prep art lesson that works for the classroom, homeschool, or a fun Halloween party activity!
For this project, I created two different printable cauldron templates! One is the colored in version that is used in the examples, and the other is an ink-saving template that kids can color in themselves with markers. Scroll down to the bottom of this post to instantly download your PDF.
Create your own Halloween bubble painting
This post contains affiliate links. As an Amazon Associate, I earn from qualifying purchases. If you would like more information please review my privacy & disclosure policy.

Supplies
- Cardstock (or plain white printer paper)
- Acrylic Paint (green, orange, purple, etc.)
- Dish soap
- Spoons or craft sticks for mixing paint
- Water
- Toilet paper rolls (one per color)
- Paint trays or plate for dipping
Instructions for your witch’s cauldron bubble painting
1. Get your paper ready
Decide on which template you will be using and print it out. There is the fully colored in version that is shown in the samples, and also a color-in version that kids can do themselves (and also saves on ink!).
Printing on white cardstock is best because the paint is quite wet, but regular printer paper will work as well. Scroll to the bottom of this post to instantly download your printable cauldron templates!

2. Prepare the bubble paint
Start by getting your colors ready. In a small bowl or tray, mix together 1 tablespoon of paint and 1 tablespoon of dish soap. Then add a small splash of water (about 1 teaspoon) and stir gently with a spoon or craft stick until the mixture is smooth and slightly foamy.
You want the paint to be thin enough to bubble and stamp, but not too watery. You can always test out the paint on scrap paper before deciding to add any more water.

Repeat this process for each color you plan to use. Kids can choose bright colors like green, purple, and orange, or try different shades of blue for something unique. A rainbow bubbling cauldron would also be magical!
3. Dip and stamp
Take a toilet paper roll and dip one end into the bubble paint mixture, making sure the edge is well-coated. Hold the roll straight up and down and press it gently onto the top of the cauldron on your paper. This will leave a colorful circular print.
As the paint hits the paper, you’ll notice small bubbles forming inside the ring — that’s the magic of the dish soap at work!

4. Repeat with different colors
Give each color its own toilet paper roll so the colors stay bright and don’t mix too much in the cups. Dip and stamp again, using different colors to create overlapping circles and bubbles all around the top edge of the cauldron.
Encourage kids to experiment with the placement of the bubbles, having the bubbles spill over the cauldron, and even towards the edge of the paper for a fun “bubbling over” effect.

5. Let the magic happen
As the paint dries, the soap bubbles will slowly pop and settle, leaving behind a unique, textured effect. The rings will dry with interesting patterns that look just like potion bubbles. This part is always exciting for kids to watch!

6. Dry completely
When you’re done stamping, carefully place the artwork somewhere flat and let it dry completely. Once dry, the colors will look bright and bold, and the bubble texture will be even more visible.

This witch’s cauldron Halloween bubble painting is such a fun way to celebrate the season while letting kids explore color mixing, stamping, and texture. Whether you’re doing this in a classroom, homeschool lesson, or as a family Halloween activity, kids will love watching their colorful potion bubbles pop and dry into fun patterns and textures.
Once your bubbling cauldrons are dry, display them on a bulletin board, hallway wall, or even use them as part of your Halloween party décor.
Tips & Variations
- Use bright, fun colors
Stick with classic Halloween colors like green, purple, and orange, or try adding neon or glow-in-the-dark paint for an extra magical touch. - Add some sparkle
Mix a little glitter into the bubble paint or sprinkle glitter over the wet paint for a shimmery, spooky effect. - Make it a STEAM activity:
Talk about the science of bubbles while you create! Discuss how the dish soap traps air to form bubbles and what happens as they pop and dry. - Create a background:
Paint a light watercolor wash in purple or blue behind the cauldron before you start stamping to make the bubbles pop even more. - Add writing or storytelling:
Turn the project into a literacy activity by having kids write a short list or story about what magical ingredients are in their cauldron. - Try different tools:
Toilet paper rolls work great, but you can also use small plastic cups, or even the rim of a bottle cap for different-sized bubbles.
>> Click here to instantly download your printable cauldron templates!
More Halloween painting ideas kids will love
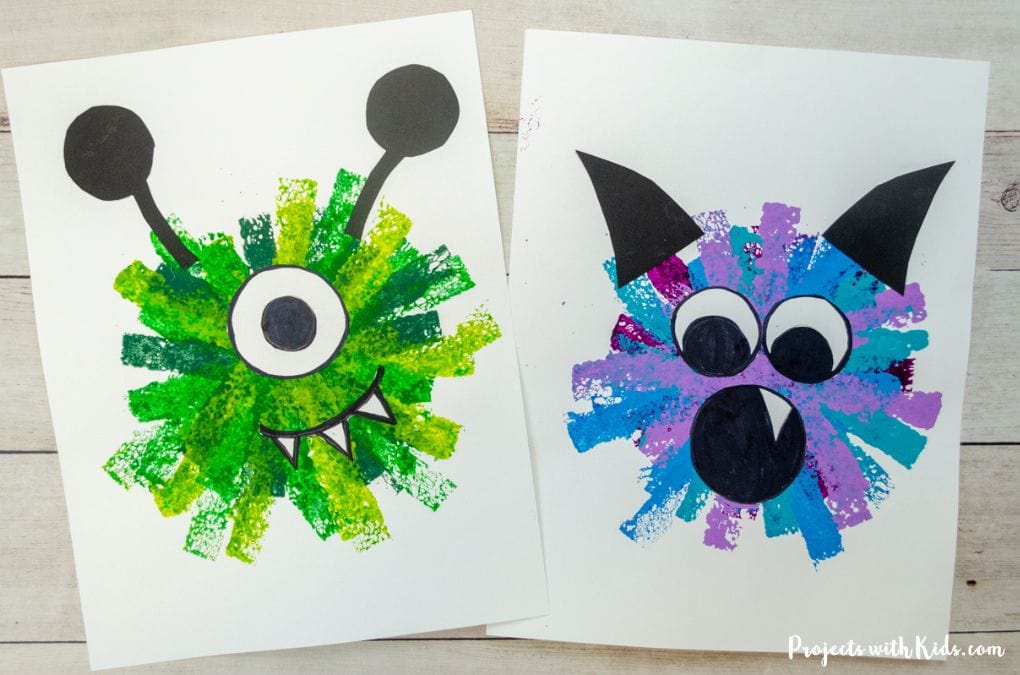
Easy Sponge Painted Monster Craft
Follow me on Pinterest for more creative project ideas!
Pin this Halloween bubble painting for later

Witch’s Cauldron Halloween Bubble Painting

Try this witch’s cauldron Halloween bubble painting project! A fun, low-prep Halloween art activity for kids that’s perfect for classrooms or homeschool.
Materials
- Cardstock (or plain white printer paper)
- Acrylic Paint (green, orange, purple, etc.)
- Dish soap
- Water
- Toilet paper rolls (one per color)
- Paint trays or plate for dipping
Instructions
- Print out your template: Decide on the printable template you will be using and print it out on cardstock or regular printer paper.
- Prepare the bubble paint: In each tray, mix 1 tablespoon of paint with 1 tablespoon of dish soap. Add a splash of water (about 1 teaspoon) and stir gently until it’s well mixed. Repeat for each color you want to use.
- Dip and stamp: Dip one end of a toilet paper roll into the bubble paint. Press the roll gently onto the top of the cauldron to stamp a colorful ring. As the paint hits the paper, you’ll see little bubbly textures begin to form.
- Repeat with different colors: Use separate toilet paper rolls for each paint color. Stamp the bubbles all around the top of the cauldron to make it look like a magical potion is bubbling over!
- Let the magic happen: As the bubble paint dries, the soap mixture will pop and settle, leaving behind cool, bubbly patterns.
- Dry Completely: Set aside to dry completely. Once dry, you’ll see all the vibrant rings and popped bubble textures!


