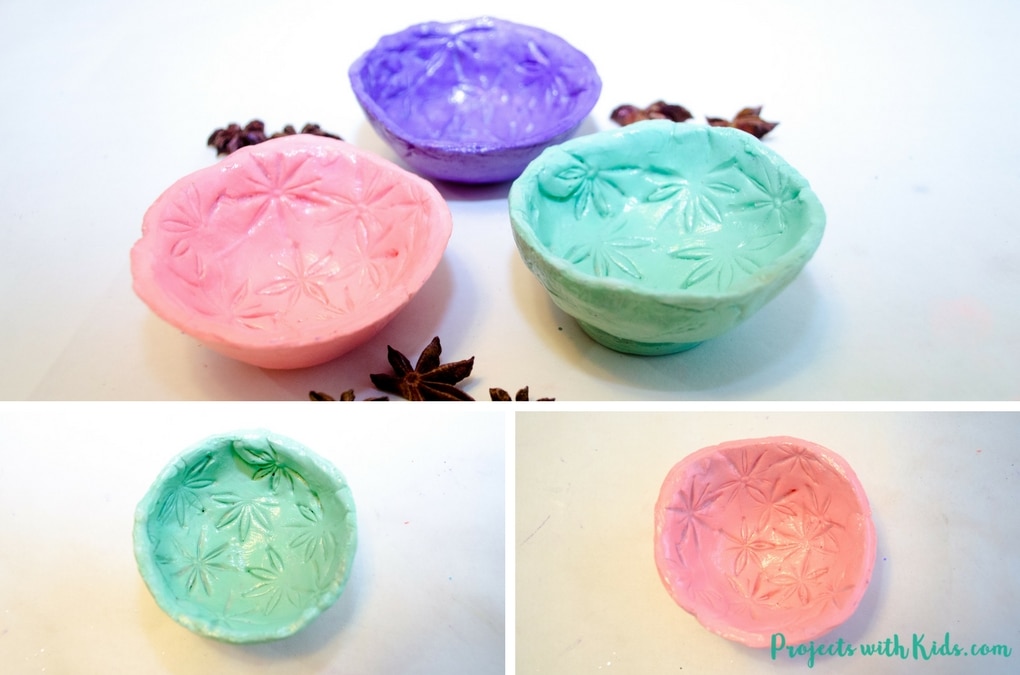
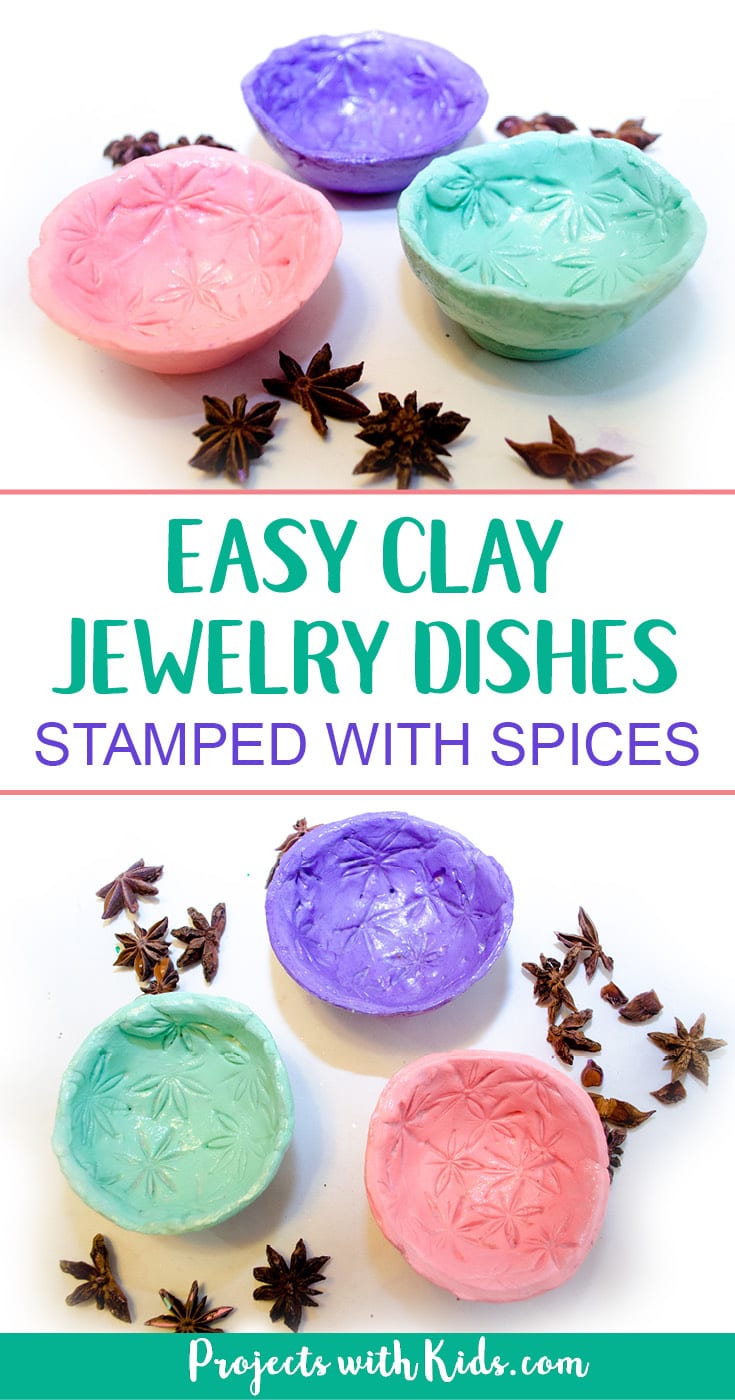
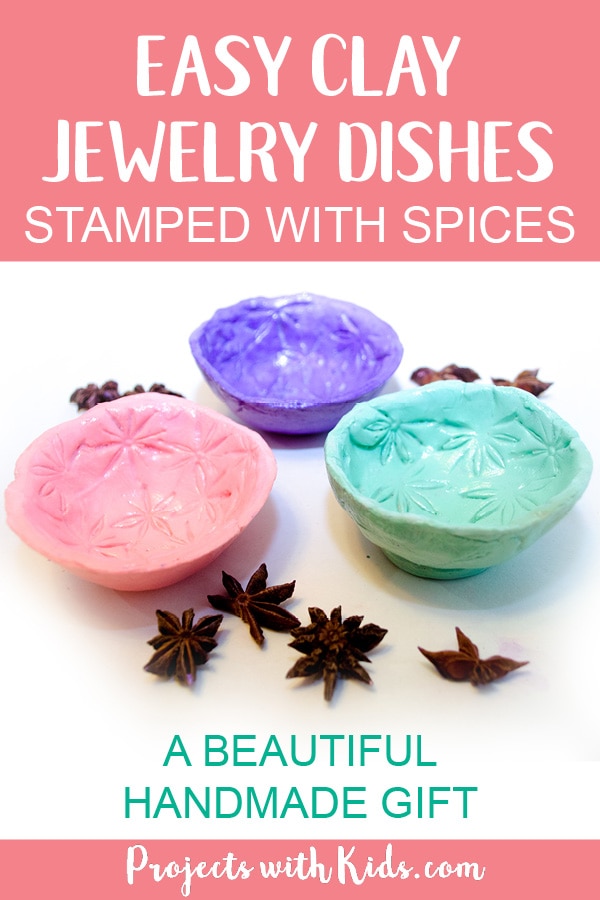
These clay jewelry dishes are so pretty and unique, kids will love making them and giving them as gifts. My kids love working with clay and using spices to stamp a design into the clay was a lot of fun!
We used star anise to stamp our air dry clay and our jewelry dishes turned out great! Plus using colored clay made it easy to get beautiful colors without the extra step of painting.
We love making handmade gifts for family and friends, check out our collection of awesome kid-made gifts for more ideas and inspiration.
If you want to include some handmade jewelry to go with your clay jewelry dishes, check out these sparkly stamped polymer clay necklaces that would be a perfect gift for mom or grandma. Kids will also love making these colorful best friends necklaces for their BFFs!
Make your own clay jewelry dishes
This post contains affiliate links. As an Amazon Associate I earn from qualifying purchases. If you would like more information please review my disclosure policy here. Thank you for helping to support Projects with Kids!
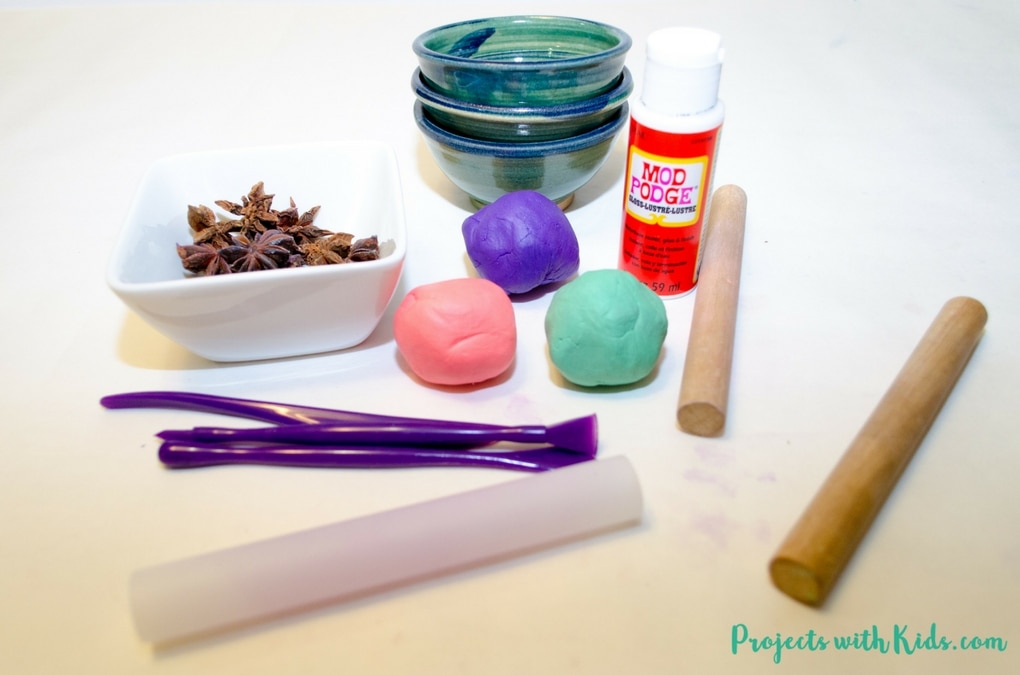
Supplies
- Air dry clay in the colors of your choice
- Clay shaping tools, or a mini rolling pin and knife
- Small bowls to use as molds
- Plastic wrap
- Whole star anise
- Mod Podge
Instructions for your handmade jewelry dishes
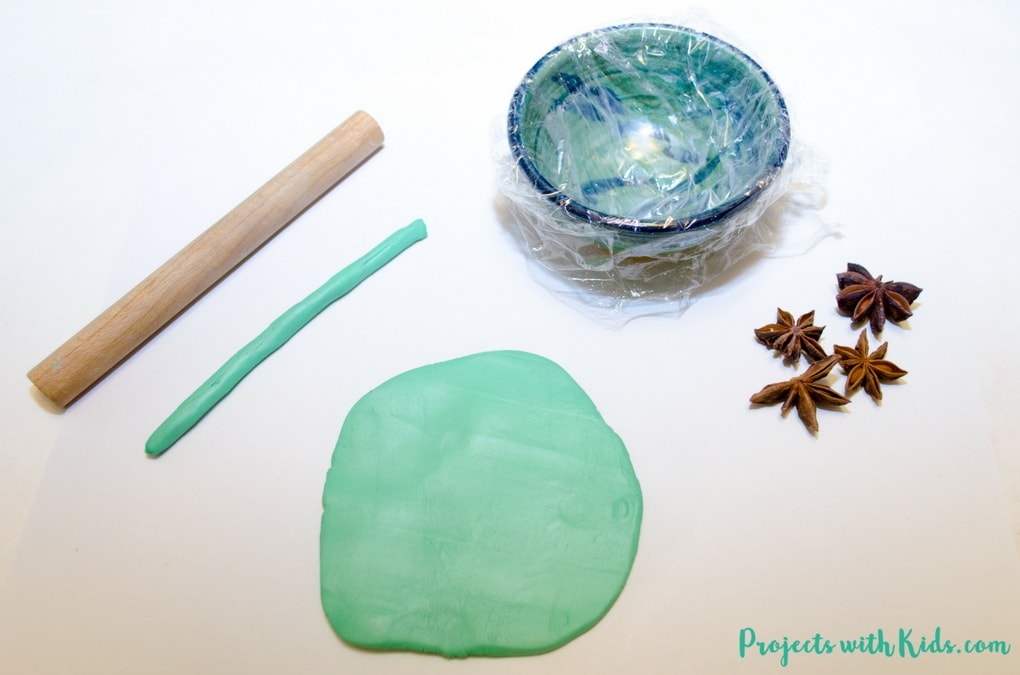
1. Start by preparing your molds, you want to use small bowls and cover them with plastic wrap to make it easier to take them out.
2. Next, take your air dry clay, form it into a small ball and then start to flatten it with your hand and roll it out. You want the clay to be about 1/4 inch thick.
3. This next step is optional but will help keep your bowl steady if it seems a bit wobbly after it comes out of the mold. Roll out a thin strip of clay and make it into a circle to be used on the bottom of your bowl.
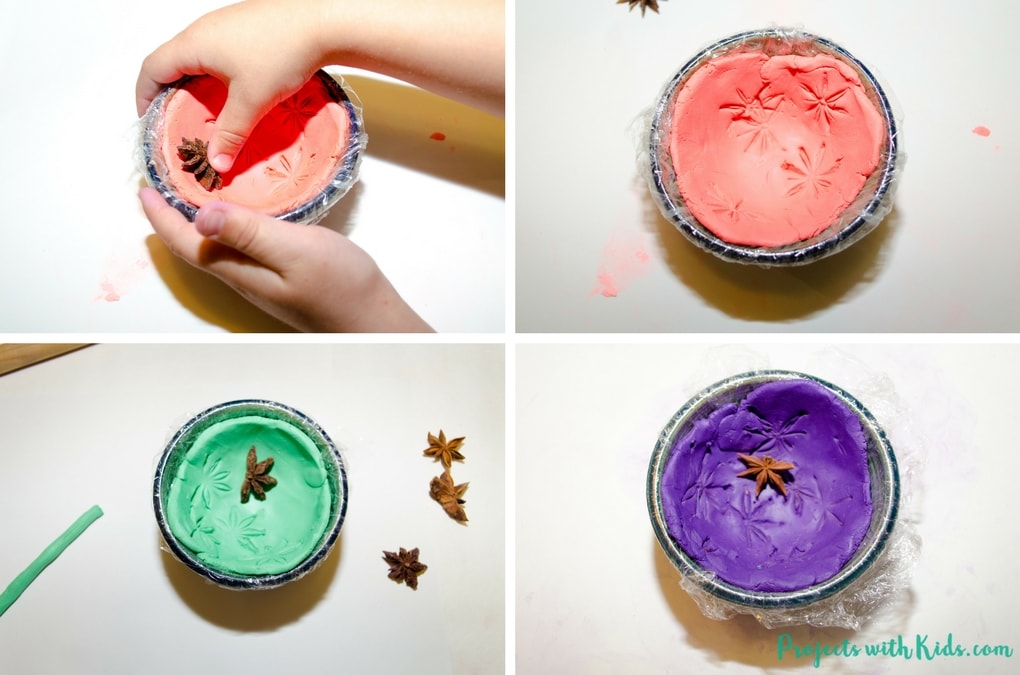
4. Lay your clay inside your bowls and press down gently making sure the clay goes all the way down to the bottom.
5. Start printing your design with star anise. Both my kids loved this part! Don’t worry if some of your star anise is broken, that just adds to the unique design. Just be careful not to press too hard with the star anise and make a hole in your clay.
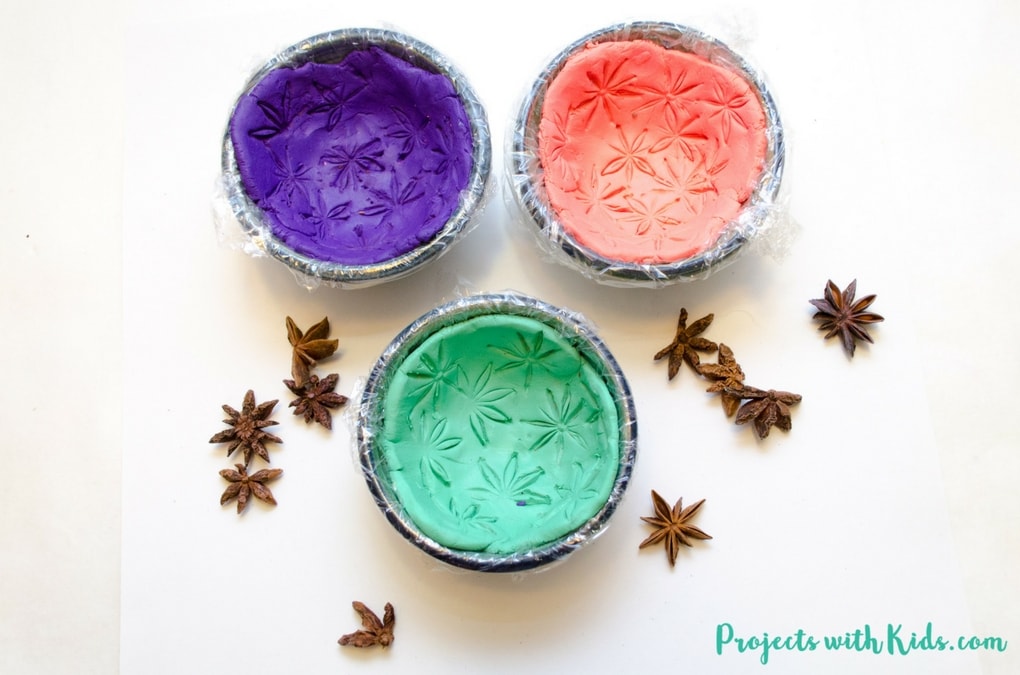
6. Once you are finished stamping your designs, smooth out the edges on the top of your dishes. You can use clay shaping tools, a knife or simply smooth it out with your finger.
I trimmed the edges a bit for my kids and then let them smooth out the tops with their fingers. You might want to have a small bowl of water to help smooth out the clay, especially if it seems to be drying out a bit.
7. Let the clay dry completely before moving on. We let ours dry for a couple of hours and then carefully removed them from the molds and let them dry overnight.
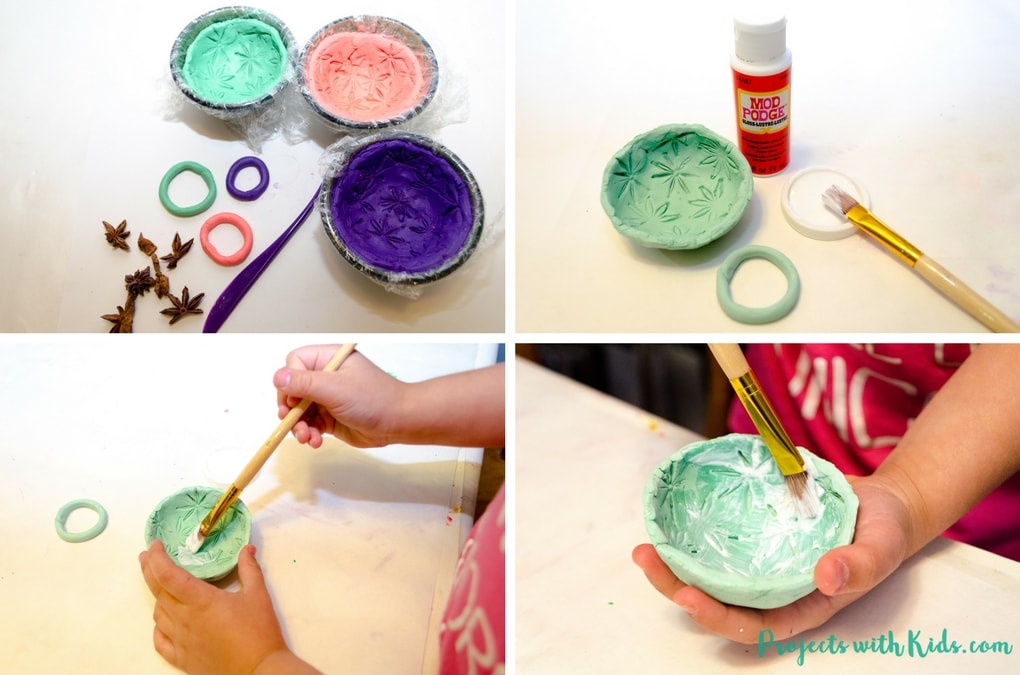
8. When the jewelry dishes are completely dry, you can add some Mod Podge to seal the clay. We did two thin coats, letting everything dry in between.
If you find that your dishes are a bit wobbly, try placing the circle of clay underneath the bowl. You can glue it on with Mod Podge, or any type of glue that you have, this will help keep it steady. We only had to do this on one of our dishes, the other two were steady enough on their own.
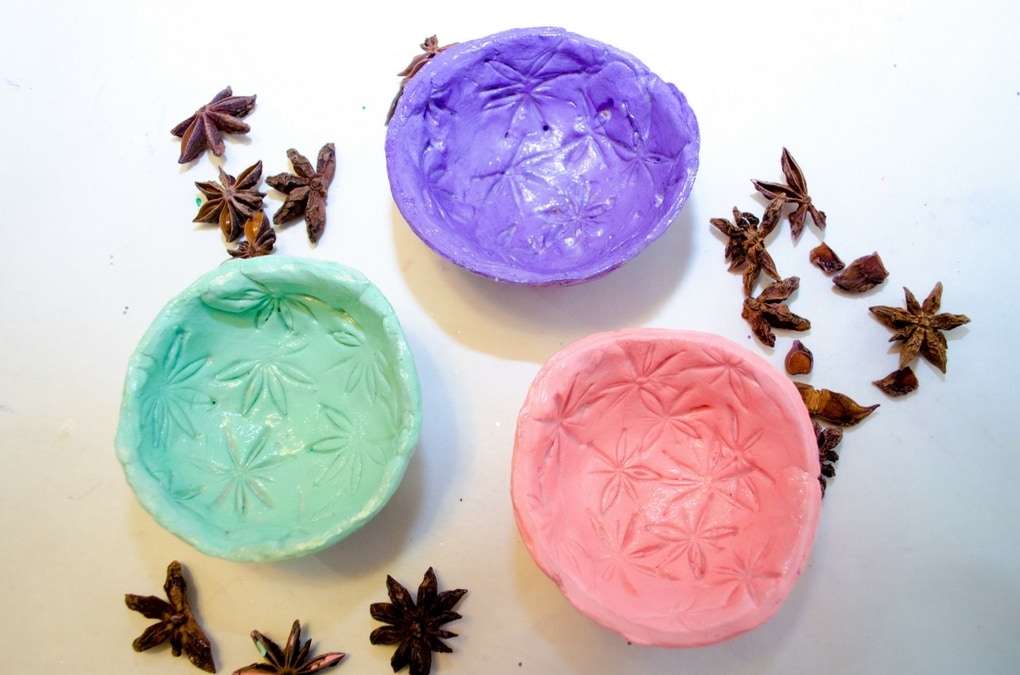
Your clay jewelry dishes are now done and ready to give as beautiful handmade gifts to someone special! I love the unique stamped designs on these dishes and the bright colors of the clay we used. Kids will have fun making and giving these mini dishes to their friends and family.
More handmade gift ideas kids will love
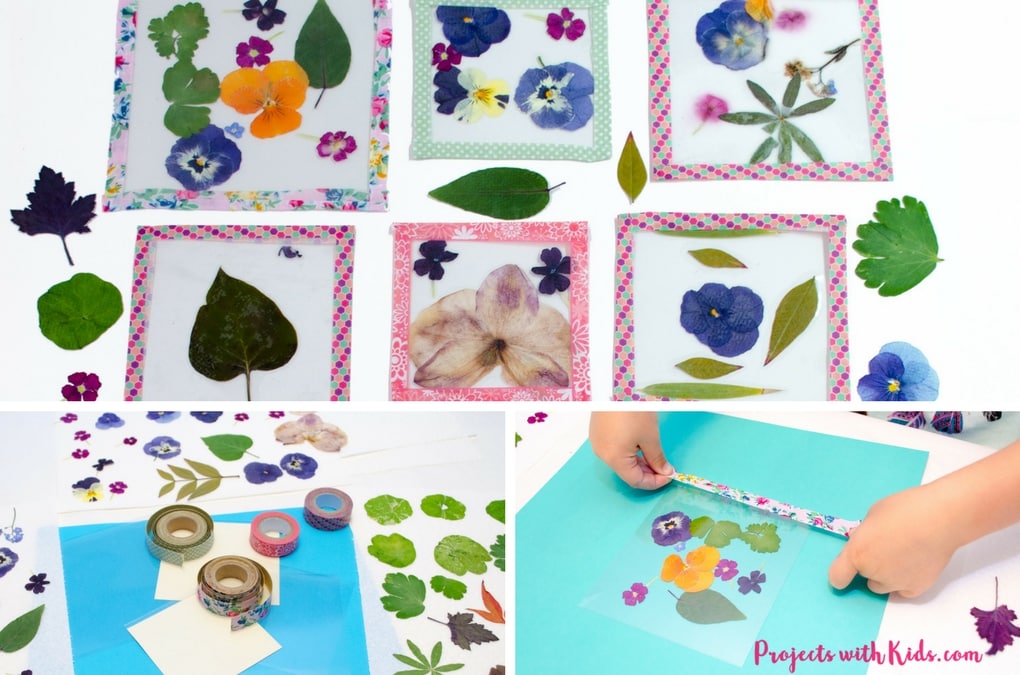
Handmade Coasters with Pressed Flowers & Washi Tape
Follow me on Pinterest for more great project ideas!
Nadia at Teach me mommy has a Christmas Tree Handprint Keepsake for you to try! Be sure to check it out. Click on the picture below to find all of the handmade gift ideas in one place.
Pin this project for later




Nadia
This is SO Pretty!
ProjectswithKids
Thank you Nadia!
Shann Eva
These are fantastic! What a ;cute gift idea for the holidays. I love that you used the star anise to make the imprints too…so clever!
ProjectswithKids
Thanks Shann! We also loved using star anise, so fun!
Meredith
Wow, this is so cute and creative! My kids would love this. I also really love the colors of the clay…so bright and pretty!!
ProjectswithKids
Thank you Meridith! That’s why I love using colored air dry clay, the colors are so bright.
Jen | My Healthy Homemade Life
These are adorable ! My daughter was working with clay in art class a few weeks ago and told me how much she enjoyed it. I think she’s really going to love making these!
ProjectswithKids
Thanks Jen! My kids love working with too.
Theresa
This is such a neat idea! It looks really cool and creative.
ProjectswithKids
Thank you Theresa!
Corey | The Nostalgia Diaries
My daughter would have so much fun making these as gifts for the holidays! We will definitely be trying these out!
ProjectswithKids
I hope you and your daughter have fun Corey!
Alissa Ackerman
What a cute idea! I wouldn’t have thought of using spices to stamp clay ?
ProjectswithKids
Thanks Alissa!