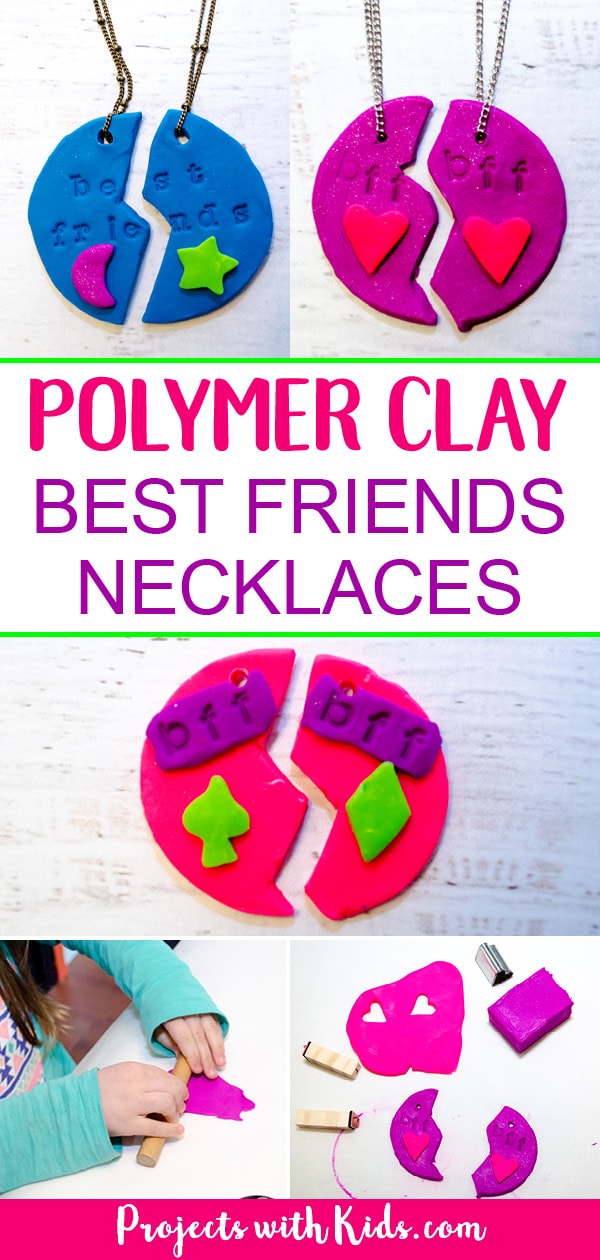
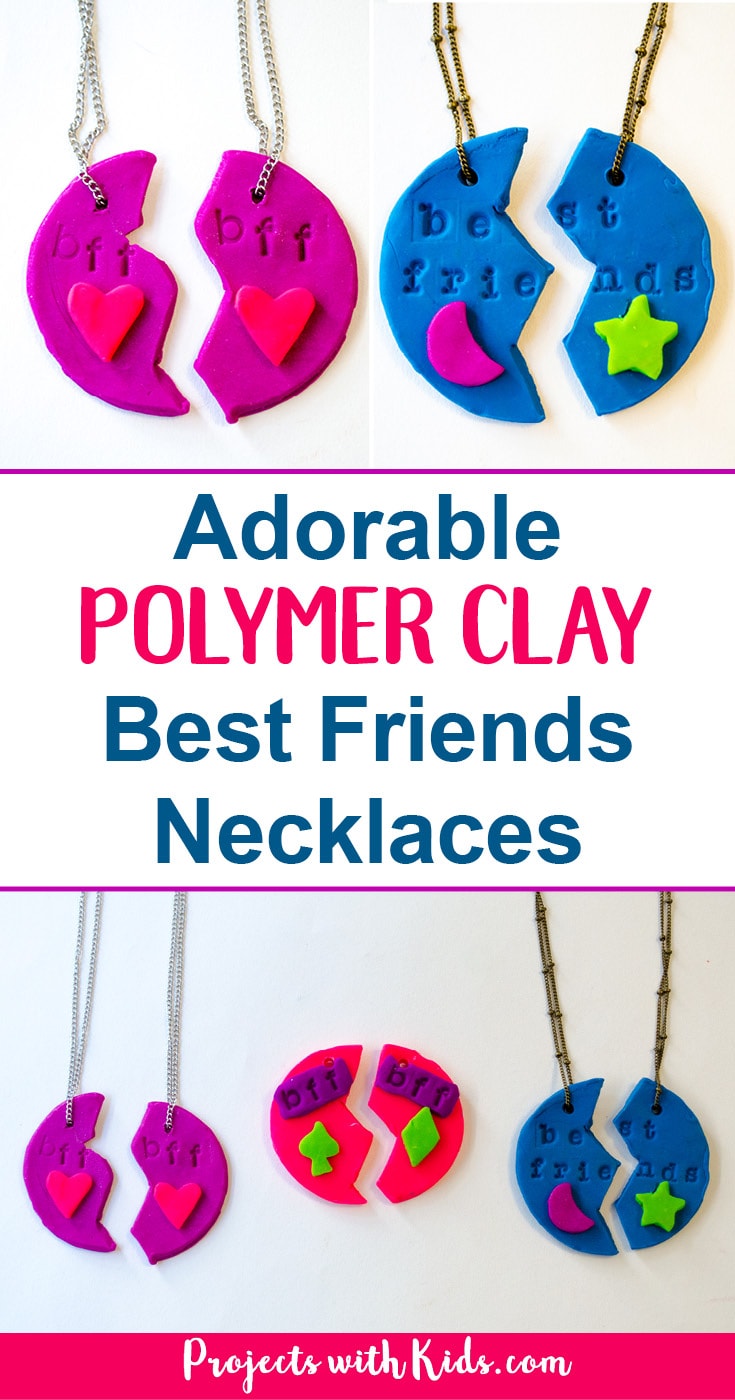
Polymer clay is so much fun for kids to work with! And these best friends necklaces turned out so darn cute, with so many color and design possibilities. My daughter was excited to share these with her friends. We all had fun making these necklaces!
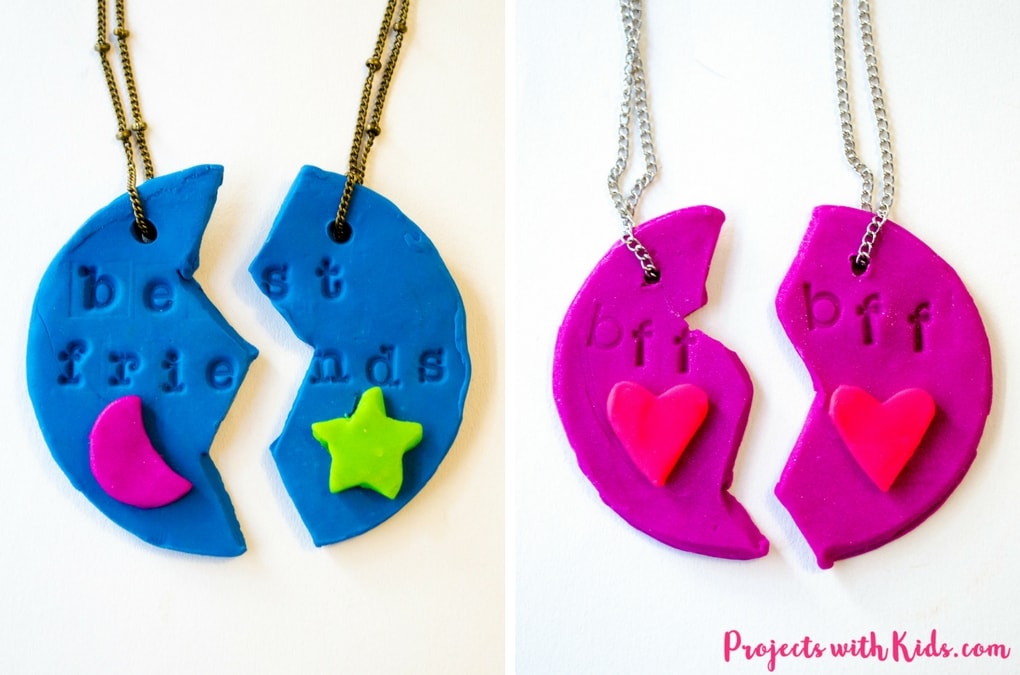
We love making handmade gifts for family and friends, check out our collection of awesome kid-made gifts for more ideas and inspiration.
Polymer clay is great for younger kids. My 7-year-old LOVES it and so does my 4-year-old but he ends up using it like play dough(which can get a bit pricey!). It’s also great for older kids and teens. I remember spending hours making beads out of polymer clay when I was younger.
Create your own polymer clay best friends necklaces
This post contains affiliate links. If you would like more information please review my disclosure policy here.
Supplies
-
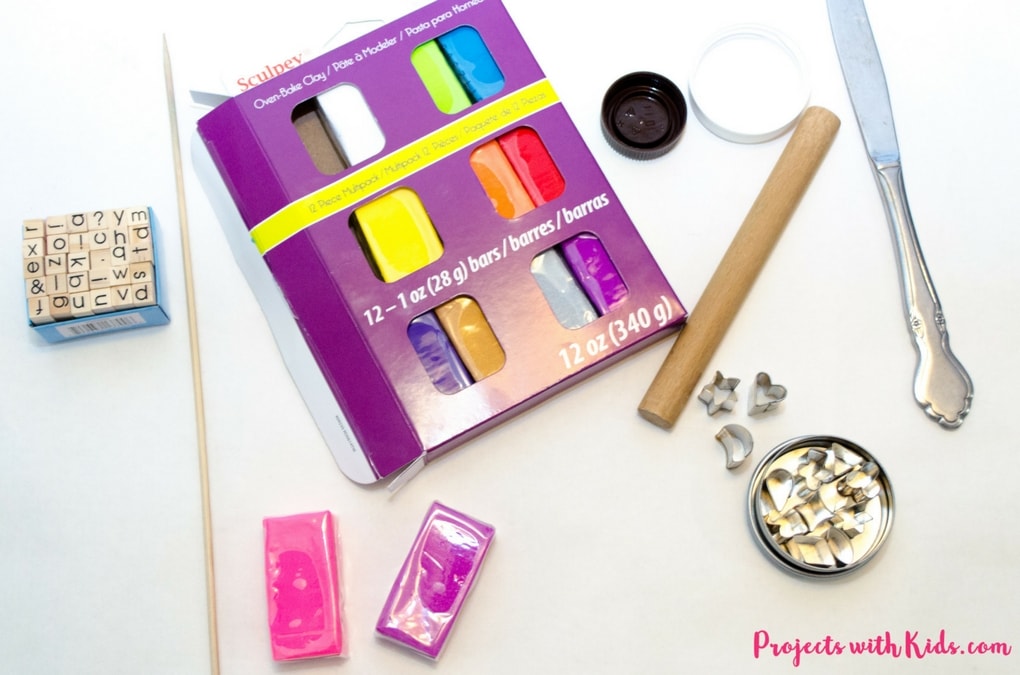
- Polymer Clay in the colors of your choice. We used Sculpey, but Fimo works great too.
- Tools to help shape your clay. You can buy specially made tools for working with polymer clay, which are not very expensive or just use a knife, and something that can be used like a mini rolling pin. Some play dough tools work great also!
- Mini clay shape cutters or stencils cut out of cardboard in any shape you want. I just happened to have these tiny cookie cutters in my kitchen already. Total impulse buy! I don’t think I had ever used them before, but they work great for clay.
- A circle template for the base of the necklace. I used a drink lid. I love using lids as templates!
- Small rubber letter stamps. Most craft stores will have these.
- Chopstick or skewer to poke the holes for the necklace.
Instructions
1. The first thing you want to do is pick out your colors. Choose one color for the circle base and one or two more colors for the cookie cutter shapes.
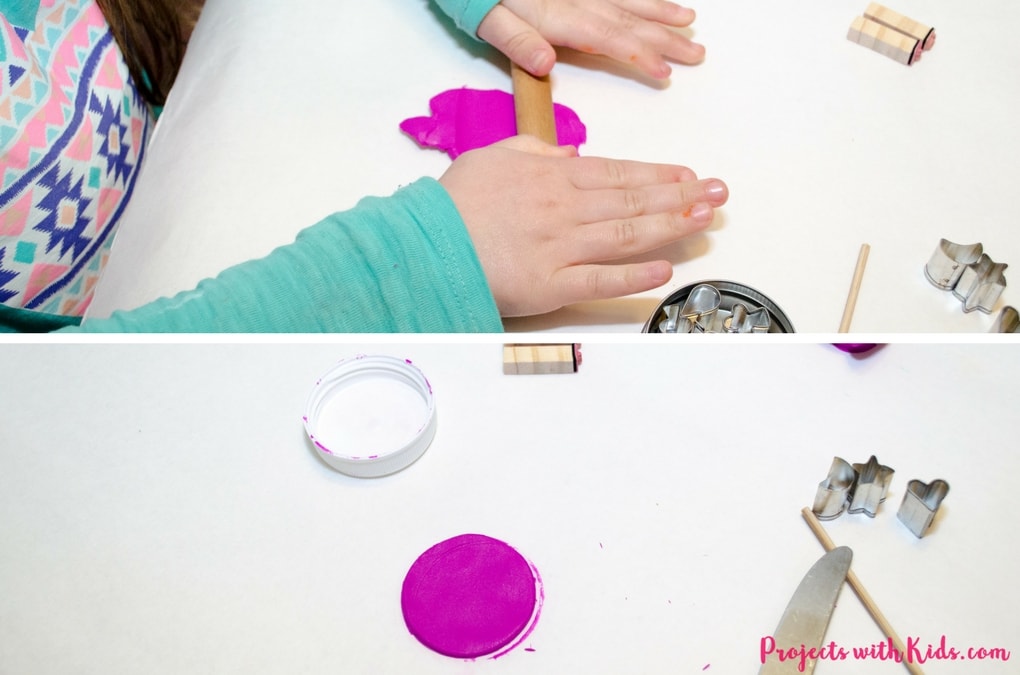 2. Roll out the circle color. You don’t want the clay to be too thick or too thin. If it’s too thin it will snap and if it’s too thick it will be hard to make it into a necklace. About ⅛ of an inch thick works well.
3. Once you have the clay rolled out, use your template to cut out a circle. We used a lid, which made it super easy.
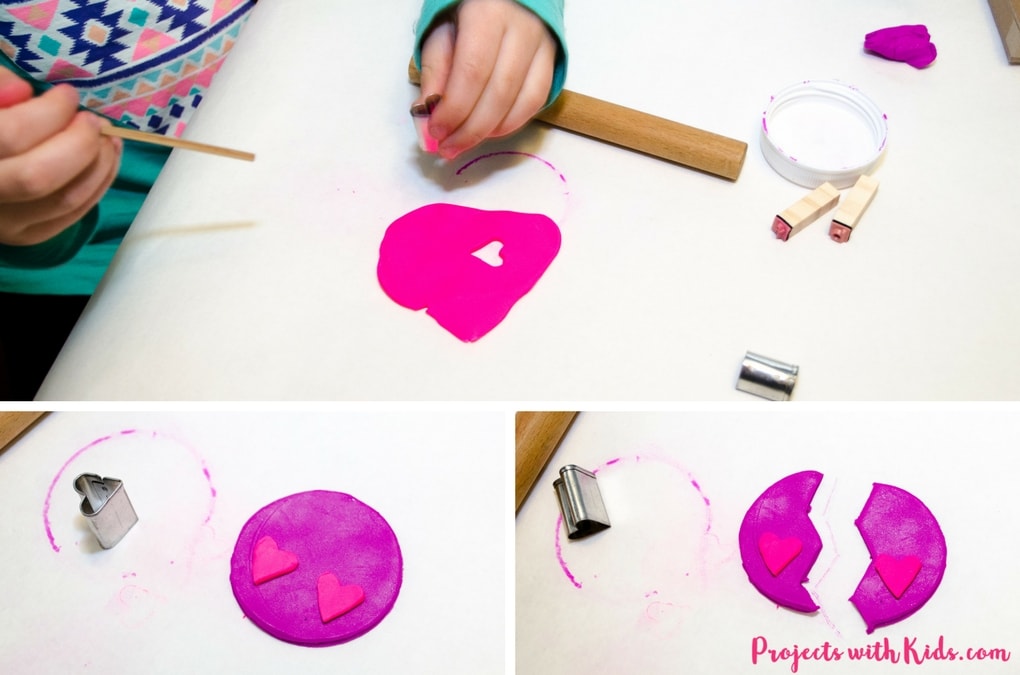
4. Next, use your cookie cutter shapes or whatever template you make to cut out your designs. Place the shapes on either side of the circle, and using a knife cut your circle in half. To make it a bit more interesting don’t just cut straight down the middle, make a zigzag line.
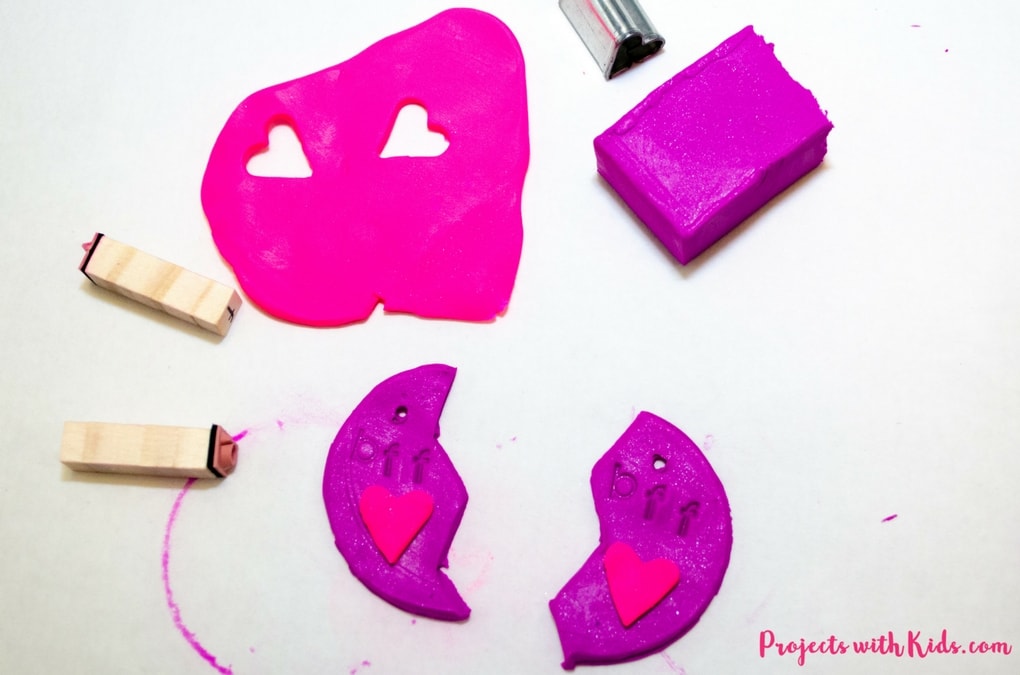
5. Then you want to take your rubber stamps and on each stamp, stamp into the clay “bff”. You will need to press firmly to make an impression that stands out. You might even want to practice on a separate piece of clay.
6. Once you’re happy with how your best friends necklaces look, poke holes in each half with your skewer or chopstick.
*You want your holes big enough to accommodate whatever string or wire you will be using to make your necklace. So to be extra sure, plan out what type of jewelry making supplies you will be using to make your necklace first.
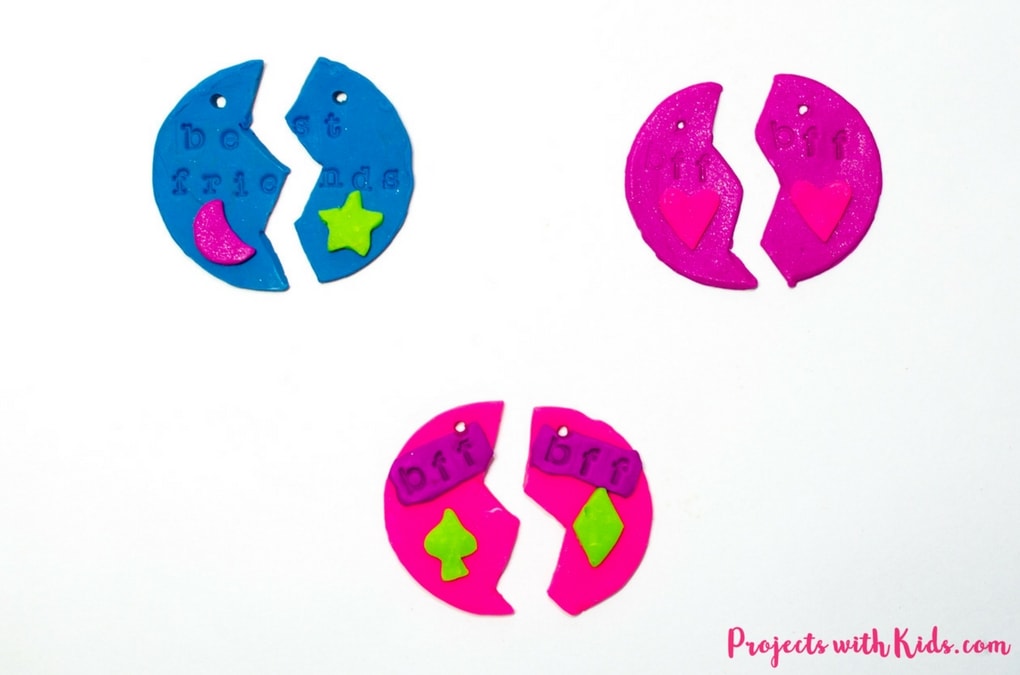
7. Have fun and play around with colors and designs! If you are going to stamp “best friends” make sure to do that before you cut the circle in half, which is what we did for the blue example above.
8. After you have made all the charms you want to make, it’s time to bake them! Different brands of polymer clay will have different baking instructions, so make sure to read those directions carefully. And to let them cool and harden completely before moving on to the next step.
Time to make your necklaces!
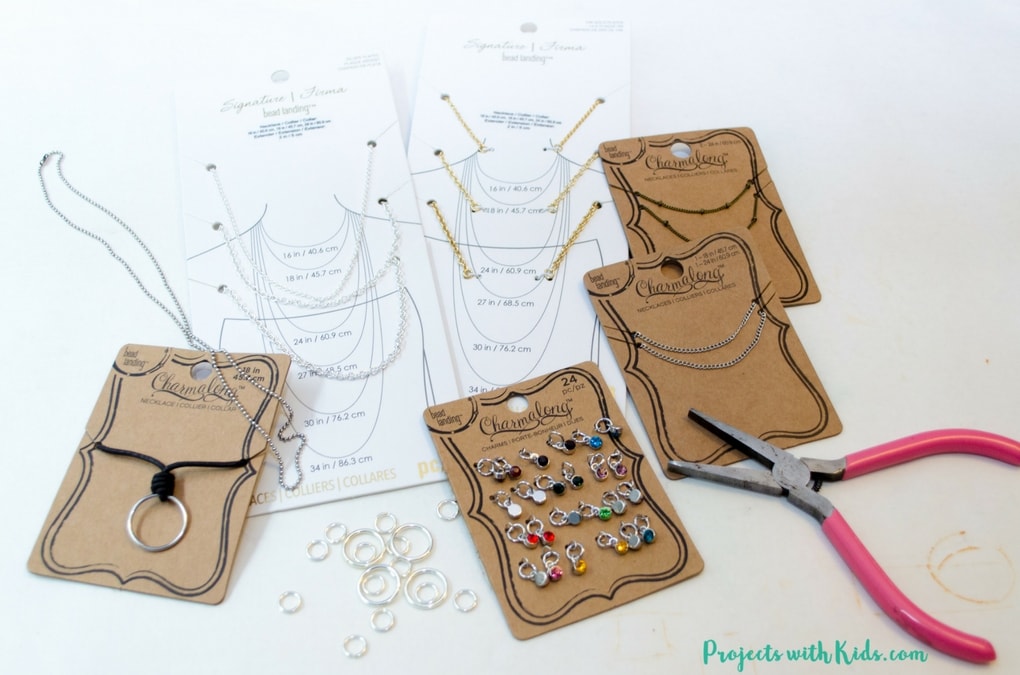
9. Once the charms are cooled down, it’s necklace making time! Any craft or bead store will have lots of necklace options, so sky’s the limit really depending on what you want your necklace to look like.
I admit I spent way too long at my local craft store browsing the jewelry making isles. There was so much to choose from and I wanted to buy and try everything!
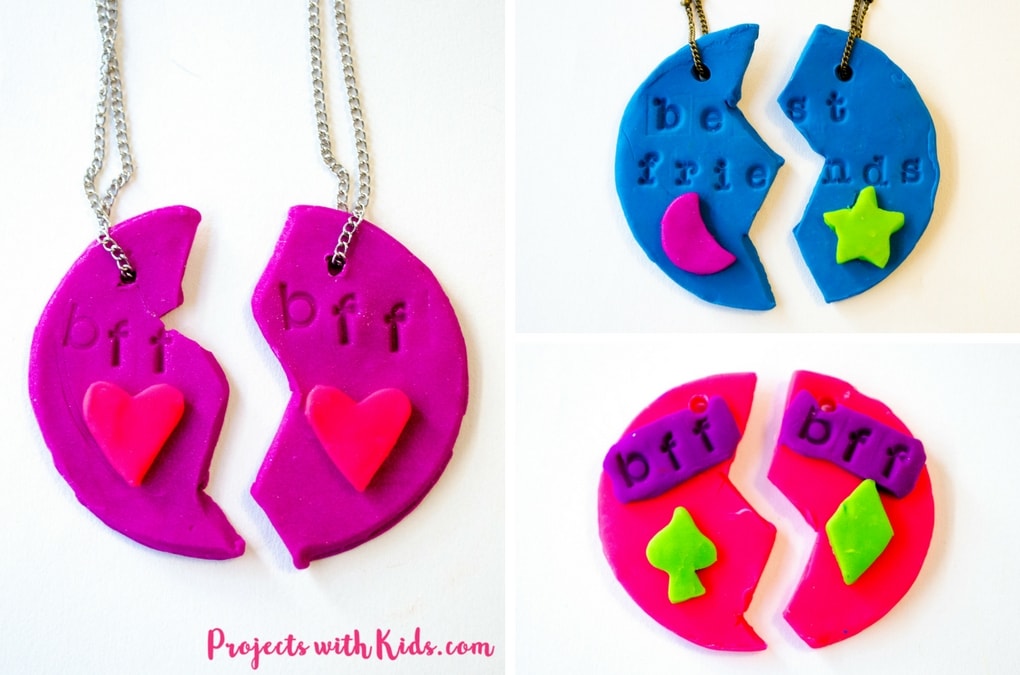
My daughter wanted them long enough to slip them on over her head so we chose longer chains. There are so many fun options to choose from! These best friends necklaces really did turn out absolutely adorable! We all had fun making these.
If you love polymer clay as much as we do, take a look at these sparkly stamped polymer clay necklaces that look just like gold and silver engraved necklaces! These clay jewelry dishes stamped with spices are the perfect thing to make to hold your beautiful jewelry creations!
Pin this project for later




Katie
These are ADORABLE. I’ll have to keep this in mind for future projects.
Angela
Thanks Katie!
Eryn
I remember LOVING making things like this when I was a young girl. I can’t wait until my daughter is a little older to try this out. I’m sure my son would love it right now though! It would be a great summertime project!
Angela
Eryn, my four year old son also loved doing this project with us. He needed a lot more help but still had fun making his own necklace! Yes, it would be a great summer project, thanks!
Carrie
These are great ideas. I work in a middle school 5th and 6th grade. They love making things. Have to let Teachers know of this site when I go back to work. I’m a reading intervention para pro so I don’t get to do the creative stuff.
ProjectswithKids
Thanks Carrie! I think 5th and 6th graders would love doing a project like this, they could put their own creative spin on it and come up with their own unique ideas.
Lisa
I love this idea! My daughter loves all things small and crafty. Thanks for sharing!
ProjectswithKids
Thanks for reading Lisa!