
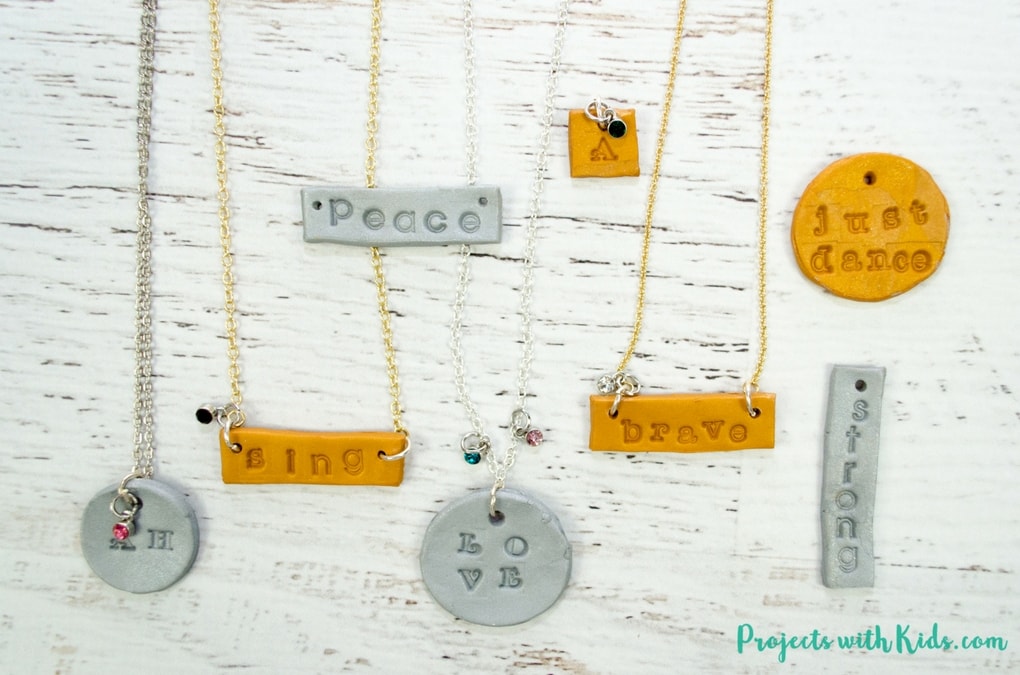
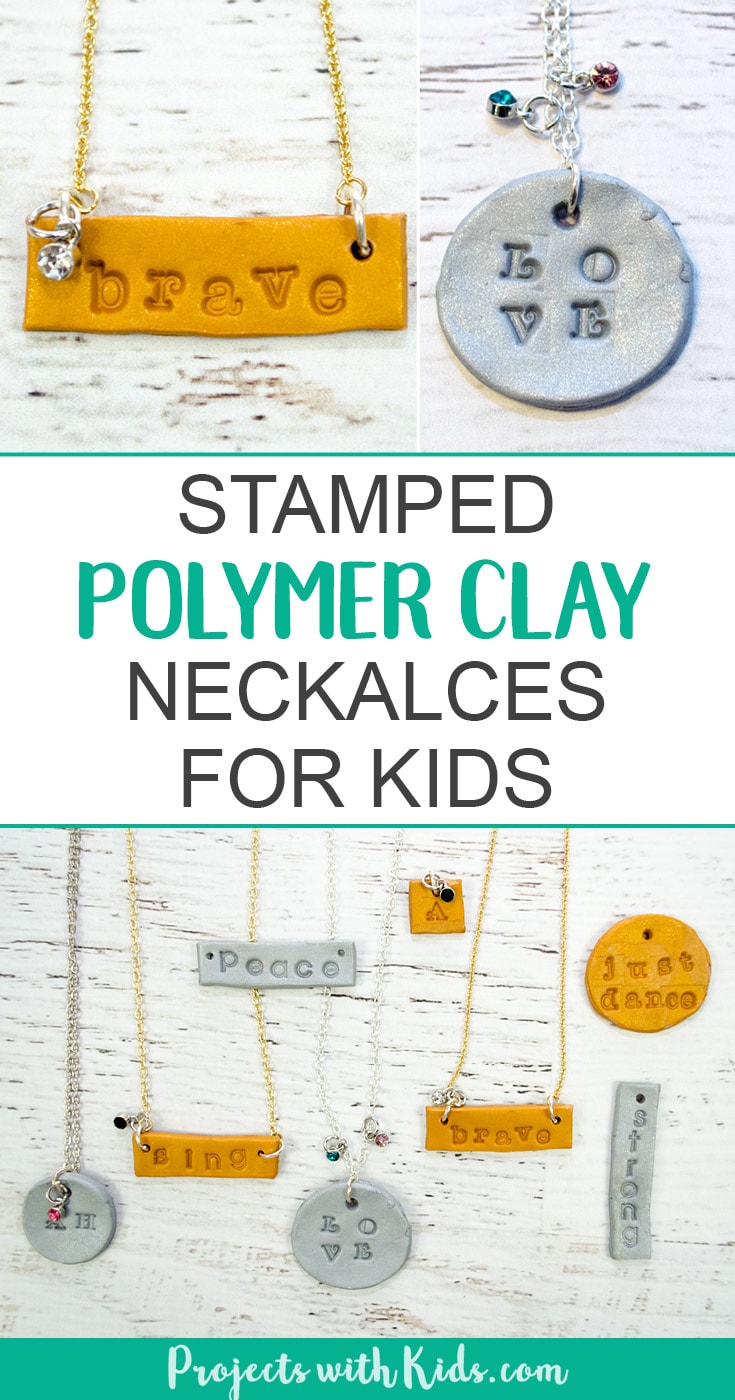
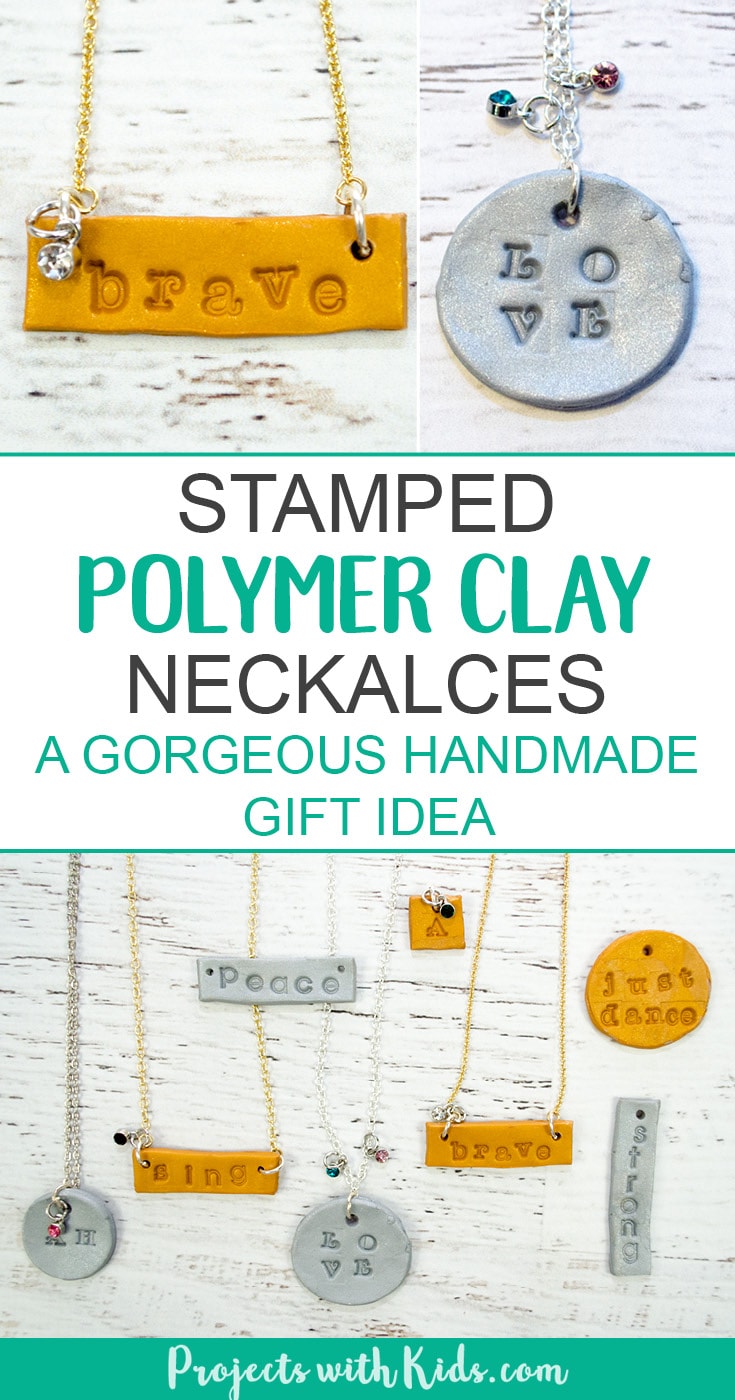
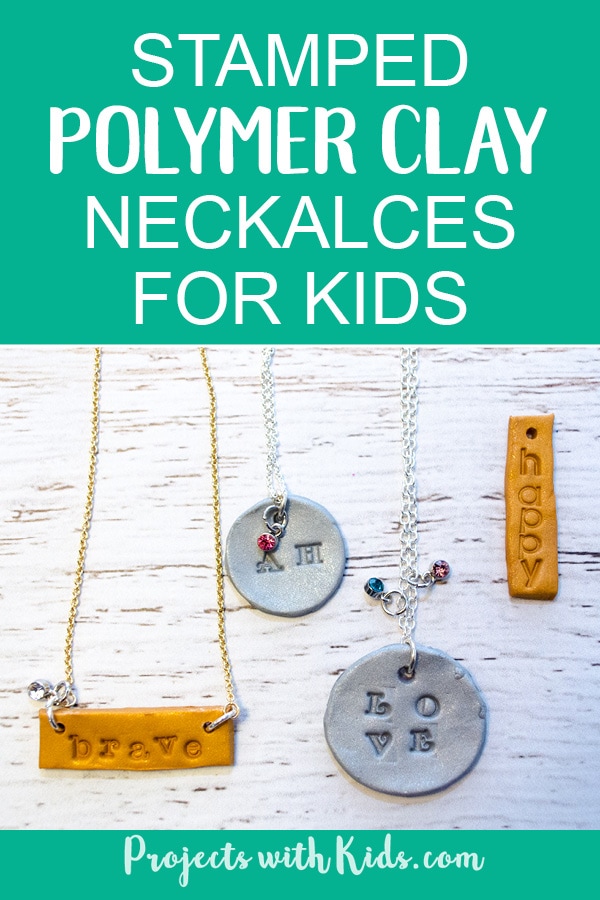
These polymer clay necklaces are sparkly and gorgeous and perfect for customizing, kids will love giving these as gifts and of course keeping some for themselves! Use initials, important dates, favorite hobbies, the possibilities are endless!
We used gold and silver polymer clay for this craft so they would look just like an engraved necklace, except without the cost and kid friendly!
We love making handmade gifts for family and friends, check out our collection of awesome kid-made gifts for more ideas and inspiration.
Make your own engraved polymer clay necklaces
This post contains affiliate links, which come at no cost to you. If you would like more information please review my disclosure policy here.
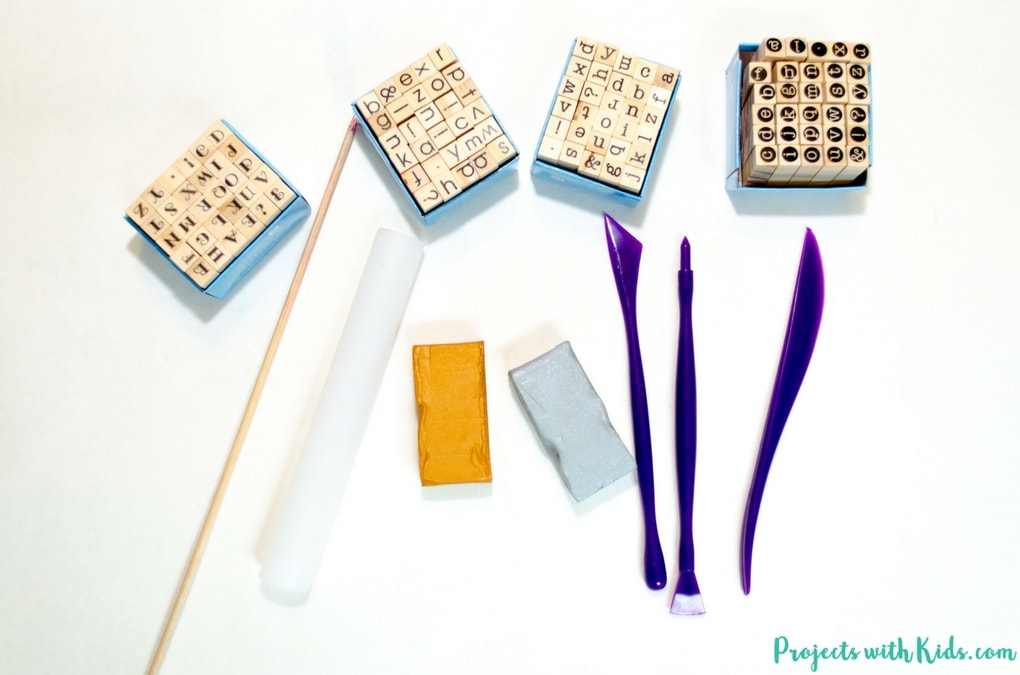
Supplies
- Polymer Clay in gold & silver. We used Sculpey, but Fimo works great too.
- Tools to help shape your clay. You can buy specially made tools for working with polymer clay, which are not very expensive or just use a knife, and something that can be used as a mini rolling pin. Some play dough tools also work great.
- Circle and rectangle templates. I used a drink lid for the circle and cut a rectangle from some cardboard.
- Small rubber letter stamps. Most craft stores will have these.
- Chopstick or skewer to poke the holes for the necklace.
- Gold and silver chains or beading cord to make your necklaces. Most craft stores will have lots to choose from.
- Beading pliers
Make your charms first
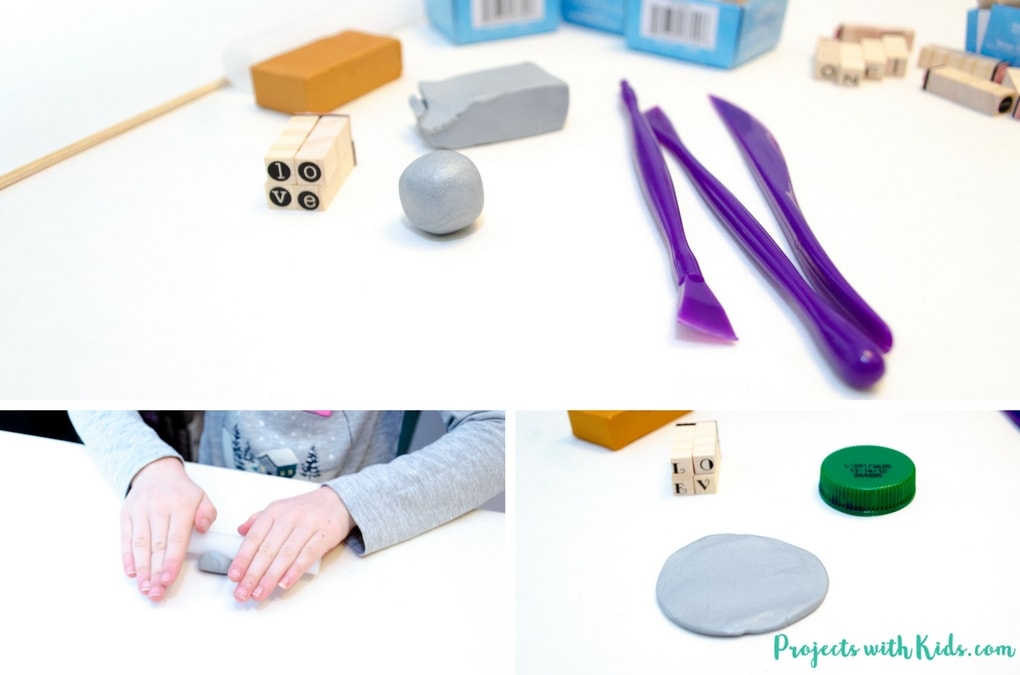
1. Start by rolling out your clay, you don’t want to roll it too thick or too thin. If it’s too thin it will snap and if it’s too thick it will be hard to make it into a necklace. About ⅛ of an inch thick works well.
2. Once you have your colors rolled out, then using your circle and rectangle templates cut out your shapes. You can cut out multiple shapes at once so you have lots of charms to stamp on. Because it’s so fun and easy, your kids will want to stamp lots!
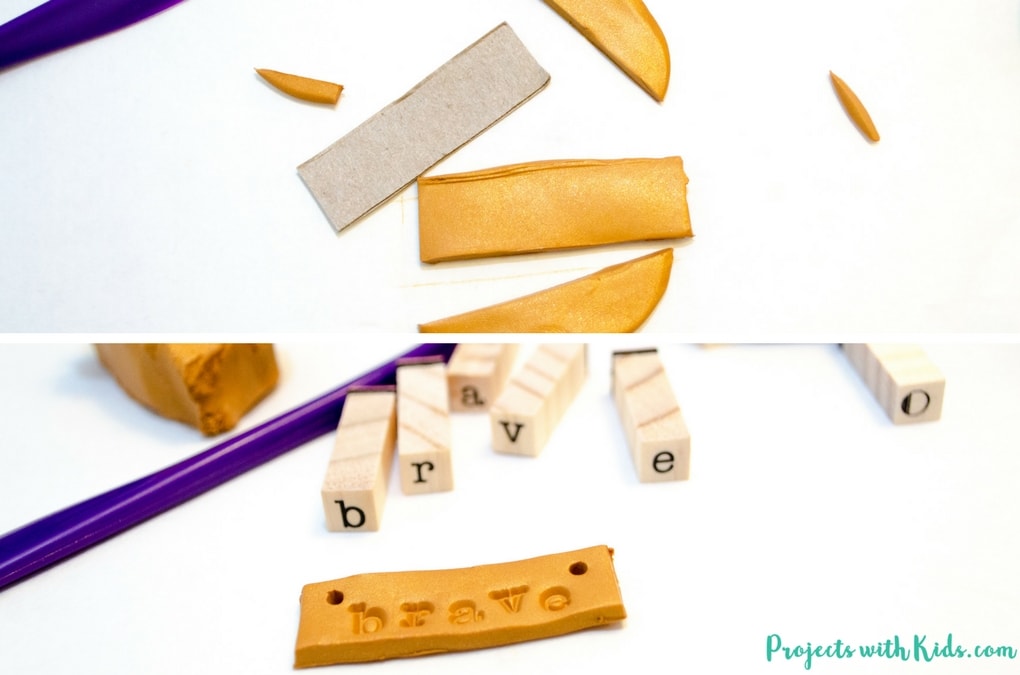
3. After your shapes are all cut out you can move on to stamping your messages. This is the fun part! Using the letter stamps, stamp your words or initials into the clay. I had my daughter practice stamping on a scrap piece of clay first just to get a feel for how hard to press.
Related: Make an Upcycled Necklace Craft from Plastic Lids
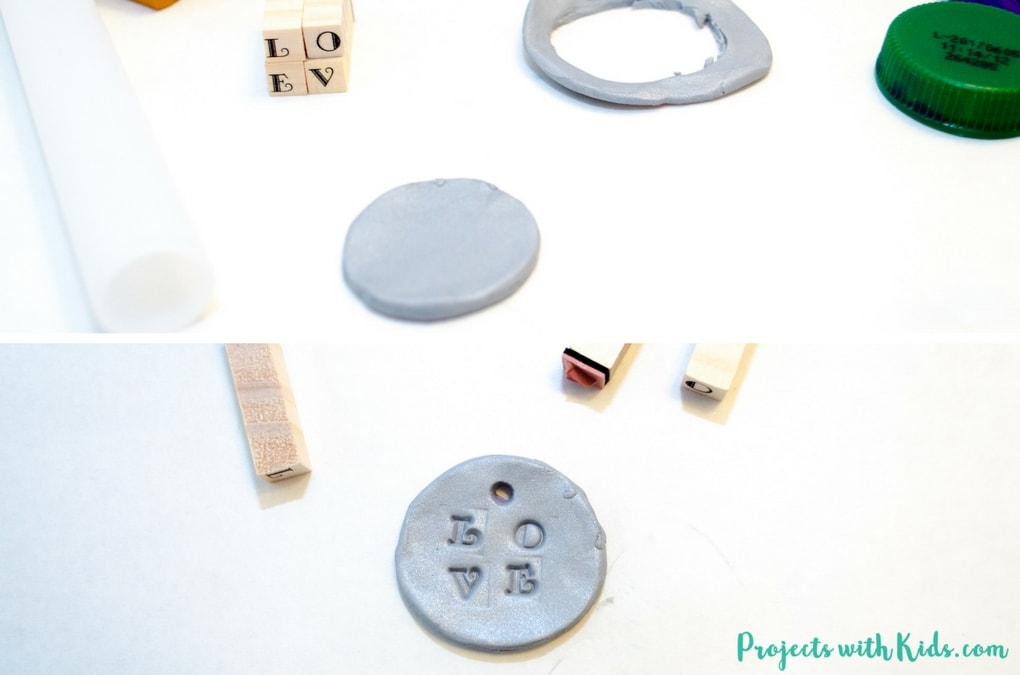
4. Next, it’s time to poke holes in your clay. You want to make sure that the holes are big enough for any metal jump rings or wire that you will be using, so it’s a good idea to plan out how you will be finishing off your polymer clay necklaces first before poking the holes. If you are worried, just make them slightly bigger than you think you need.
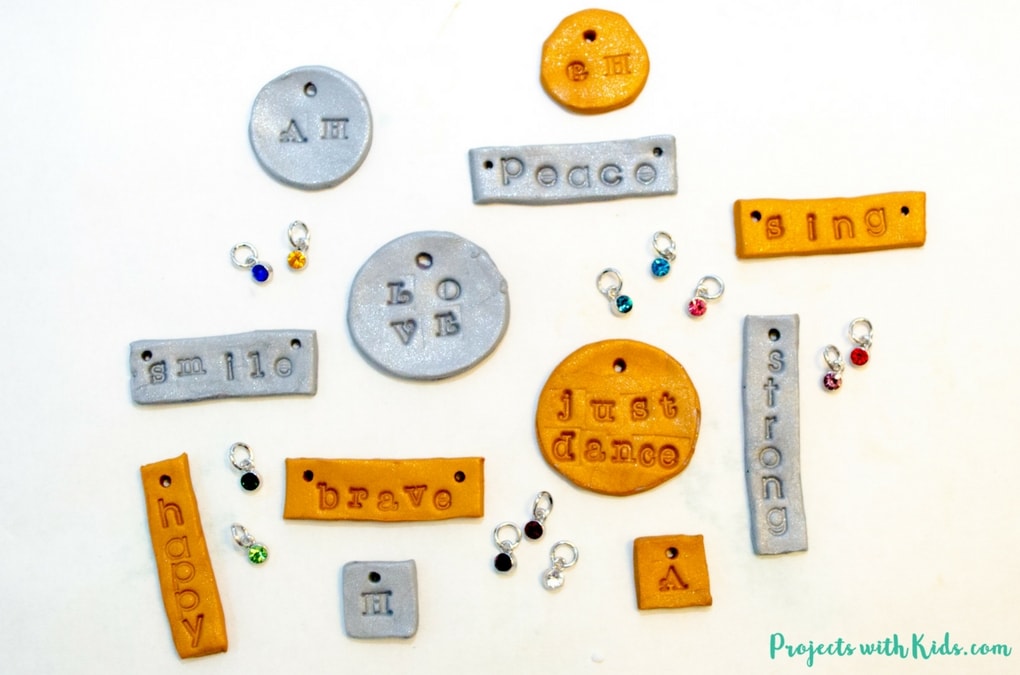
** Remember that in the rectangle shape charms, you need to poke a hole on either side like the picture above.
5. When you are finished making all of your charms, it’s time to bake them. Different brands of polymer clay will have different baking instructions, so make sure to read those directions carefully and to let them cool and harden completely before moving on to the next step.
Time to make your necklaces
6. After your charms have cooled down, it’s necklace making time! Your local craft or bead store will have a ton of necklace making options for you to choose from. We wanted our polymer clay necklaces to look like fancy engraved necklaces so we went with gold and silver chains, and they were surprisingly affordable at our local craft store.

The chains that we used had everything I needed to put the necklaces together, all I had to use was some beading pliers to open up the metal jump rings (metal circles) and put them around our charms. It’s probably best for an adult to do this part, the metal rings can be hard to open and you don’t want any little fingers getting pinched from the pliers.
I also added small crystal charms to some of the necklaces, to give them a bit of color. And they look really great with these added. You could use a person’s birthstone for an extra special touch!
Related: Beaded Friendship Bracelets for Kids
We had so much fun coming up with messages to stamp into our clay and make them look like fancy engraved necklaces you would find at a jewelry store. These stamped polymer clay necklaces are just perfect for gift giving at Christmas time, birthdays, Mother’s Day or any occasion. Anyone would feel lucky to receive one of these special necklaces made with love!
More polymer clay jewelry ideas you will love
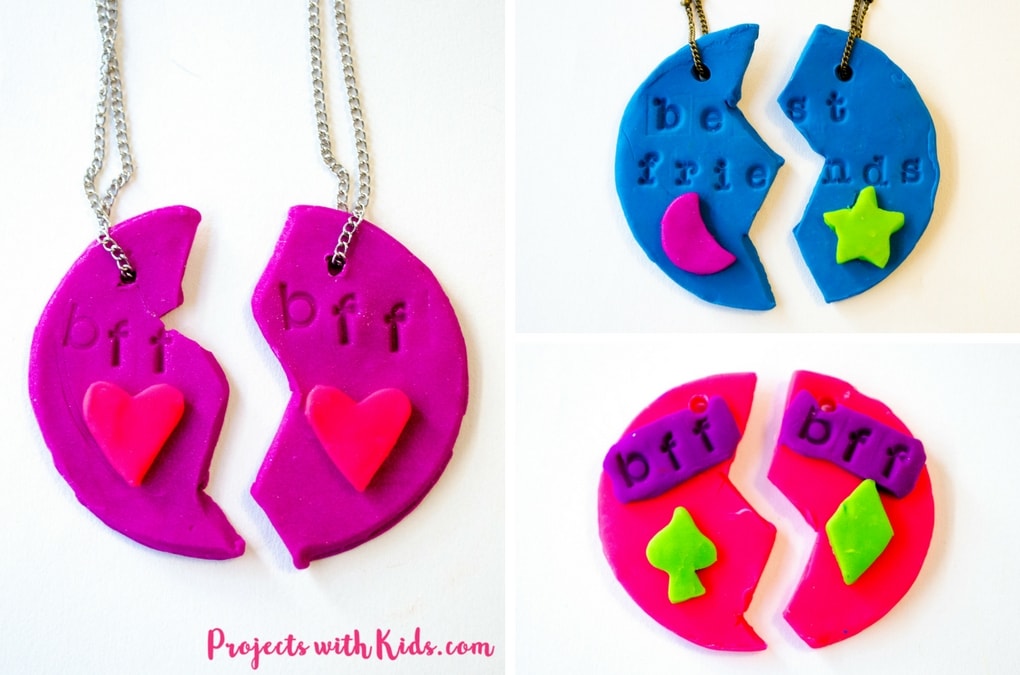
Adorable best friends necklaces
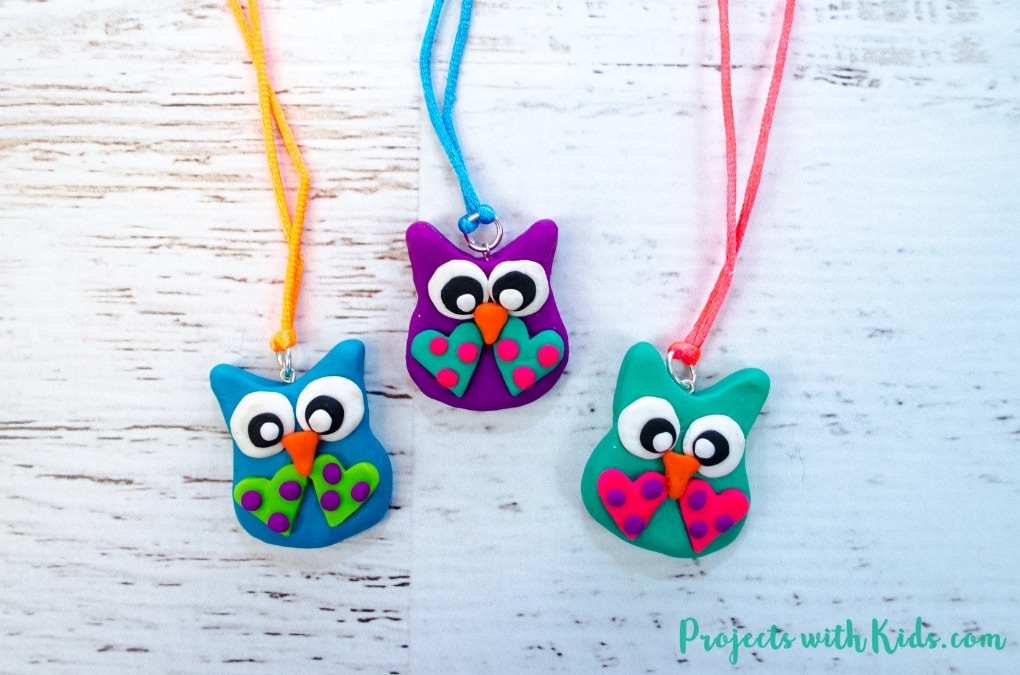
Cute DIY Polymer Clay Owl Necklaces
Follow me on Pinterest for more great ideas!
Pin this project for later


Jen | My Healthy Homemade Life
You come up with the best projects, Angela! I love this idea! I can’t wait to make these with my daughter.
ProjectswithKids
Thank you Jen! Your daughter will love makng them they are so fun!
Michele KidCongeniality
These look like real silver and gold! What a terrific craft for kids….and adults alike!
ProjectswithKids
Thank you Michele! I agree they do look like real silver and gold, I have worn a couple of the ones we made and love them!
Bree
Those are so cute! And I already have the little stamps that I got from the Dollar Spot at Target.
ProjectswithKids
Thank you Bree! Those little stamps are so useful! I hope you give this project a try, you will love it!
Corey | The Nostalgia Diaries
These are just so awesome… My daughter would LOVE to make these!!
ProjectswithKids
Thank you Corey!
Debbie
These are so cute, and they would make a great gift for someone, too! I love working with polymer clay. You can do so much with it.
ProjectswithKids
Thank you Debbie! I agree polymer clay is a lot of fun to work with.
Shann Eva
Such an awesome idea! I never would have thought of engraving clay for necklaces. I can’t wait to try this myself!
ProjectswithKids
Thanks Shann! I hope you give it a try, you will love it!