Friendship bracelets are so fun for kids to make and give to their friends! I used to love making friendship bracelets for my friends when I was younger, I must have made dozens of different types over the years. It was always fun to exchange my jewelry creations with my friends!
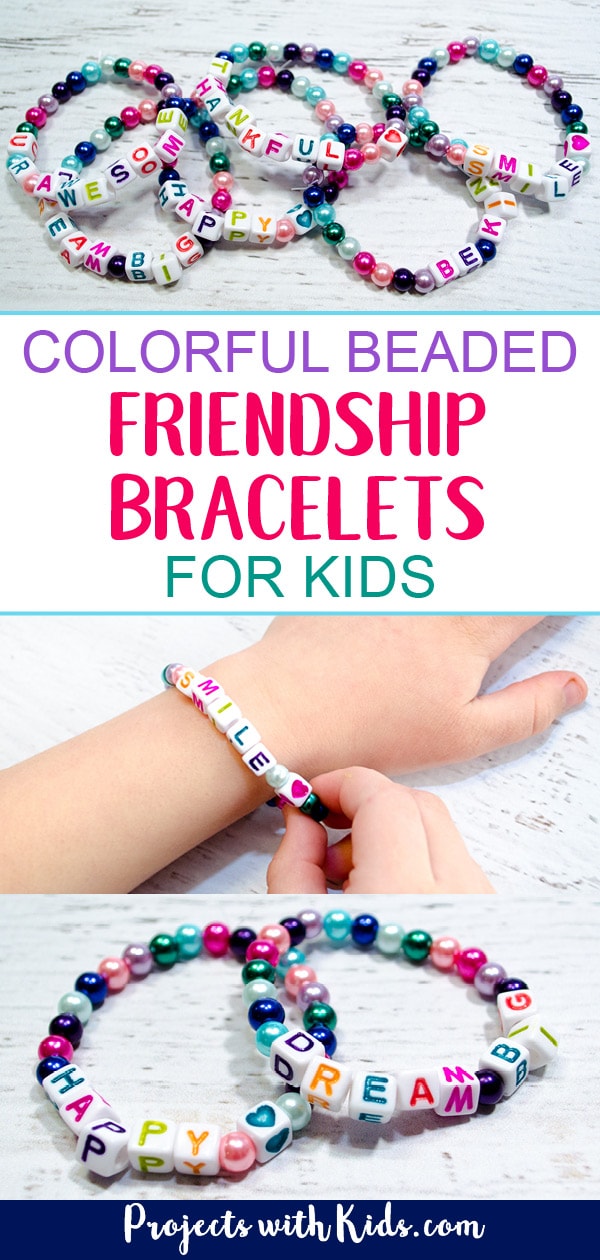
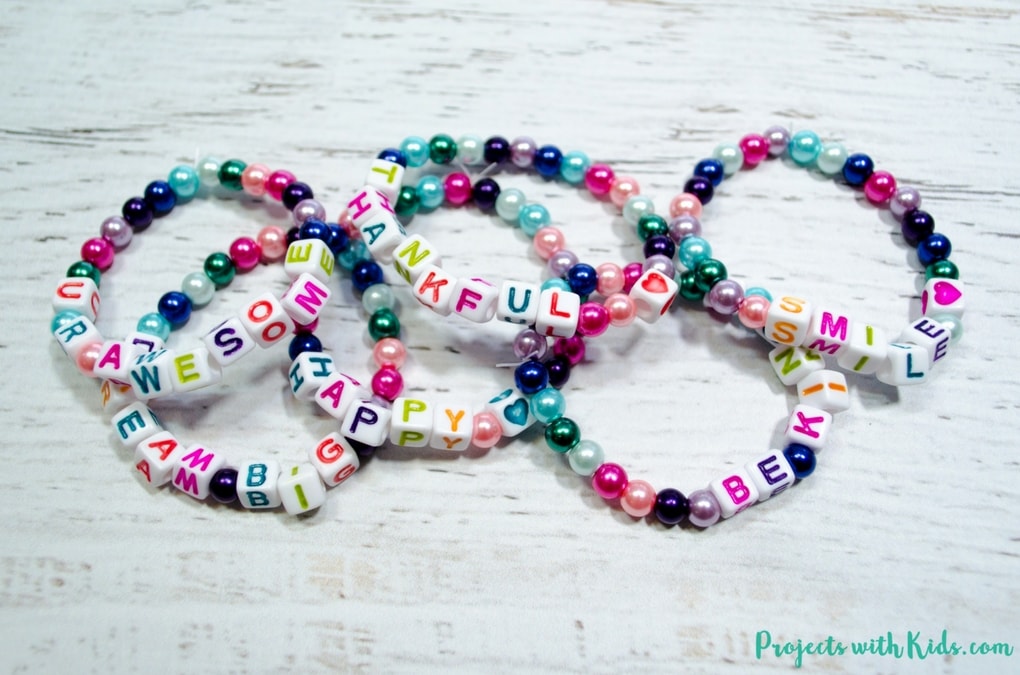
These beaded friendship bracelets are just so cute and so easy for kids to make themselves! The beads are so colorful, and I love the positive messages that we included in them with the letter beads. My daughter and I had a lot of fun coming up with the words and phrases to use in her bracelets.
You can see more awesome DIY friendship bracelets kids can make here.
Words to put on friendship bracelets
There are a lot of word ideas you can use for your beaded bracelets. Kids can choose a short positive word or phrase or their friend’s names. You just want to make sure you have enough letter beads to finish your bracelets.
Here are some awesome word bracelet ideas:
- Smile
- Be happy
- Be kind
- Hope
- Dream big
- U R Awesome
- Peace
- Thankful
- Blessed
- BFF
- BFFs forever
- Joy
- Choose joy
How to make your own beaded friendship bracelets
This post contains affiliate links, which come at no cost to you. If you would like more information please review my disclosure policy.
Supplies
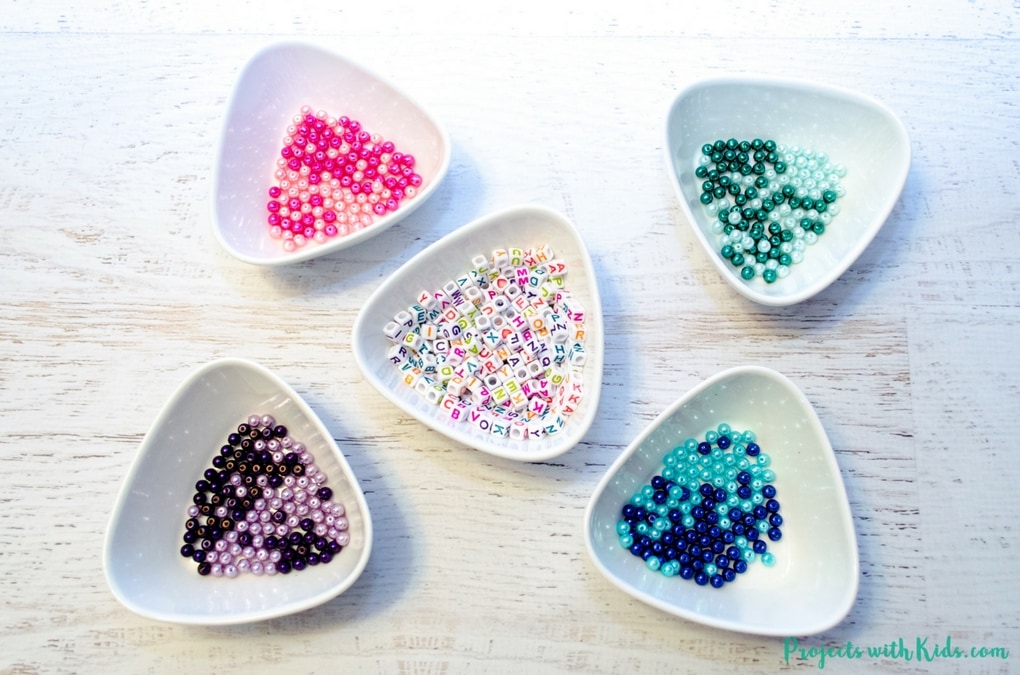
- Beads
- Letter Beads
- Stretchy bead cord, we used a .5mm stretchy string
- Jewelry adhesive – optional
Instructions
Related: DIY Unicorn Necklace Kids Craft
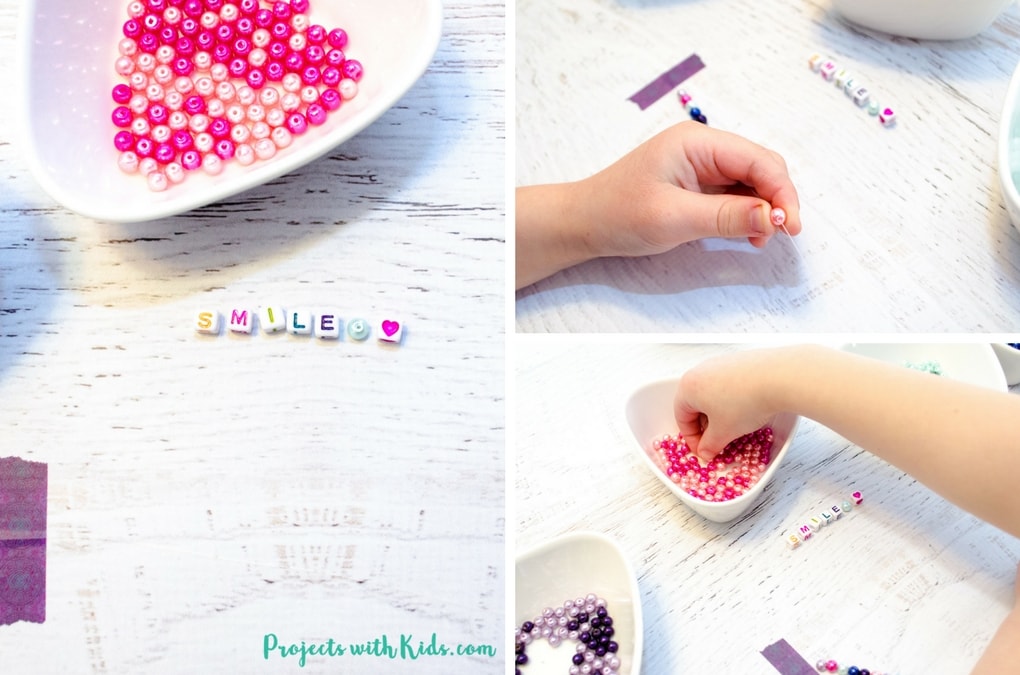
1. Gather your supplies and decide on the words and phrases you want to use for each bracelet. My daughter had fun coming up with words to use, her favorite was “smile”.
Tip: Make sure you have enough letters for all the words you want to do! We had to be a bit creative with our words as we ran out of “e’s” quite quickly!
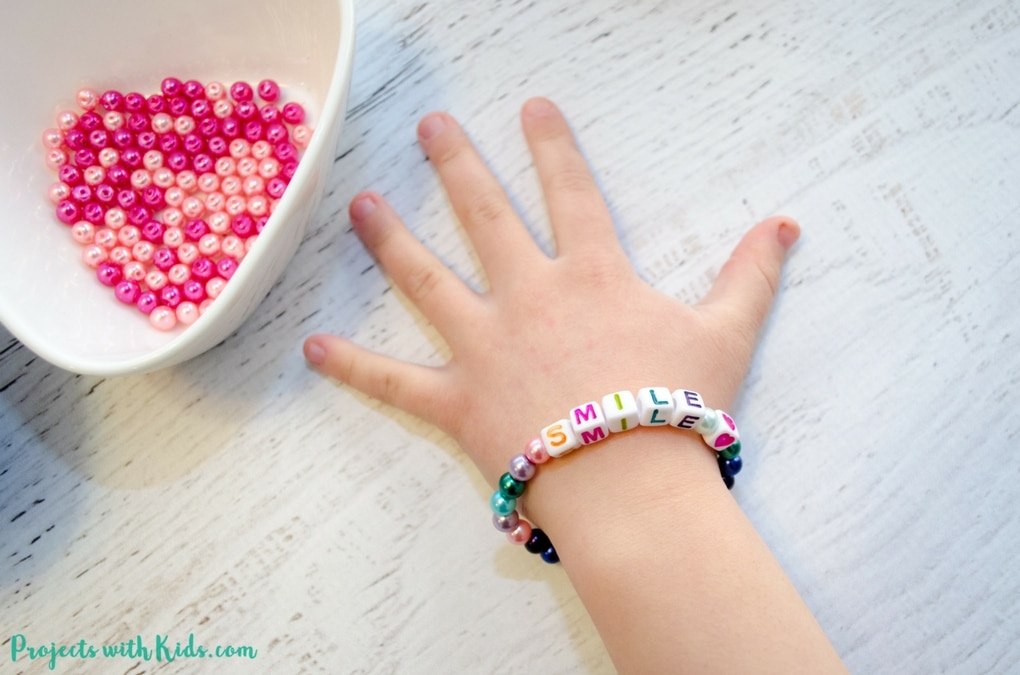
2. Cut your bead string to the size you need. Now, because you are using stretchy bead string (we used a .5mm string) you have a bit of wiggle room. I used my daughter’s wrist as a guide and just made sure that the bracelets were not too snug. They can stretch a lot so I didn’t worry about the size too much. Make sure you cut enough string to also tie your knot at the end.
Related: Adorable Polymer Clay Best Friends Necklaces
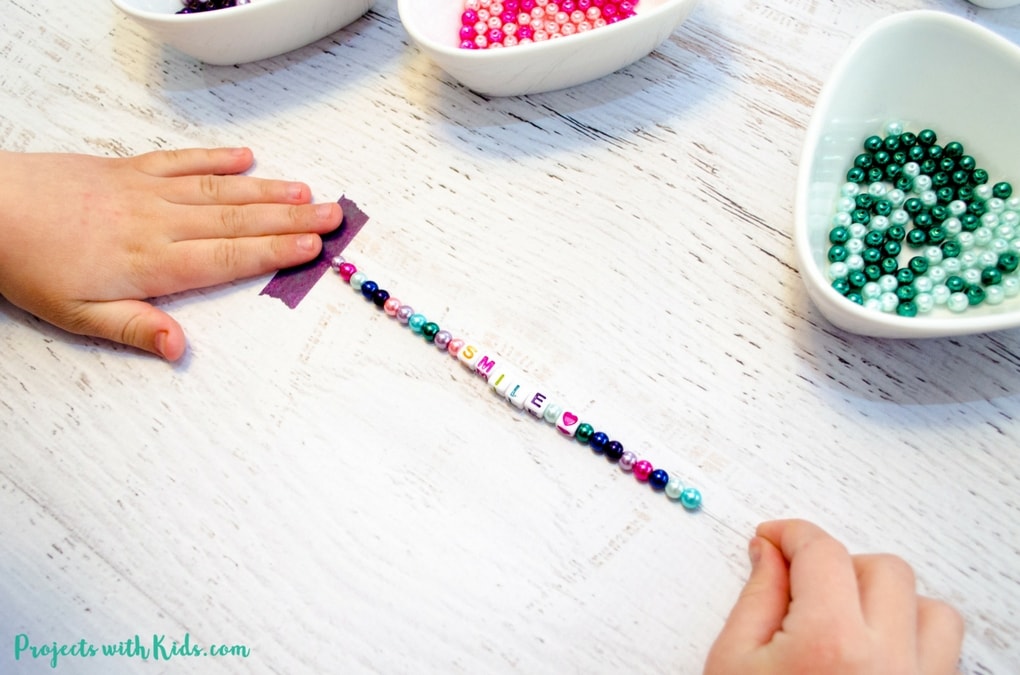
3. Tape down one end of your bead string. I find this really helps to make it easier for kids to string their beads, especially younger kids.
4. Let your kids make their bracelets and have fun! They can do a color pattern or just use random bead colors, it doesn’t matter, their friendship bracelets will look amazing either way!
Related: Upcycled Necklace Craft from Plastic Lids
5. Once your kids are done making their bracelets you need to tie a knot. You want to tie 3-4 knots to secure each bracelet, pulling on your string snuggly after each knot. Trim the ends, I like to leave just a bit of string at the end.
If you want to make sure your bracelet is extra secure, you can take some beading adhesive (or super glue if that’s all you have) and put a very small dot of glue on your knot. Before applying any glue you want to pull the knot away from any beads, apply the glue dot and keep pulling the knot away from any beads until the glue dries, usually just a minute or two. * This step needs to be done by an adult only.
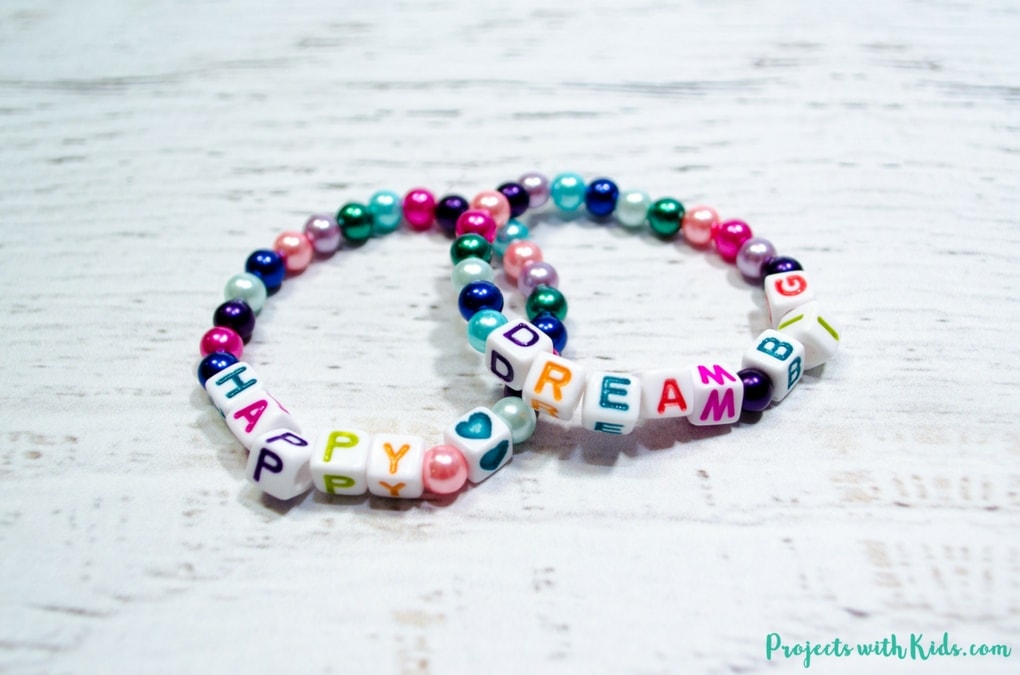
We had so much fun making these friendship bracelets. They turned out great and my daughter is really excited to give some to her friends. These bracelets would be a great handmade gift anytime, they would also make a great activity for a play date or a crafty birthday party!
We love making handmade gifts for family and friends, check out our collection of awesome kid-made gifts for more ideas and inspiration.
More jewelry crafts you will love
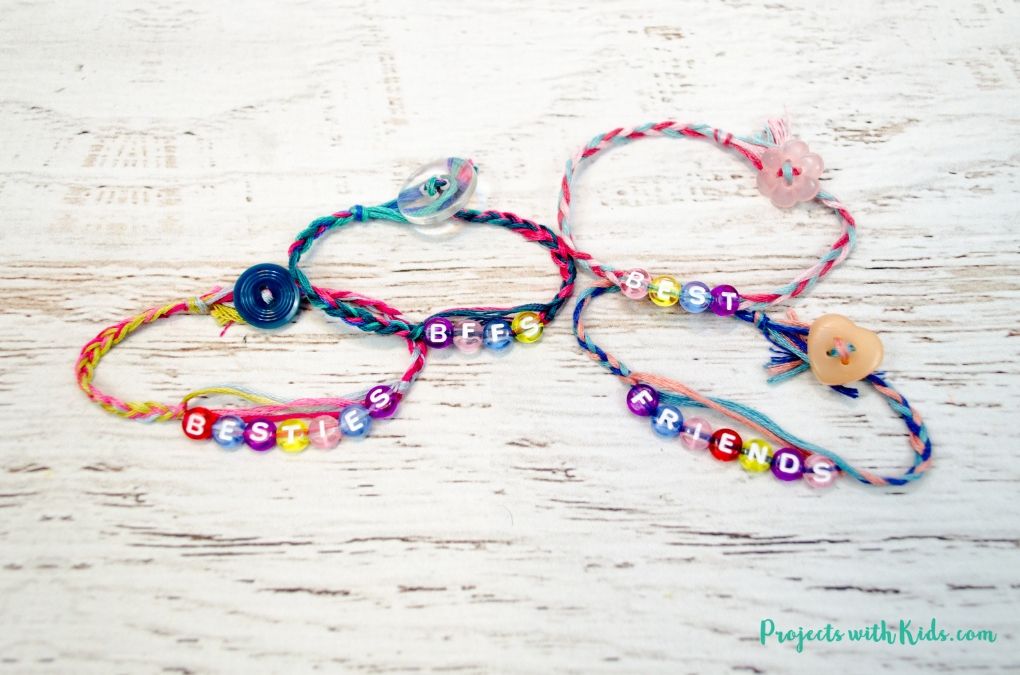
Easy Braided Friendship Bracelets with Letter Beads
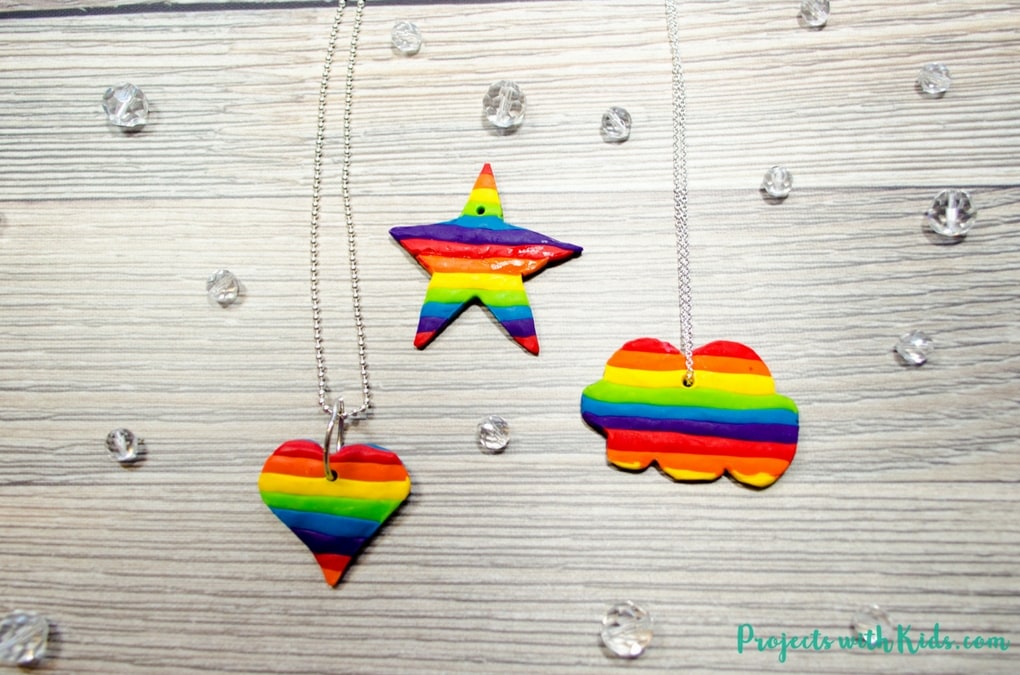
Beautiful Rainbow Jewelry for Kids
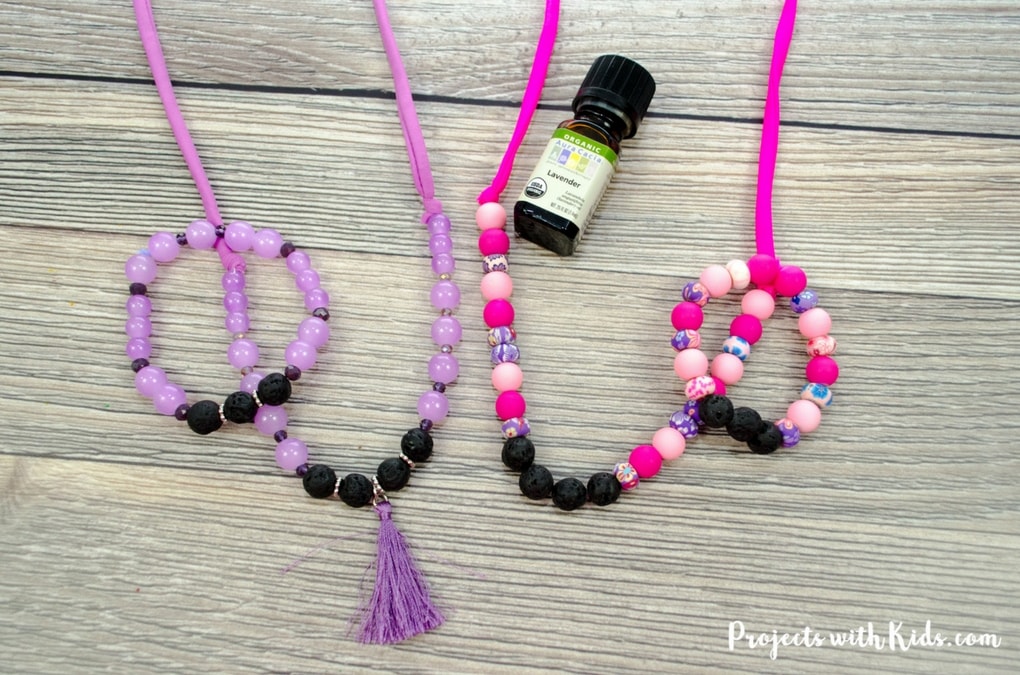
Lava Bead Diffuser Jewelry Sets
Follow me on Pinterest for more great ideas!
Pin this project for later




[…] you are looking for more awesome jewelry crafts to make with kids you will love these Colorful Beaded Friendship Bracelets and these Stamped Polymer Clay […]