These braided friendship bracelets are so fun for kids to make! They would make a great summer camp activity, a playdate craft or just a great jewelry craft for kids to make for their BFF’s.
My daughter loved making these bracelets. She has already given them all away to her friends at school!
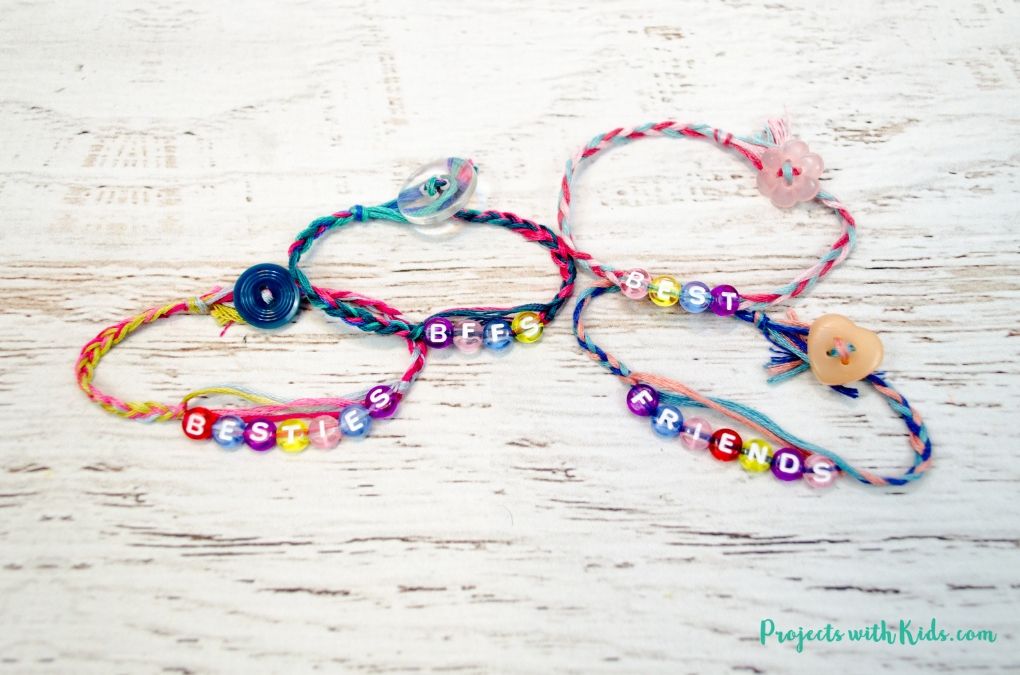
We love making friendship bracelets check out our awesome colorful beaded friendship bracelets and our collection of DIY friendship bracelets for more great ideas!
Make your own braided friendship bracelets
This post contains affiliate links, which come at no cost to you. If you would like more information please review my privacy & disclosure policy.
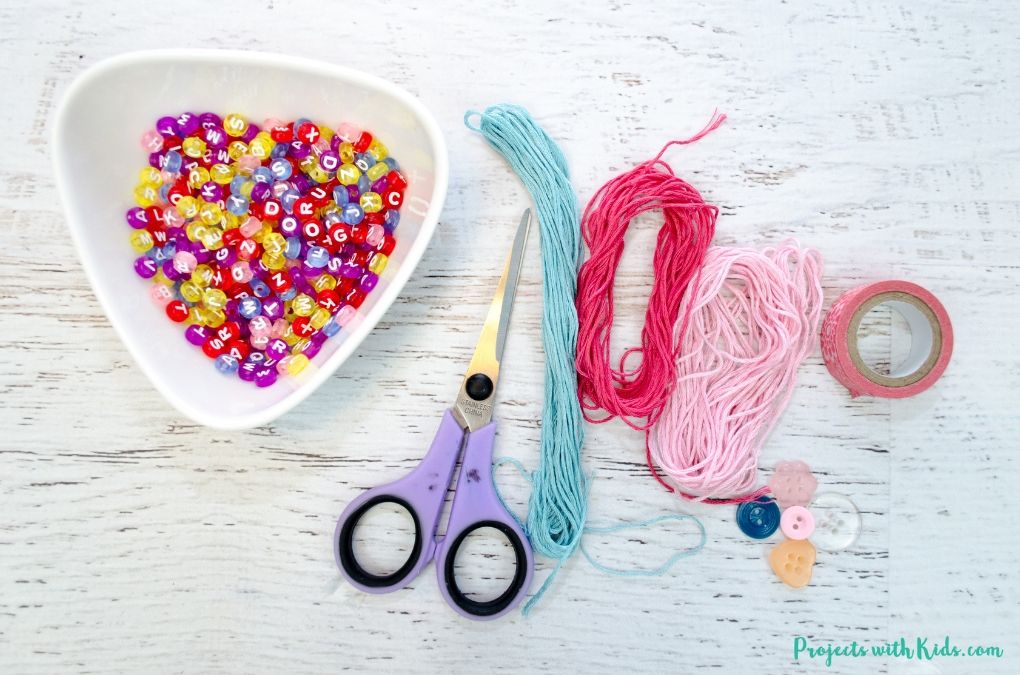
Supplies
- Embroidery thread in the colors of your choice
- Letter beads
- Buttons
- Scissors
- Tape to secure your thread
Instructions for your friendship bracelet
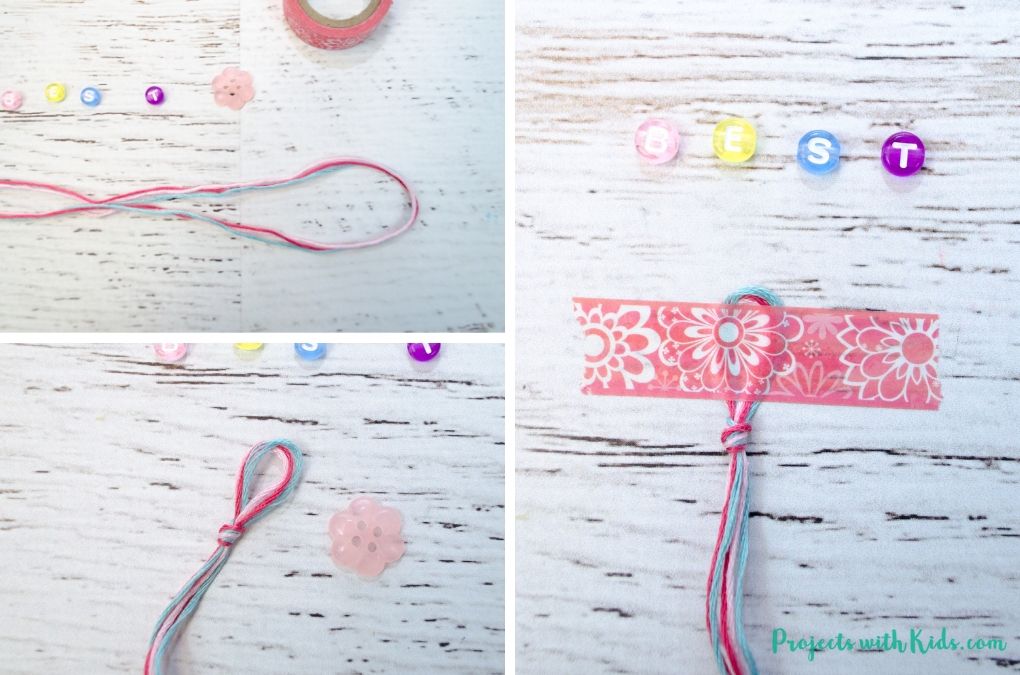
1. First, you want to measure out your string. I used my daughter’s wrist as a guide and cut our string to 4x the length around her wrist. You will need 3 pieces cut to this length.
Fold your string in half and tie a loop knot at one end. Make your loop big enough to fit your button, but not too big that the button will come undone easily.
Tape down the end of your string to a table.
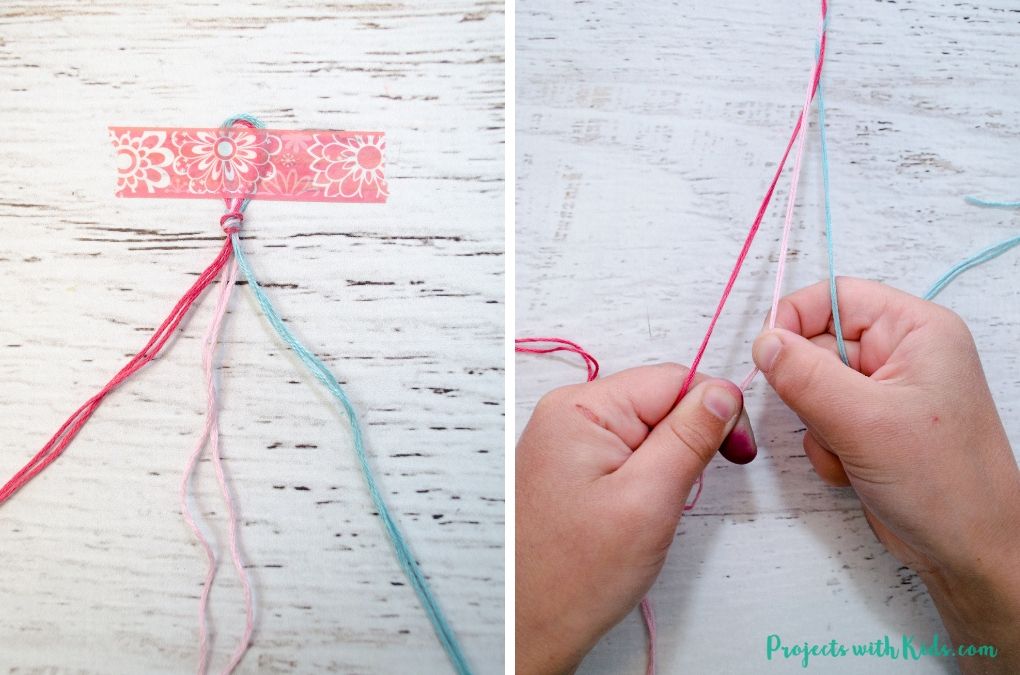
2. Separate your string into 3 groups, so you will have 2 pieces of string in each group. Start braiding your bracelet.
My daughter was able to braid on her own but did need some help keeping her braid tight enough.
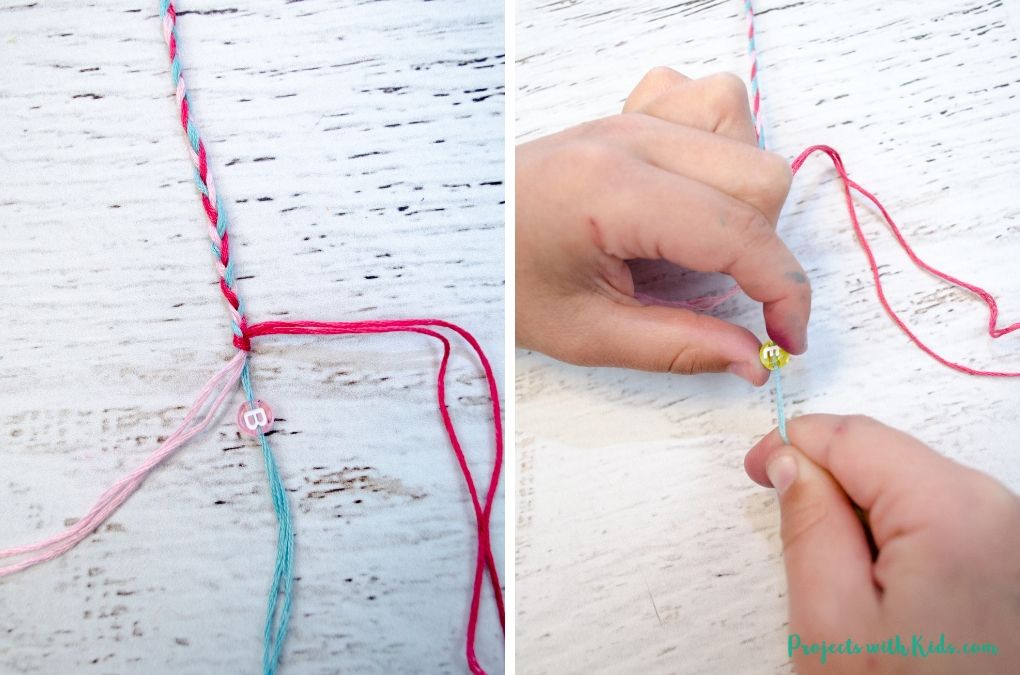
3. Once you reach a bit less than half way, you can string on your letter beads.
We made 2 sets of friendship bracelets, here are some ideas for your letter beads:
- Best / Friends
- BFFS / Besties
- Friends / Forever
- BFFS / Forever
- You could even make a set of 3: Best / Friends / Forever
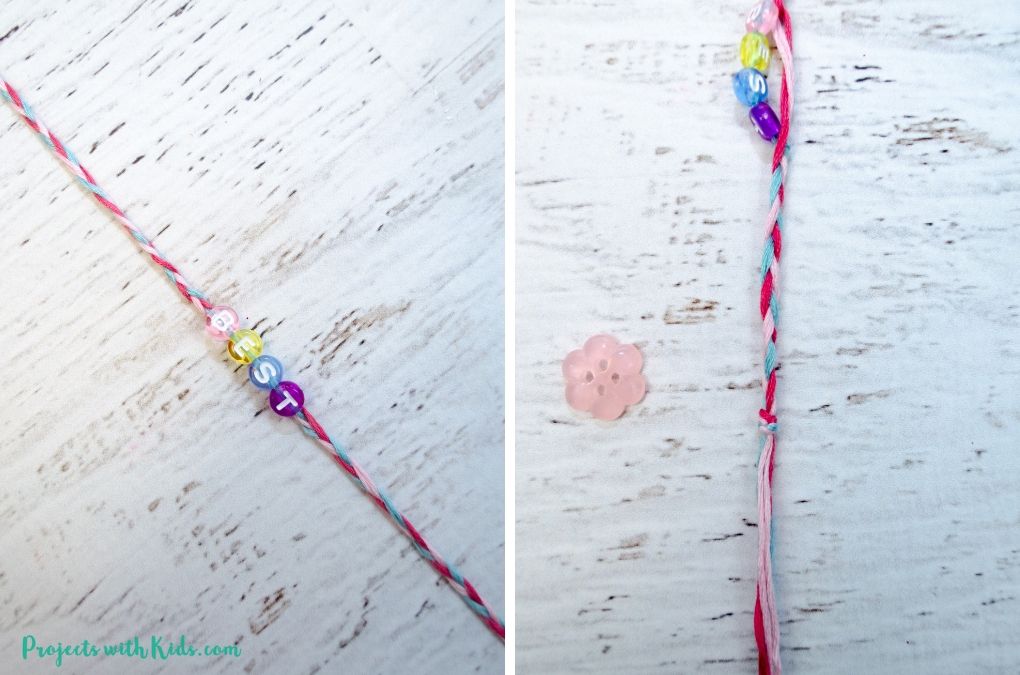
Kids can also spell their names or the names of their friends.
Before you start stringing on your letter beads you need to tie a knot where you stopped braiding. String your letter beads onto the middle 2 pieces of string.
When you are finished, you will need to tie another knot. Some kids might need help tying their knots.
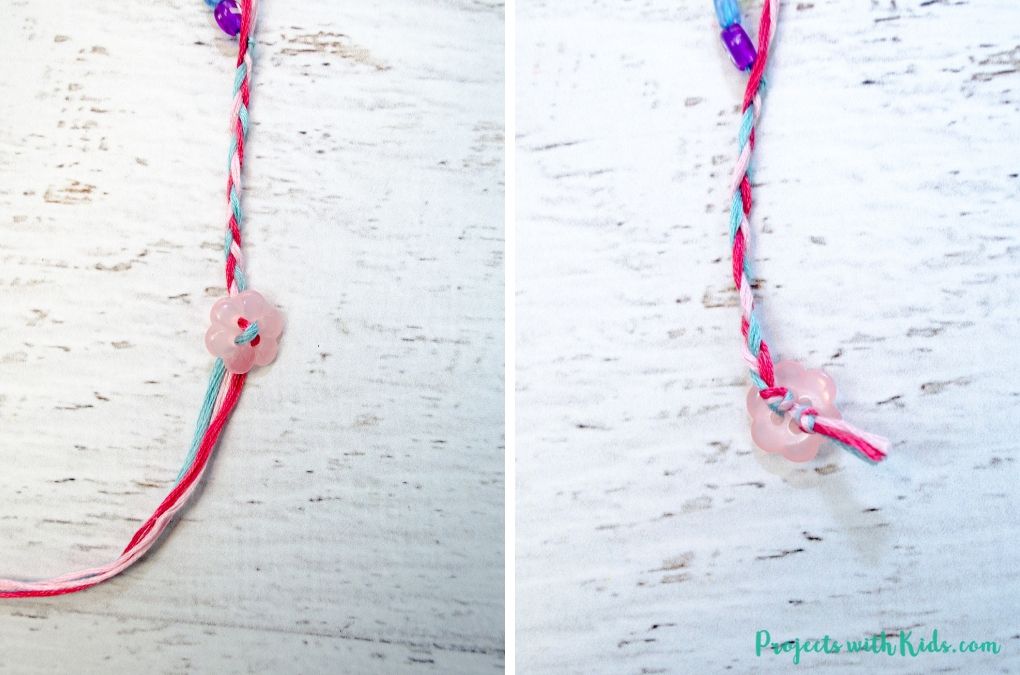
4. Continue braiding until you reach the desired size of your bracelet.
5. Thread 2 or more pieces of string through your button. On the buttons that have 4 holes, you can pass the thread through a couple of times.
Tie a knot at the back of the button and trim off the excess thread like in the picture above.
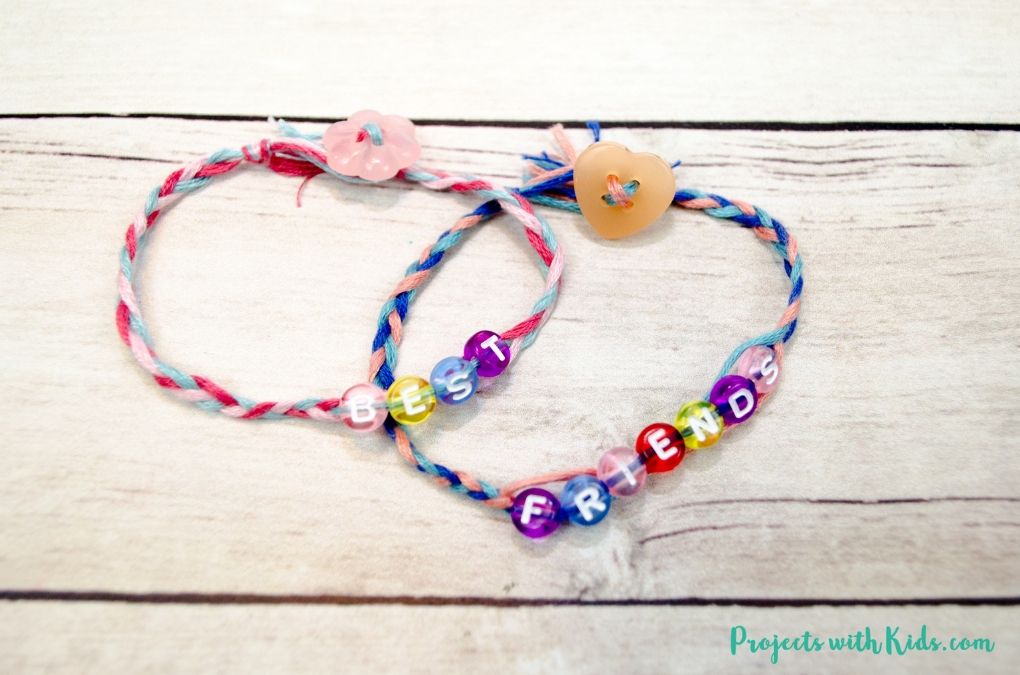
These braided friendship bracelets turned out so cute! They make such a fun activity for kids to make for their friends as a special handmade gift.
The design possibilities are endless with different colored thread, fun shaped buttons, and different words. Each bracelet will be totally unique!
More DIY jewelry crafts you will love
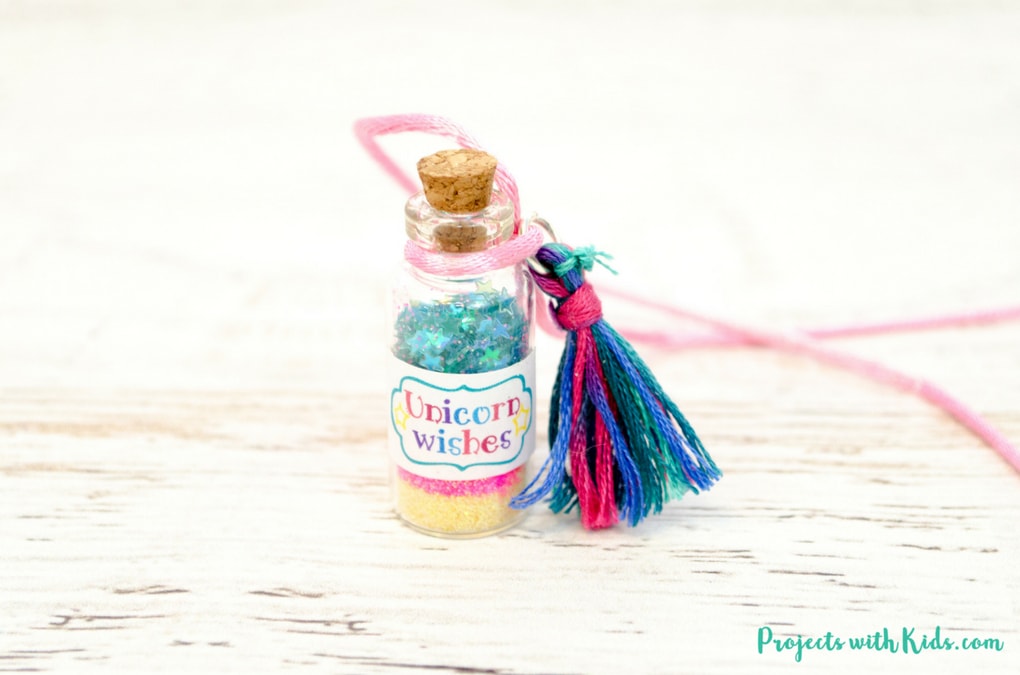
DIY Unicorn Necklace Kids Craft
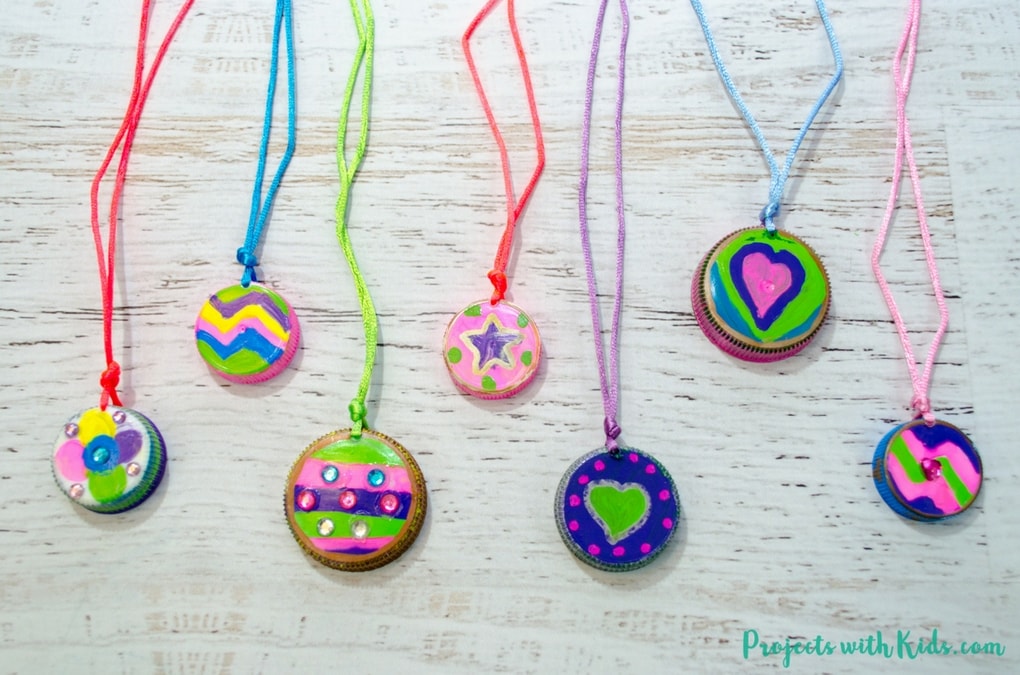
Make an Easy Upcycled Necklace Craft from Plastic Lids
Follow me on Pinterest for more amazing project ideas.
Pin this jewelry craft for later
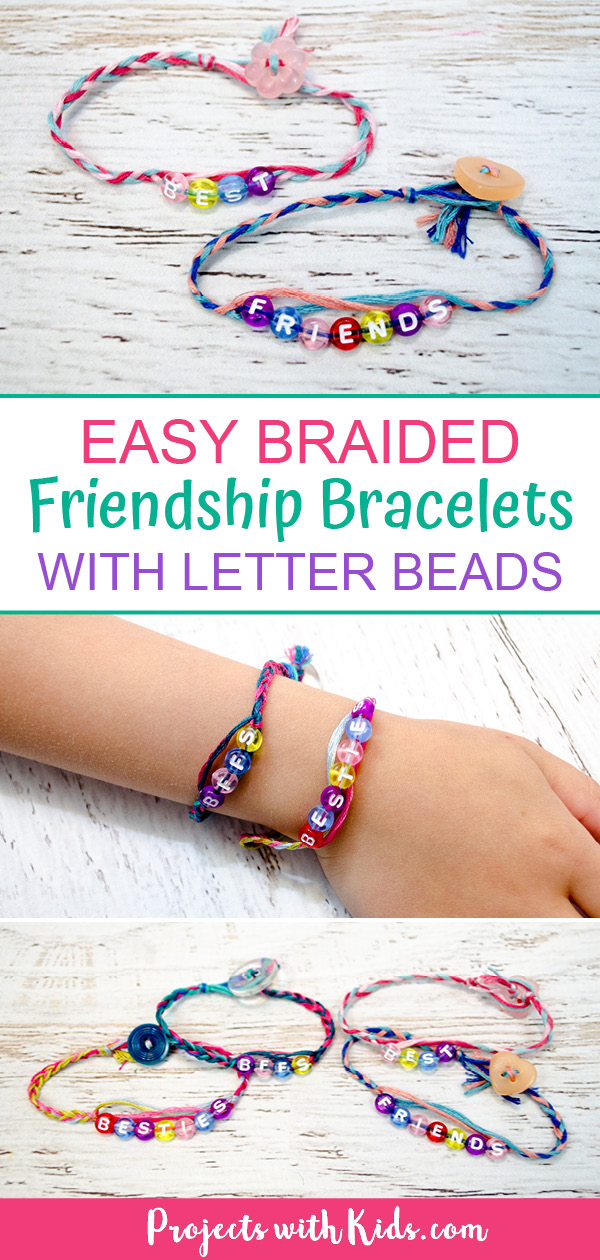
How to Make an Easy Braided Friendship Bracelet with Letter Beads
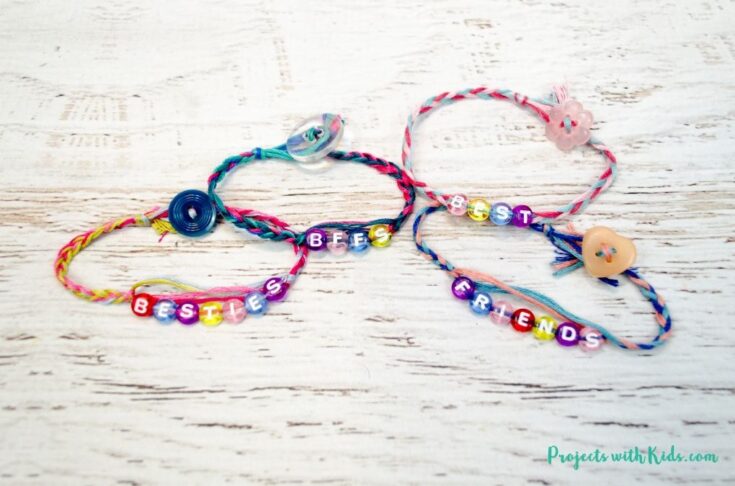
Kids will love making these easy braided friendship bracelets for their BFF's!
Materials
- Embroidery thread
- Letter beads
- Button
- Tape
Tools
- Scissors
Instructions
- Measure the wrist that the friendship bracelet will go on and cut 3 pieces of string 4x the length of the wrist.
- Fold the string in half and tie a loop knot at the top. Make sure your loop is big enough for your button to go through.
- Tape the knotted end of your string to a table securely.
- Separate the string into 3 groups, so each group will have 2 pieces of string.
- Start braiding your friendship bracelet. Continue braiding until you have reached a bit less than half way to your desired length.
- Tie a knot and string on your letter beads with the middle 2 pieces of string. Tie another knot at the end of your letters.
- Continue braiding until you have reached the length of your bracelet.
- String on your button. Thread 2 pieces of string through the button holes. If you have more than 2 holes, you can thread your string through more than once.
- Tie a knot at the back of your button and trim your ends.


[…] Easy Braided Friendship Bracelets with Letter Beads […]