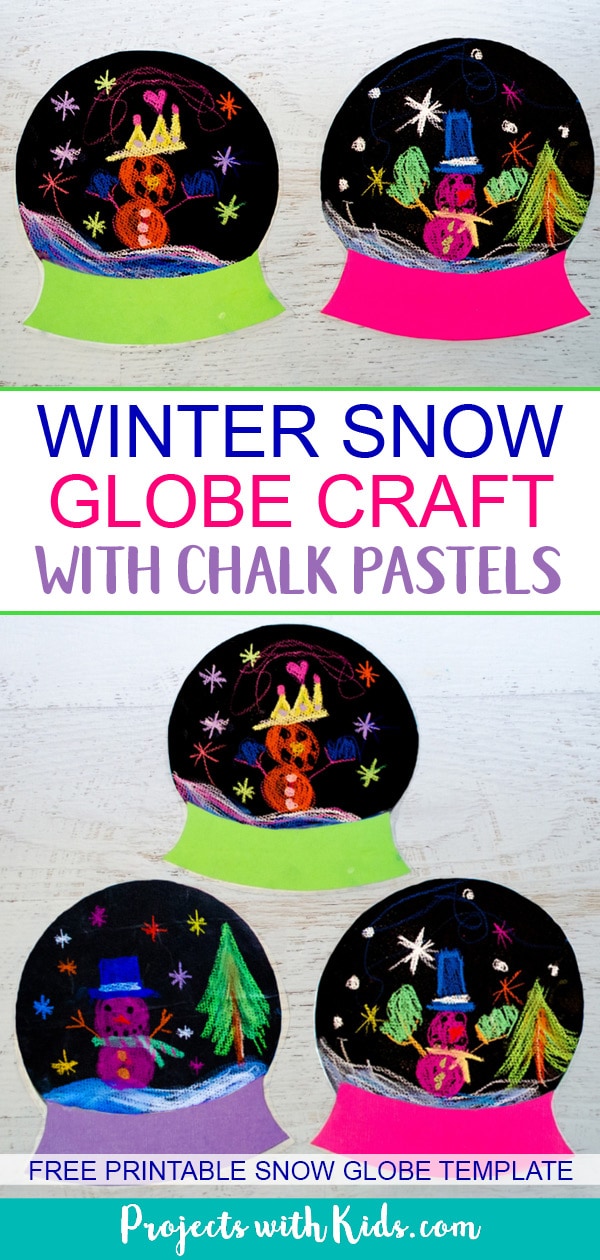
This winter snow globe craft is bright and colorful and so fun to make! Chalk pastels on black paper help make these snow globes extra vivid. We love chalk pastels, they are messy but fun and kids love exploring blending different colors together.
Pastels are so fun for kids to explore! Take a look at my collection of chalk pastel art for more creative ideas kids will love.
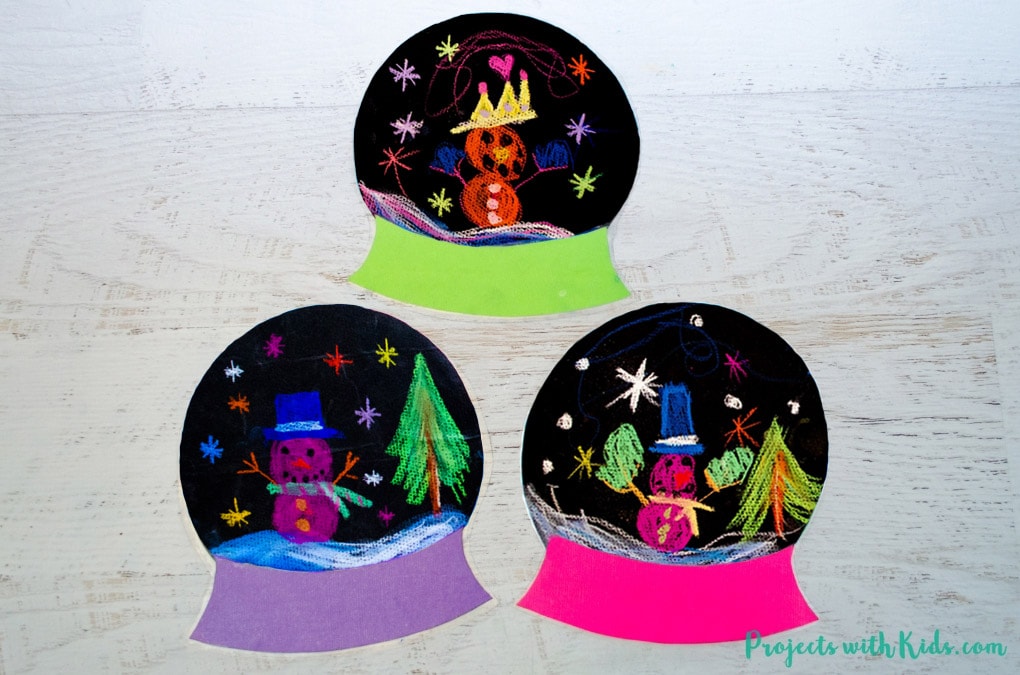
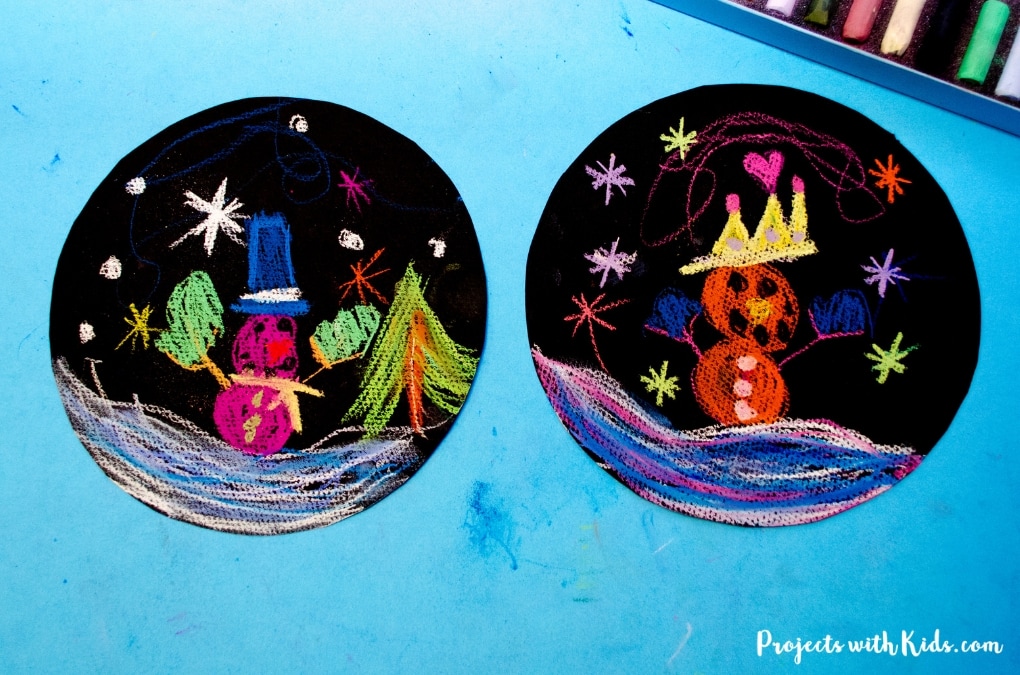
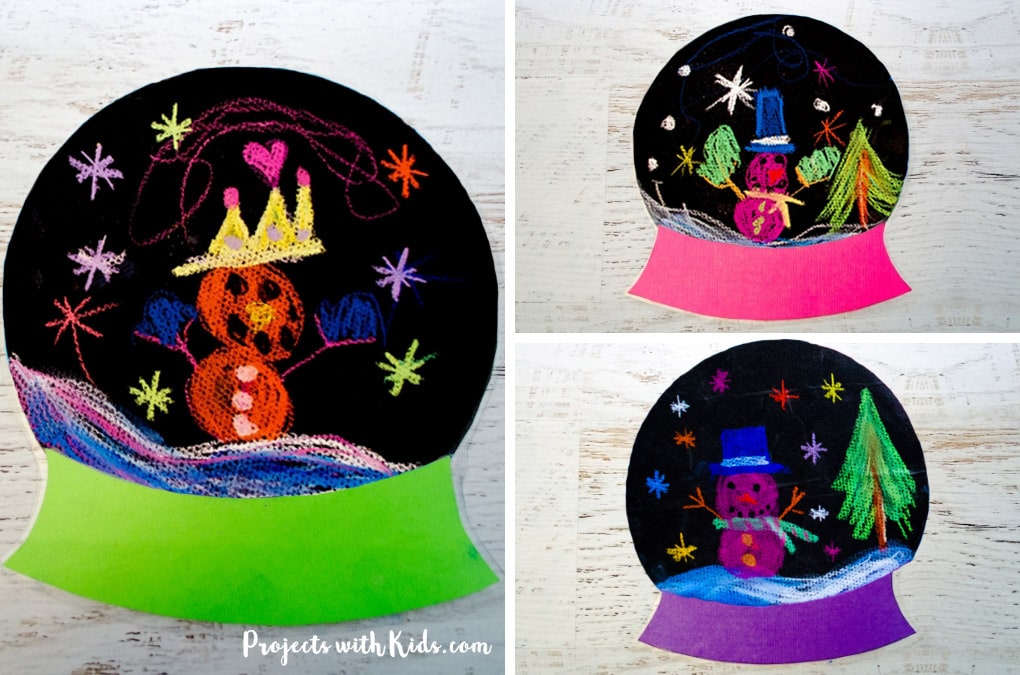
This is a great open-ended art project, kids can use their imagination to create any winter wonderland scene they like. I love the crown my daughter put on her snowman!
If you are looking for more winter project ideas take a look at my collection of beautiful winter art for kids to make!
For this project, I created printable templates to make this art project even easier for you. Scroll down to the bottom of this post to download your PDF templates.
Create your own winter snow globe craft with chalk pastels
This post contains affiliate links. As an Amazon Associate, I earn from qualifying purchases. If you would like more information please review my privacy & disclosure policy.
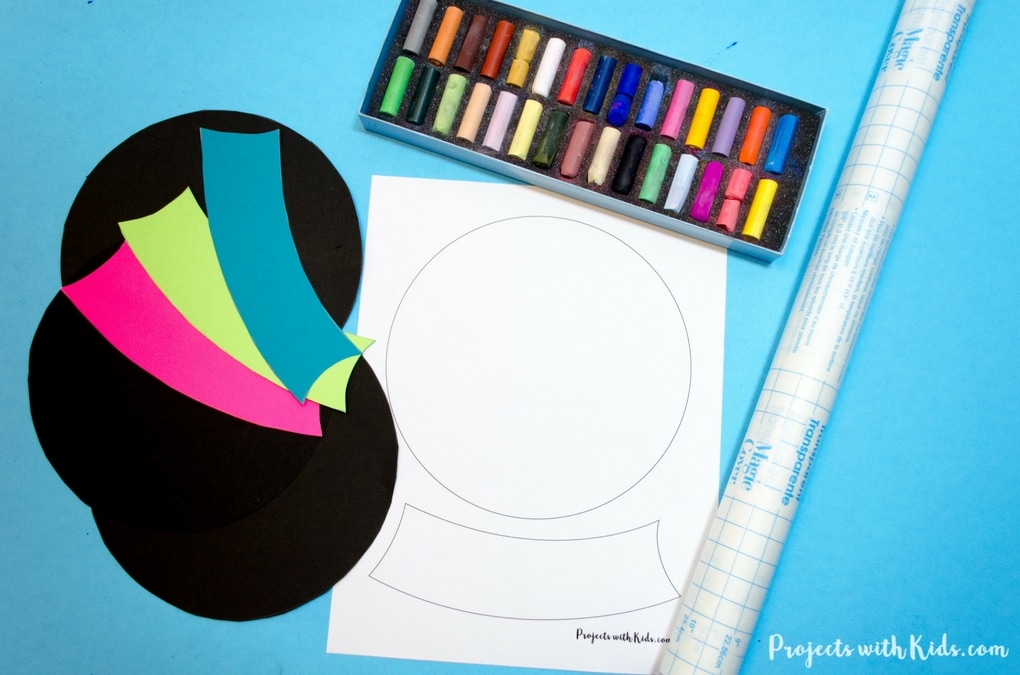
Supplies
- Black drawing paper or black construction paper
- Chalk pastels
- Colorful cardstock for the bottom of the snow globes
- Clear contact paper
- Scissors
Instructions for your snow globe art project
1. First, print and cut out your snow globe template. Use your template to cut the top in black paper and the bottom out of colorful cardstock. If you are using black construction paper instead of drawing paper, your chalk pastels may not be as bright.
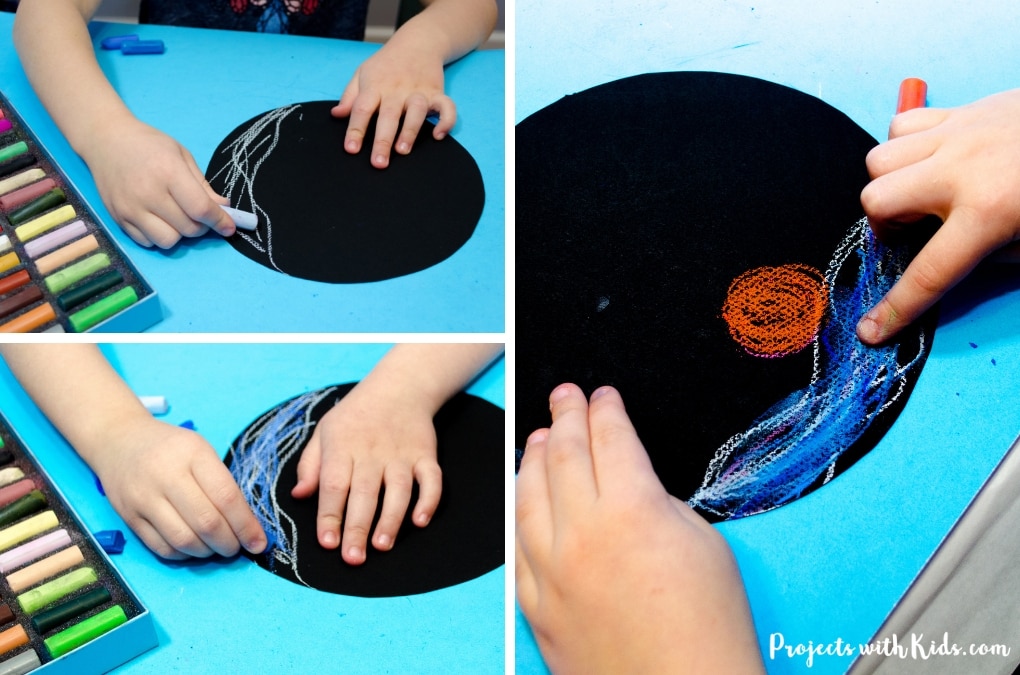
2. If your kids have not used pastels before, have them practice with them on some scrap paper. They can try making simple lines, blending two colors together with their fingers, and using the long edge of the pastel to create texture.
Take a look at these 5 essential chalk pastel techniques for beginners for some more detailed information.
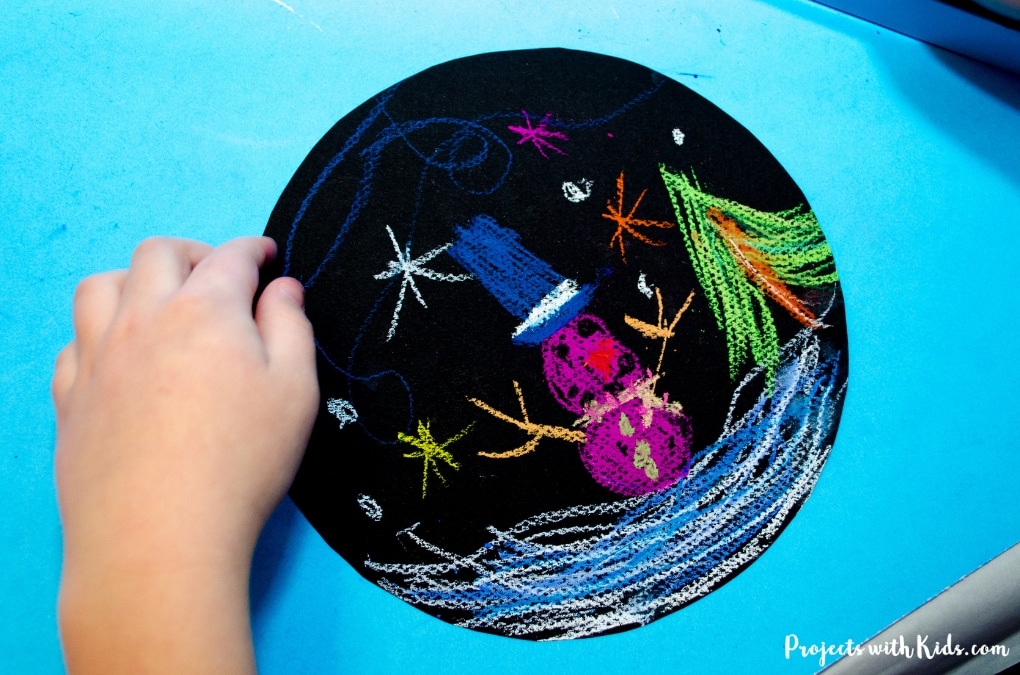
3. Once kids are familiar with drawing with pastels, they can go ahead and create their snow globe art. Have them start with the snow.
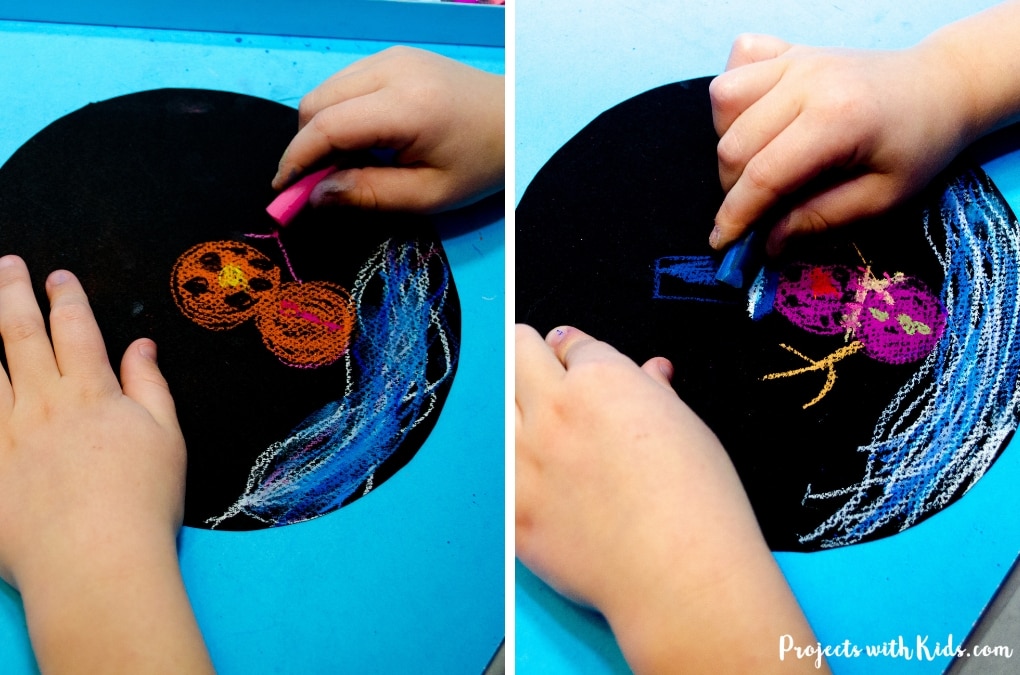
We wanted our snow globes extra fun and colorful so we made the snow with bright blues, pinks, and purples. Kids can try blending the snow colors together with their fingers to create some interesting textures.
Next, they can move on to their snowman, using any color they like. I love the bright pink one! Have your kids dress their snowman in a hat, scarf, mittens, or whatever accessory they choose.
Related: Dazzling Shooting Star Painting with Chalk Pastels
Finally, kids can add in a tree and some colorful snowflakes to finish designing their snow globe.
4. Now would be a good time for kids to write their name, the year, or any message they would like on the bottom of the snow globe with a sharpie. I wish we would have done this before I used contact paper on ours. I would have loved to have my daughter write her name and the year on hers!
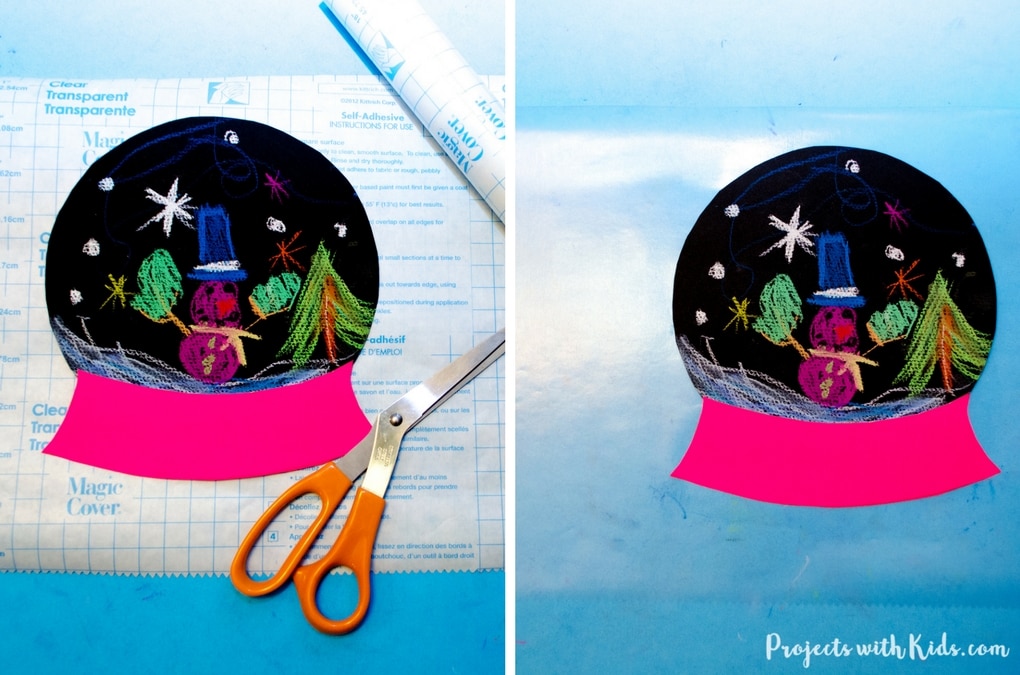
5. This next step can be a bit tricky, so is best done by an adult. Place the colorful bottom of the snow globe on top of the black circle just slightly. Using clear contact paper cover the entire snow globe, pressing down firmly.
This helps to keep the chalk pastels from smudging so you can enjoy this snow globe craft for years to come. Cut around the edges, leaving about 1/8-1/4 of an inch of contact paper around the whole craft.
I love the unexpected colors used to create our snow globe craft. They turned out so vibrant and using the pastels on black paper really makes them stand out.
We love creating and exploring with different art supplies and techniques. If you are looking for more art projects to try, take a look at our ultimate collection of amazing art projects for kids!
>>CLICK HERE TO INSTANTLY DOWNLOAD YOUR PRINTABLE TEMPLATES.
More art projects kids will also love
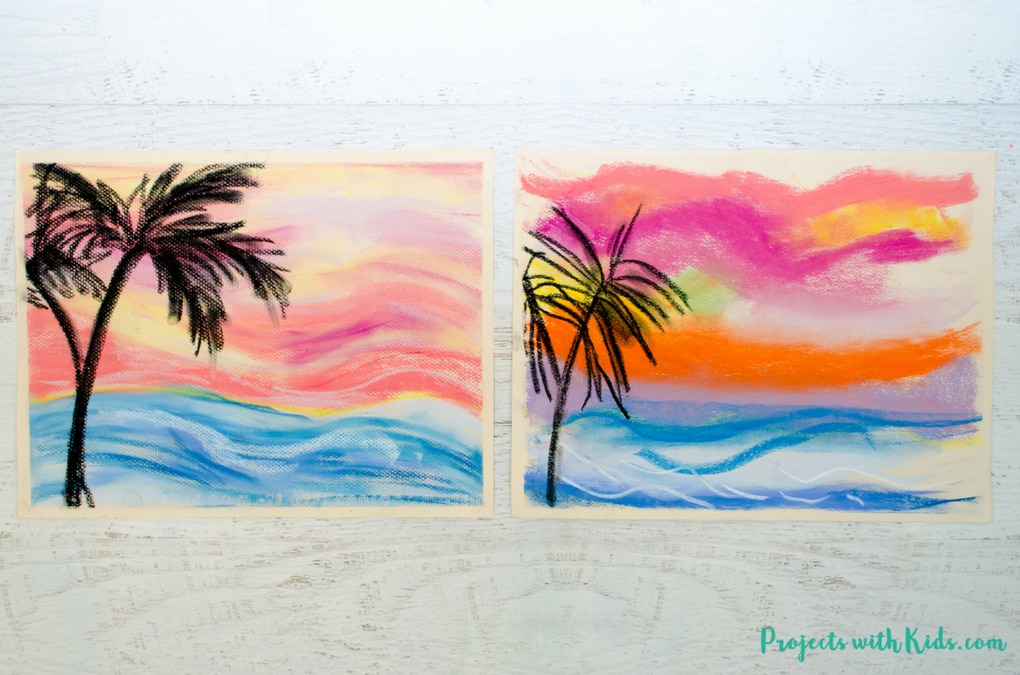
Stunning chalk pastel sunsets with kids
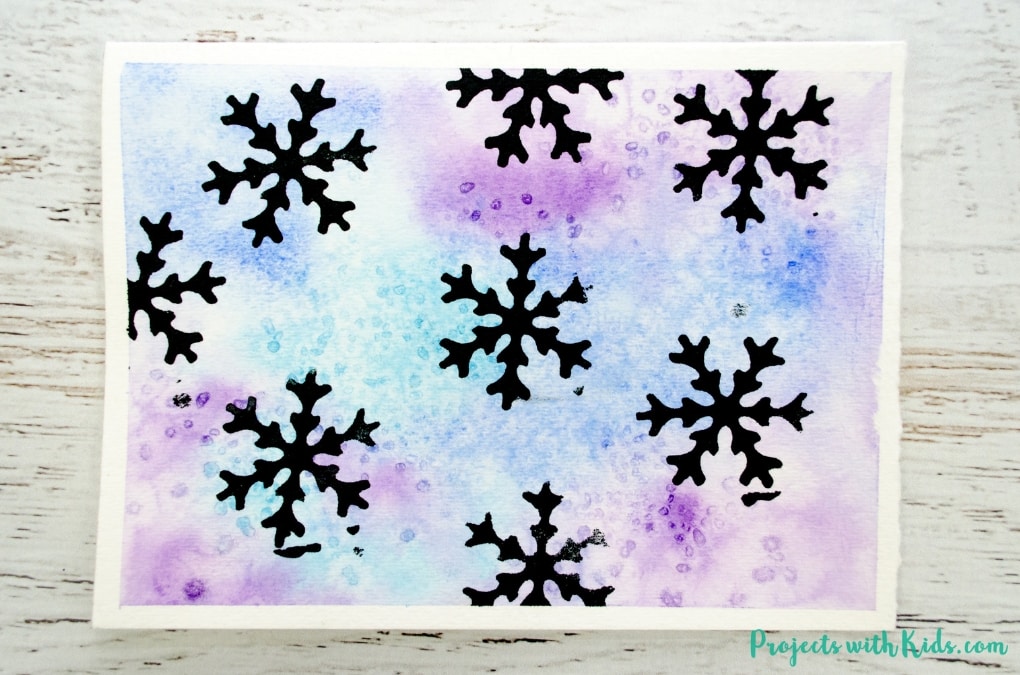
Snowflake watercolor winter art
If you are looking for more Christmas projects to make take a look at our collection of creative Christmas arts and crafts for more fun ideas!
Pin this art project for later




[…] Winter Snow Globe Craft with Chalk Pastels […]