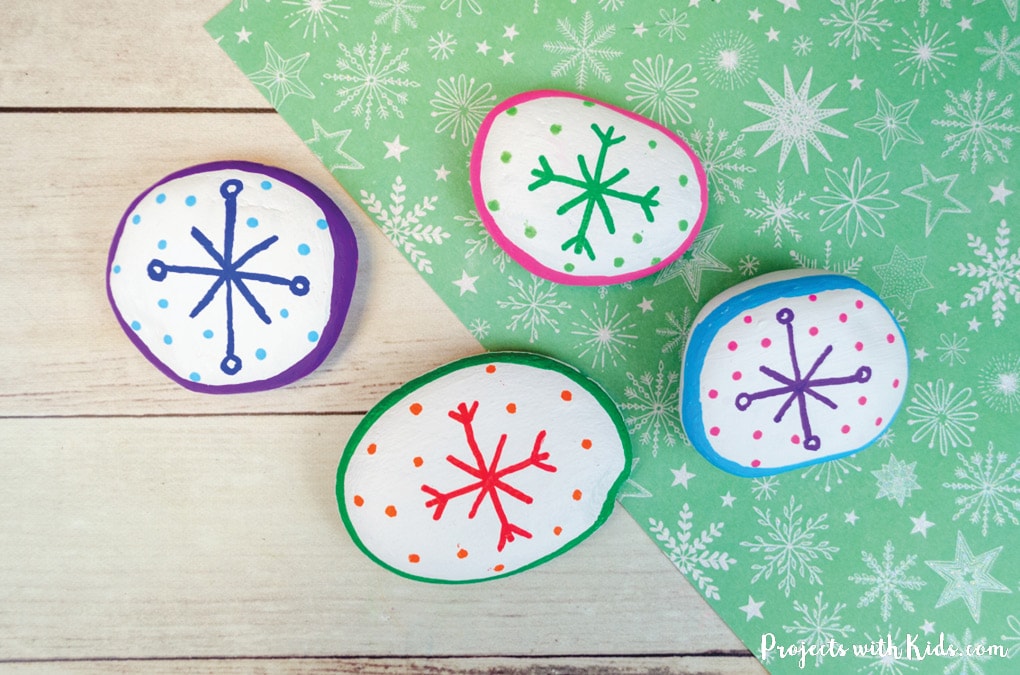
Kids will love making these colorful snowflake painted rocks this winter! Using paint pens will help kids to easily draw snowflake designs and add fun details. There are endless color and design possibilities for kids to express their creativity! Each rock will be unique.
Painting rocks is always a fun activity that kids love! If you are looking for more rock painting ideas check out my collection of creative rock painting for kids.
If you are looking for more winter project ideas take a look at my collection of beautiful winter art for kids to make! There are fun ideas for kids of all ages that use different art materials and techniques.
Create your own snowflake painted rocks
This post contains affiliate links. As an Amazon Associate, I earn from qualifying purchases. If you would like more information please review my privacy & disclosure policy.
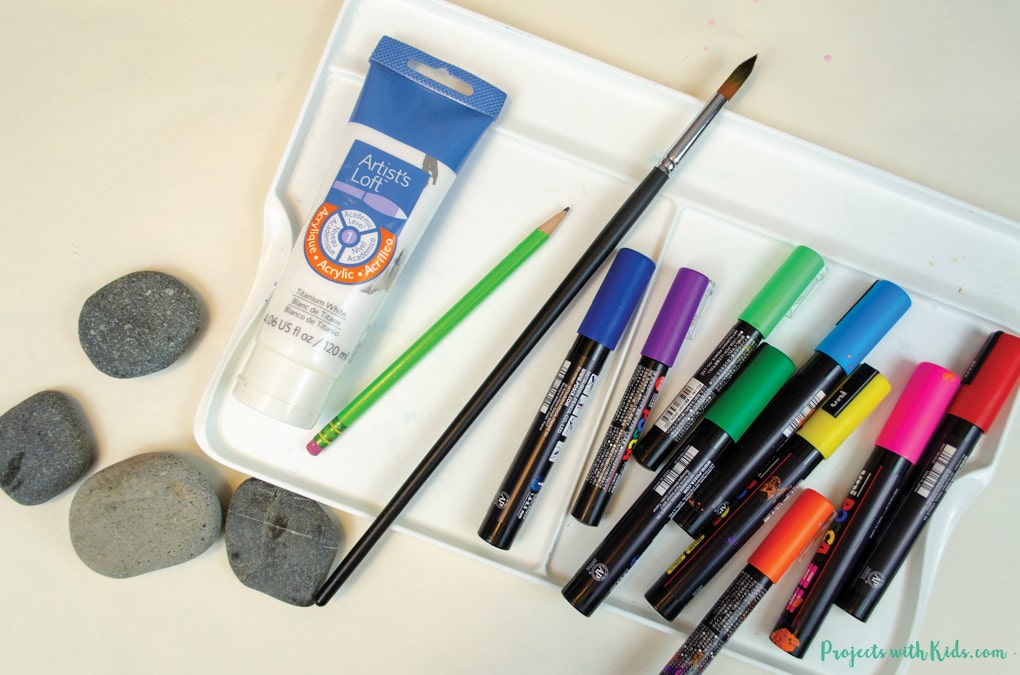
Supplies
- River rocks
- White acrylic paint
- Paintbrush and paint palette
- Paint pens
- Mod podge (or other rock sealer)
Instructions for your snowflake rocks
1. First make sure that your rocks are clean and dry on both sides. Paint your rocks with white acrylic paint. You will need to paint the rocks with 2 – 3 coats depending on the type of paint that you use.
Make sure to let each coat dry completely.
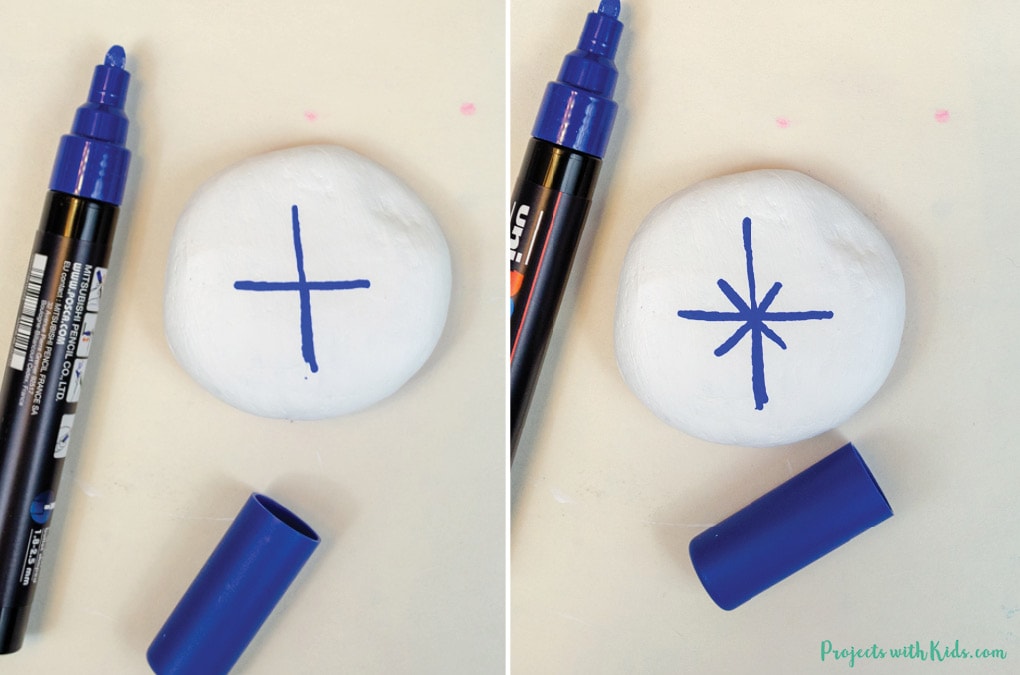
2. Have kids choose a color of paint pen for their snowflake. I have included two different simple snowflake designs in my tutorial but some kids may want to draw their own design.
For the first type of snowflake, draw one long line down and one long line across creating a plus sign. Then draw in smaller diagonal lines in the spaces like in the photo above.
To finish off the snowflake, draw circles on the four largest points of the snowflake.
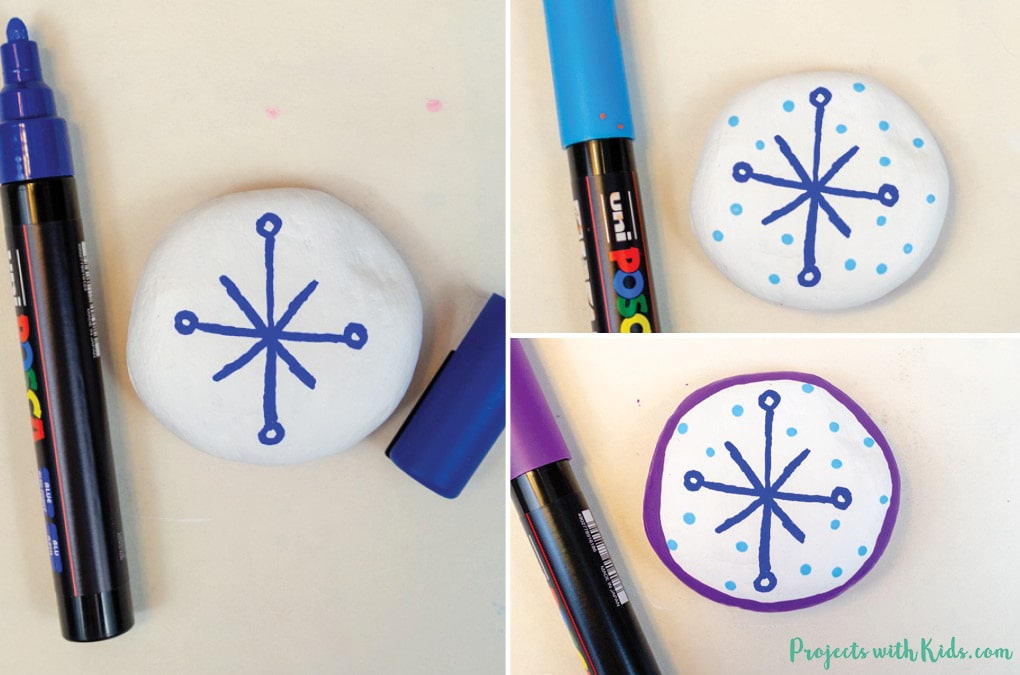
3. Choose a different color to add dots around your snowflake. Draw a thick border around the rock with a third color to finish off your design.
4. For the second type of snowflake, draw a long straight line and a long horizontal line creating a plus sign. Draw in two smaller diagonal lines in the spaces like in the photo below.
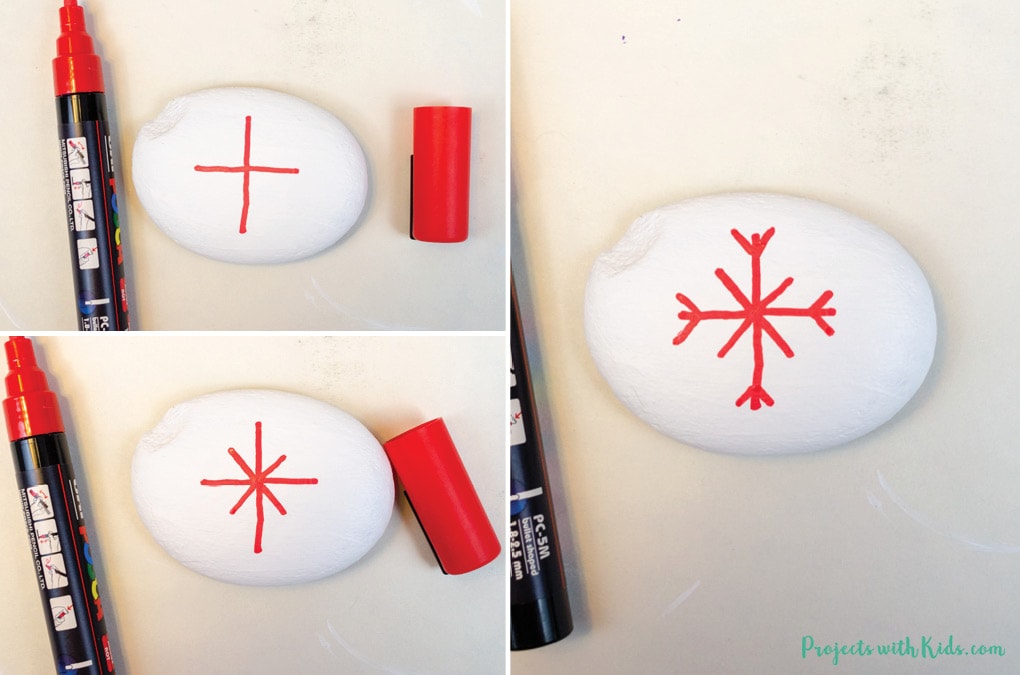
Finish off this snowflake design by drawing in small line details at the ends of the four larger lines like in the photo above.
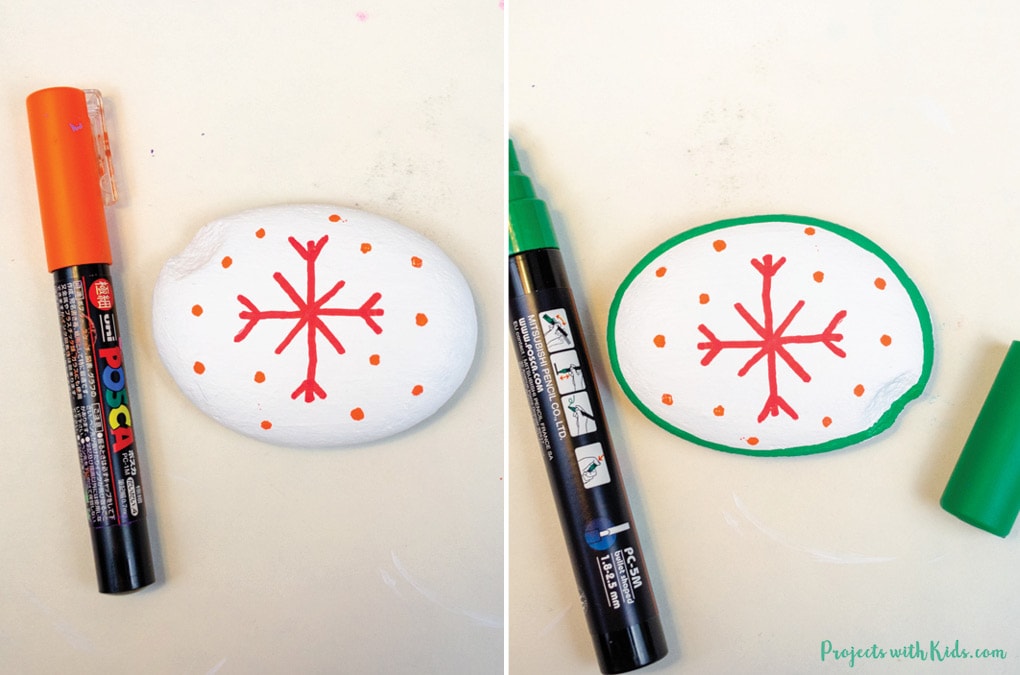
5. Choose a second color to add dots on the rock around the snowflake. Draw a thick border around the outside of the rock with a third color to finish off your snowflake design.
6. To seal and protect your rocks, paint on two coats of a matte Mod Podge. Make sure to let each coat dry completely. I like using Mod Podge because kids can paint it on themselves and you don’t have to worry about using a chemical spray.
If you are going to be placing your rocks outside, you will need a weatherproof sealer. I have found that the outdoor Mod Podge can sometimes smudge the paint, so make sure to do a test before or try another type of sealer.
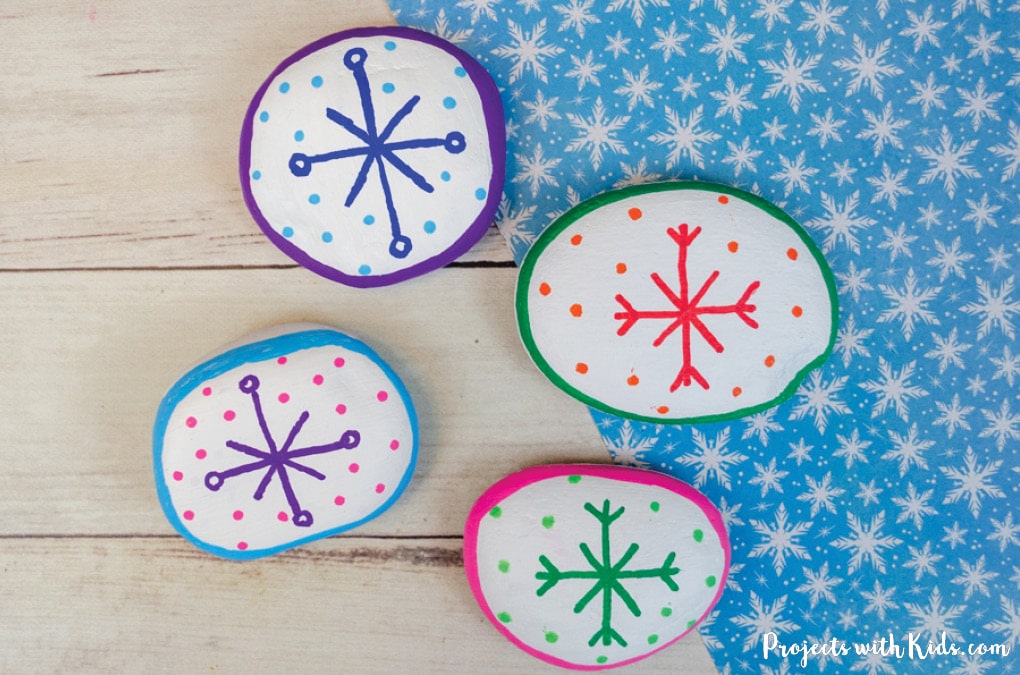
These snowflake painted rocks are a fun and colorful winter art project that kids will love to make!
More art projects kids will love
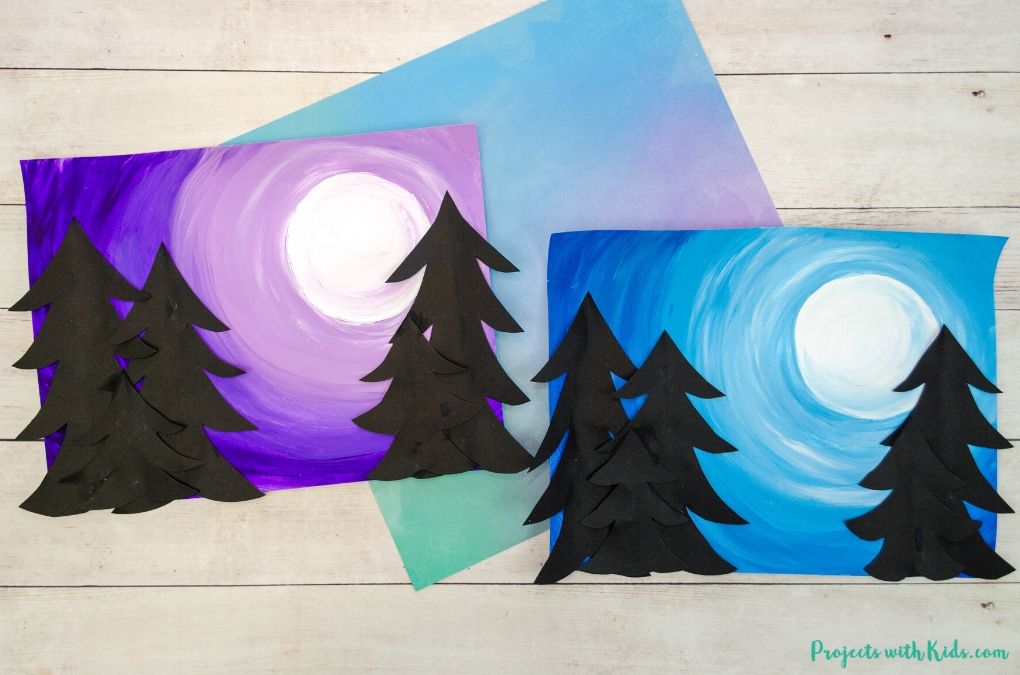
Mixed Media Winter Art Project for Kids
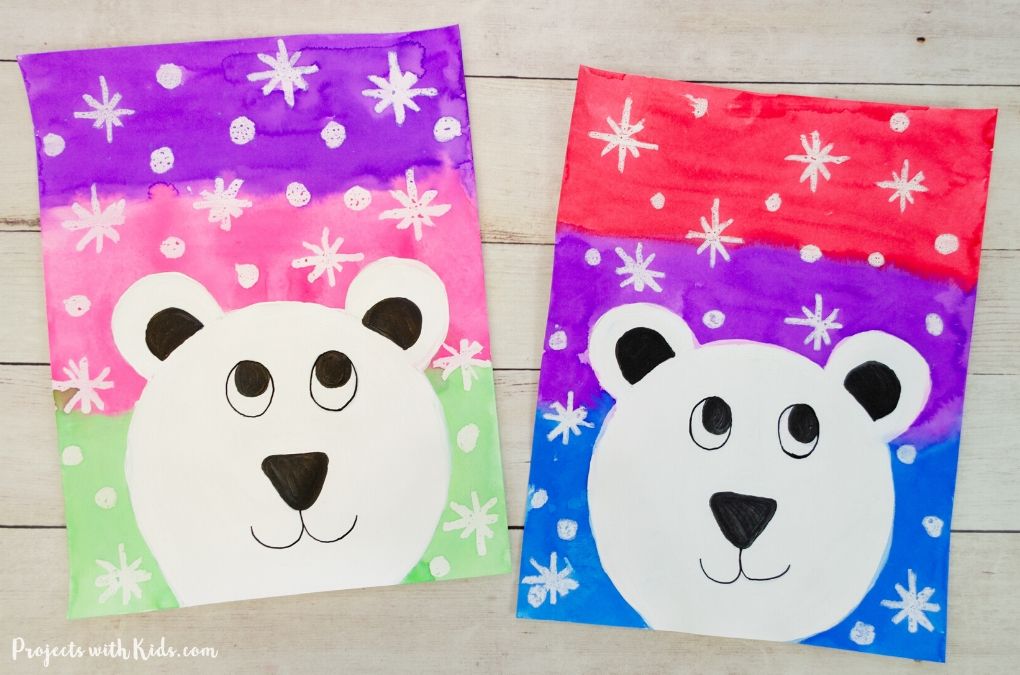
The Cutest Polar Bear Winter Painting for Kids to Make
Follow me on Pinterest for more amazing project ideas.
Pin this rock painting idea for later
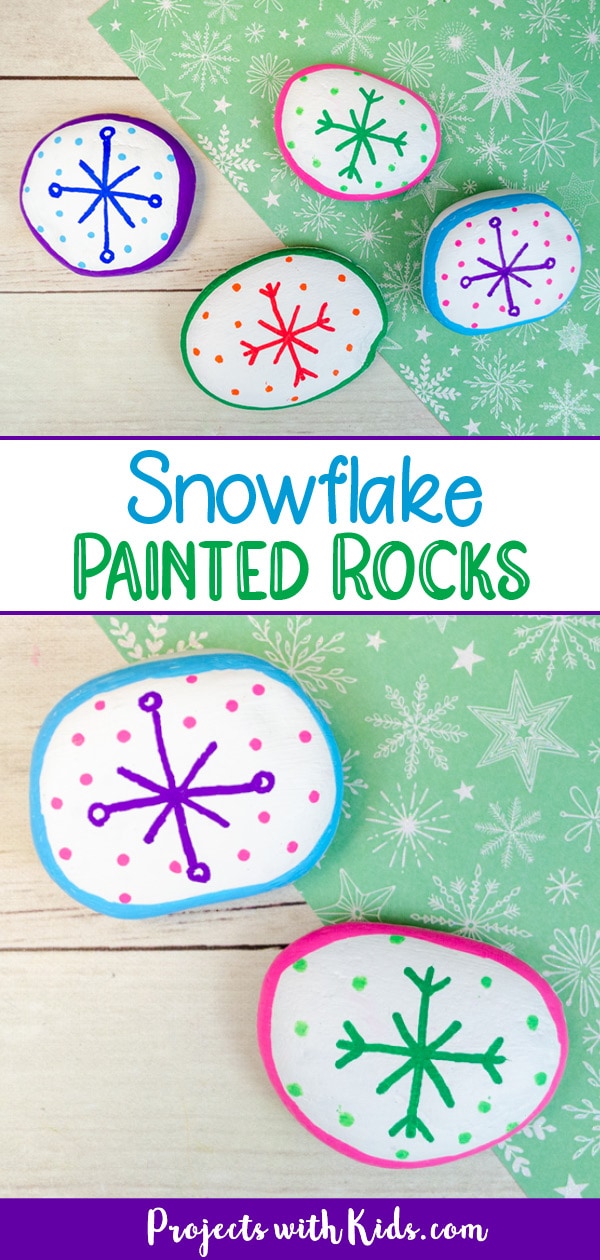
Colorful Snowflake Painted Rocks Kids can Easily Make
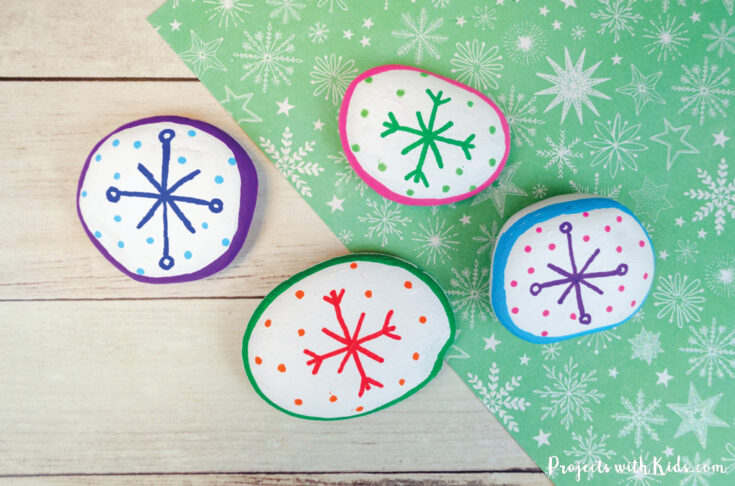
Kids will love making these colorful snowflake painted rocks this winter with only a few simple supplies!
Materials
- River rocks
- White acrylic paint
- Paint pens
- Mod podge (or other rock sealer)
Tools
- Paintbrush
- Paint palette
Instructions
- First, make sure that your rocks are clean and dry. Paint 2 - 3 coats of white acrylic paint on each rock and let the paint dry completely.
- Choose three paint pen colors for each rock. One color for the snowflake, one for the dot pattern, and the third for the border around the rock. Start by drawing a simple snowflake design in the middle of your rock.
Kids can use my photos above as examples of two simple snowflake designs or draw their own. - Use the second color to make a dot pattern around the snowflake.
- To finish off your snowflake design, draw a thick border around the rock using the third color.
- Let the paint pens dry completely and then seal your rocks to protect them. You can use a matte Mod Podge if you are keeping your rocks inside. Simply paint on two coats letting each coat dry in between.
If your rocks will be placed outside then an outdoor sealer is needed.


