

Use simple shapes and bright chalk pastels to create these fun glowing neon Halloween signs! This Halloween chalk pastel art is an easy and fun way for kids to practice drawing and blending with chalk pastels.
You only need a few simple supplies to make this Halloween art project for some easy Halloween decor or a fun classroom display!
Pastels are so fun for kids to explore! Take a look at my collection of chalk pastel art for more creative ideas kids will love.

For some more fun Halloween chalk pastel art take a look at this super easy bat art and this colorful pumpkin art that can be done in two ways!
Create your own neon Halloween chalk pastel art
This post contains affiliate links. As an Amazon Associate, I earn from qualifying purchases. If you would like more information please review my privacy & disclosure policy.
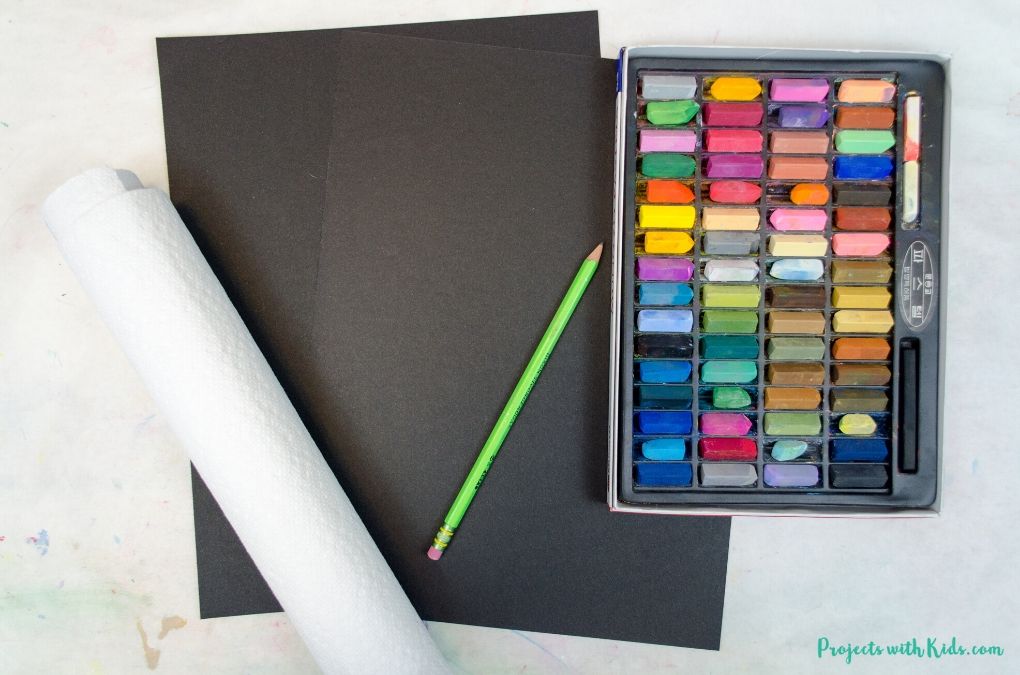
Supplies
- Chalk pastels
- Black drawing paper (or black construction paper)
- Pencil and eraser
- Paper towels
TIPS FOR WORKING WITH CHALK PASTELS
Chalk pastels can be messy (but so fun!). There are a few things you can do to help keep some of the mess contained:
- Put newspaper down on desks or tables.
- Put your project on a tray or a shallow cardboard box which will keep most of the mess inside the tray.
- You can try doing your project outside.
- Have lots of paper towels handy.
- Once you are done with your project (or even halfway through if it gets really dusty), take it outside to gently blow or shake off the excess dust.
- If you are using chalk pastels in the classroom and the kids are ready to take their artwork home, simply place the art between some newspaper to keep it from smudging and for easy transport.
Instructions for your neon sign Halloween art
1. This pastel technique works best with simple shapes. For the easiest shape, I suggest doing a 2-4 word sign. The bat shape also works quite well for this technique. I found the skeleton a bit trickier because of the added details of the face.
Start by preparing your paper, chalk pastels, and paper towels. I used black drawing paper for this project and cut it to the size I wanted. Black construction paper would also work, but the colors would not be as bright.

Draw your simple shape onto black paper with a pencil.
2. Decide on the color you want to use. You will need 2-3 shades of one color and white. For the “Boo” sign I used light blue, medium blue, and dark vibrant blue plus white. For the bat, I used a light purple and a dark purple shade plus white.

I tested other colors with this technique and found that blue, purple, and pink worked the best.
Use the white chalk pastel and trace over your pencil drawing. A thicker white line works best. Don’t worry if the white starts to fade as you add more colors and blend, you will draw a final white layer at the end.

3. Take your lightest color and draw a line around the white pastel, being careful not to draw on the white outline.
Continue to draw around your shape with your colors going from lightest to darkest. Before you begin to blend, you can touch up any areas that need more color.

4. The next step is to start blending. Using one finger, gently start to blend the colors together. You want to go in the direction of the design, being careful not to blend the colors into each other, you should still see the individual colors.
Remind kids to go slow with this step and take time to blend the colors carefully.

5. Once you are done blending, to really make your neon Halloween sign stand out, go over the white again with more pastels. This step really helps to make the image look like it’s glowing.
Gently blend the white pastel in, but don’t blend it too much or you will lose the glowing look.

6. For the final step, you can go over any other areas you think need brightening up with more pastels and gently blend those areas as well.
Use an eraser or Q-tip to get rid of any unwanted smudges and to clean up your design.

These chalk pastel neon signs are a fun and easy Halloween art idea! Kids will love to create their own glowing Halloween art to display.
More Halloween art ideas kids will love
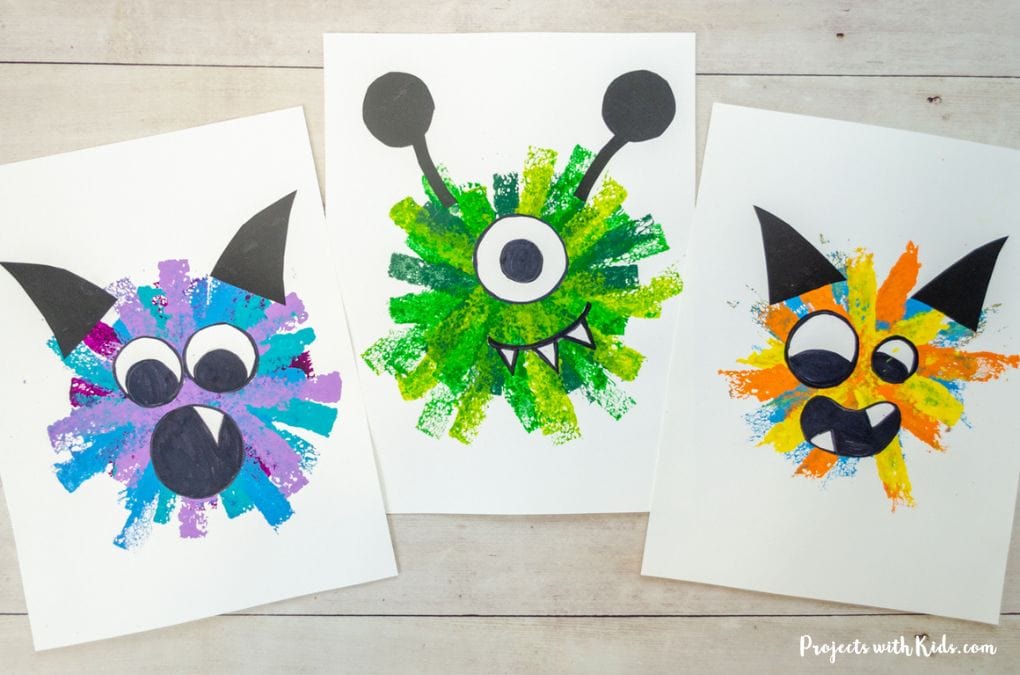
Easy Sponge Painted Monster Craft
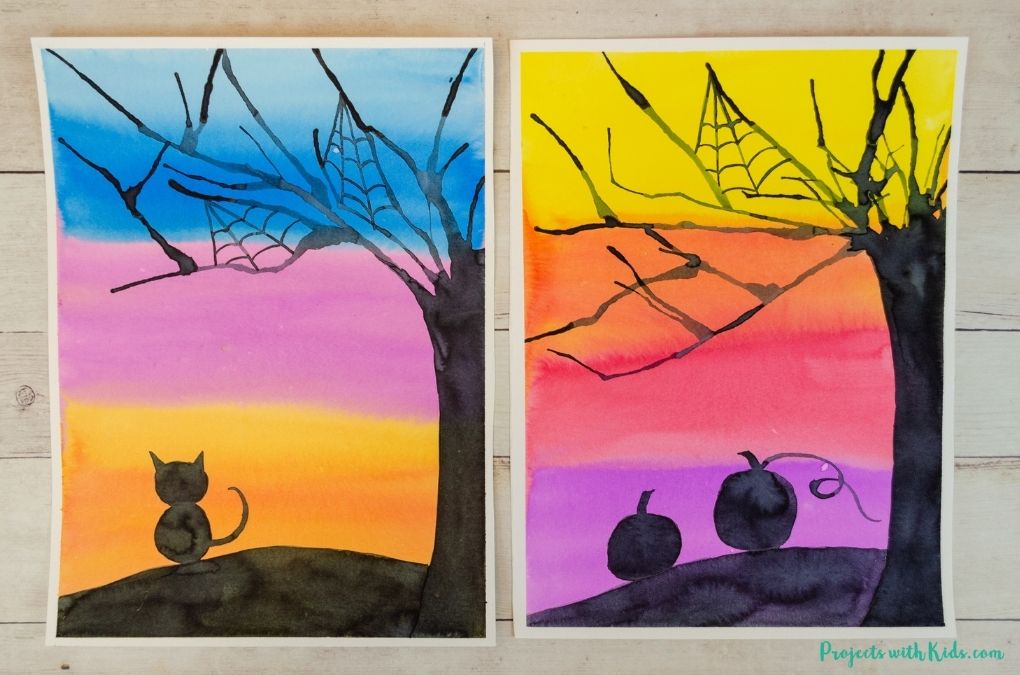
Spooky Halloween Silhouette Art
Follow me on Pinterest for more creative project ideas!
Pin this Halloween chalk pastel art for later

Glowing Neon Halloween Chalk Pastel Art

Learn how to make this glowing neon Halloween chalk pastel art! Kids will explore drawing and blending with chalk pastels.
Materials
- Chalk pastels
- Black drawing paper (or black construction paper)
- Pencil and eraser
- Paper towels
Instructions
Neon Pastel Technique for Halloween Art
- Choose your design: This works best with simple shapes like a 2-4 word sign (e.g., "Boo") or a bat. The skeleton shape can be trickier due to facial details.
Start by preparing your paper, chalk pastels, and paper towels. Black drawing paper is best, but black construction paper also works (though colors will be less bright).
Draw your shape on the black paper with a pencil. - Pick your colors: Choose 2-3 shades of one color plus white. For example, for a "Boo" sign, use light, medium, and dark blue, plus white. Colors like blue, purple, and pink work best.
Trace over your pencil drawing with white pastel. A thick line works well.
Don’t worry if it fades—you’ll touch it up later. - Add color: Using your lightest color, draw around the white line, being careful not to overlap. Continue adding colors from light to dark around your shape. Before blending, touch up any areas that need more color.
- Blend: Use your finger to gently blend the colors in the direction of the shape. Be careful not to mix the colors completely—keep the individual shades visible.
Remind kids to go slowly and blend carefully. - Highlight: Go over the white pastel again to make it stand out. Lightly blend it to give the image a glowing effect, but don’t over-blend.
- Finishing touches: Brighten any other areas with more pastels and gently blend.
Use an eraser or Q-tip to clean up any smudges or refine your design.


