
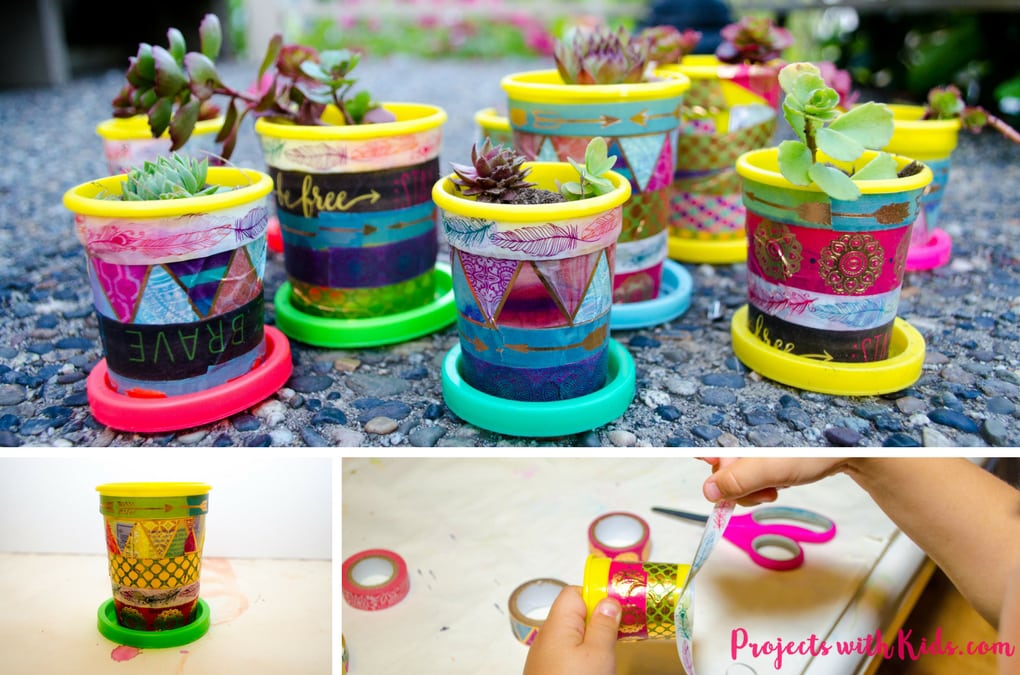
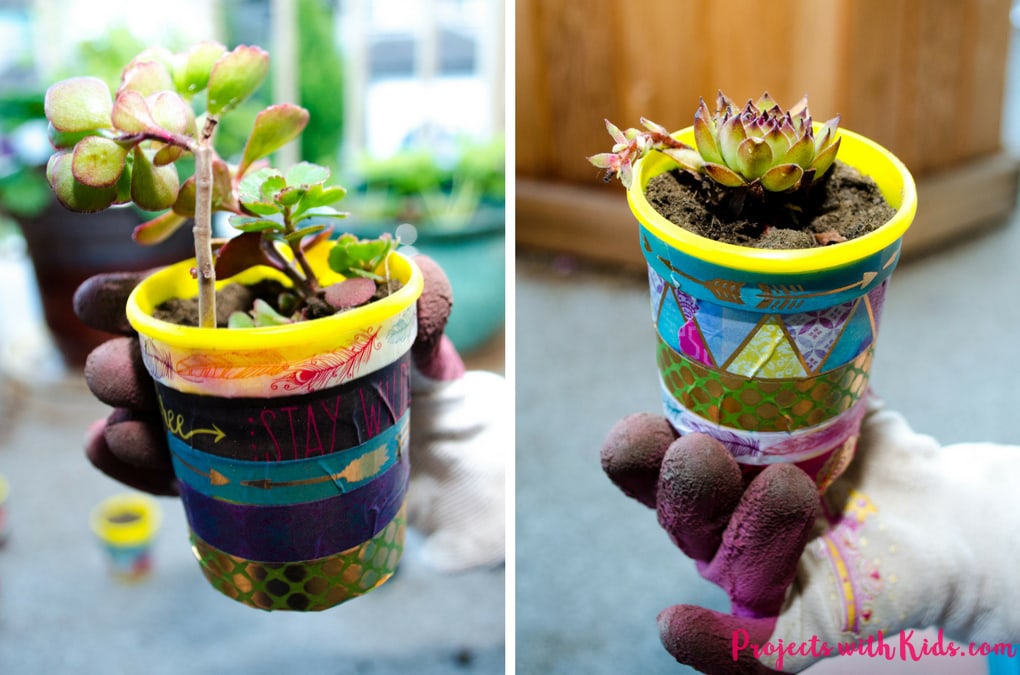
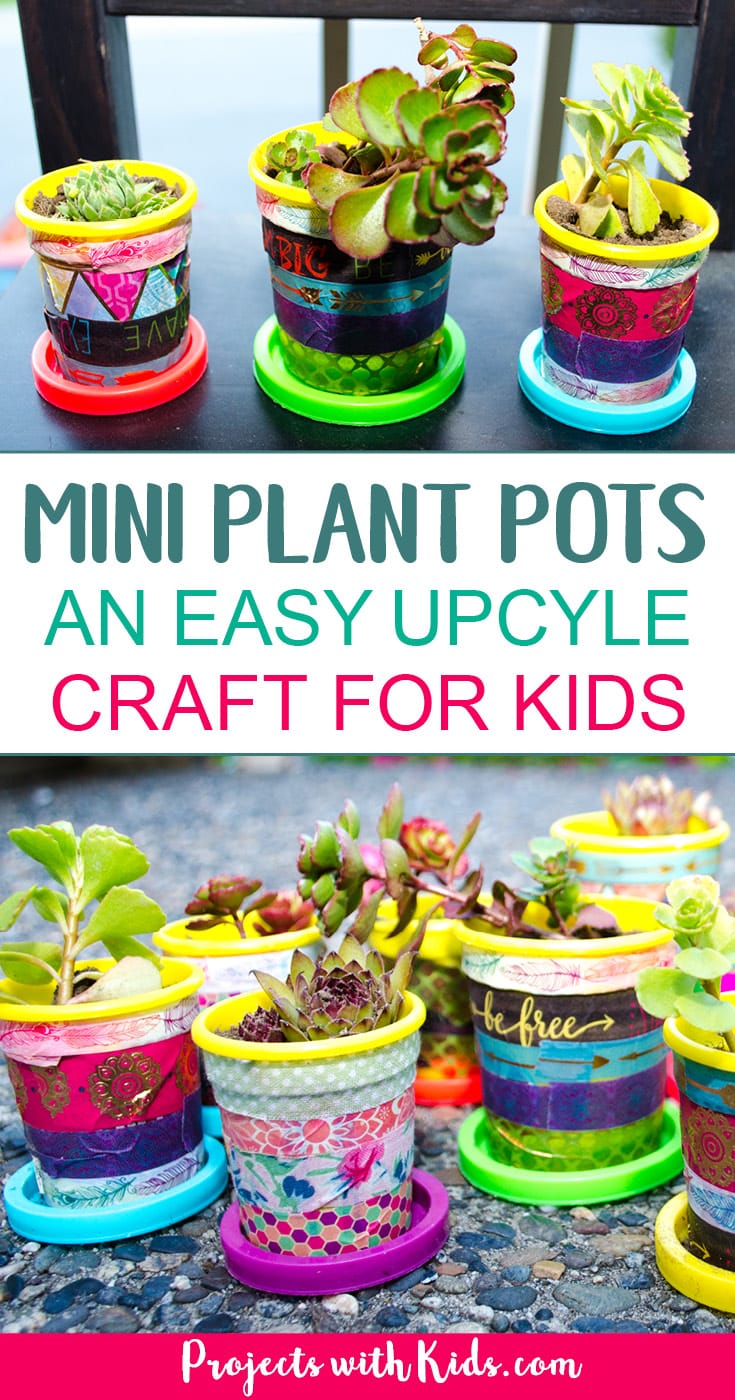
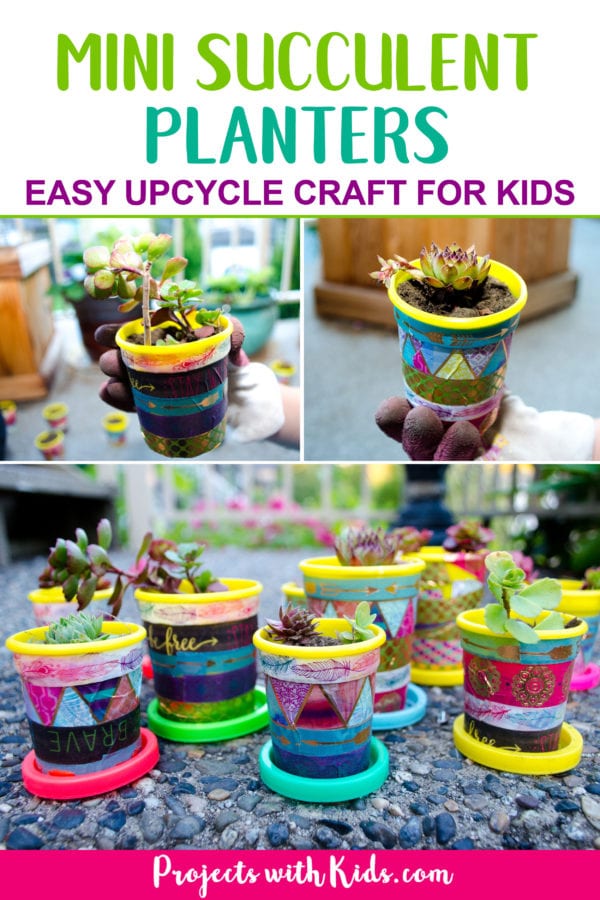
These mini plant pots are beyond adorable! Using washi tape(who doesn’t love washi tape?!) and recycled Play-Doh containers were all we used to create these little works of art. Plus how awesome is it to use the colorful lids as a water tray. Add the mini succulents on top of the already mentioned cuteness and you get one pretty fantastic upcycled project!
This is a perfect Earth Day project or easy kid-made gift for Mother’s Day, Father’s Day or any occasion. We love making handmade gifts for family and friends, check out our collection of awesome kid-made gifts for more ideas and inspiration.
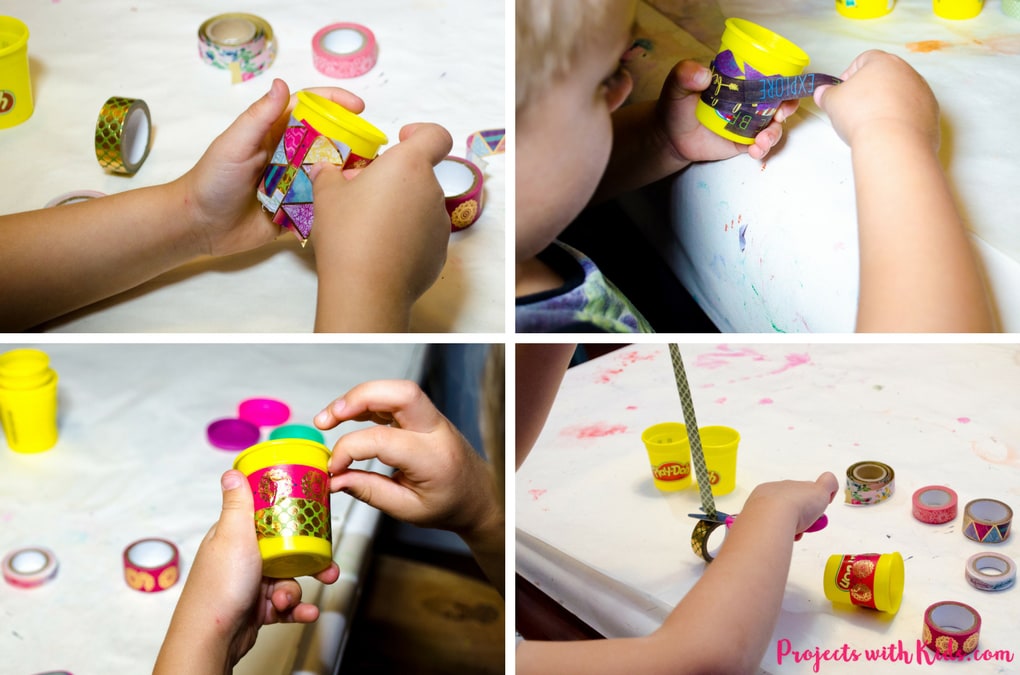
The kids really loved making this one too, both my 7-year-old and my 4-year-old were able to do this themselves. My four-year-olds tape was a bit haphazard, but that just adds to the charm. He was really proud of himself for cutting and putting the tape on himself.
Make your own mini plant pots
This post contains affiliate links, which come at no cost to you. If you would like more information please review my disclosure policy.
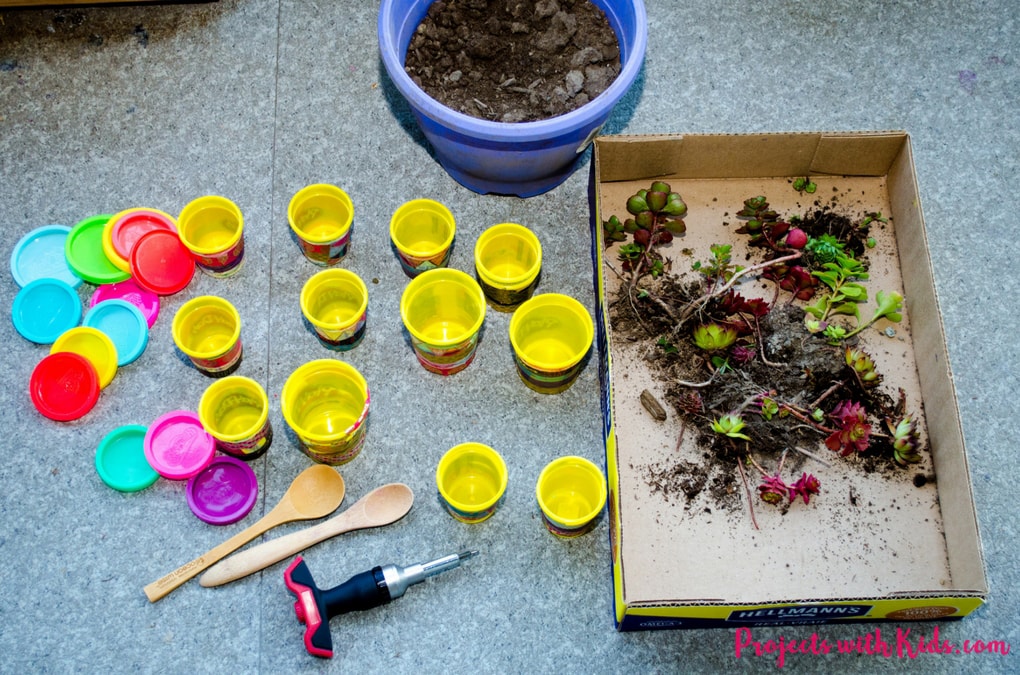
Supplies for the mini pots
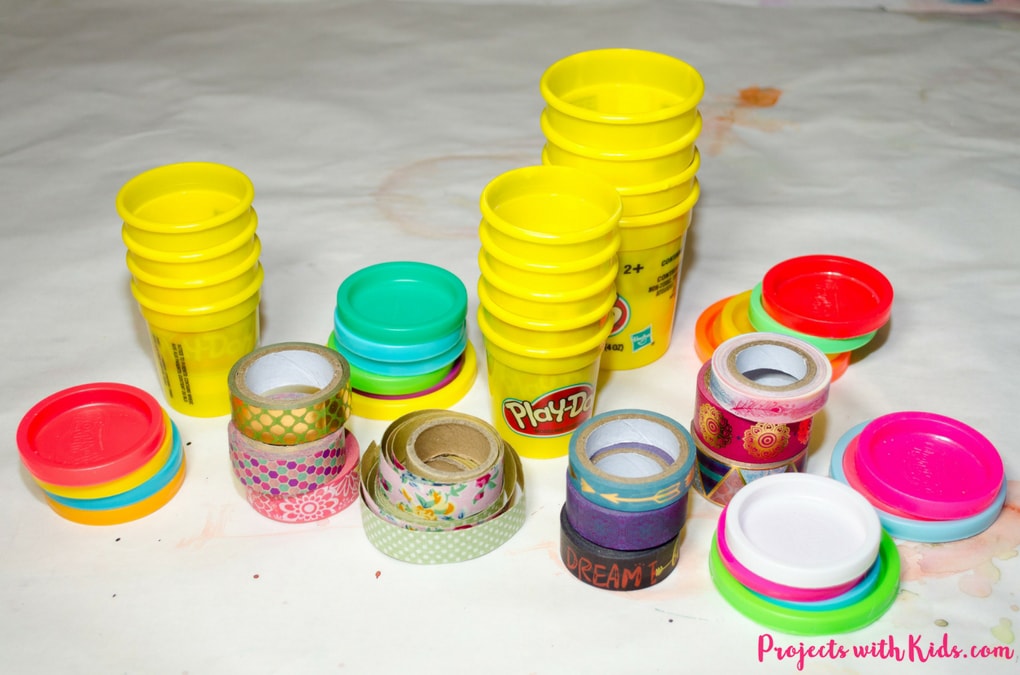
- Empty Play-Doh containers in various sizes.
- Washi tape in different colors and patterns.
- Scissors
Instructions
1. Choose your Play-Doh containers. We had mini ones and slightly bigger ones. My daughter liked the smaller ones the best. You want to make sure your containers are washed and dry before you begin.
2. Choose your washi tape. I love how they look when they have all different colors and patterns. I think it just adds to their uniqueness.
3. Give each kid a pair of scissors so they can easily cut the tape. This will be easier for some depending on their age.
4. Let the kids have fun mixing and matching colors and patterns and wrapping the containers in washi tape. You can wrap the tape around or try putting vertical strips in to mix it up a bit. There is no wrong way. Just have fun and create!
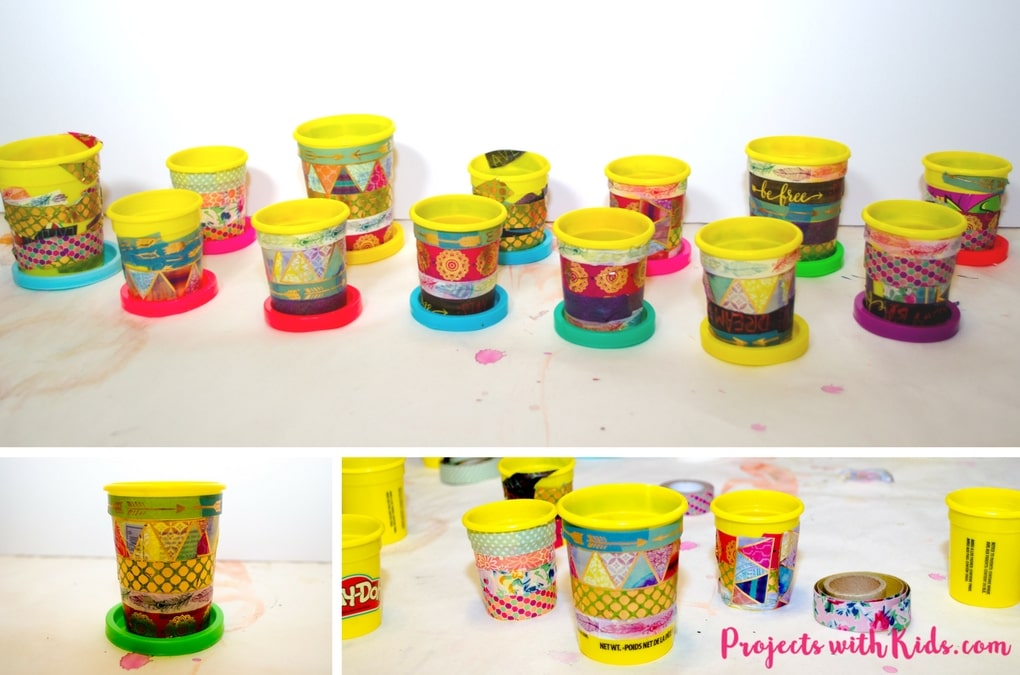
A note about weatherproofing
You might choose to use Mod Podge or a thin layer of white glue to paint over the washi tape to protect the mini planters from water and the sun if they are going to be in a sunny windowsill. You want them to be completely dry before moving on to the planting stage.
Once done, you are ready to move on to planting your succulents.
Planting succulents in your finished mini plant pots
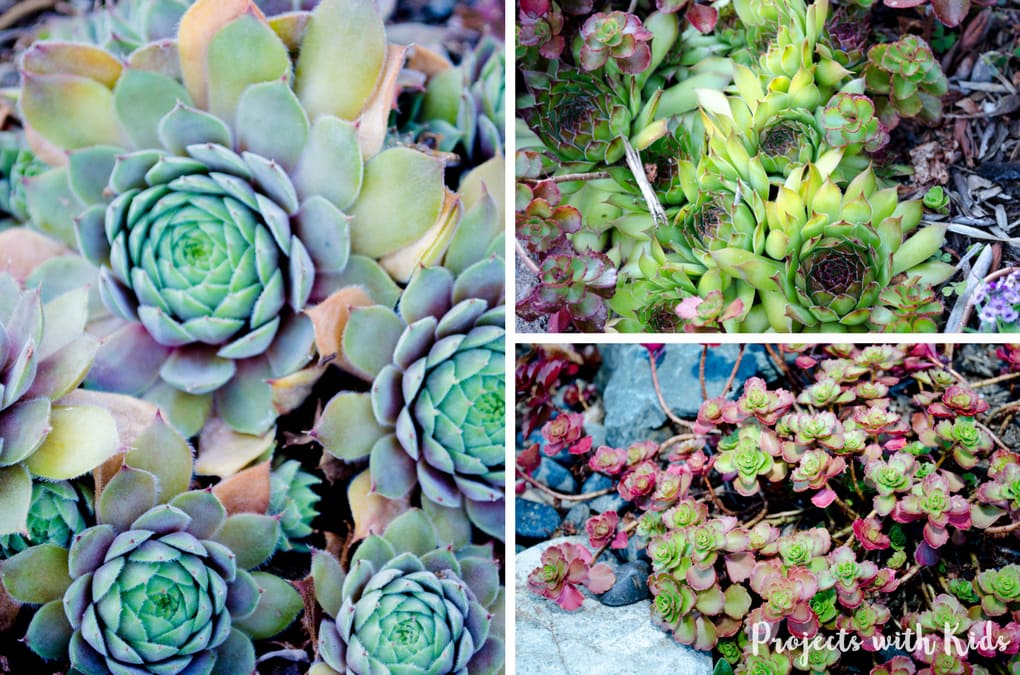
5. After we finished making the planters, we went out into the front garden to get some succulents. Succulents are pretty easy to separate and take clippings from. I basically went into my garden and dug down with a shovel and gently separated a small piece making sure I had a bit of root as well.
If you don’t have any succulents in your garden or would just rather not try and separate them, there are so many fun varieties in the stores! You can also explore other mini plants that would work for these small planters as well.
There are some really cute plants that are for fairy gardens that would also look great in these mini plant pots. Your local nursery should be able to steer you in the right direction.
Supplies for planting
- Your finished plant pots and the lids
- Dirt
- Spoons
- Succulents or whatever plants you choose
- Screwdriver to punch drainage holes in the bottom of the containers
6. The first thing you want to do is punch drainage holes in the bottom of the containers. This should be done by an adult. I put about 4 holes in each container to make sure that the water has lots of space to drain out. Succulents don’t like to sit in water!
7. You want to fill your containers about halfway with dirt. Don’t fill it up more or there won’t be enough room for the plant and its roots.
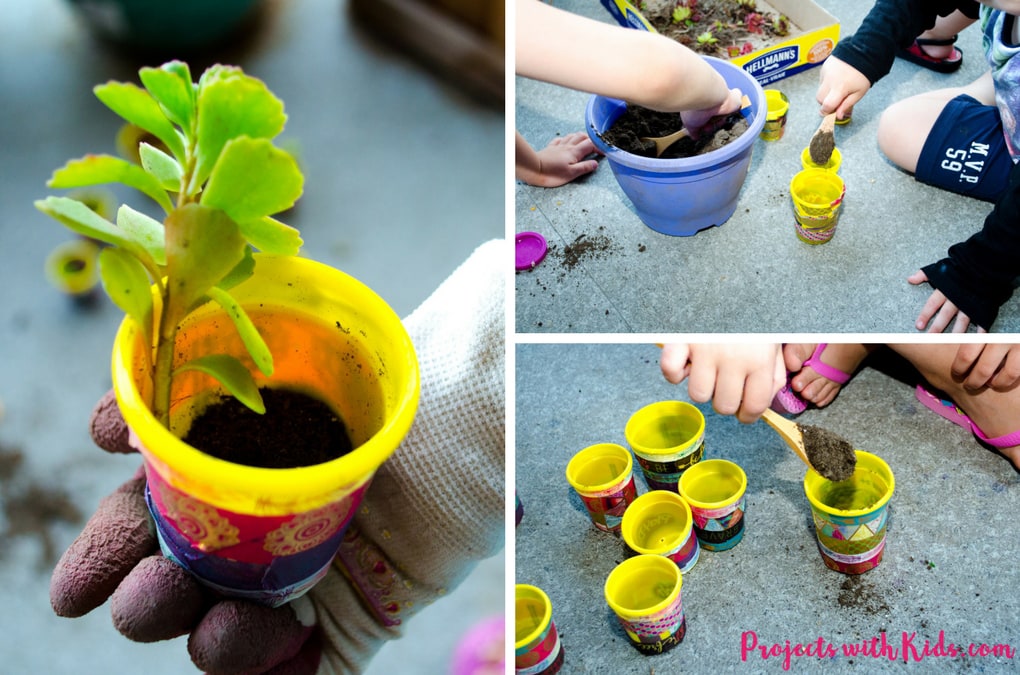
8. Place your plant in the planter and then fill up the rest of the way with more dirt. Water your plants right away.
9. Place the lids underneath and admire their cuteness!
We loved making these mini plant pots so much that I’m sure we will make them again! They would make great handmade gifts for any occasion. These clay jewelry dishes stamped with spices also make a great gift idea!

More spring & summer crafts you will love
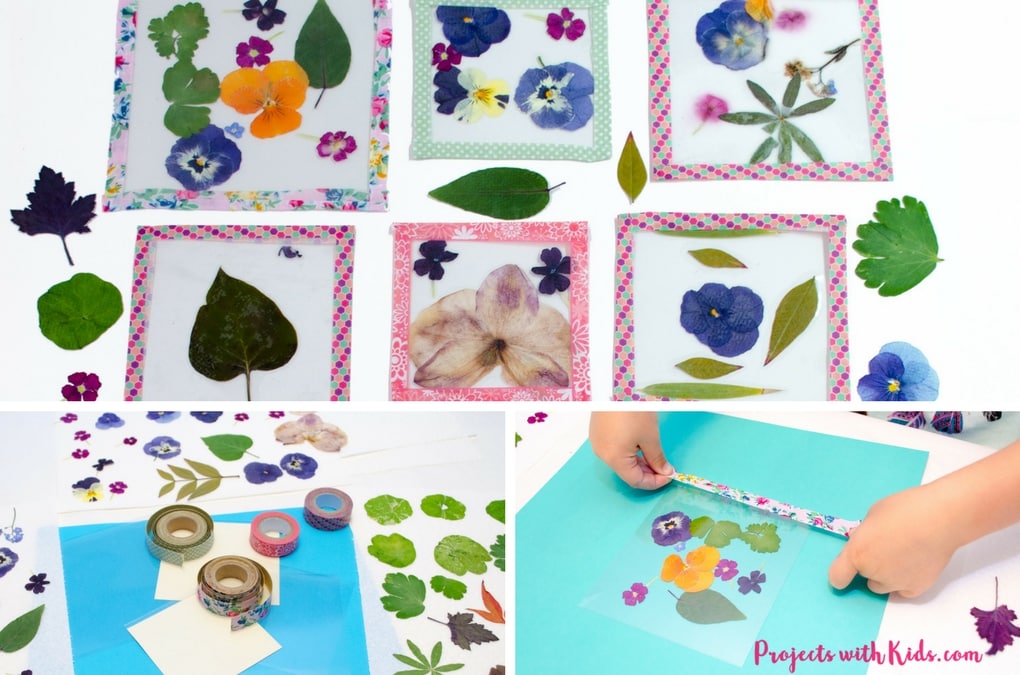
Lovely coasters with pressed flowers and washi tape
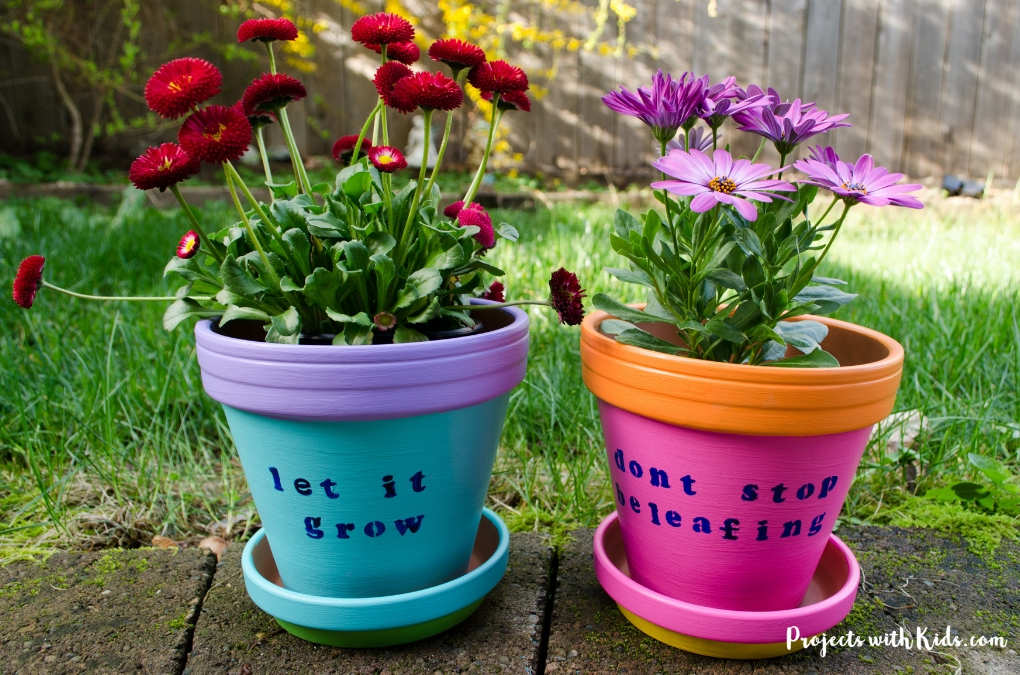
Easy Painted Flower Pots for Kids to Make
Pin this project for later


Danielle Gould
I have never heard of Washi tape. I love gardening and think this is a fantastic way to reuse, recycle and repurpose. Thanks!
ProjectswithKids
Thanks Danielle! Washi tape is so fun to experiment and craft with! Most craft stores will have lots of colors and patterns to choose from.
Karla
These are so cute – and what a great use of Play-Doh Containers. Pinned to try with the kids later.
ProjectswithKids
Thanks Karla! I hope you and your kids have fun with this craft. 🙂
Katie @ Book Ink Reviews
These are adorable and look soo easy to do with little hands. I’ve pinned it to come back!
ProjectswithKids
Thanks Katie!
Cindy
These are so cute! What a sweet little project to do with your kids! ❤️
ProjectswithKids
Thanks for reading Cindy!
Carrie Myers
I love your ideas, Angela! I wish I was teaching preschool again to use them. Pinning as well started a kids craft board.
ProjectswithKids
Thank you Carrie! This was a really fun craft to do. I think I had just as much fun as the kids!
Teri Denison
Oh my Goodness! This i s an excellent post. I love the detailed instructions and photos. Thank you so much for sharing. This grandma might have to have a craft day class. : )
ProjectswithKids
Thank you so much for your kind words Teri! I hope you and your grandkids have a great time with this craft!
Leah
I have pinned this! My 3 year old would love this activity. And a great use for old playdoh pots!! Fabulous idea!
ProjectswithKids
Thanks so much Leah! I hope you and your 3 year old have fun with this project!
Brittani | Coffee Toddlers & Chaos
This is such a cute and fun craft project. It looks like a lot of fun to do.
ProjectswithKids
Thanks Brittani! We really had fun with this project.