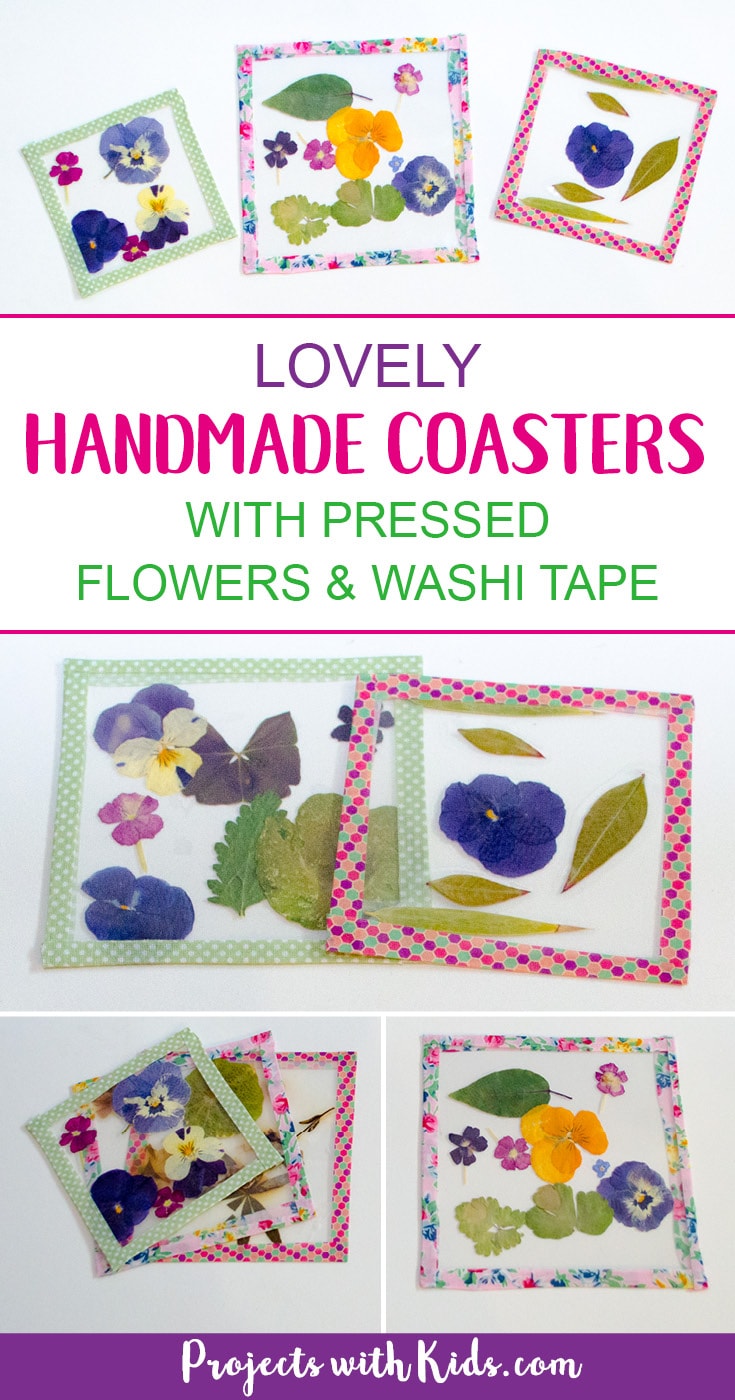
These handmade coasters turned out so well and were so easy to make! Using pressed flowers and washi tape makes them so unique and colorful.
Because these coasters use pressed flowers, they need to be done over the span of a week or so to give you a chance to press the flowers first, unless you buy pressed flowers and leaves from your local craft store. Kids love collecting and pressing flowers, it’s always a fun activity!
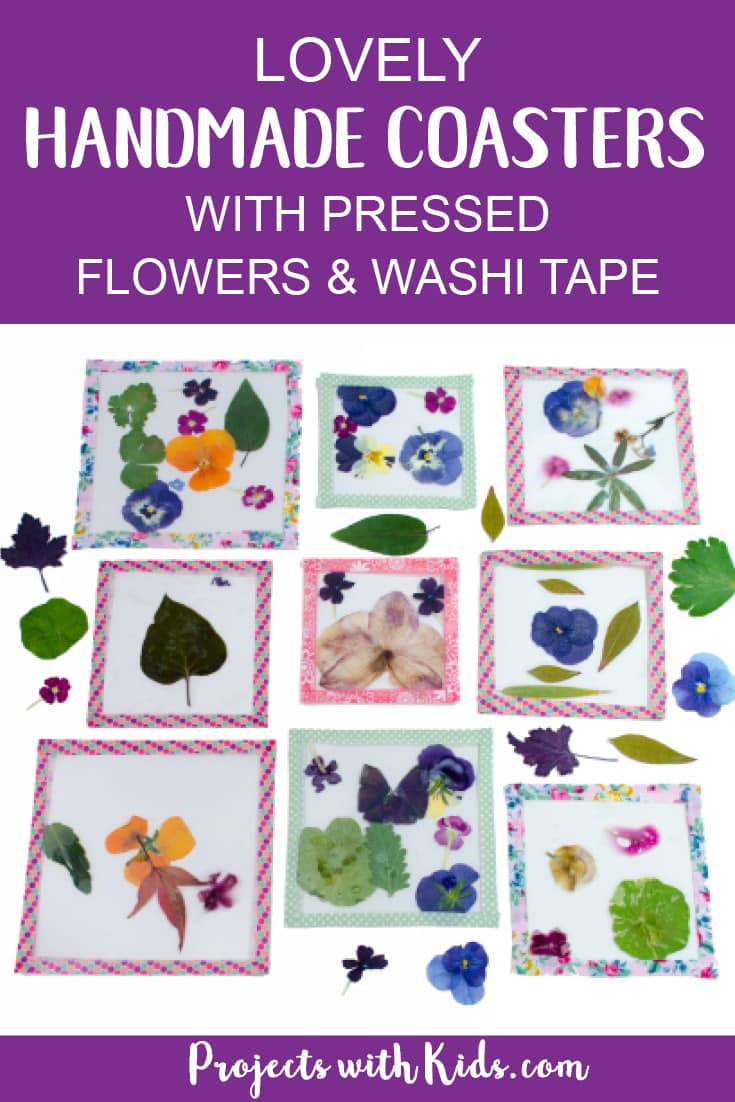
They would make great gifts for Christmas, Mother’s Day, teachers gifts, anyone would love to receive these. And they are so simple and fun, kids love making them! We love making handmade gifts for family and friends, check out our collection of awesome kid-made gifts for more ideas and inspiration.
Create your own Handmade Coasters
This post contains affiliate links, which come at no cost to you. If you would like more information please review my disclosure policy.
Supplies
- Flowers to press. You can buy flowers, or if it’s spring or summer and you have flowers growing in your garden use some of those. Don’t forget to use some leaves too!
- A heavy thick book to press the flowers in
- Paper towels
- Ruler or paper cutter
- Transparency printing sheets and/or photo laminating sheets. You can buy these at any office supply store or even some craft stores.
- Glue
- Washi tape in your favorite colors and patterns
Instructions
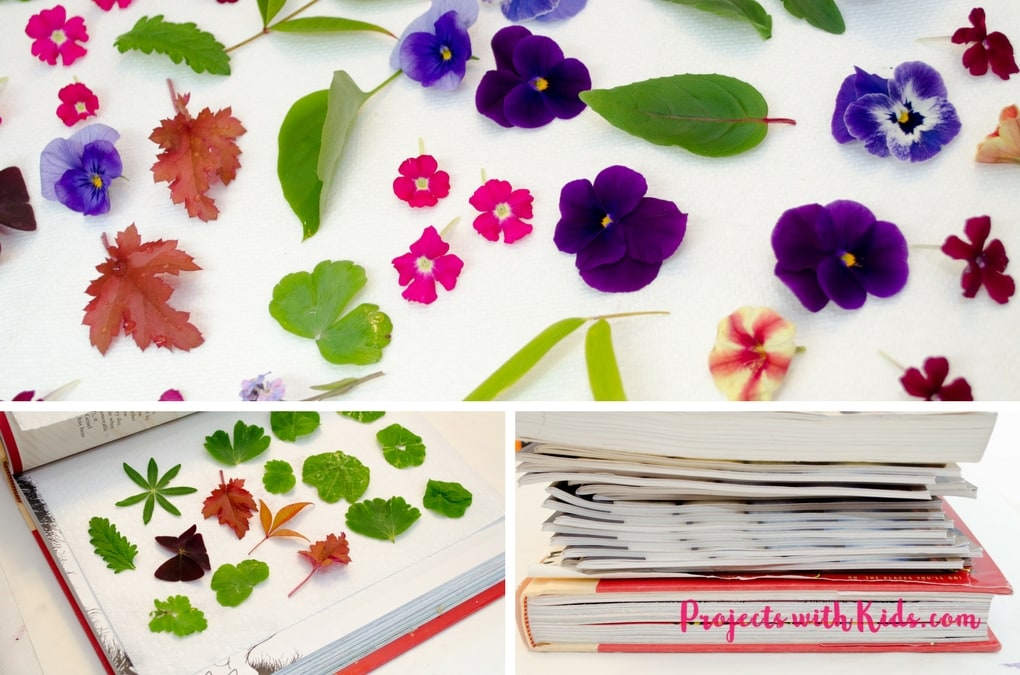
First, you need to press your flowers
1. Collect all the flowers and leaves that you want to use and remove most of the stems to make them easier to press.
2. Arrange everything on paper towels.
3. Place the paper towels with the flowers and leaves between the pages of a thick book. If you like you can pile up more books on top to add more weight. Set the pile of books aside for at least a week or so.
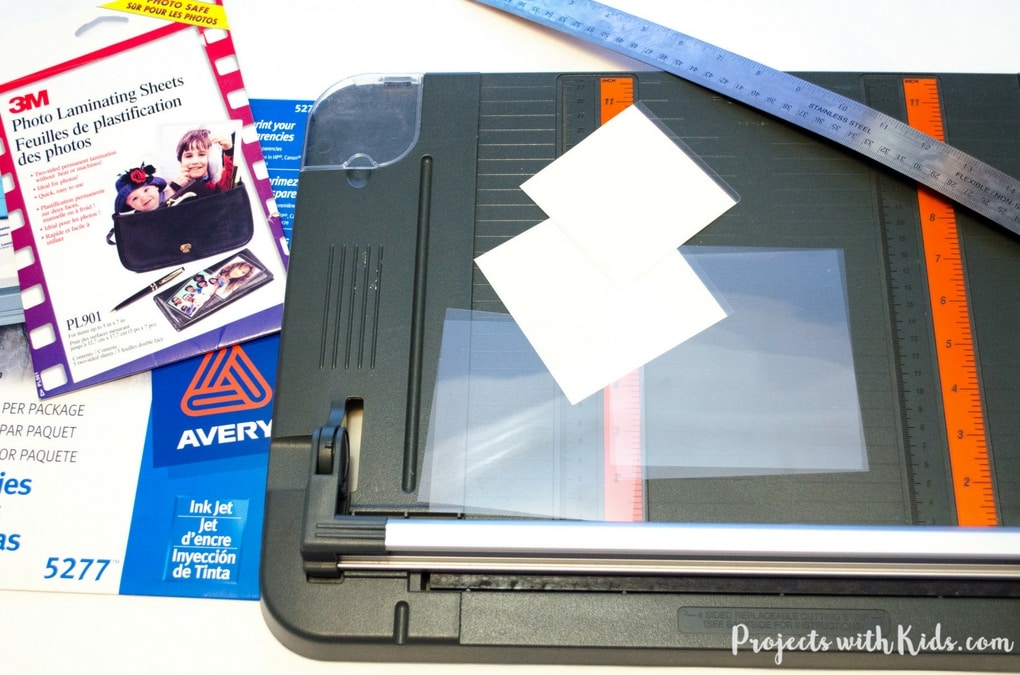
Next, it’s time to cut out your coaster squares
4. Once your flowers are pressed and you are ready to make your coasters, you need to start cutting out the squares. Each coaster will need two squares of the same size.
* We tried two different products and both turned out great! We used transparencies that are meant for printing on a home inkjet printer and photo laminating sheets that have one side already sticky.
5. Cut your squares to your desired size. We cut ours to 4×4 and 3×3. The photo laminating sheets will have one side with sticky tape, so leave the paper on until you are ready to place your flowers.
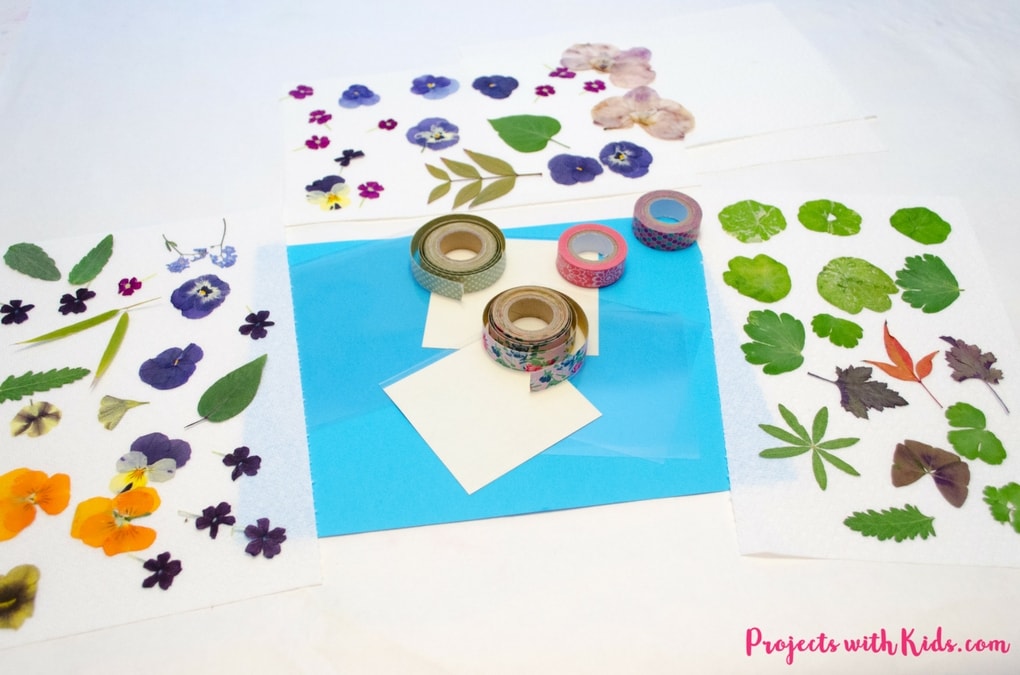
Arrange your flowers
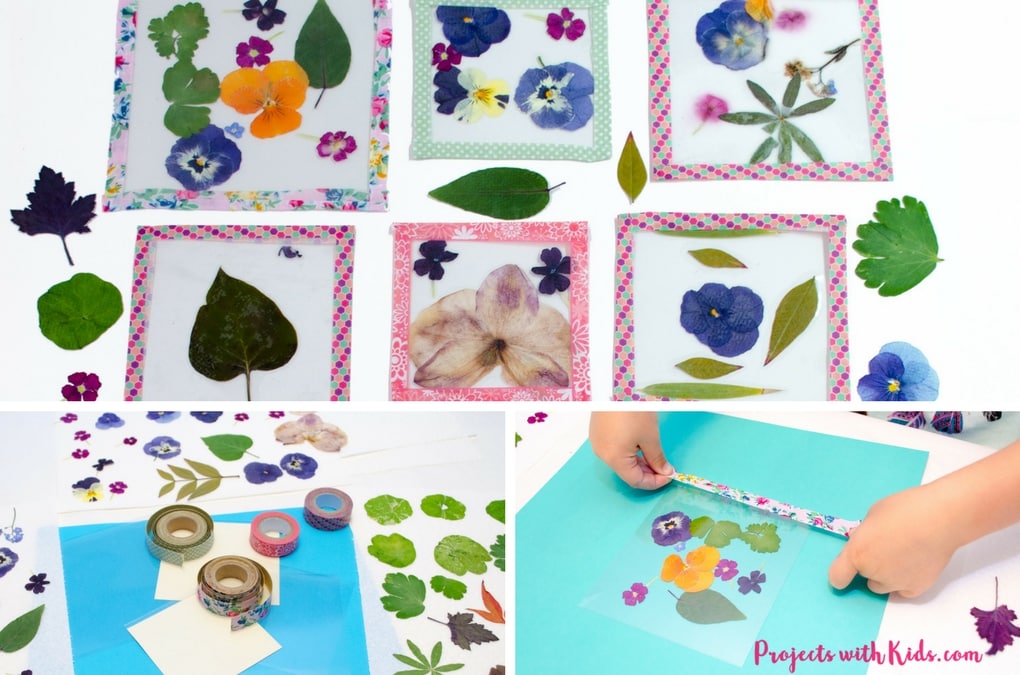
6. Lay out your flowers and leaves, your cut coasters, and your washi tape and glue.
If you are using the transparency sheets, then you will need to dab some glue onto the sheets first before placing your flowers, otherwise, the flowers will move around after you tape the coasters together. You don’t need a lot of glue, just small dabs.
7. Start gluing and arranging your flowers then put on the top sheet.
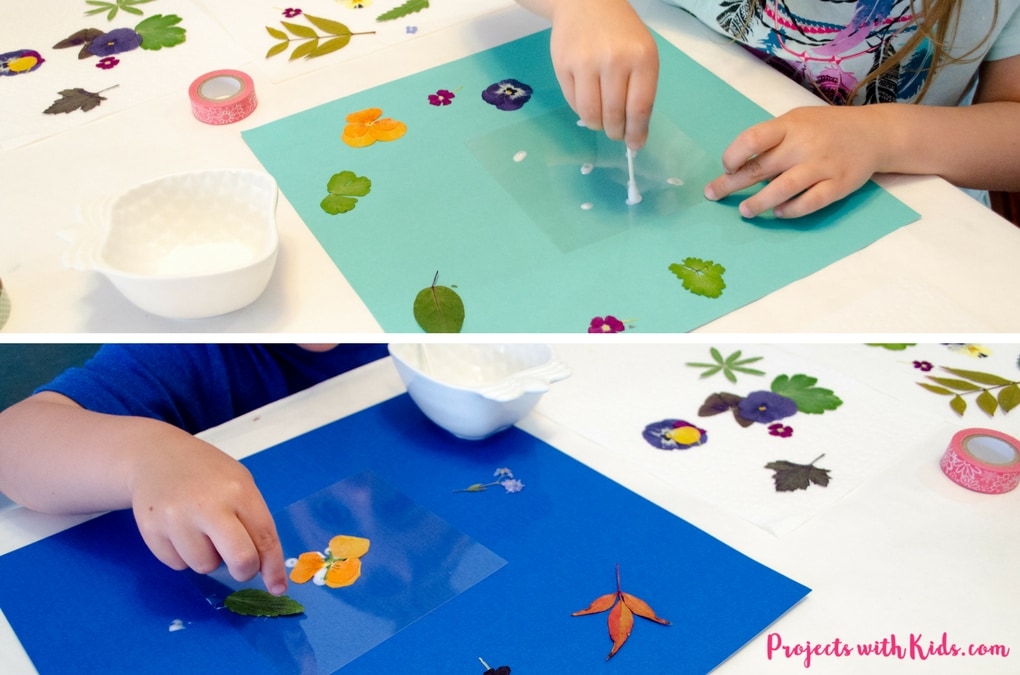
8. If you are using the photo laminating sheets, peel off the paper so that the bottom is sticky.
9. Very carefully place the flowers down, this can be a bit tricky because the flowers can easily stick down in the wrong spot. This was ok for my 7-year-old to do, but my 4-year-old needed some help.
10. Once the flowers are stuck down very carefully pull the top sheet of plastic down so everything sticks together.
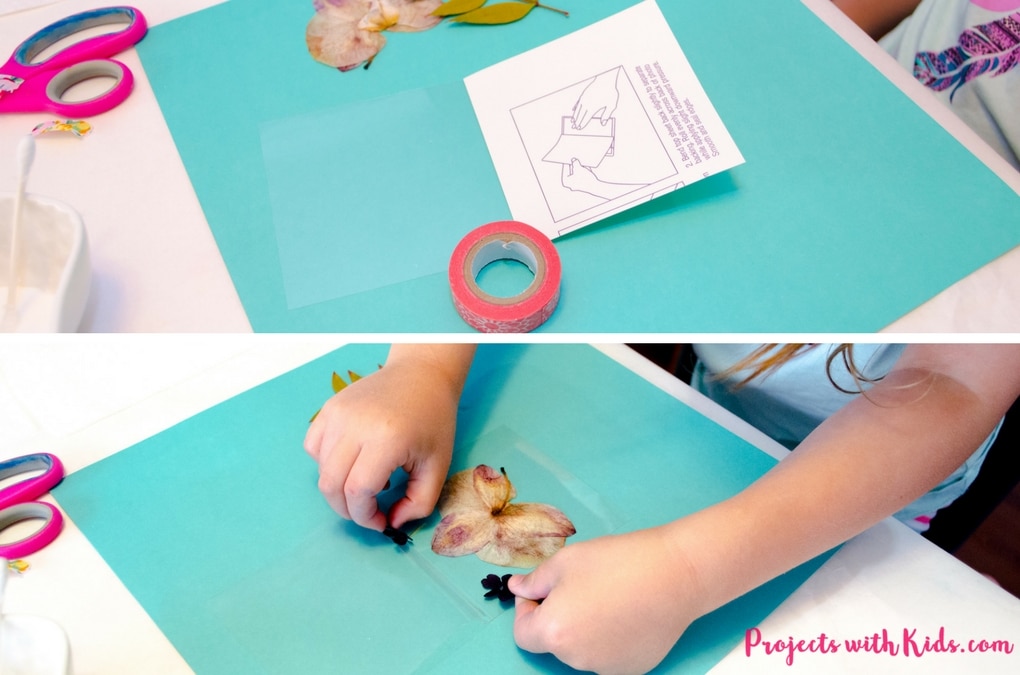
Finish up with washi tape
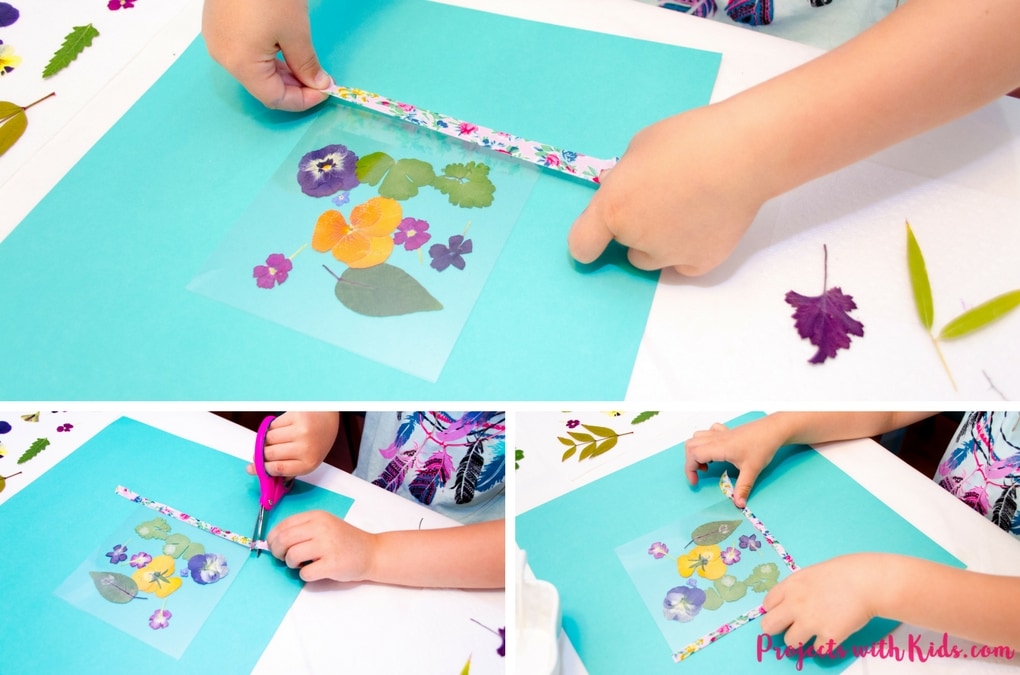
11. Once the flowers are glued or stuck down, it’s time to tape everything together with washi tape. Make sure to put half of the tape on one side, turn it over and fold over the other half. Have fun playing around with colors and patterns!
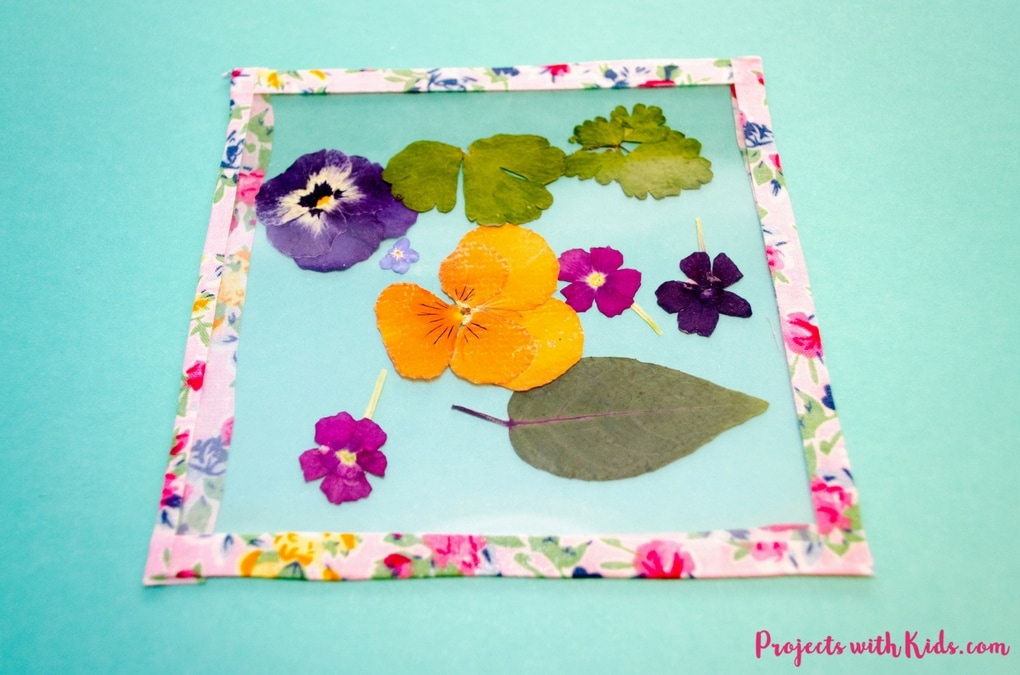
Here is a close up of one of our coasters
Our finished handmade coasters!
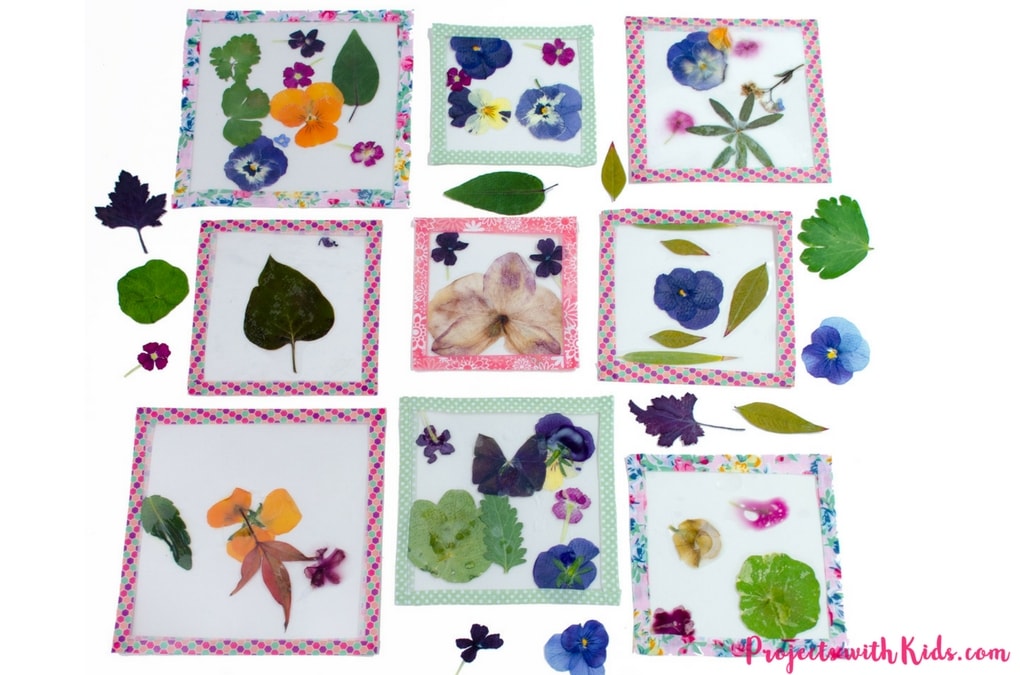
These handmade coasters are so fun to make! Anyone would love to receive these as gifts. The combination of the colorful flowers and different designs in the washi tape make them one of a kind!
Want more awesome handmade gift ideas? Take a look at these unique watercolor bookmarks that are super simple and fun to make! If you like working with clay, these clay jewelry dishes stamped with spices are just beautiful!
Pin this project for Later
