

Halloween is right around the corner so decorate with these fun easy Halloween painted rocks for kids! These painted rocks have colorful backgrounds with simple Halloween shapes that kids can draw themselves. You can put these rocks outside as decoration or inside your house as a festive touch.
Painting rocks is always a fun activity that kids love! If you are looking for more rock painting ideas check out my collection of creative rock painting for kids.

Using paint pens to color in the details and a dotting tool to paint the background dots also helps to make this craft easier for kids to make with minimal help.
For another fun fall rock painting idea, take a look at these leaf printed rocks using real leaves and gorgeous autumn colors!
Create your own easy Halloween painted rocks
This post contains affiliate links. As an Amazon Associate, I earn from qualifying purchases. If you would like more information please review my privacy & disclosure policy.
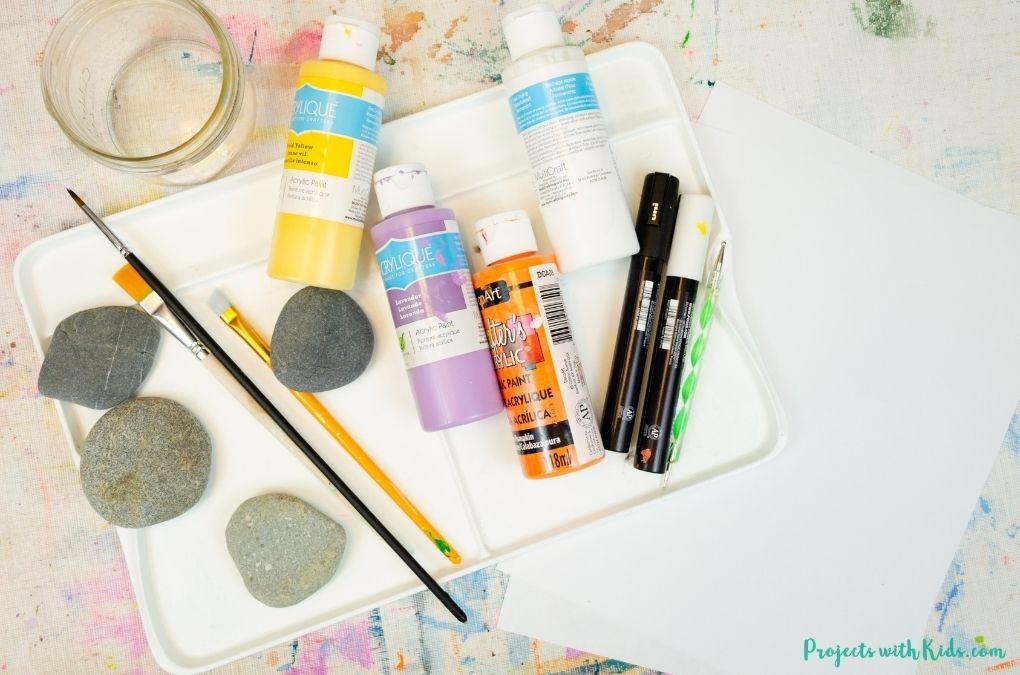
Supplies
- River rocks
- Acrylic paint in orange, purple, yellow, and white
- Paint pens in black and white
- Paintbrushes
- Dotting tool
- Paint palette and water dish
- Outdoor Mod Podge
Instructions for your Halloween craft
How to make a black cat painted Halloween rock
1. If you have collected your rocks outside, make sure to wash them with soap and water and let them dry. Paint your rock with two coats of purple acrylic paint and let it dry completely.
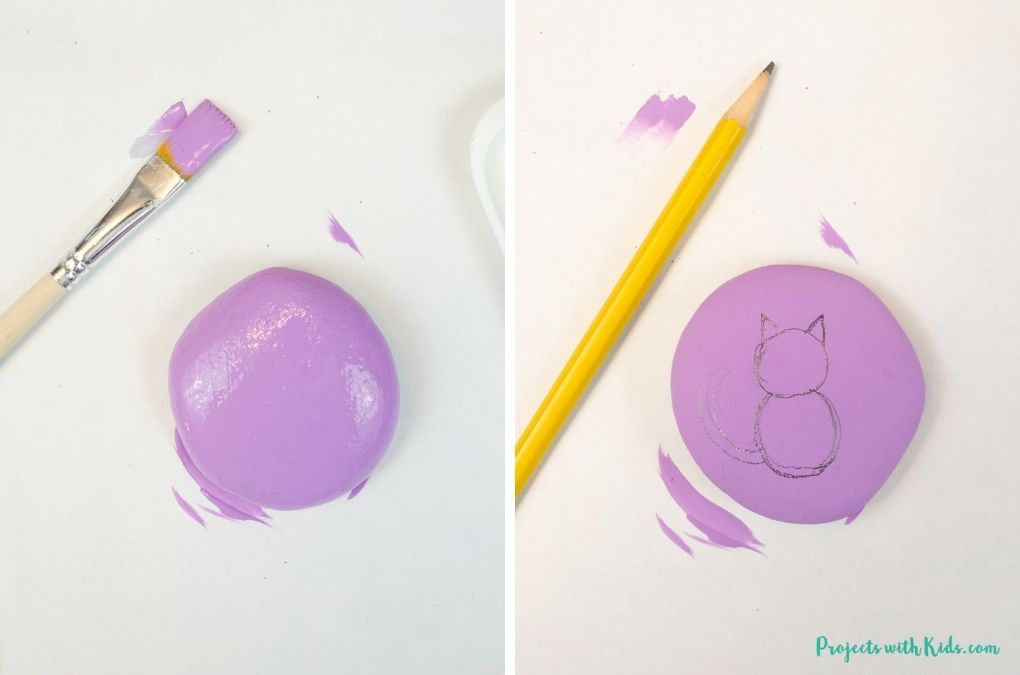
2. Using a pencil, lightly draw in the shape of a cat. This can be done using simple shapes. A circle for the head and an oval for the body. Then add two triangles for the ears and draw in a curved tail.
Remind kids to press lightly with the pencil. If you make a mistake you can erase your pencil marks.
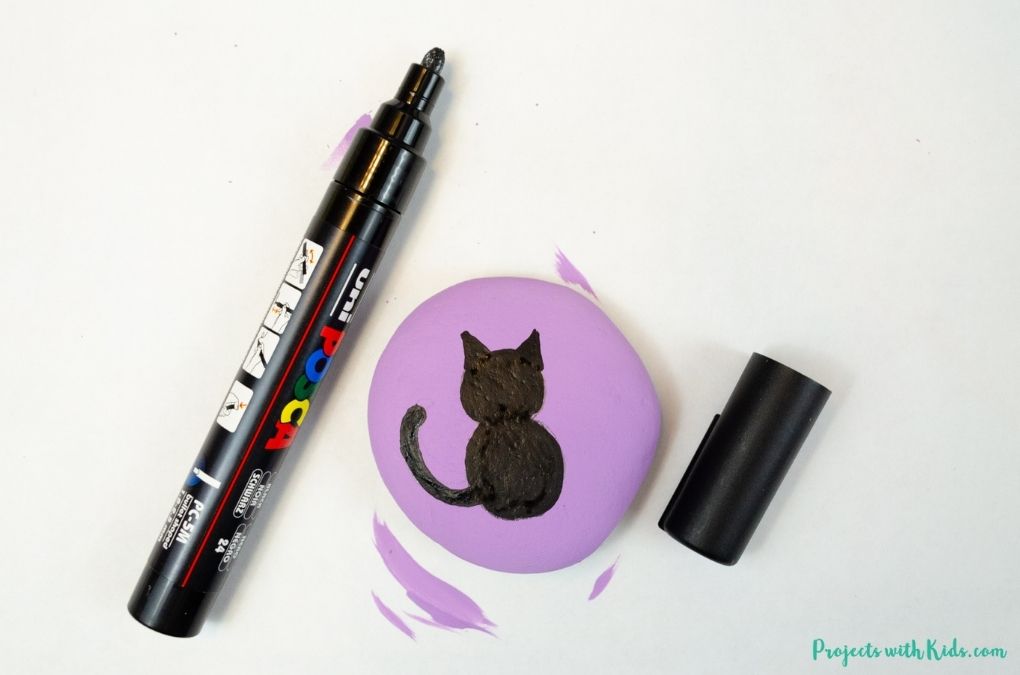
3. Use a medium-point black paint pen and color in the cat shape. If you need to color on two coats of black, make sure to let the first coat dry completely before adding the second coat.
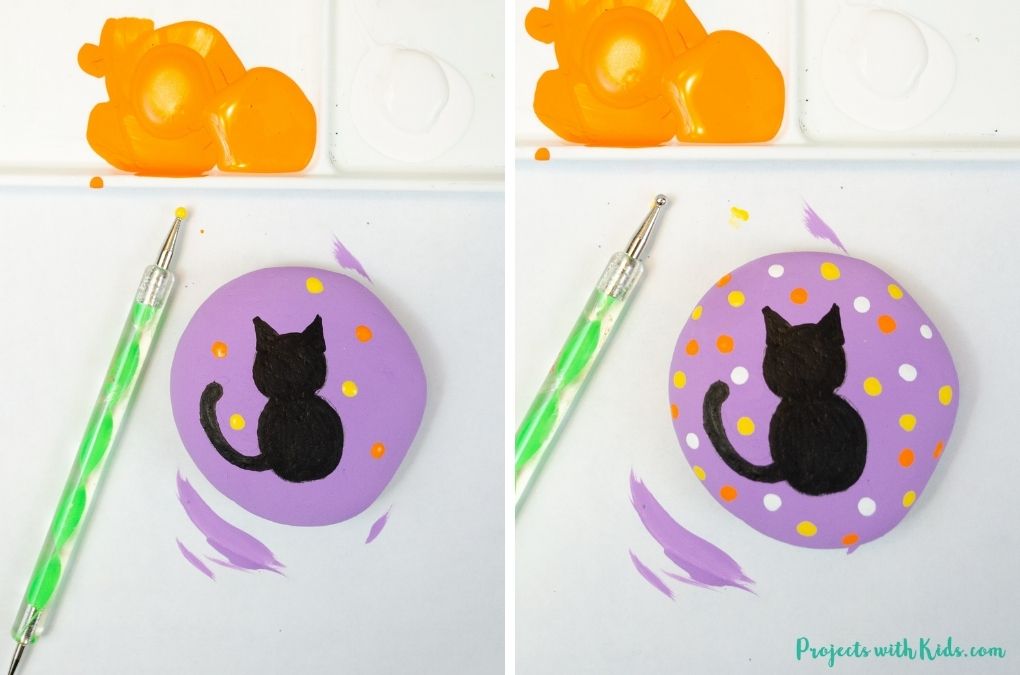
4. Put a small amount of orange, white, and yellow paint into a paint palette. Use a dotting tool to dot on a background design. Make sure to wipe off the dotting tool between colors with a paper towel.
If you don’t have a dotting tool, try using the end of a paintbrush.
5. Once your rock is completely dry, seal it with two coats of an outdoor sealer. I like to use Mod Podge, kids can paint this on themselves and you don’t have to worry about using any toxic sprays.
How to make a ghost painted Halloween rock
1. Paint a clean rock with at least two coats of orange acrylic paint. Let this dry completely.
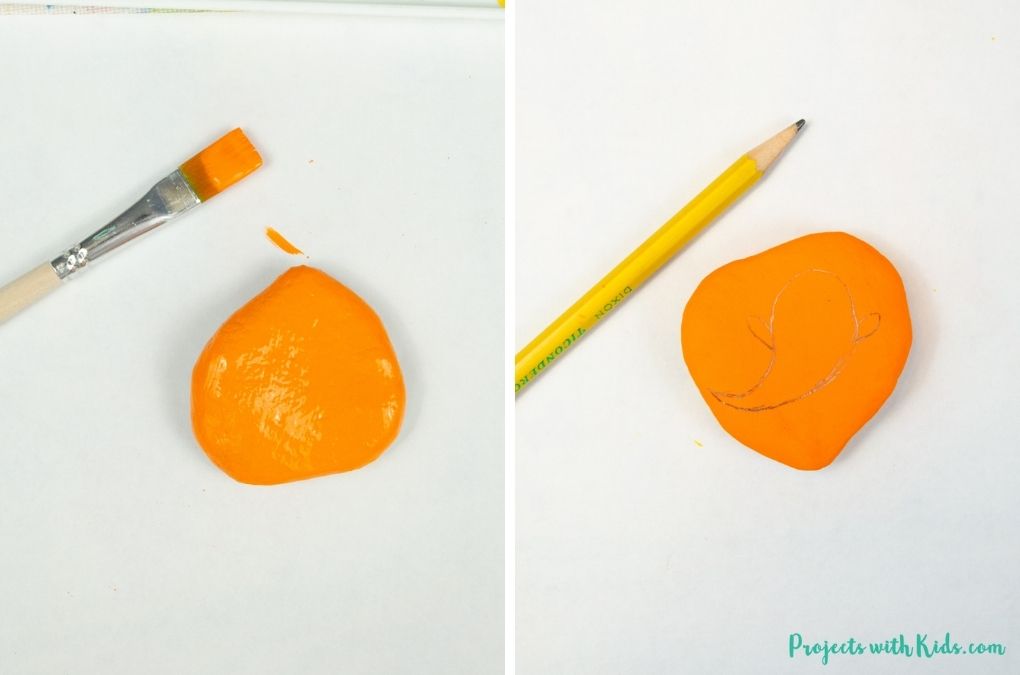
2. Use a pencil to lightly draw in a ghost shape. There are many different ways kids can draw a ghost! You can use my example above or kids can draw their own ghost shape.
Remember to press lightly with the pencil so you can erase if needed.
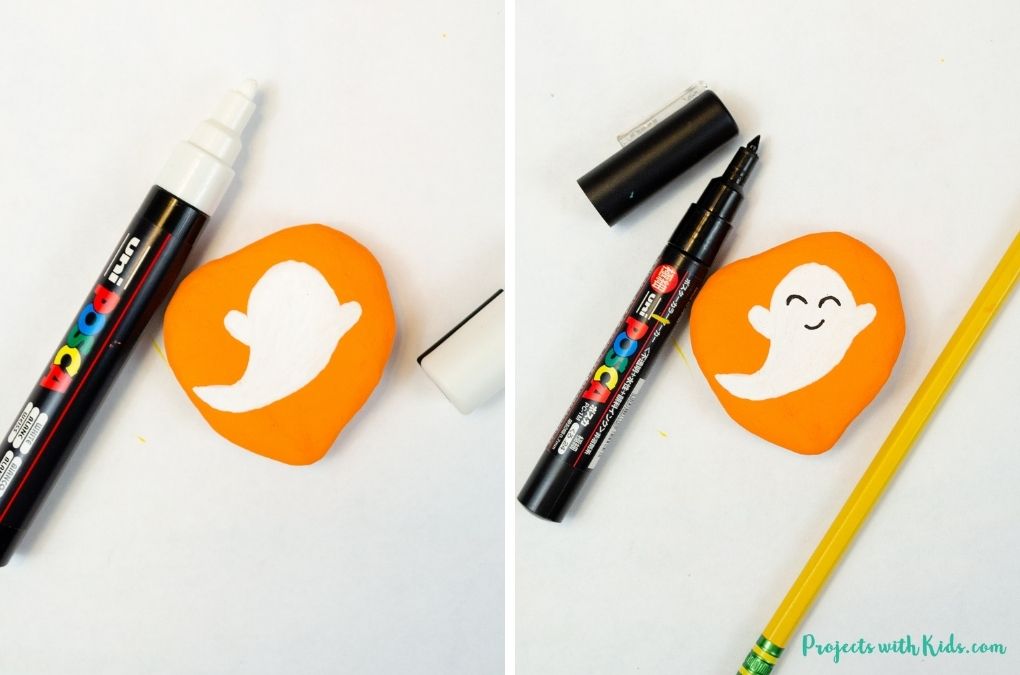
3. Use a white paint pen and color in your ghost drawing. Let it dry completely and then color in another coat. Let this dry completely.
4. Draw a face on the ghost lightly with a pencil. Use a fine point black paint pen and trace over the pencil lines for the face. Kids can draw on a cute ghost face or a scary ghost face.
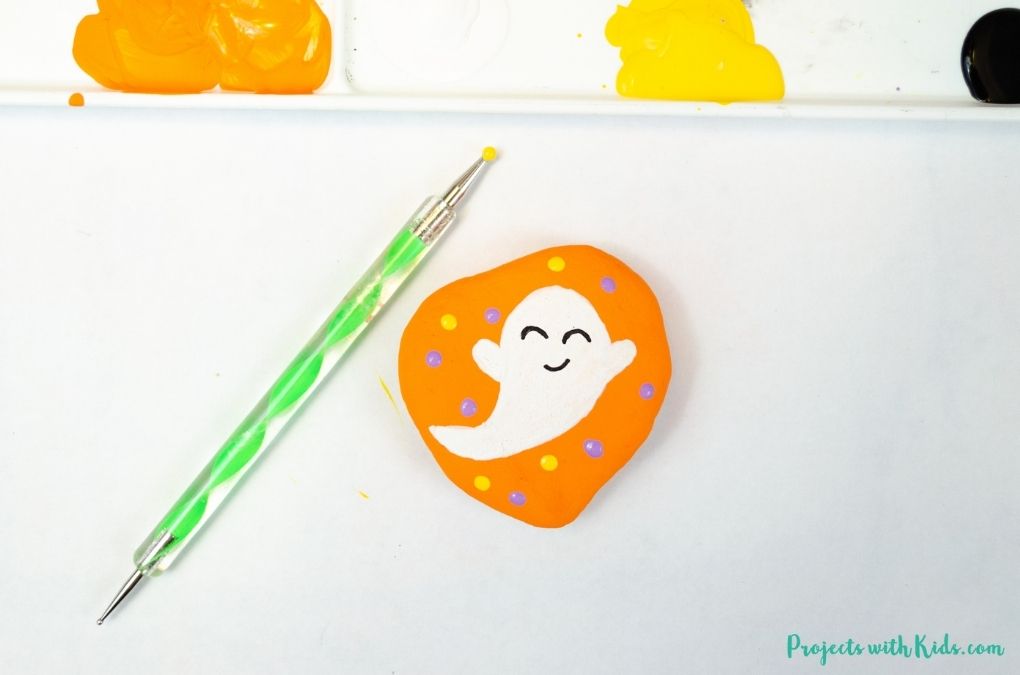
4. Use a dotting tool to dot on purple, yellow, and black paint for the background design. Make sure to wipe off your dotting tool with a paper towel between colors.
If you don’t have a dotting tool, try using the end of a paintbrush.
5. Once your rock is completely dry, paint on two coats of a sealer to protect it. If you will be placing your rocks outside, make sure that you use something that is for outdoor use. I like outdoor Mod Podge, kids can paint this on themselves.
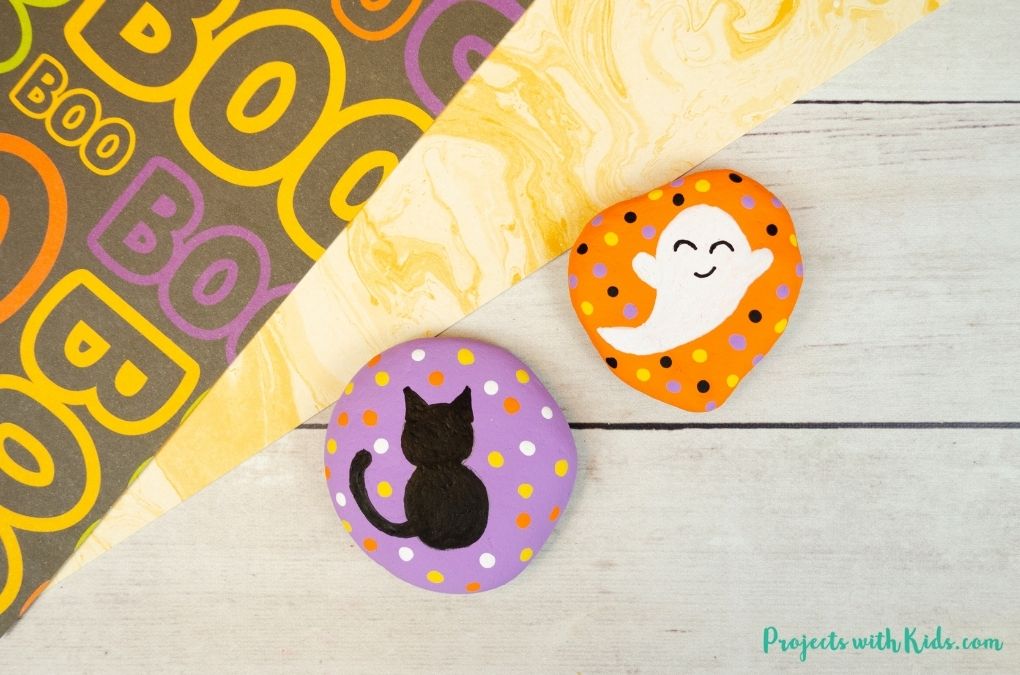
These Halloween painted rocks are just adorable and easy enough for kids to paint on their own!
More Halloween art projects kids will love
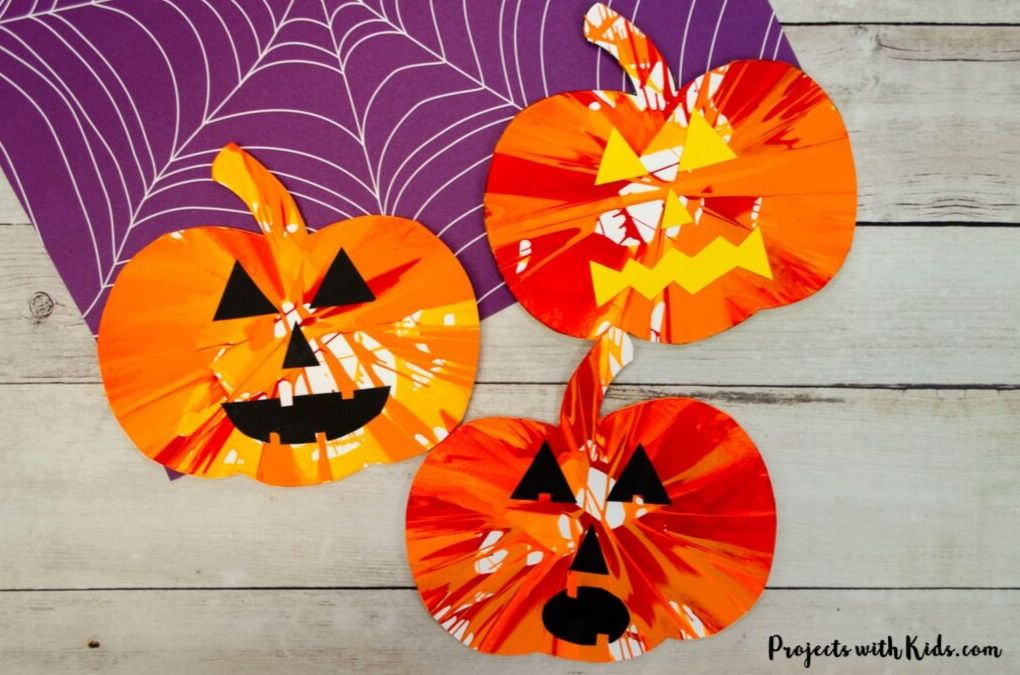
Pumpkin Spin Painting Halloween Art Project for Kids
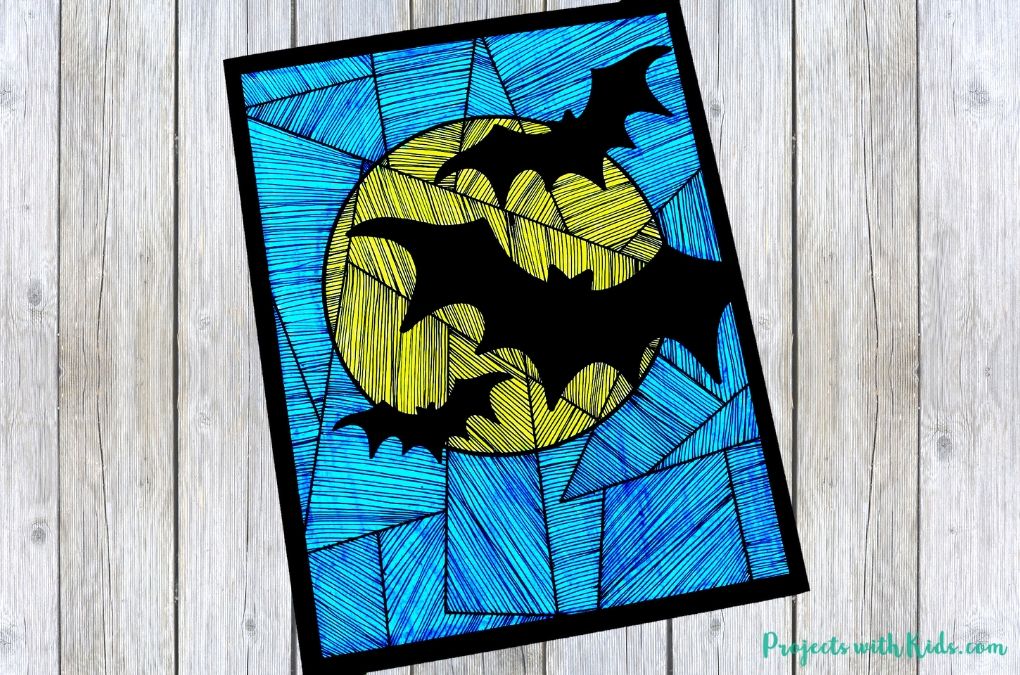
Easy Bat Art Project with Printable
Follow me on Pinterest for more amazing project ideas.
Pin this rock painting idea for later
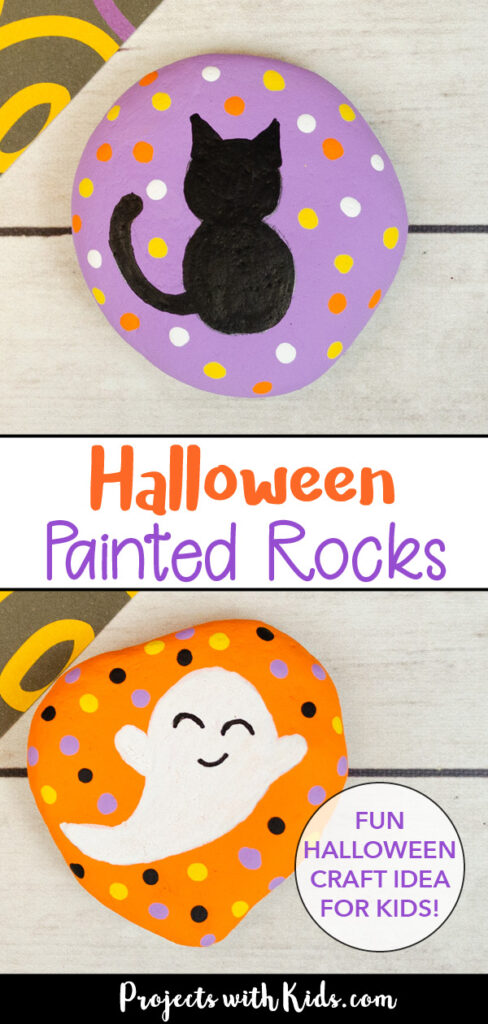
Easy Halloween Painted Rocks Kids Can Make

Make easy Halloween painted rocks with just a few supplies. Simple shapes and bright colors make this a fun Halloween craft kids will love to make!
Materials
- River rocks
- Acrylic paint in orange, purple, yellow, and white
- Paint pens in black and white
- Outdoor mod podge
Tools
- Paintbrushes
- Dotting tool
- Paint palette and water dish
Instructions
- First, make sure that your rocks are clean and dry.
- For the purple cat rock, paint on two coats of purple acrylic paint letting each coat dry in between.
- Use a pencil to lightly draw in the cat shape. Start with a small circle for the head, then draw an oval for the body. Draw two small triangles for the ears and a curly tail.
- Use a black paint pen to color in your cat shape. Let it dry completely and then color in a second coat if needed. I found that the cat didn't need a second coat, but the ghost did.
- Use a dotting tool to dot on the background design with yellow, orange, and white paint.
- Once your rock is completely dry, paint it with two coats of a sealer like Mod Podge to keep it protected. If you are going to be placing your rock outside, make sure to use an outdoor Mod Podge.
- For the orange ghost rock, paint on two coats of orange acrylic paint. Let each coat dry completely in between.
- Use a pencil to lightly draw in a ghost shape.
- Color in the ghost using a white paint pen. Let this dry and then color on another coat.
- Draw in a face on the ghost with a pencil and then use a black paint pen to trace over it.
- Use a dotting tool to dot on the background design with yellow, purple, and black paint.
- Once your rock is completely dry, paint it with two coats of a sealer like Mod Podge to keep it protected.


