

Use bold chalk pastels on black paper to create this magical snowy Christmas street lamp art project! Draw a lamp post with chalk pastels surrounded by light and snow with a festive Christmas wreath. Explore drawing, layering, and blending with chalk pastels.
Using white pastel on black paper really helps the snow to stand out. Kids will also try blending white, yellow, and shades of blue with chalk pastels to create a soft glowing lamp and sky.
Pastels are so fun for kids to explore! Take a look at my collection of chalk pastel art for more creative ideas kids will love.

Chalk pastels are the perfect medium for drawing cozy winter scenes with falling snow! For another creative idea take a look at this snowy winter cabin art project that kids can try.
Create your own street lamp art project
This post contains affiliate links. As an Amazon Associate, I earn from qualifying purchases. If you would like more information please review my privacy & disclosure policy.

Supplies
- Chalk pastels
- Black drawing paper (or construction paper)
- White or light grey colored pencils for drawing
- Paper towels
Tips for working with chalk pastels
Chalk pastels can be messy (but so fun!). There are a few things you can do to help keep some of the mess contained:
- Put newspaper down on desks or tables
- Put your project on a tray or a shallow cardboard box which will keep most of the mess inside the tray
- You can try doing your project outside
- Have lots of paper towels handy
- Once you are done with your project (or even halfway through if it gets really dusty), take it outside to gently blow or shake off the excess dust
- If you are using chalk pastels in the classroom and the kids are ready to take their artwork home, simply place the art between some newspaper to keep it from smudging and for easy transport.
Instructions for your lamppost chalk pastel art
1. Start by getting your paper ready. I used black drawing paper for this project (9 x 12 inch) but you can also try black construction paper. Construction paper will not look as bright with the chalk pastels, but will still look great.
Use a white or light grey colored pencil to draw your Christmas street lamp scene, this will help it show up better on the black paper.
Follow along with the photo below and start by drawing in the snowlines and the bottom part of the lamp-post.

Next, draw the middle part of the street lamp, and then the top part. Don’t forget the tiny circle at the very top of the lamp.
Finally, add the centre line of the lamp and a simple circle and bow for the wreath.
2. Get your chalk pastels ready for the light and sky. You will need white, a soft pale yellow, light blue, a medium bright blue, and a dark blue.
Start by coloring in the lamp with white pastel. Draw some white around the outside of the lamp as well making a circle shape. Take your yellow and continuing with the circle shape, draw around the white.

Use the lightest blue color to draw around the yellow pastel, again in the same circle shape.
As you draw and color around the lamp, be careful not to color inside any of the areas that will be black and to leave space around the wreath as well. Some color in these areas is fine, but try and leave them uncolored for the time being.
3. Take your medium bright blue and continue to color in the sky in a circular shape.

Before you start drawing with the dark blue color, start to blend your lamp and sky colors together a bit. Use your finger(s) to blend and have lots of paper towels handy so you can wipe them as needed to keep the colors from getting muddy.
Take your time blending the colors together and make sure that you don’t blend too much. You want to keep the colors separate for the most part and have them overlap just a bit.

4. Color in the sky a bit more with the dark blue color, overlapping the medium blue a little. You don’t want to color in the whole sky, it’s nice to leave some black along the edges. Remember to try and not color inside the lamp.
Once you are done drawing with the dark blue, you can blend that into the sky.
Make sure you are taking your picture outside to blow off any excess dust as needed.

5. Now is the time to take a step back and think about how you can add in some more color to the sky. Take your light blue, white, and yellow colors and think about layering them on to the sky in just a few areas.
You can see how I did this in the photo below. Add in the medium and dark blues if necessary.
Keep this part unblended or just blend a little bit so you you can see the pastel lines. This will add some nice depth and texture to your artwork.

6. For the wreath you will need a light and dark shade of green and red. Draw in small lines going all the way around the wreath with the light green shade first. You can go right over the top and bottom the lamppost, but try and avoid the bow area.
Do the same with the darker green color but make sure to leave lots of light green showing through. If you need to you can layer the light green on top to add in more highlights.
Use the red chalk pastel to dot on the berries and color in the bow.

Carefully, color in the street lamp with black pastel. Black pastels can be very smudgy, so go slow and take your time for this part. This really makes the lamp-post and wreath pop!
7. Use a white pastel to color in the snow at the bottom. Take your light blue and pale yellow and add just a few highlights to give the snow some depth and more texture.
Carefully blend the highlights into the snow.

Finally, use your white pastel to dot on falling snow. You can carefully draw in a couple of highlights on the side of the lamppost towards the bottom like in the example photos.

This street lamp art project is such a great Christmas art activity that kids will love to create and display!
For more details on chalk pastel techniques for kids, take a look at these 5 essential chalk pastel techniques for kids to try.
More chalk pastel art projects kids will love
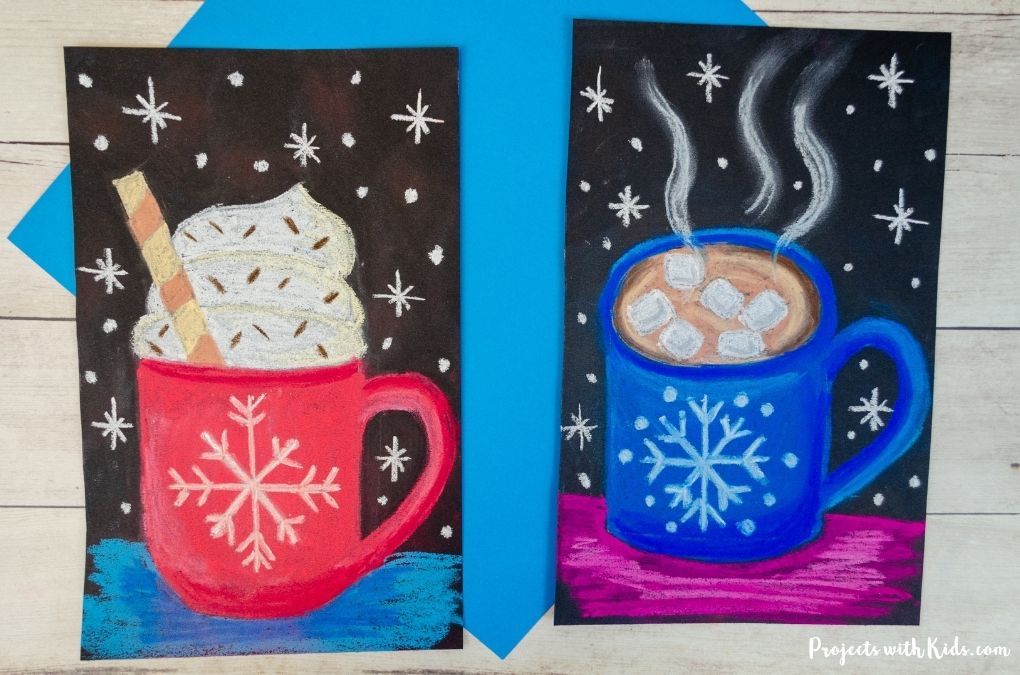
Hot Chocolate Chalk Pastel Art
Chalk Pastel Winter Tree Art Project

Follow me on Pinterest for more creative project ideas!
Pin this chalk pastel art project for later

Chalk Pastel Christmas Street Lamp Art Project

Use bright chalk pastels on black paper to create this magical snowy Christmas street lamp art project! Explore drawing, layering, and blending with chalk pastels.
Materials
- Chalk pastels
- Black drawing paper (or construction paper)
- White or light grey colored pencils for drawing
- Paper towels
Instructions
1. Draw your scene:
• Use black drawing paper (9 x 12 inches).
• Sketch the scene with a white or light-grey colored pencil.
• Start with snowlines and the bottom of the lamp post.
• Add the middle and top of the lamp, including the small circle at the top.
• Draw the lamp's center line, then add a wreath with a simple circle and bow.
2. Add light and sky colors:
• Use white, pale yellow, light blue, medium blue, and dark blue chalk pastels.
• Color inside the lamp where the light would be with white pastel, extending outward in a circle.
• Add layers around the white: pale yellow, light blue, and medium blue.
• Take care not to color in the street lamp or wreath area.
3. Blend and expand the sky:
• Add medium blue to the sky, blending lightly with your fingers.
• Add dark blue, blending it with the medium blue but leaving some of the black paper visible around the edges.
4. Add sky details:
• Use white, yellow, and light blue for extra highlights and texture in the sky.
• Keep this unblended or lightly blended for a textured look.
5. Color the wreath and lamp post:
• Use light and dark green for the wreath, layering small lines.
• Add red for berries and the bow.
• Use a black pastel to carefully color in the lamp-post to avoid smudging.
6. Add snow details:
• Use white pastel for snow at the bottom. Add light blue and pale yellow highlights.
• Blend highlights gently for texture.
• Add falling snow with white pastel dots and a few highlights on the lamppost.


