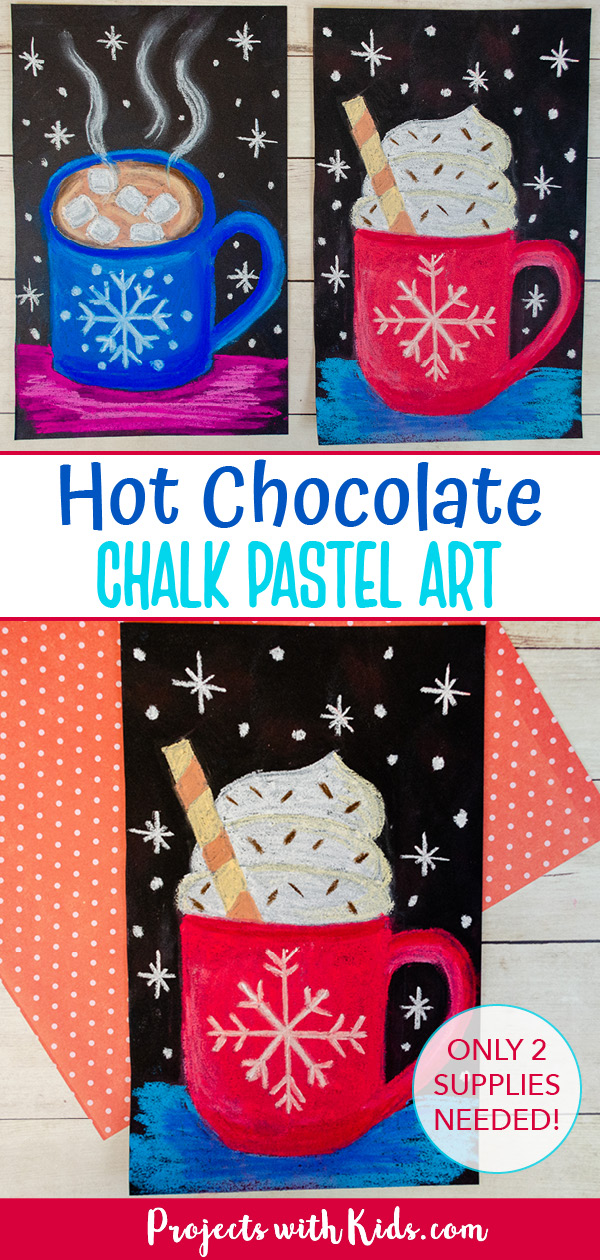
This hot chocolate art project is the perfect winter art activity for kids! Use brightly colored chalk pastels on black paper and easy pastel techniques.
Pastels are so fun for kids to explore! Take a look at my collection of chalk pastel art for more creative ideas kids will love.
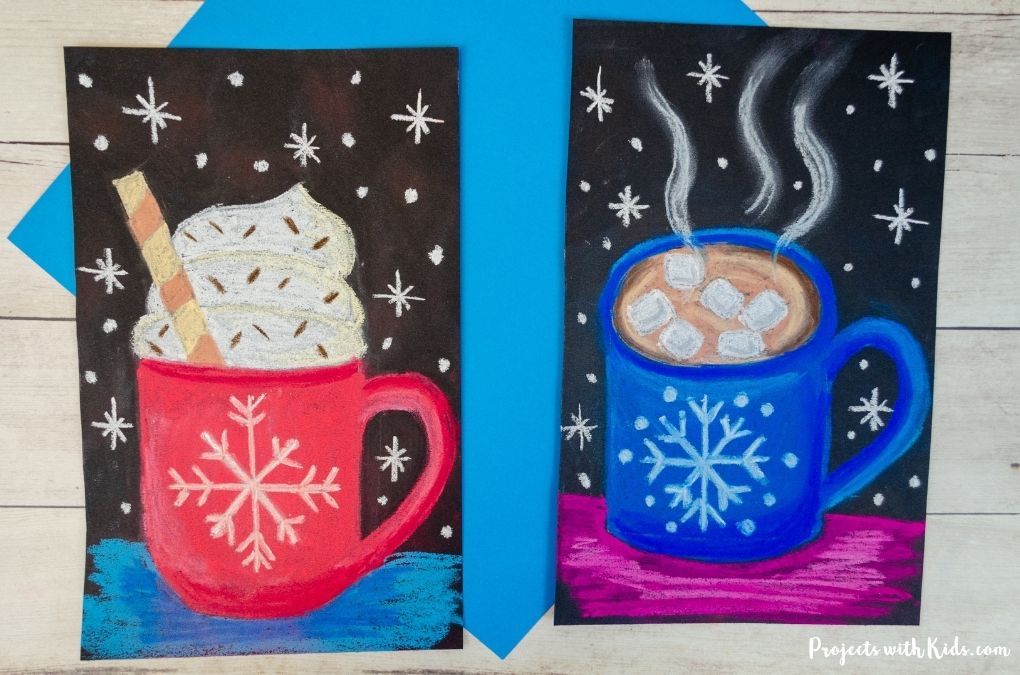
This is a great art project for older kids and tweens. They can customize their hot chocolate by adding in marshmallows, whipping cream, a cookie straw, and sprinkles! Each hot chocolate art project will be unique.
Tips for working with chalk pastels
Chalk pastels can be messy (but so fun!). There are a few things you can do to help keep some of the mess contained:
- Put newspaper down on desks or tables
- Put your project on a tray or a shallow cardboard box which will keep most of the mess inside the tray
- You can try doing your project outside
- Have lots of paper towels handy
- Once you are done with your project (or even halfway through if it gets really dusty), take it outside to gently blow or shake off the excess dust
- If you are using chalk pastels in the classroom and the kids are ready to take their artwork home, simply place the art between some newspaper to keep it from smudging and for easy transport.
Create your own hot chocolate art project
This post contains affiliate links. As an Amazon Associate, I earn from qualifying purchases. If you would like more information please review my privacy & disclosure policy.
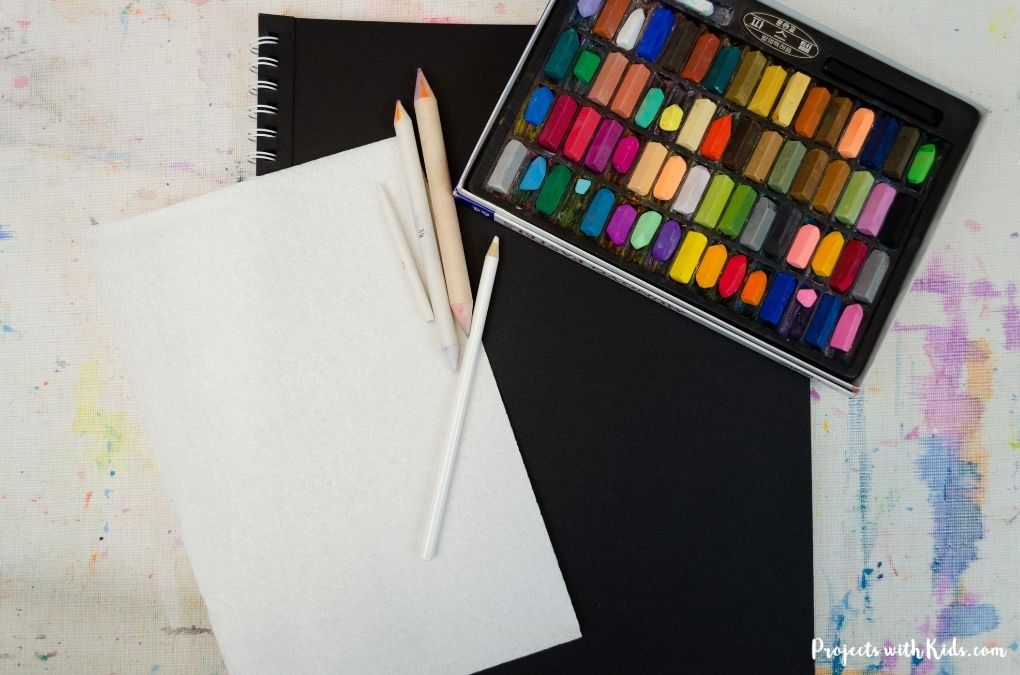
Supplies
- Chalk pastels
- Black drawing or pastel paper
- Paper towels
- Blending stick (optional)
- White pencil crayon
Instructions for your winter art project
You will need black paper and a white pencil crayon (or white chalk) to get started. I like using black drawing paper for chalk pastels, it’s cheaper than pastel paper and it works great!
Make the blue hot chocolate mug
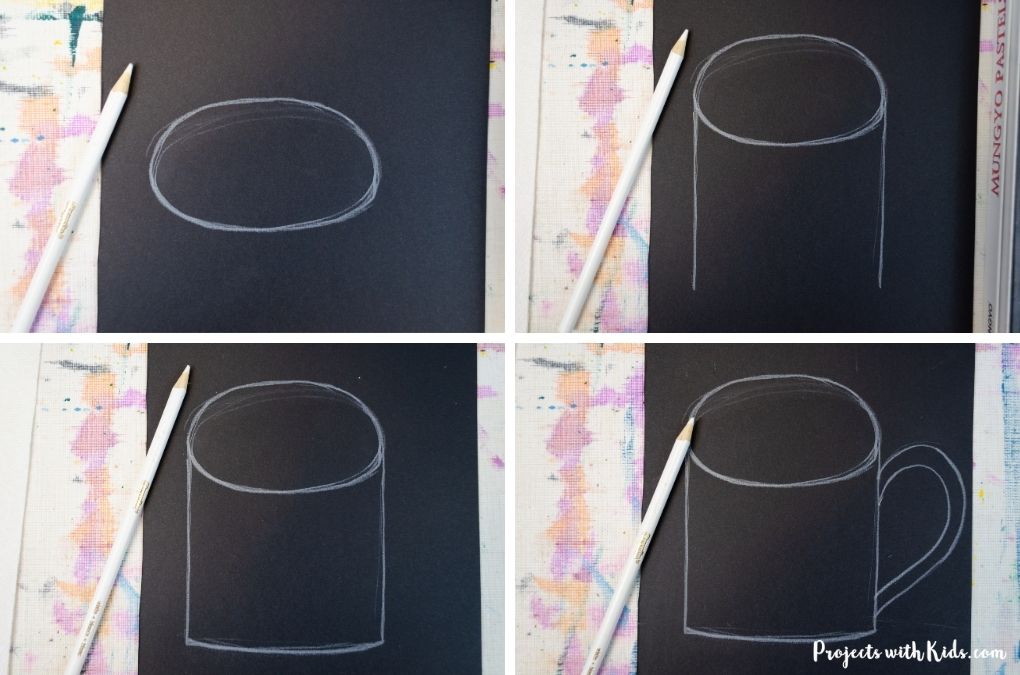
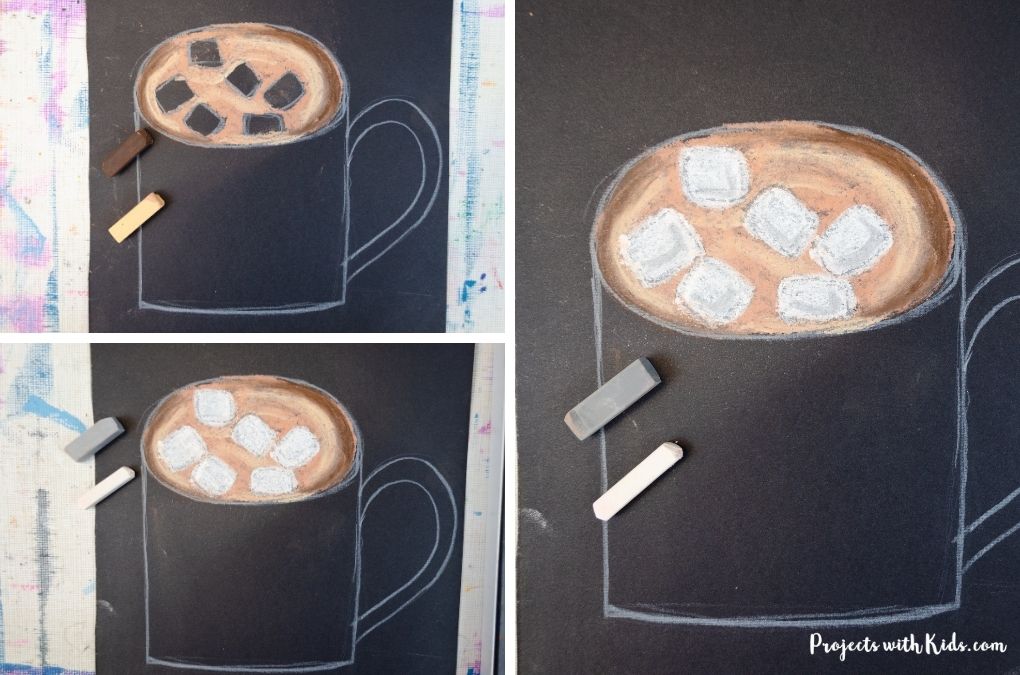
1. Follow the drawing tutorial to draw out the mug using a white pencil crayon or white pastel. Remind kids to press lightly so they can erase their drawing if they need to make any adjustments.
2. Draw in the marshmallows. Choose a medium brown for the hot chocolate and then a dark brown and light cream for shading and highlights. Start by coloring in the hot chocolate with the medium brown pastel.
Use the light cream color to add in some highlights. You can leave this color as is, or gently blend it in a bit with your finger or blending stick.
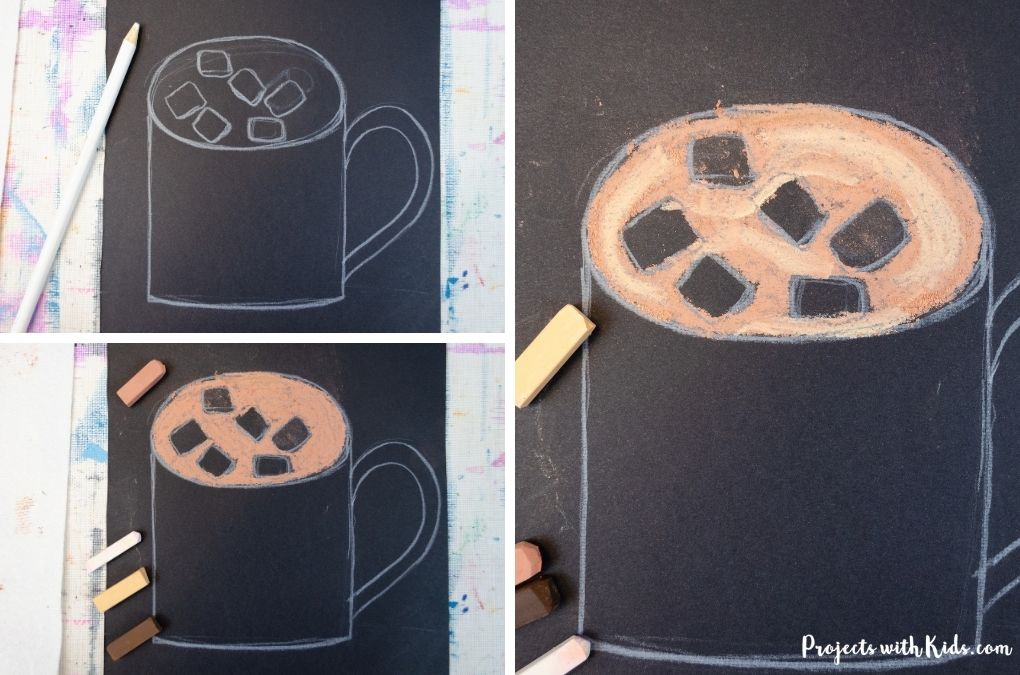
Add in some darker areas around the outside of the mug. You can blend this lightly or leave it unblended.
3. Use white pastel to color in the marshmallows. Kids can choose to shade the marshmallows with a light grey color or just leave them white.
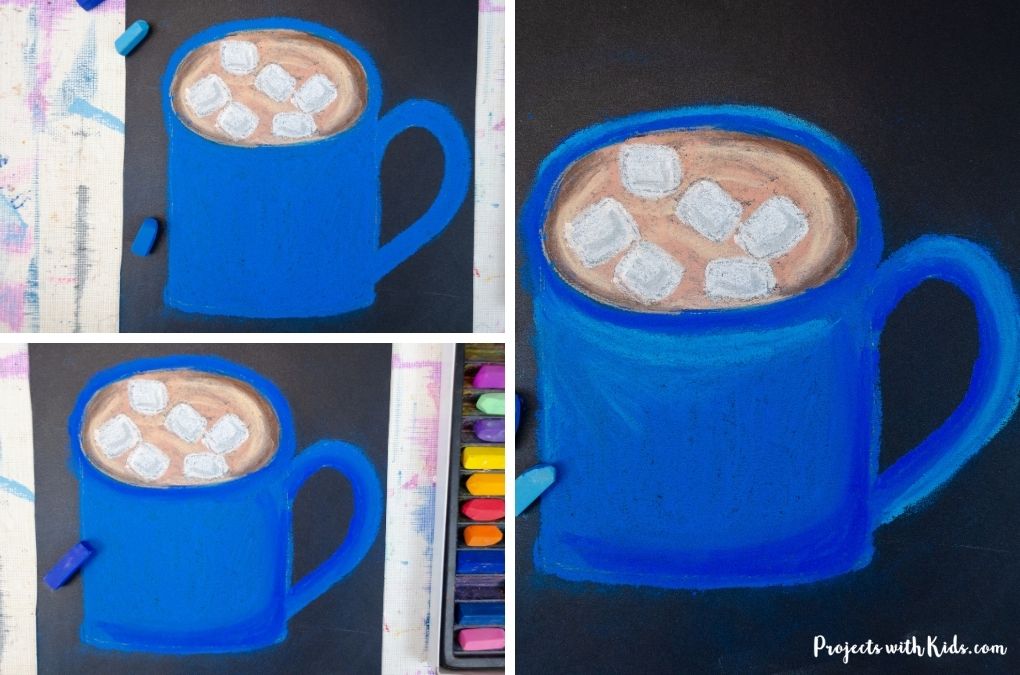
4. Color in the mug with a bright blue pastel. Use a darker blue and lighter blue to create shading and highlights like in the photo below.
Adding in shading can be something that kids play around with, it doesn’t have to be perfect. Kids can also choose not to add any shading or highlights.
5. Use a white chalk pastel to add in a snowflake design on the front of the cup, kids can also choose to draw in their own design.
6. Use white pastel to draw in the steam, and then lightly smudge it in an upward motion.
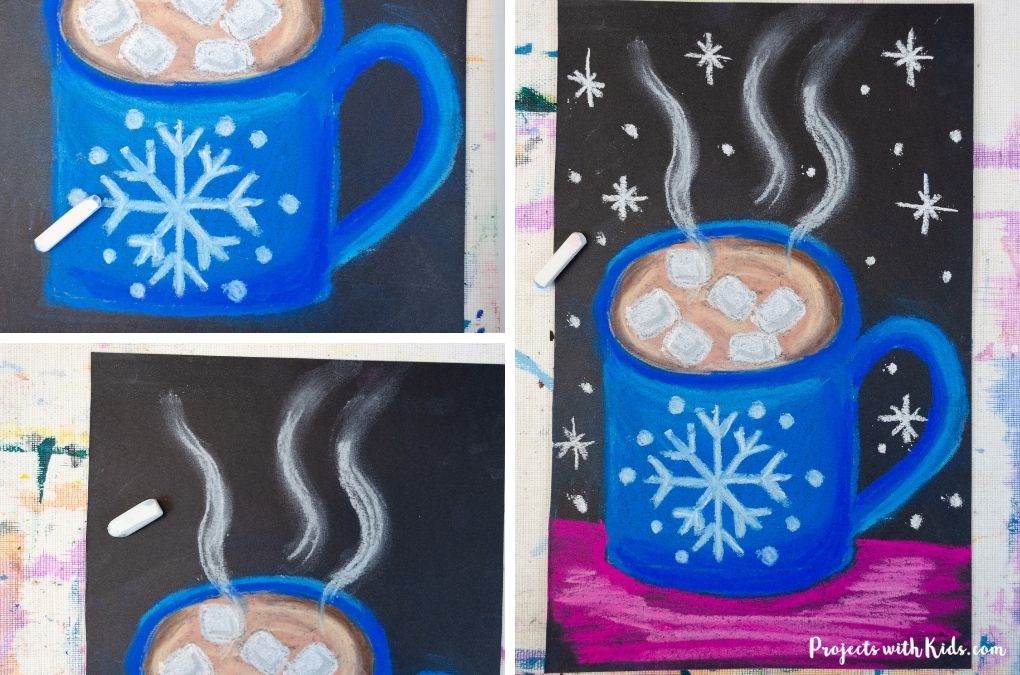
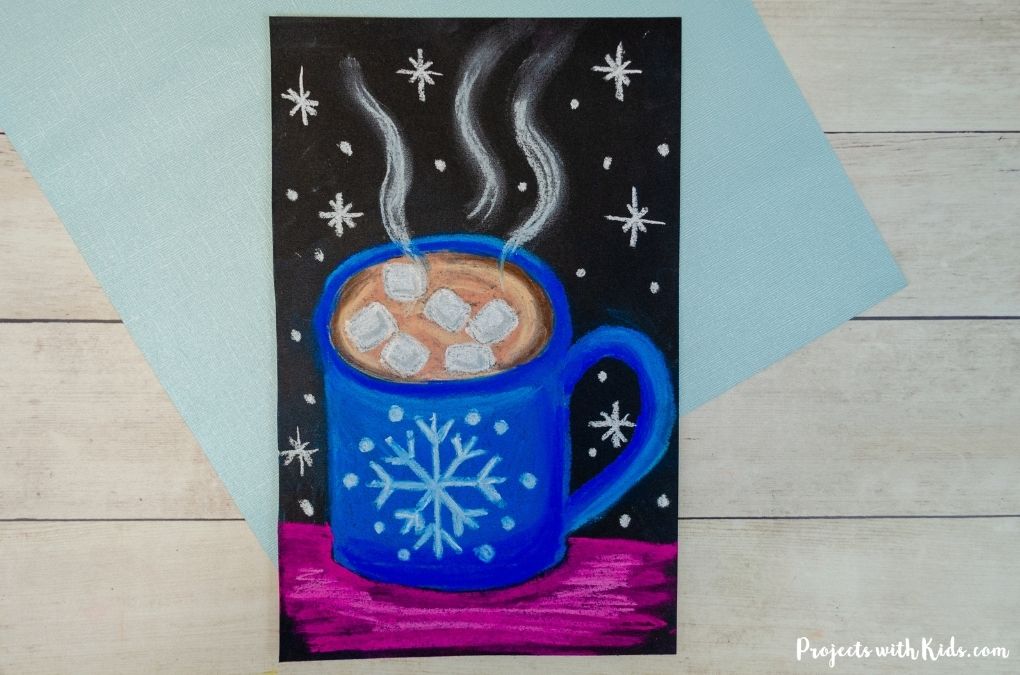
7. Finally draw in snowflakes in the background and add a pop of color at the bottom of the mug.
For more details on different pastel techniques that kids can try, take a look at these 5 essential chalk pastel techniques for beginners.
Make the red hot chocolate mug
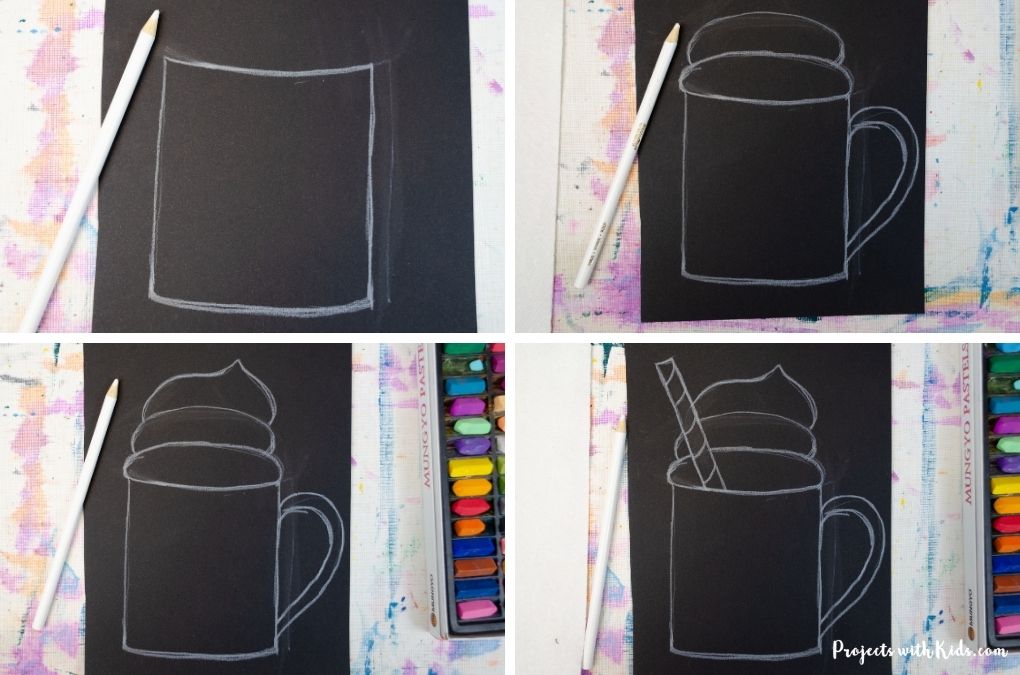
1. Follow the drawing tutorial to draw out the mug, whipping cream, and cookie straw using a white pencil crayon or white pastel. Remind kids to press lightly so they can erase their drawing if they need to make any adjustments.
2. Start by coloring the whipping cream white. Use a cream color to outline the whipping cream and add in some shading like in the photo below.
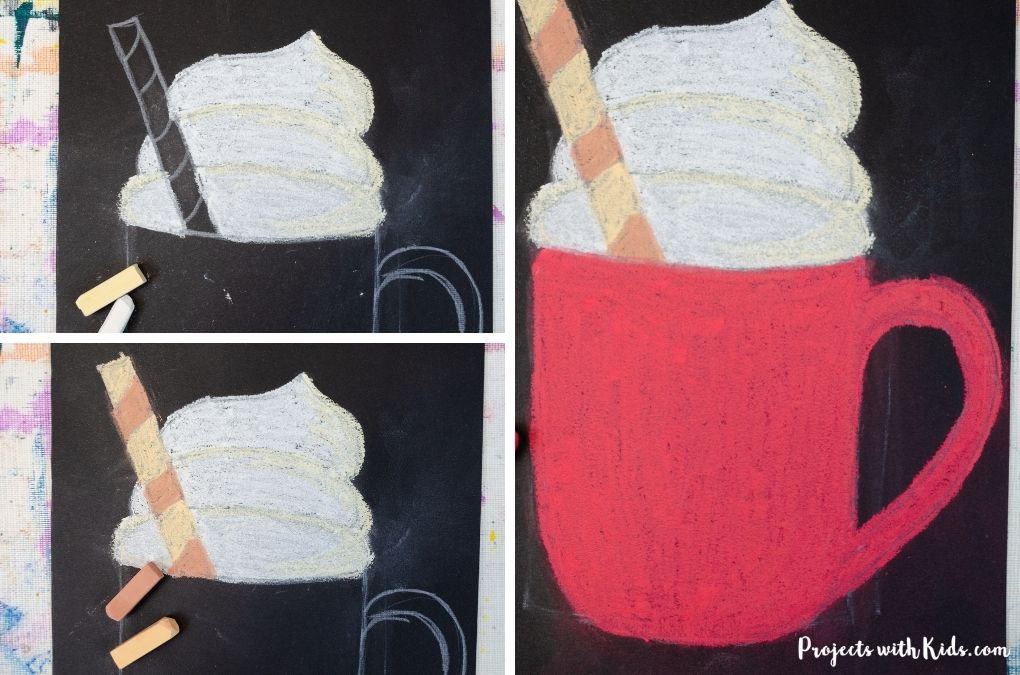
3. Choose two colors for the cookie straw and color it in. I used a light brown and tan color for the straw.
4. Color in the mug with a bright red pastel color. Use a darker red to add in some shading around the outer edge of the mug. You can lightly blend the darker color in or leave it unblended.
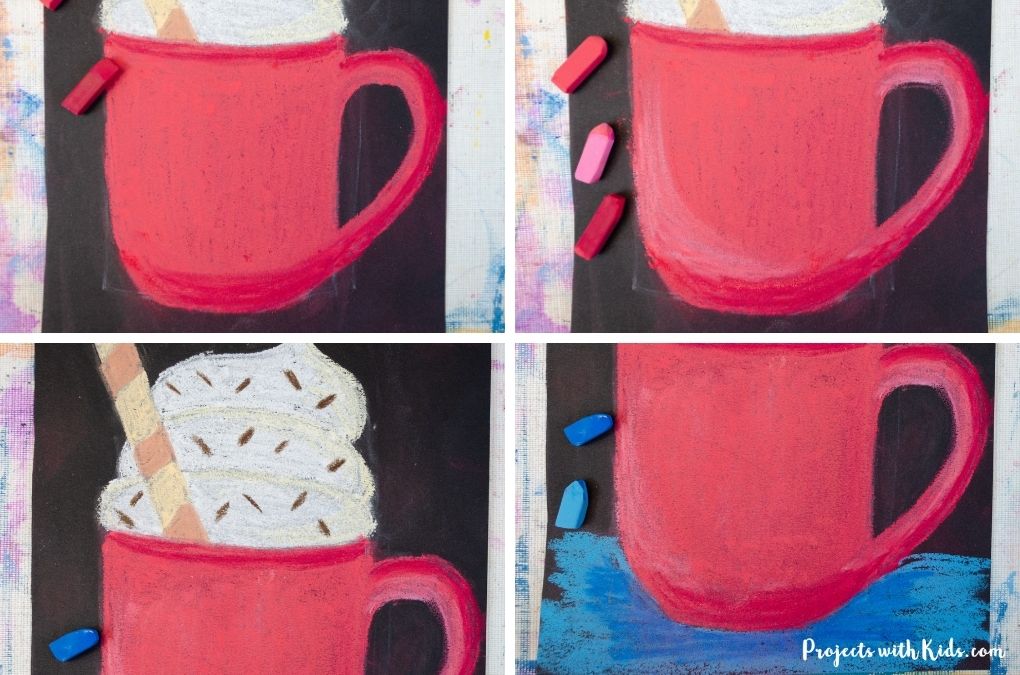
Use a light pink color to draw in some highlights around the handle and bottom of the cup.
5. Use brown pastel to draw in some sprinkles. Or draw in some colorful sprinkles!
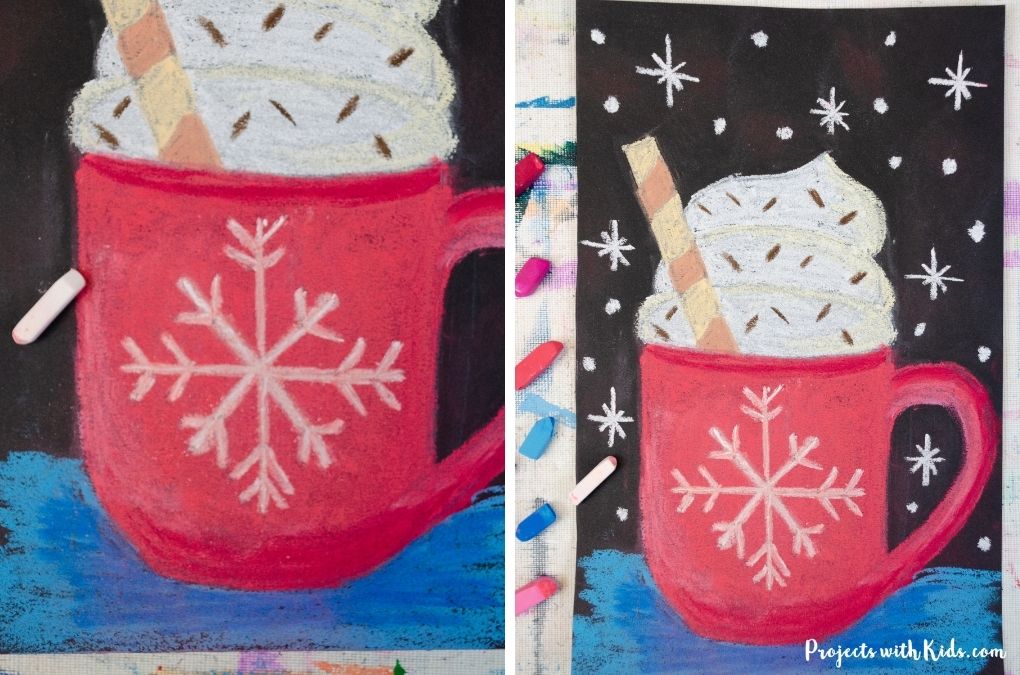
6. Use a white chalk pastel to draw in a snowflake design on the front of the mug. Kids can also choose to draw in any design they like.
7. Finally, add in the background snowflakes and choose a bright blue and light blue to color around the bottom of the paper.
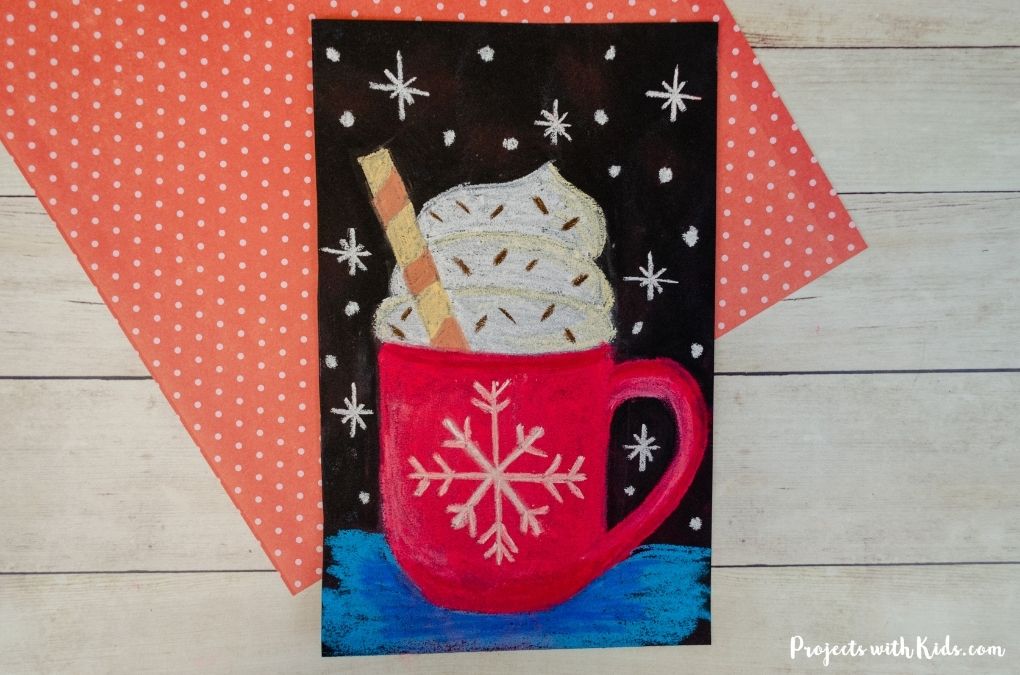
This hot chocolate art project is so fun and has a lot of ways kids can make their mug of hot chocolate unique! Using chalk pastels on black paper really makes the colors pop.
More winter art kids will love
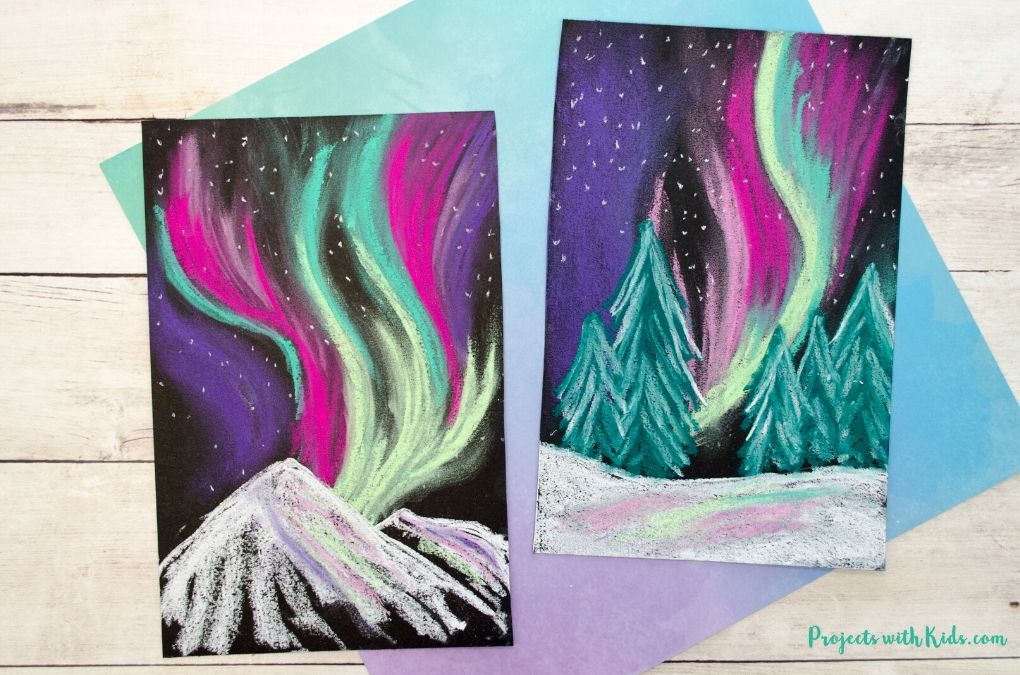
Create Stunning Northern Lights Chalk Pastel Art
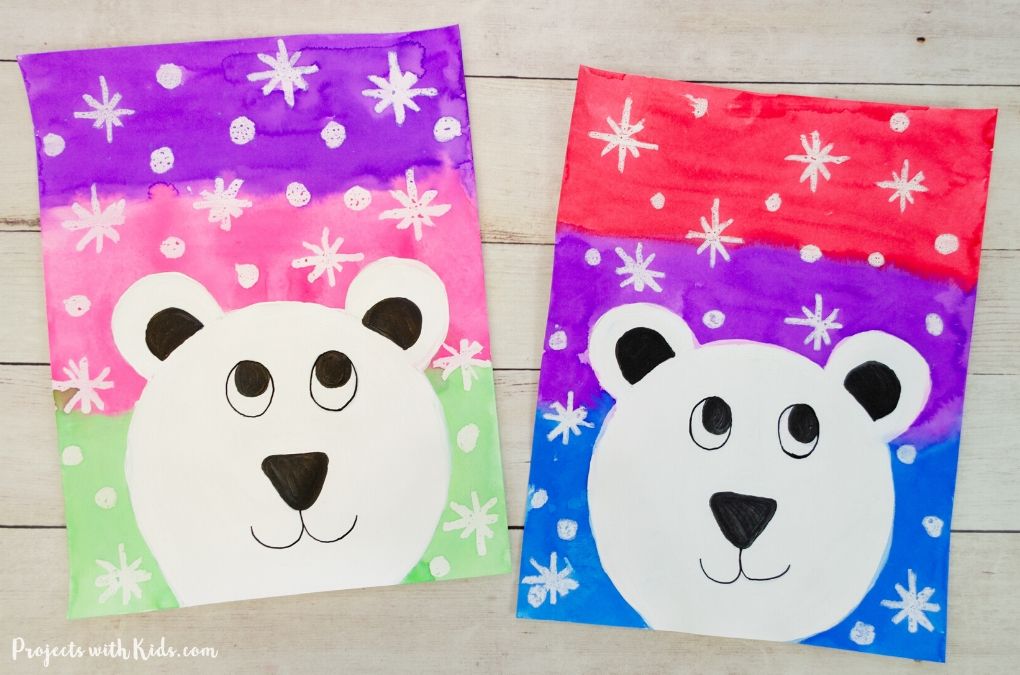
The Cutest Polar Bear Winter Painting for Kids to Make
Follow me on Pinterest for more amazing project ideas.
Pin this art project for later
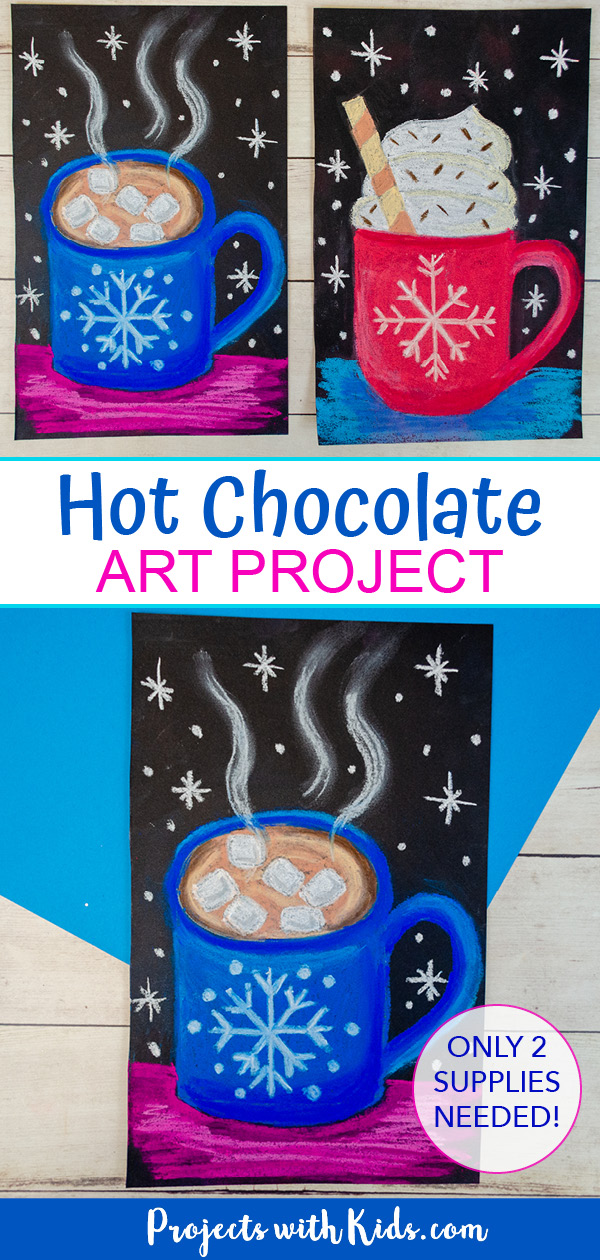
Chalk Pastel Hot Chocolate Art Project
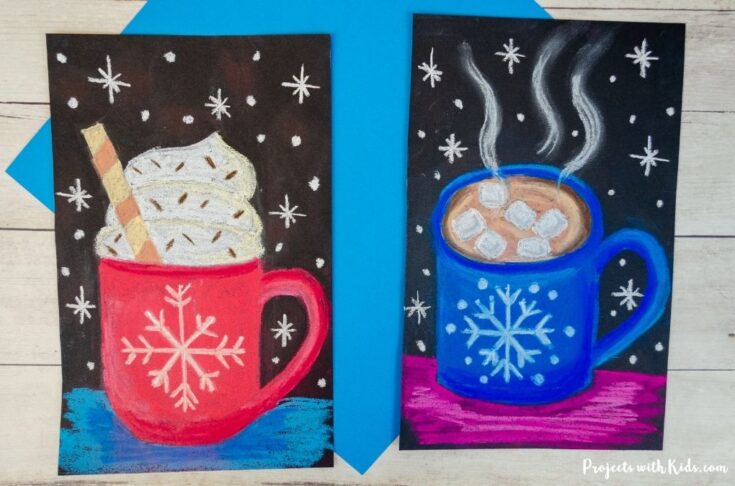
Kids will use chalk pastels and black paper to create this bold and bright hot chocolate art project!
Materials
- Chalk pastels
- Black drawing or pastel paper
- White pencil crayon (optional)
- Paper towels
Tools
- Blending stick (optional)
Instructions
- Use a white pencil crayon or white pastel to draw out your mug. Look at the photos above for the steps.
- For the mug with marshmallows, choose a medium brown color and color in the hot chocolate.
Use dark brown and light brown colors to add shading and highlights. Younger kids might choose not to do this and that's fine. - Color in the marshmallows with white pastel and kids can choose to draw in some shading with a light grey color.
- Choose a bright blue and color in the mug. Take a dark blue pastel and draw shading around the edges, like in the photo above. Use a lighter blue to add in some highlights around the handle and edges of the cup.
- Draw in a snowflake design on the front of the mug with white pastel.
- Use white pastel to draw in the steam and then lightly smudge it in an upward motion.
- Finally, draw in snowflakes in the background and add a pop of color at the bottom of the mug. I used bright pink and light pink for this but kids can choose their own colors if they like.
- To make the red hot chocolate mug, follow the photos above to draw the mug, whipping cream, and a cookie straw. You can use a white pencil crayon or white pastel for this.
- Use a white chalk pastel to color in the whipping cream. Then use a cream pastel to add in some shading and definition.
- Choose two colors for the cookie straw and color it in.
- Color in the mug with a bright red color and then use dark and light colors to add in shading and highlights.
- Add in the chocolate sprinkles with brown pastel.
- Draw in the snowflake design on the front of the cup with white pastel.
- To finish the drawing off, add in the background snowflakes and choose a bright blue and light blue to color around the bottom of the mug and paper.




Christina
This looks so fun. What grade would you suggest?
ProjectswithKids
Hi Christina, depending on the ability of the child I would suggest grades 4 and up for this project. Some kids might want to try the shading and highlighting with pastels and some kids might want to leave this part out.