This winter tree art project is an easy and fun winter art activity kids will love to make! Kids will use a glue-resist technique and learn about layering and blending with chalk pastels. You only need a few simple supplies for this art project, making it perfect for the classroom.
Drawing the tree with straight lines and dividing the background into smaller shapes, makes this winter art look like stained glass!
Pastels are so fun for kids to explore! Take a look at my collection of chalk pastel art for more creative ideas kids will love.
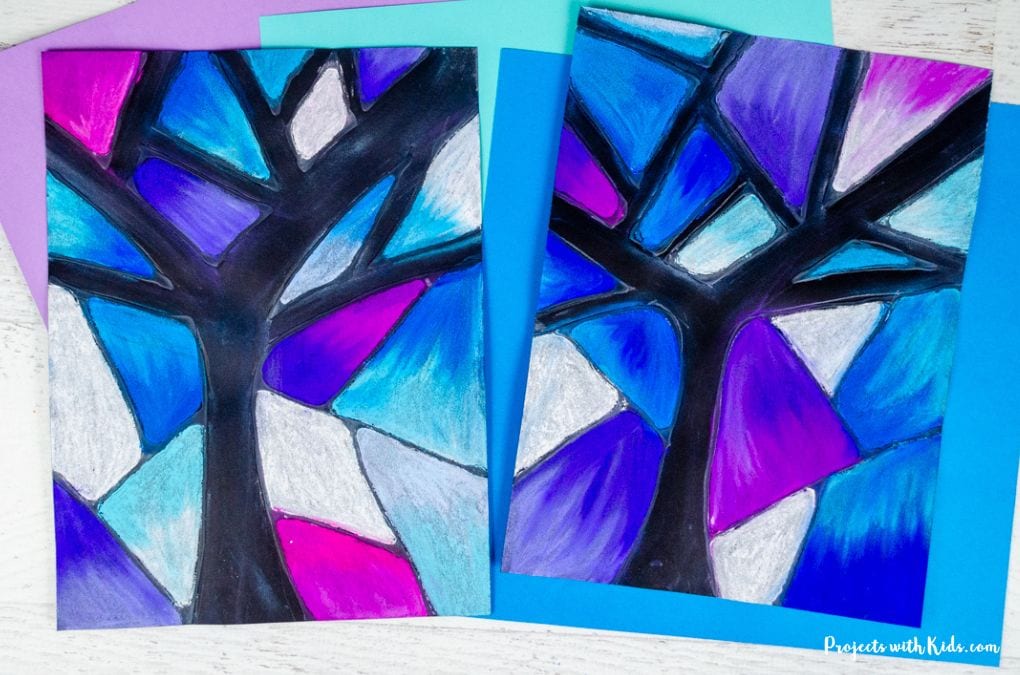
Using glue as a resist technique with pastels is always a fun technique for kids to try! Take a look at these chalk pastel sunflowers and this Kandinsky art for kids for more great ideas.
TIPS FOR WORKING WITH CHALK PASTELS
Chalk pastels can be messy (but so fun!). There are a few things you can do to help keep some of the mess contained:
- Put newspaper down on desks or tables.
- Put your project on a tray or a shallow cardboard box which will keep most of the mess inside the tray.
- You can try doing your project outside.
- Have lots of paper towels handy.
- Once you are done with your project (or even halfway through if it gets really dusty), take it outside to gently blow or shake off the excess dust.
- If you are using chalk pastels in the classroom and the kids are ready to take their artwork home, simply place the art between some newspaper to keep it from smudging and for easy transport.
Create your chalk pastel winter tree
This post contains affiliate links. As an Amazon Associate, I earn from qualifying purchases. If you would like more information please review my privacy & disclosure policy.
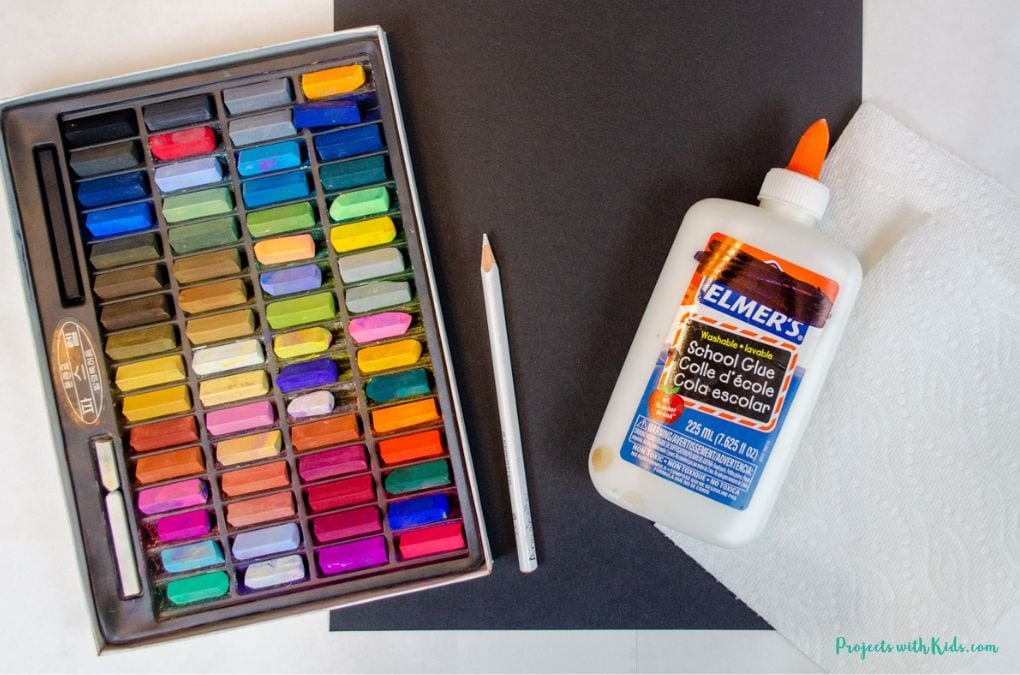
Supplies
- Chalk pastels
- Black drawing paper
- White glue
- White colored pencil or white charcoal pencil
- Paper towels
Instructions for your winter art project
1. Draw a tree with straight lines for the trunk and branches using a white colored pencil. Drawing on black paper can be a challenge, using a white pencil will help kids to see what they draw.
Once the tree is drawn in, draw angled straight lines in the background to complete the stained glass look. Some kids might want to practice drawing on scrap paper first.
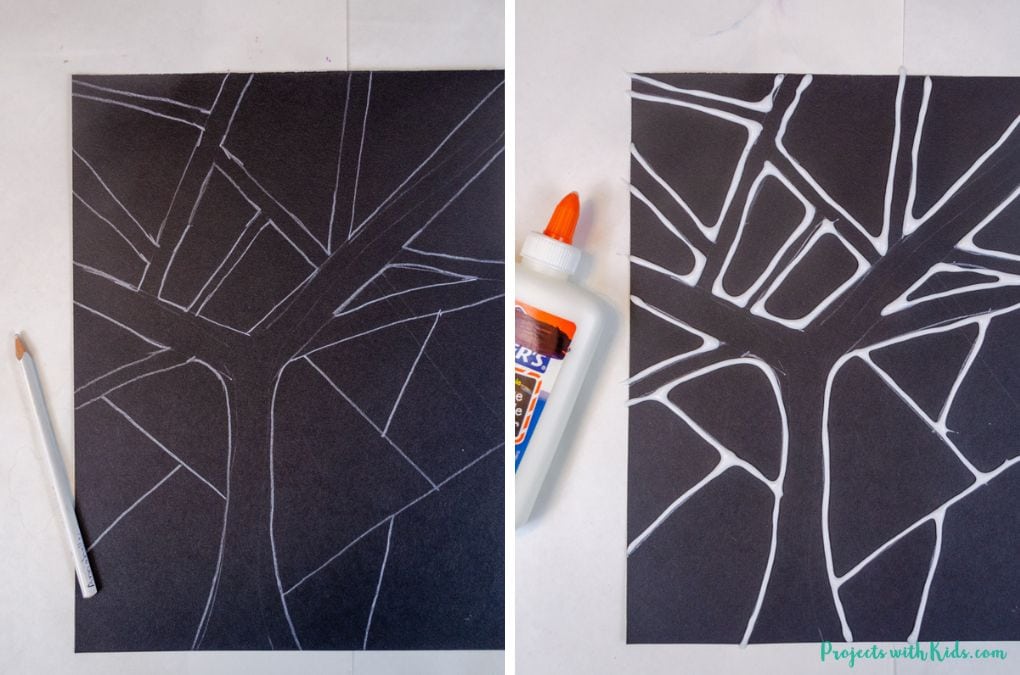
2. Once you have finished your drawing, carefully outline your pencil lines with white glue. The glue will act as a barrier to the chalk pastels and help to keep all the segments separate.
Let this completely dry on a flat surface, I usually like to let everything dry overnight.
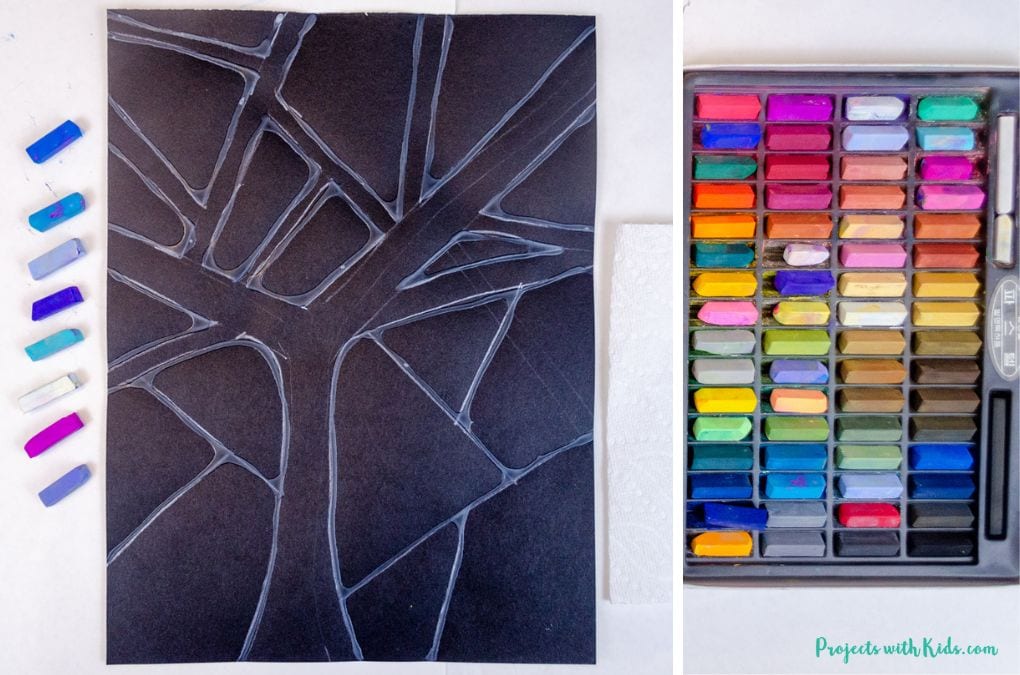
3. Have kids choose the colors they will be using. Shades of blue, purple, and pink with white were used in the examples. Start with one segment at a time and choose two colors, color about half the segment with one color and the other half with another color.
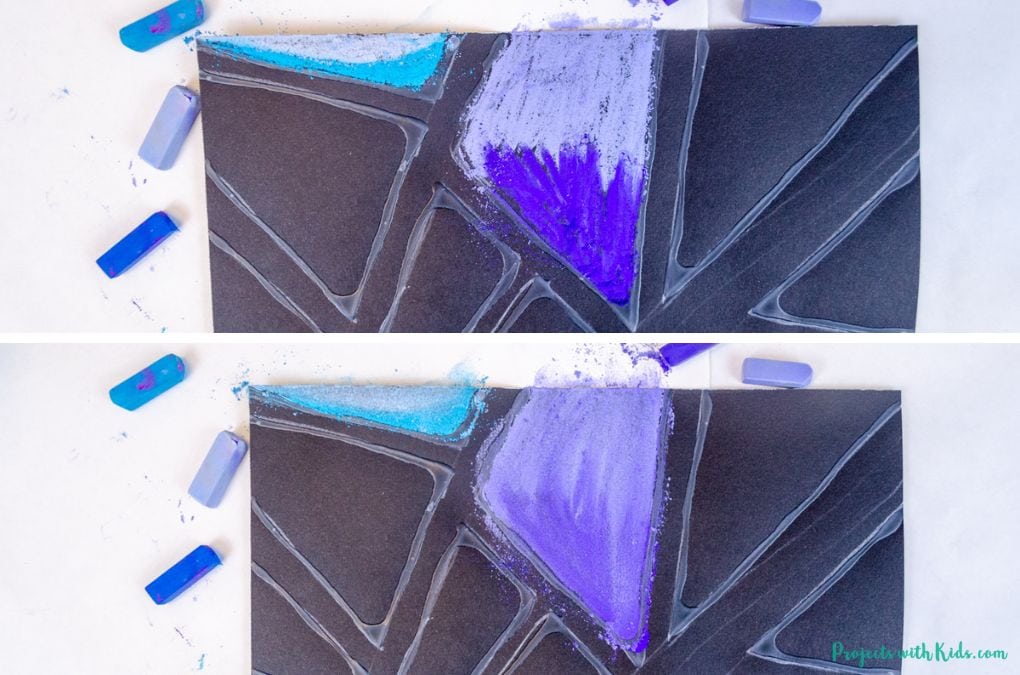
Use your finger to gently blend the colors together. Have paper towels handy to wipe your hands in between blending colors.
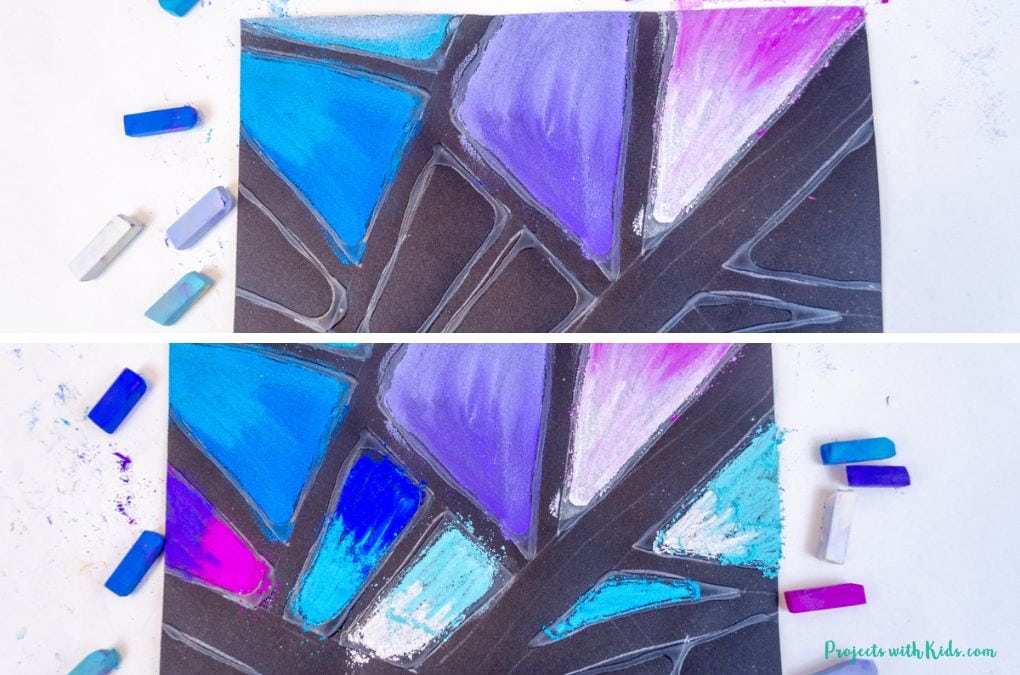
Continue to color in one segment at a time with two to three colors, blending as you go. For some segments, you might want to have all white.
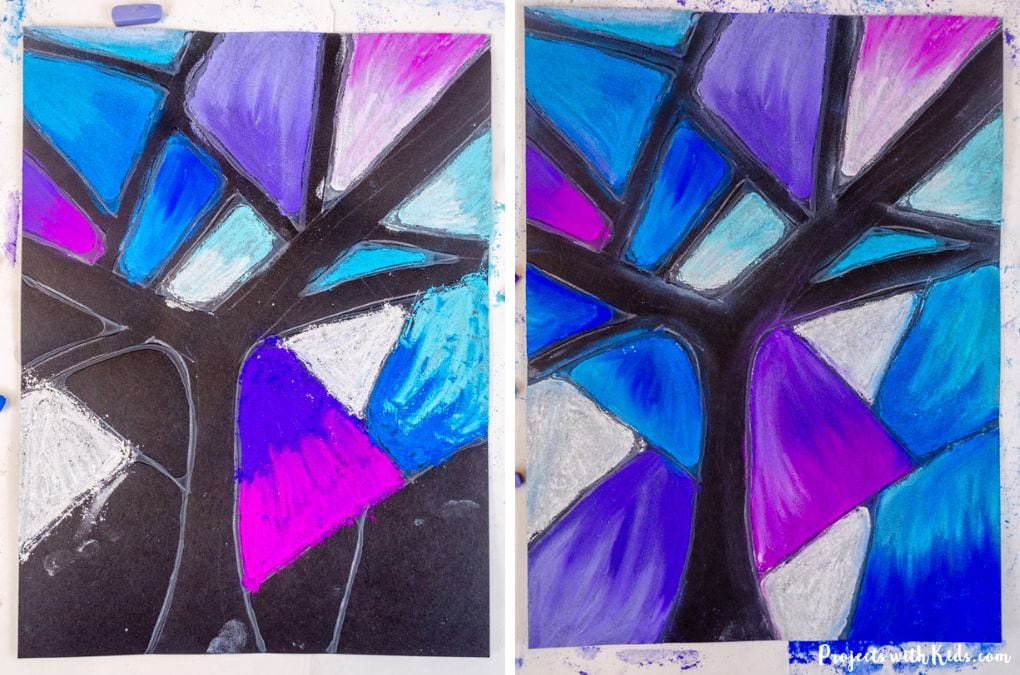
Try layering on some white to a segment that has already been colored in and blended to add a highlight. You can blend the white in carefully or just leave it un-blended. This will add some more texture and dimension.
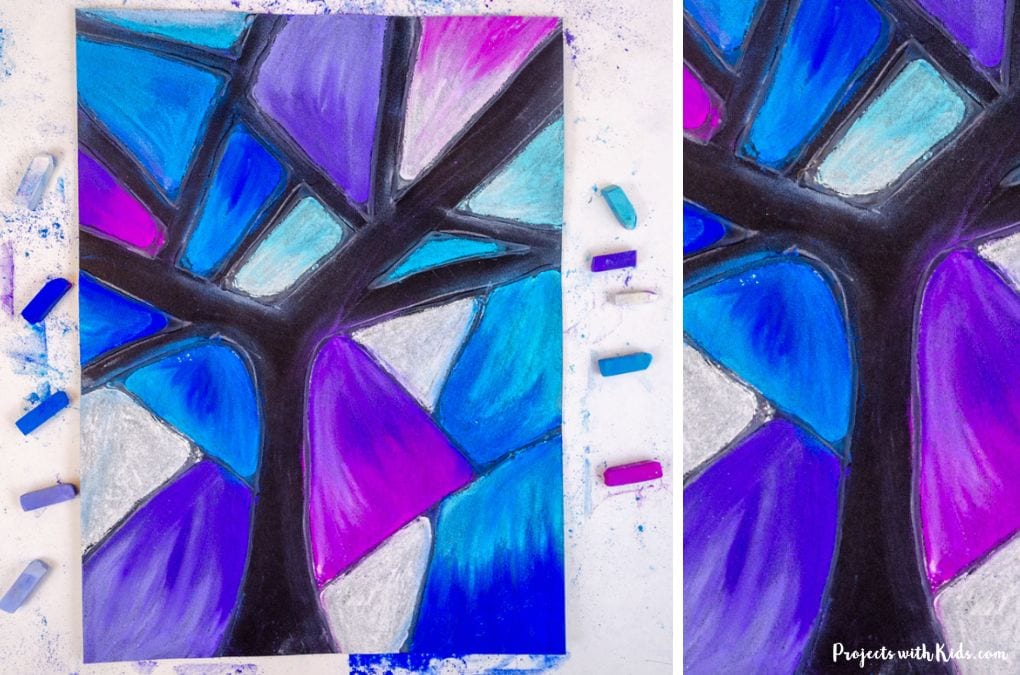
4. Once everything has been colored in and blended, carefully take your paper outside to blow off any excess dust. If you find a lot of dust on the tree, you can use a q-tip or eraser to carefully wipe it away.
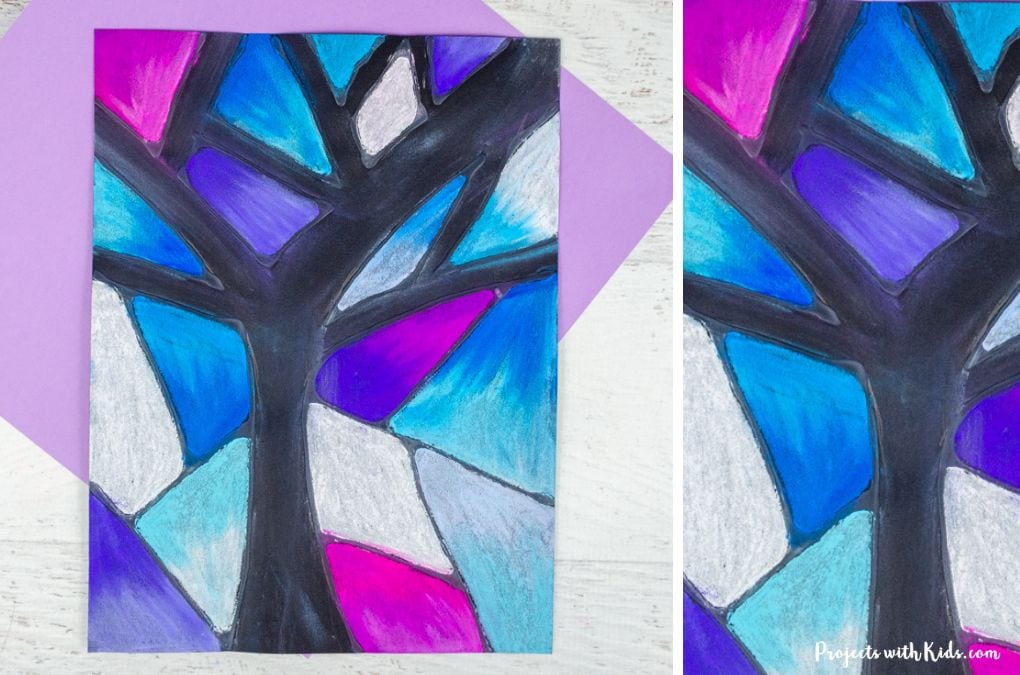
Using straight lines to create this winter tree really helps to give the artwork a stained glass look. This is an easy winter art activity that would look gorgeous on display in a classroom or at home!
More winter art projects kids will love
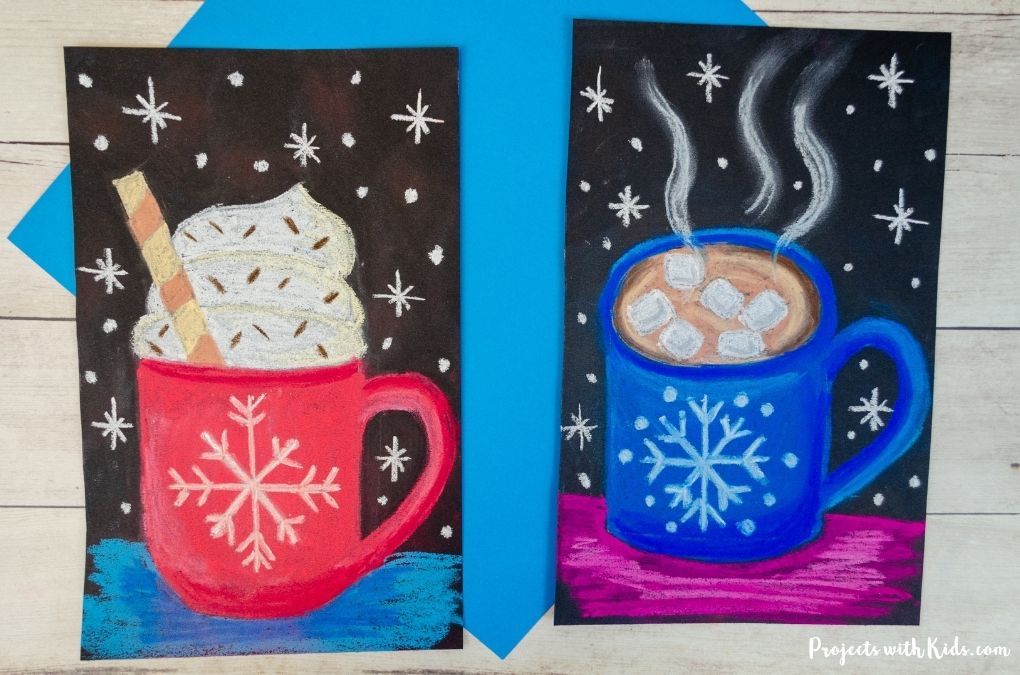
Chalk Pastel Hot Chocolate Art
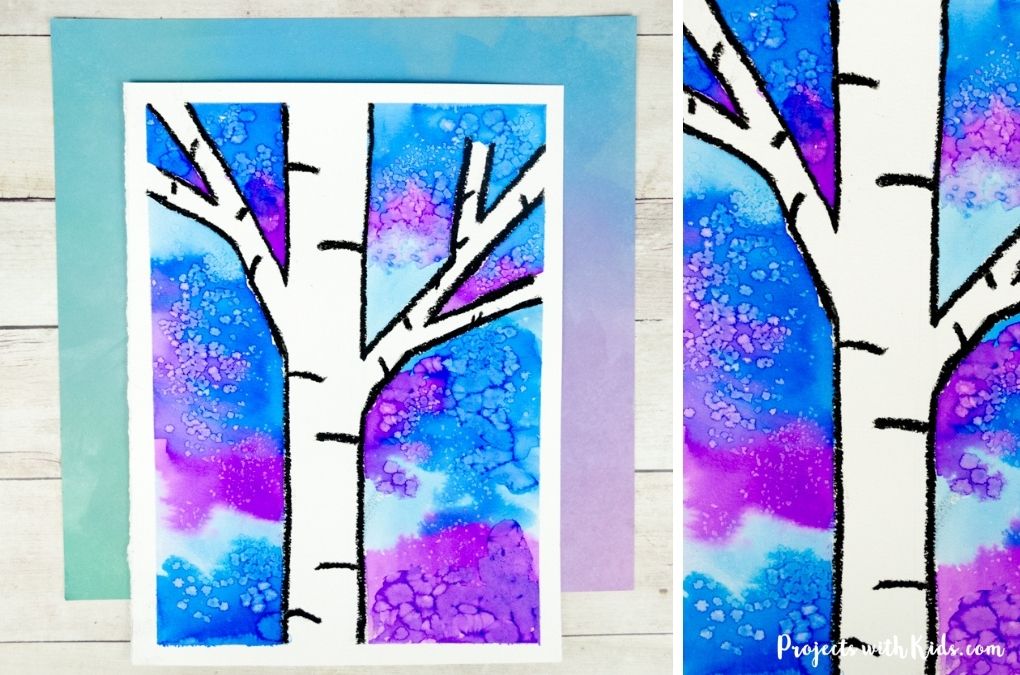
Winter Birch Tree Painting Idea
Follow me on Pinterest for more amazing project ideas.
Pin this chalk pastel winter tree for later
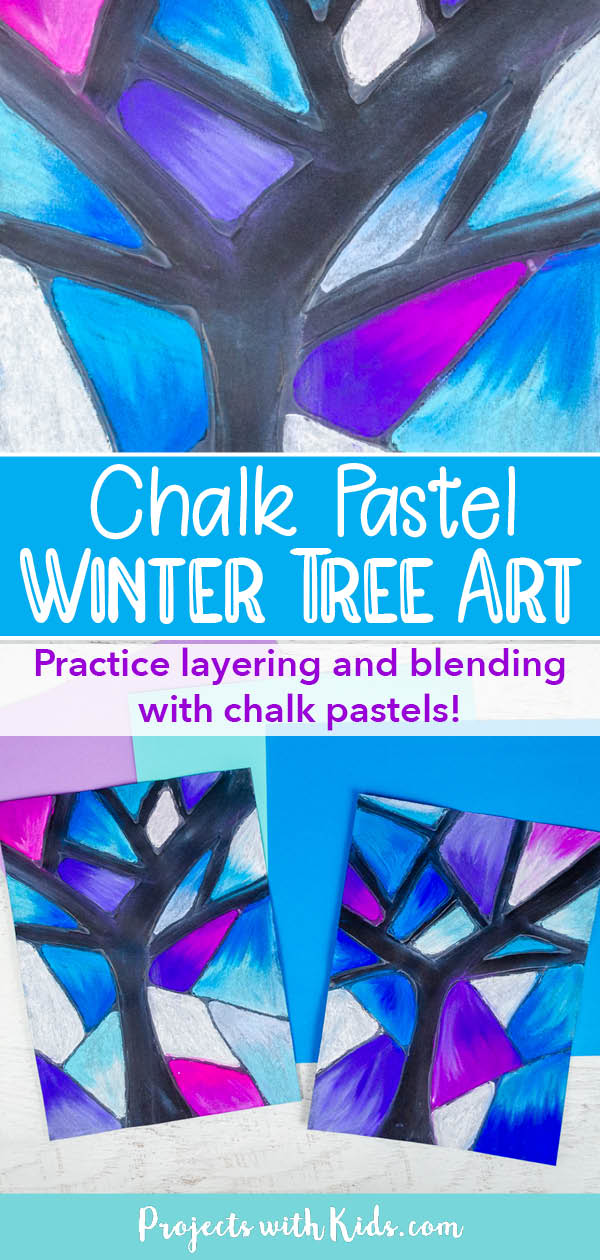
Easy Chalk Pastel Winter Tree Art Project
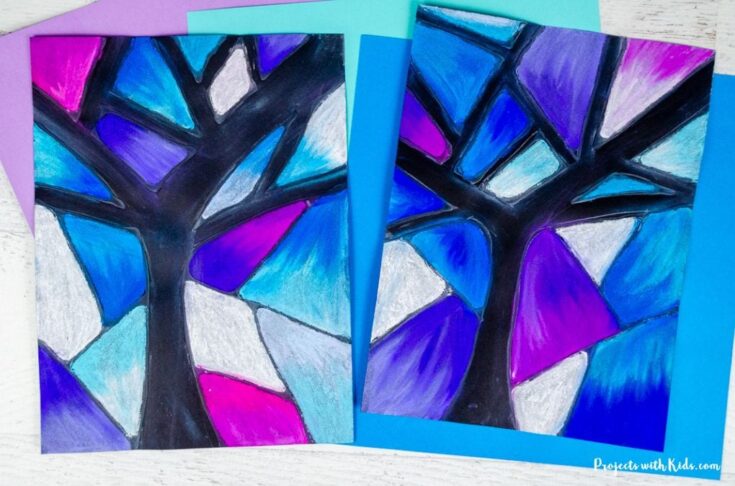
Use an easy glue resist technique to make this beautiful chalk pastel winter tree art project. Perfect for a classroom winter art activity!
Materials
- Chalk pastels
- Black drawing paper
- White glue
- White colored pencil or white charcoal pencil
- Paper towels
Instructions
- Draw a tree with straight lines using a white pencil on black paper. Add angled straight lines in the background for a stained glass effect. Consider practicing on scrap paper first.
- Outline the drawing with white glue to create barriers for chalk pastels. Let it dry overnight on a flat surface.
- Let kids choose colors like blue, purple, and pink with white. Color each segment with two colors, blending them with your finger. Use paper towels to clean your hands between colors. Add white to some segments for highlights and texture.
- Once the coloring is done, take the paper outside to blow off excess chalk dust. Use a q-tip or eraser to carefully remove any remaining dust from the tree.


