
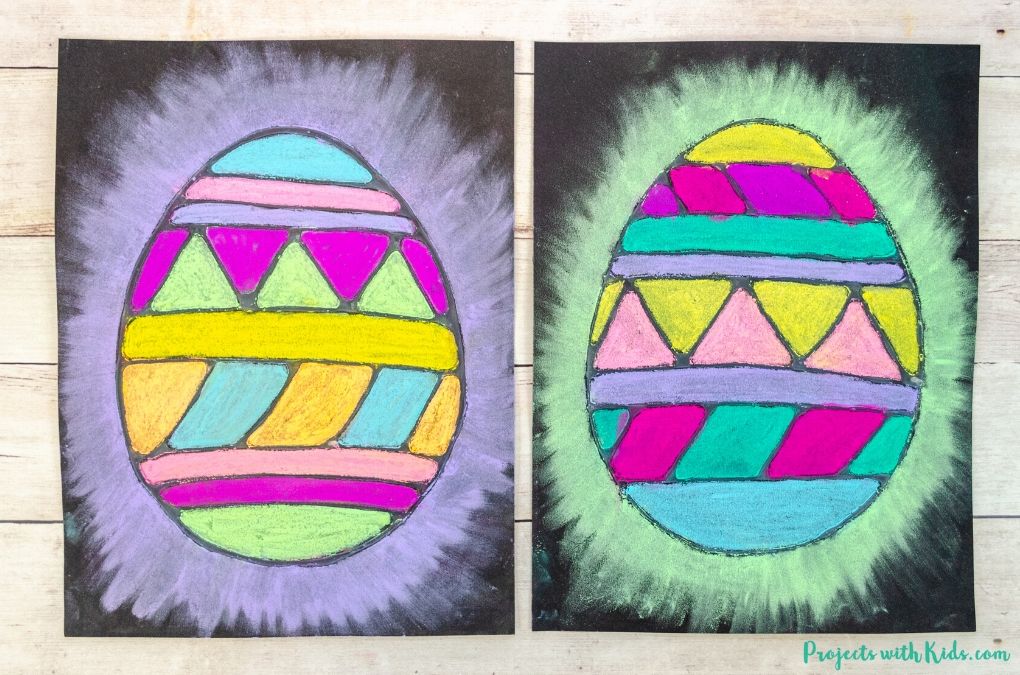
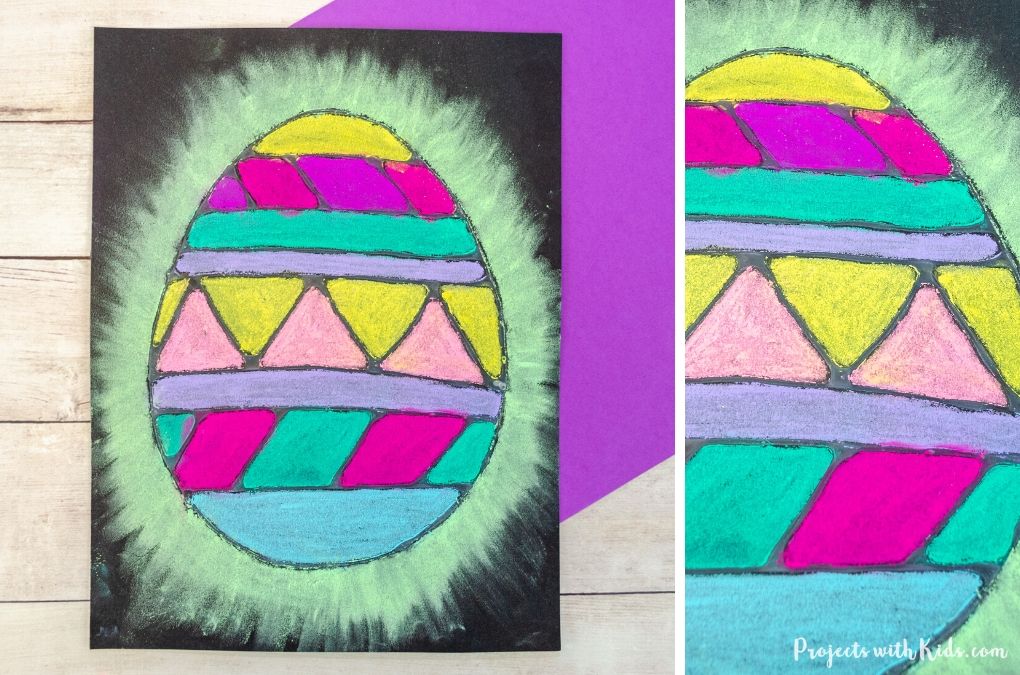
This chalk pastel Easter egg art is so fun and colorful and makes a great Easter art activity! The chalk pastels on the black paper really pop and look extra bright. Using white glue to draw in the Easter egg designs acts as a barrier and helps to keep the pastel colors separate.
Pastels are so fun for kids to explore! Take a look at my collection of chalk pastel art for more creative ideas kids will love.
We have used this chalk pastel and glue resist technique a few times and the results are always beautiful! Take a look at these gorgeous chalk pastel sunflowers and learn about a famous artist with this Kandinsky art for kids.
If you are looking for more Easter art activities, take a look at this creative collection of Easter art projects!
For this project, I created a free printable template to make this art project even easier for you. This template is available to my email subscribers. Fill out the form below to get the free template.
After signing up you will receive a welcome email with your download link.
Create your own chalk pastel Easter egg art
This post contains affiliate links. As an Amazon Associate, I earn from qualifying purchases. If you would like more information please review my privacy & disclosure policy.
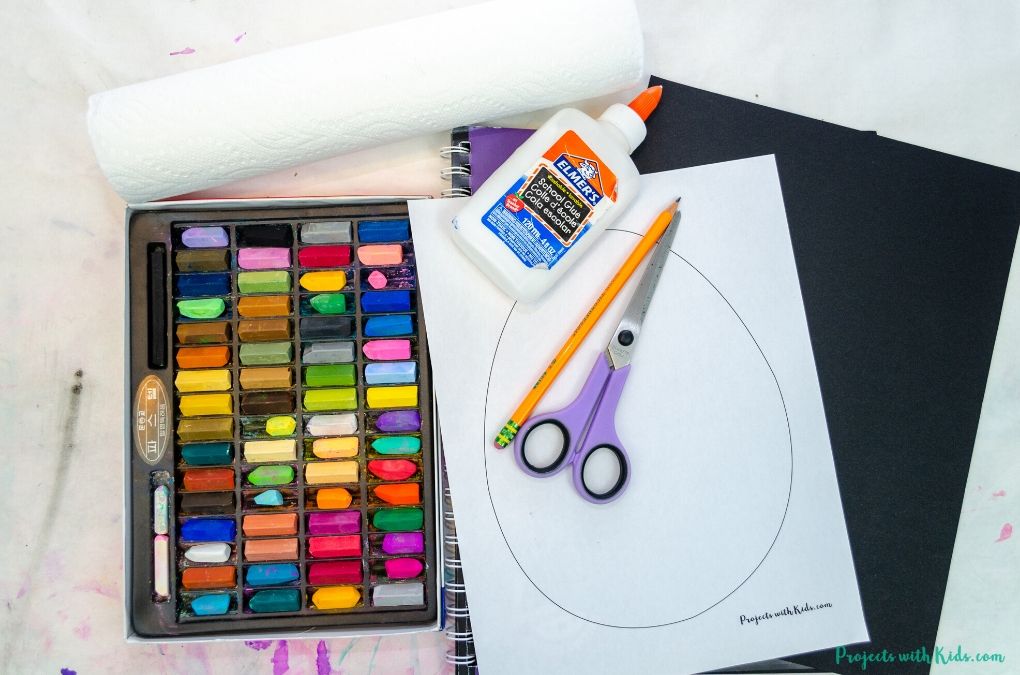
Supplies
- Easter egg printable (optional)
- Black drawing paper, cardstock or pastel paper
- Chalk pastels
- White glue
- Pencil
- Scissors
- Paper towels
Instructions for your Easter egg art
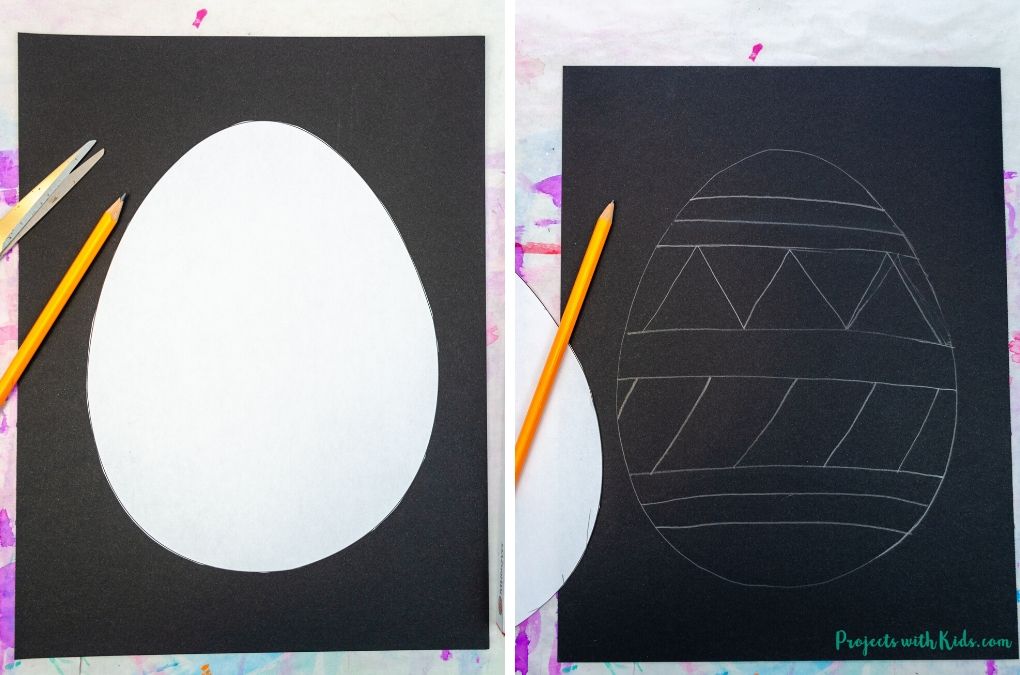
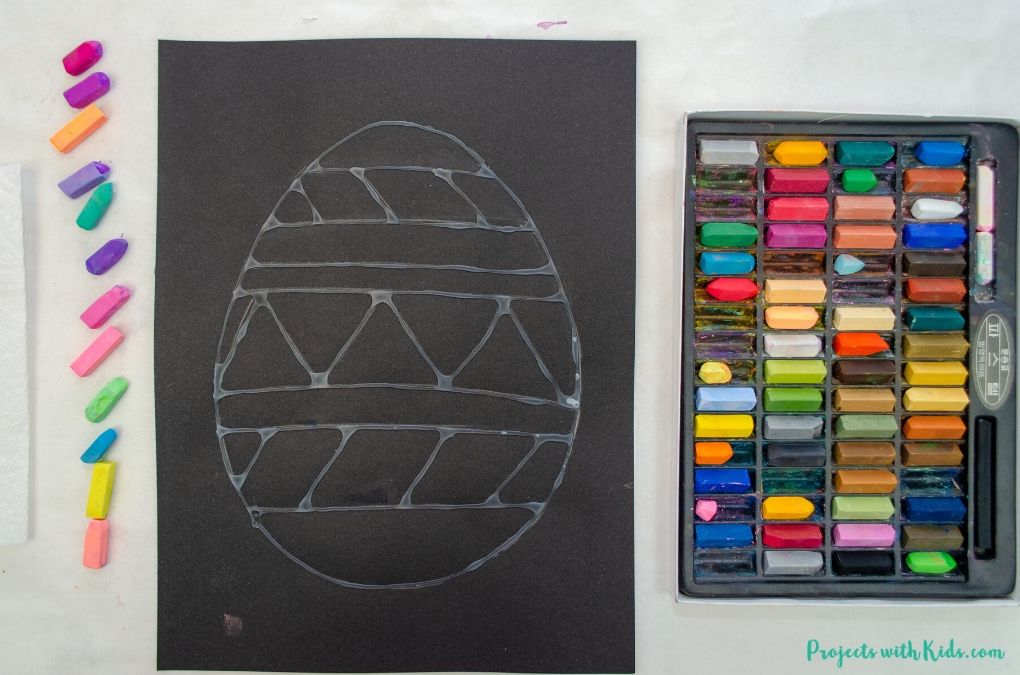
1. First, draw out an egg shape onto black paper. Kids can draw their own shape or use my printable template provided below. Have kids draw in lines and shapes on the inside of their egg, keeping the design simple.
I used black drawing paper for this project but you can also use black pastel paper or cardstock. The pastels might not look as bright but will still look great!
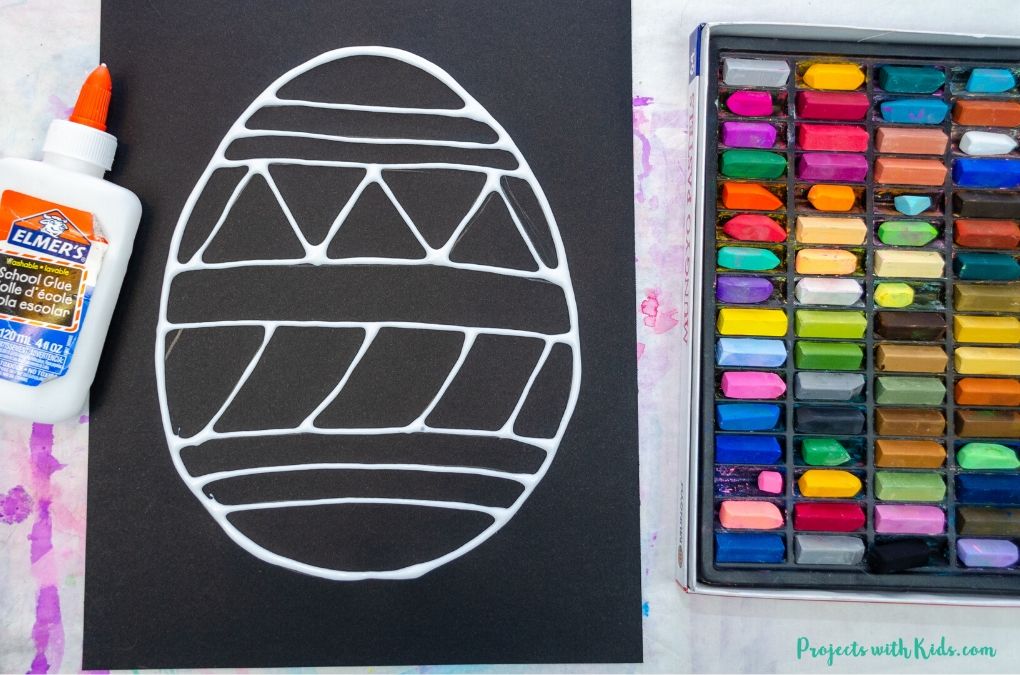
2. Trace your pencil drawing with white glue. Remind kids to go slowly and carefully with this step. Set this aside to dry overnight. Make sure it dries on a flat surface so the glue doesn’t run.
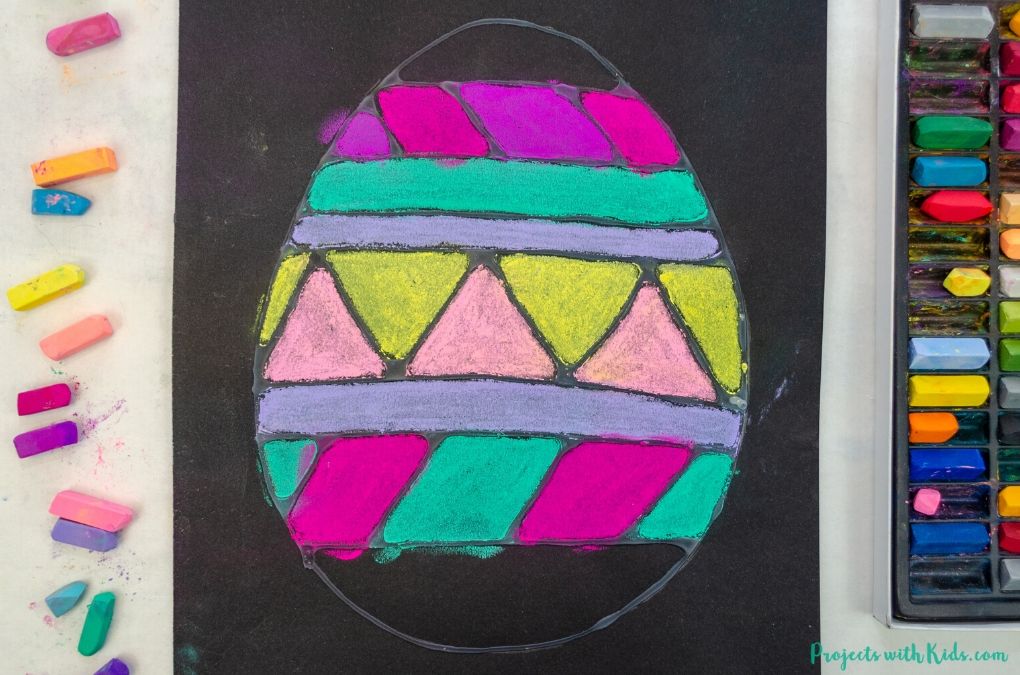
3. Once the glue has dried completely have kids choose the colors they want to use.
4. Start by coloring in the Easter egg with pastels. The glue will act as a barrier to separate the designs making it easier for kids to color in.
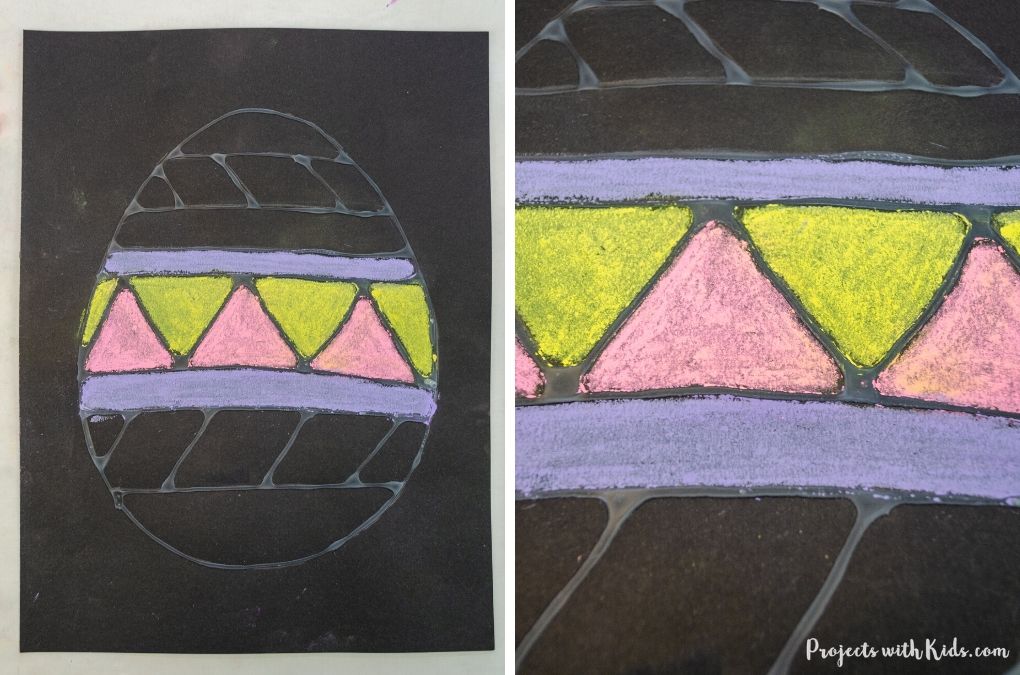
Color one section at a time and try blending the color a bit with your finger to smooth out the pastels.
6. Once the Easter egg has been all colored in, choose a color to go around the outside of the egg. Draw thick lines all the way around the outside of your Easter egg.
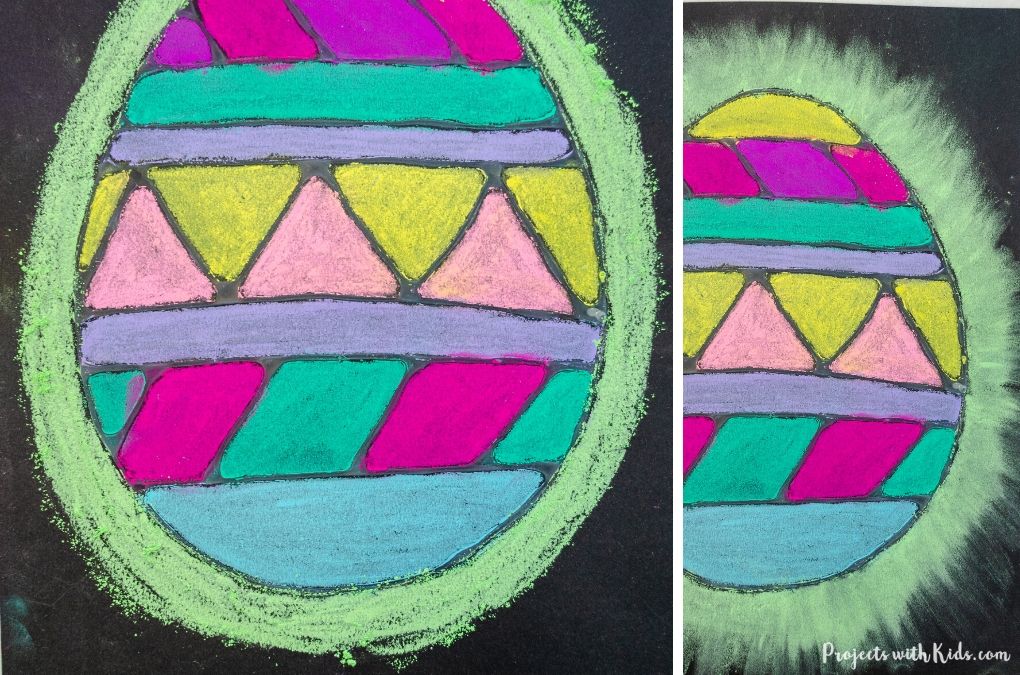
7. Smudge the pastel in an outward direction all the way around your Easter egg. Using your first two fingers or your first finger to smudge will work the best.
Kids will have fun creating this beautiful chalk pastel Easter egg art project for spring!
We love creating and exploring with different art supplies and techniques. If you are looking for more art projects to try, take a look at our ultimate collection of amazing art projects for kids!
Fill in the form below to get your free printable template!
After signing up you will receive a welcome email with your download link.
More Easter art projects kids will love
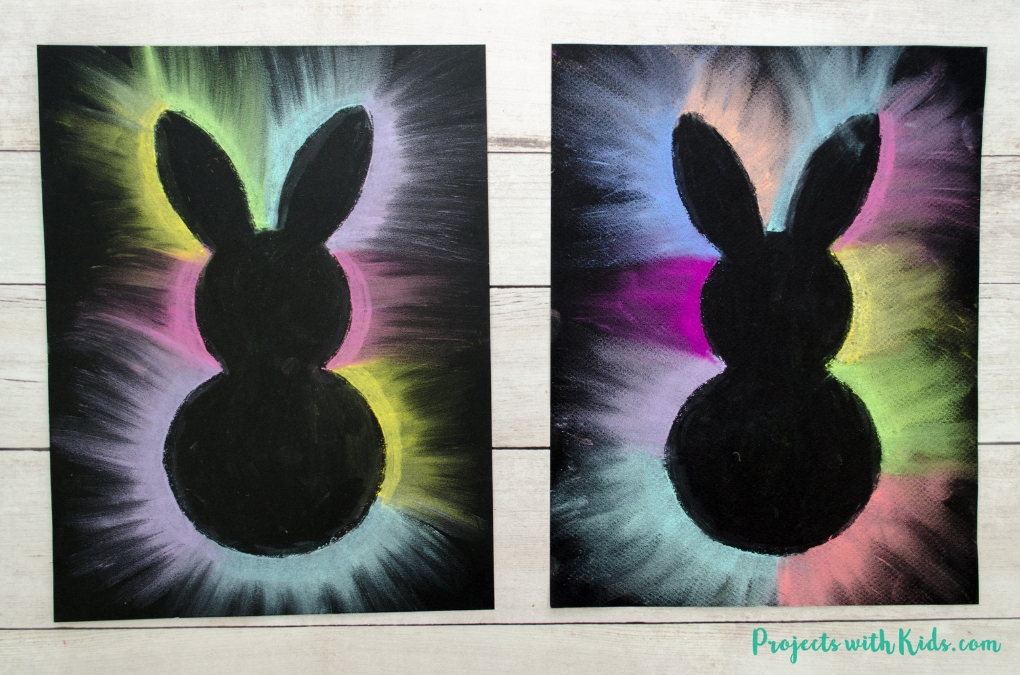
Brightly Colored Bunny Art Project with Chalk Pastels
Easy Painted Easter Egg Rocks for Kids

Follow me on Pinterest for more amazing project ideas.
Pin this art project for later
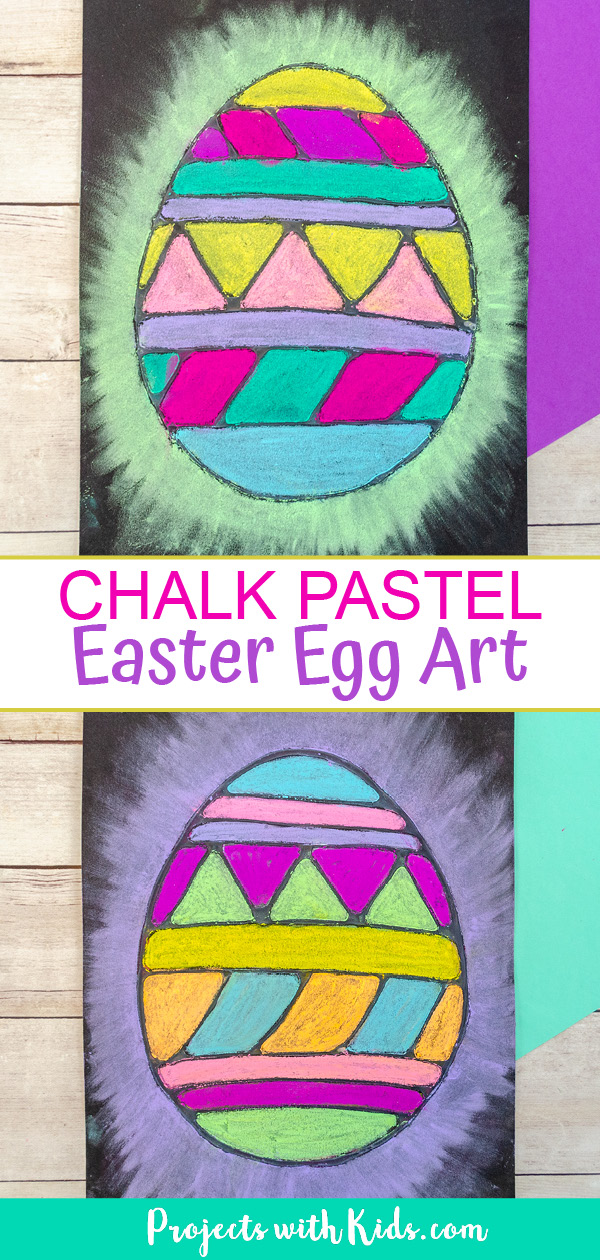
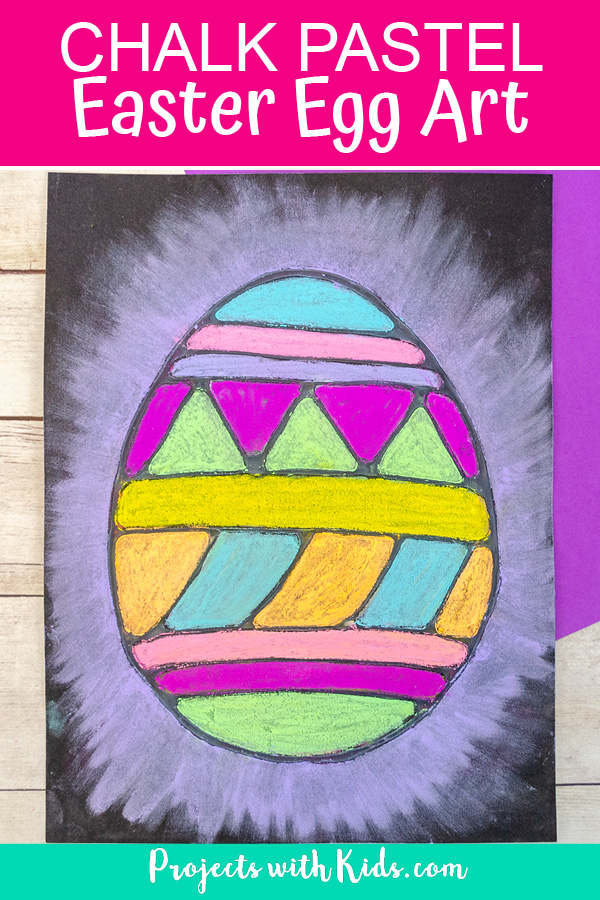
Chalk Pastel Easter Egg Art

This chalk pastel Easter egg art is a wonderful Easter activity that kids will love to create! Kids will learn about using glue as a resist technique and blending pastels to create a bright and colorful art project.
Materials
- Easter egg printable (optional)
- Black drawing paper, cardstock or pastel paper
- Chalk pastels
- White glue
- Pencil
- Paper towels
Tools
- Scissors
Instructions
- Print out and cut out your free template if you are using it. Kids can also choose to draw their own Easter egg shape if they like.
- Trace or draw an Easter egg shape onto black drawing paper or pastel paper. You can also try using black cardstock but the pastel colors may not be as bright.
- Draw a design inside your Easter egg with a pencil. A simple design works best.
- Trace your pencil drawing carefully with white glue. Let this dry completely overnight. It will need to dry on a flat surface so the glue doesn't run together.
- Choose your chalk pastel colors and color in the different sections of your Easter egg with pastels.
- Draw a thick line around your Easter egg with one color of chalk pastel and use your fingers to smudge the pastel in an outward direction all the way around your egg.


