
These watermelon painted flower pots are so adorable! They make an easy summer craft project, handmade gift idea and fun tween or teen decor idea. This idea would work well with any size of flower pot, you could even make a few different sizes and group them together.
For more awesome flower pot ideas, take a look at this collection of more than 15 fantastic flower pot painting ideas!
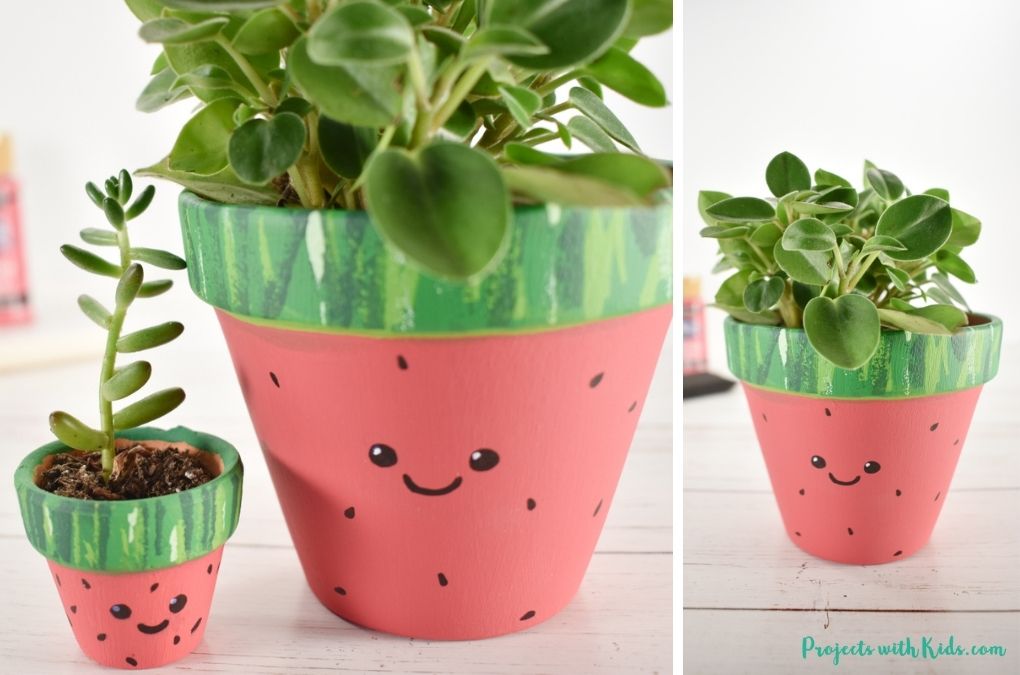
If you are going to use real plants in your flower pots make sure to add a tray underneath to catch the excess water. You could also use a fake plant and some nice rocks instead, especially if kids are going to be using this as a decor item.
Create your own watermelon painted flower pot
This post contains affiliate links. As an Amazon Associate, I earn from qualifying purchases. If you would like more information please review my privacy & disclosure policy.
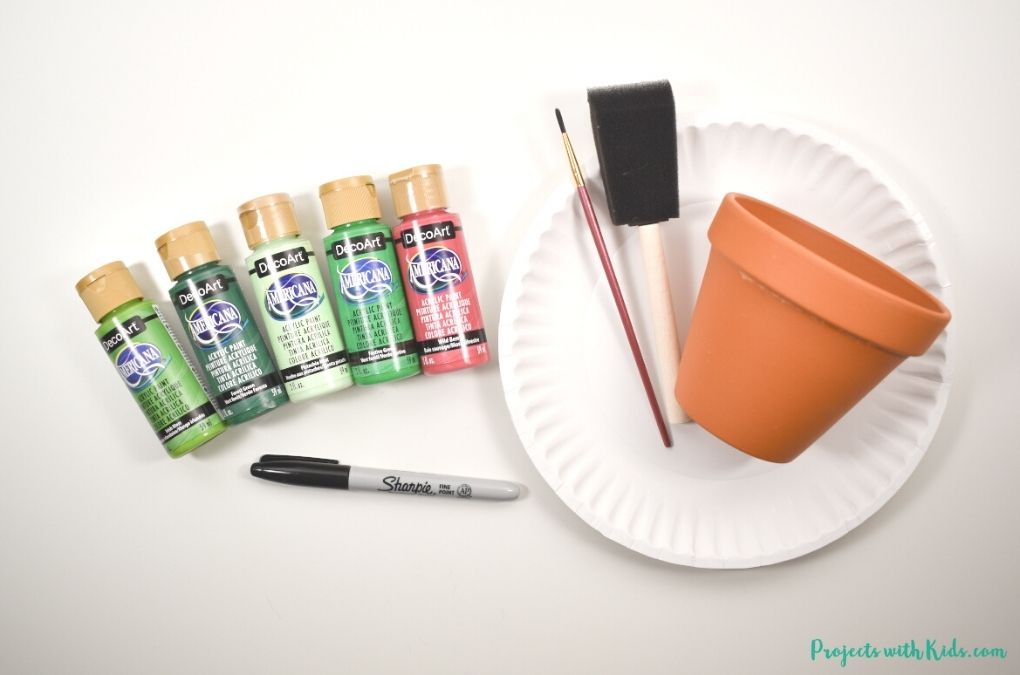
Supplies
- Terra cotta pots
- Acrylic paint: 3-4 different shades of green and bright pink
- Foam brush
- Small paintbrush and paint palette or paper plate
- Black marker or paint pen
- White paint pen (optional)
- Outdoor Mod Podge
Instructions for your painted pot
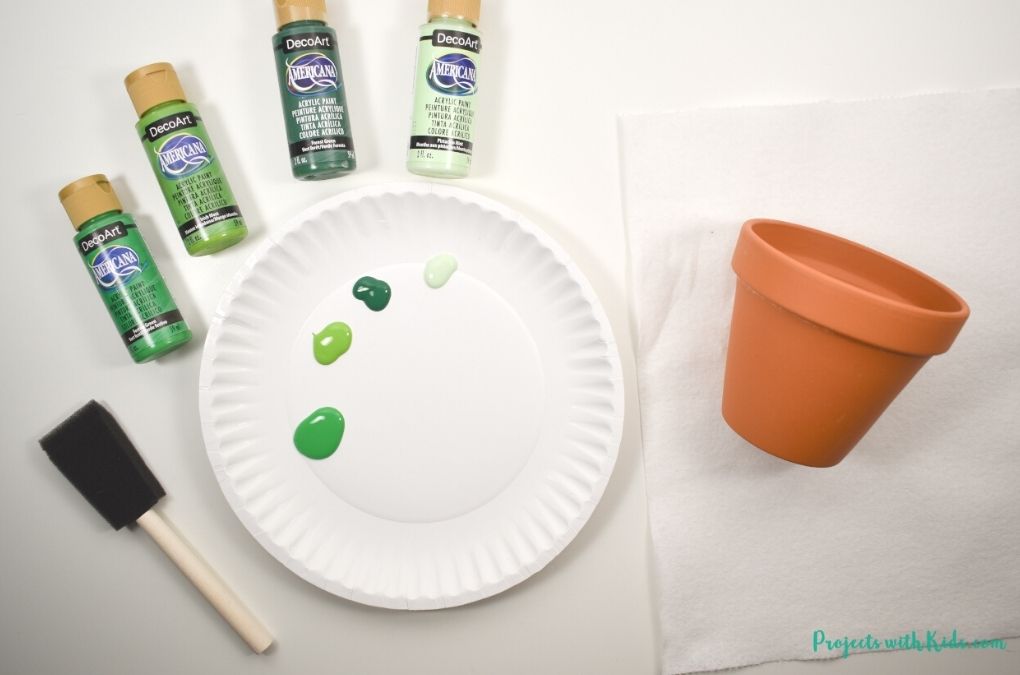
1. Get 3-4 shades of green acrylic paint ready in a palette or paper plate. You want a bright green shade to paint the top and then at least one lighter shade and one darker shade to add in the watermelon texture.
If you don’t have that many shades of green, you can always add white to some green to create a lighter shade.
Paint the top part of your pot with a bright green color. Depending on the type of paint you are using, you may need to paint on two coats. Be sure to let the coats dry completely in between.
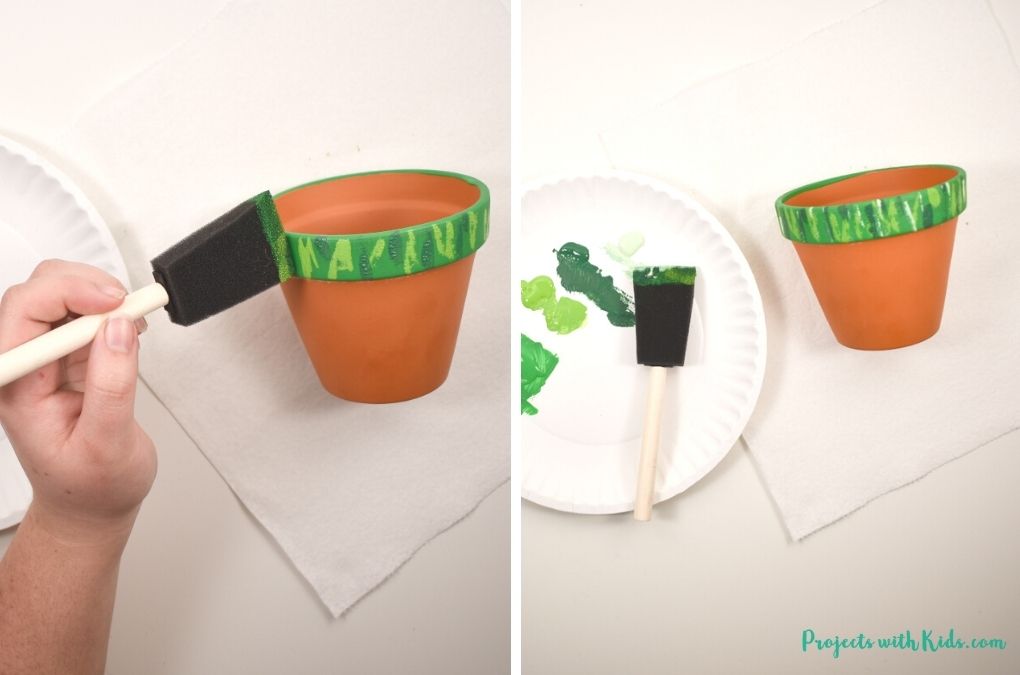
2. Once the green has completely dried, use a foam brush to add in the watermelon texture. Dip the top part of the brush in a different shade of green and dab it on the pot to create vertical lines like in the photo below.
Keep dabbing with the same color all the way around the top of the flower pot. Some kids might find it helpful to practice this technique on a piece of paper beforehand.
Let the paint dry completely before moving on.
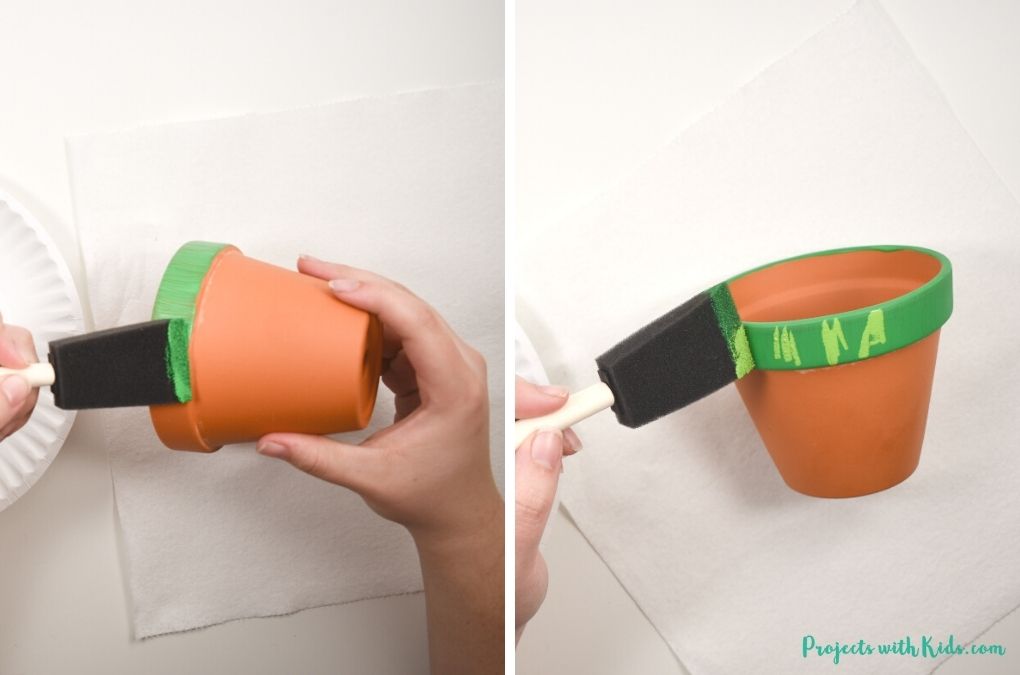
3. Continue with this same technique of dabbing vertical lines around the top of the pot with the foam brush until you have used all your shades of green. Make sure to let each shade dry before moving on.
As you can see from the photos below, not all of the lines are straight. You want to vary up the lines you dab on to create the texture and look of the outside of a watermelon.
Again, some kids will find it helpful to practice this technique on paper first.
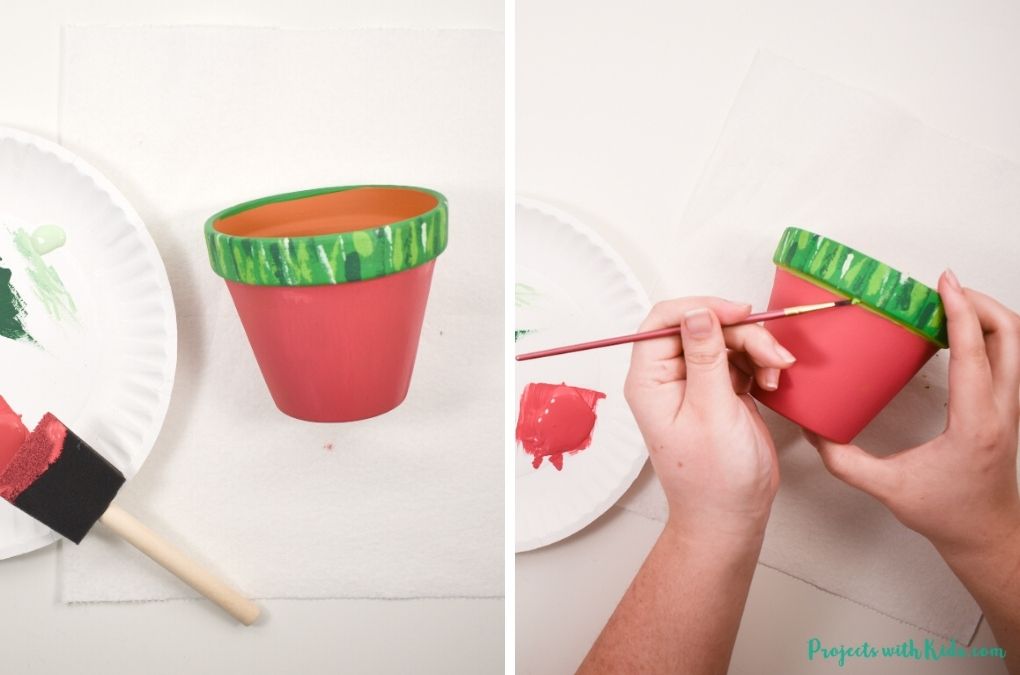
4. Paint the bottom part of the pot a bright pink color. Depending on the type of paint you use, you may need two coats. Let each coat dry in between.
5. Using a small brush, paint a thin line of bright green acrylic paint where the green and pink areas meet. This will help to finish this area off and give a nice pop of color.
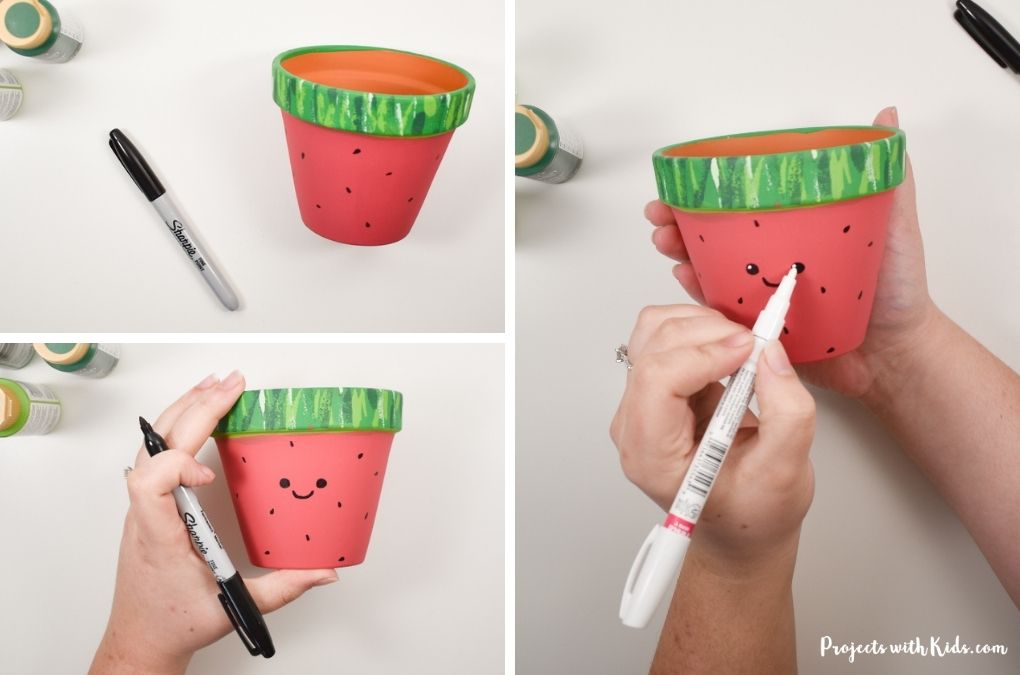
6. Once everything is dry, use a black marker or paint pen to draw in the watermelon seeds.
7. Use the black marker or paint pen to draw on the face. If you want, you can also use a white paint pen to add in small highlights to the eyes like in the photo below.
8. To protect your paint job and seal the flower pot, you want to apply two thin coats of weatherproof sealer. I like to use outdoor Mod Podge, especially with kids because you can paint it on and don’t have to worry about any toxic sprays.
Make sure to let the Mod Podge dry completely between coats.
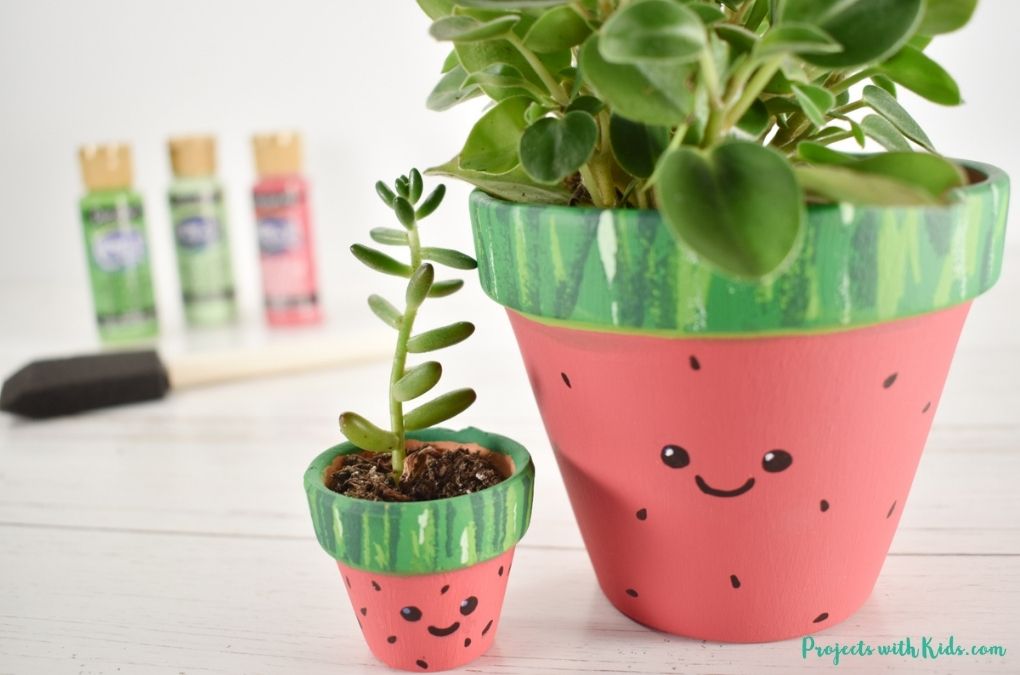
These watermelon painted flower pots are so cute and fun for kids to make, they will want to make more than one!
More craft projects kids will love
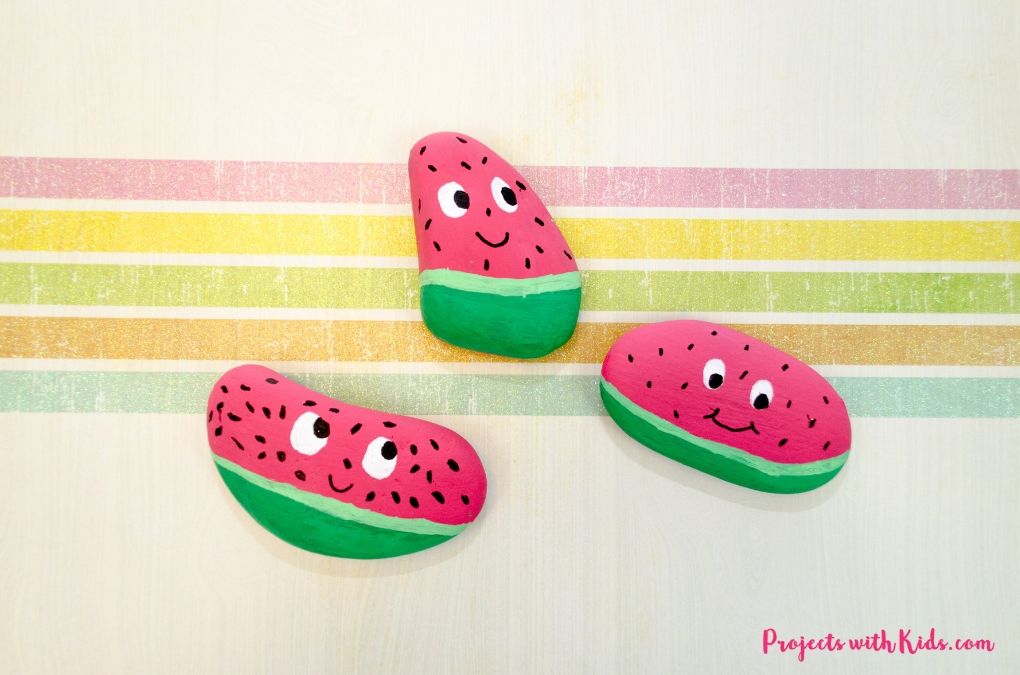
The Cutest Watermelon Painted Rocks for Kids to Make
Make Easy Geometric Painted Flower Pots

Follow me on Pinterest for more amazing project ideas.
Pin this craft project for later
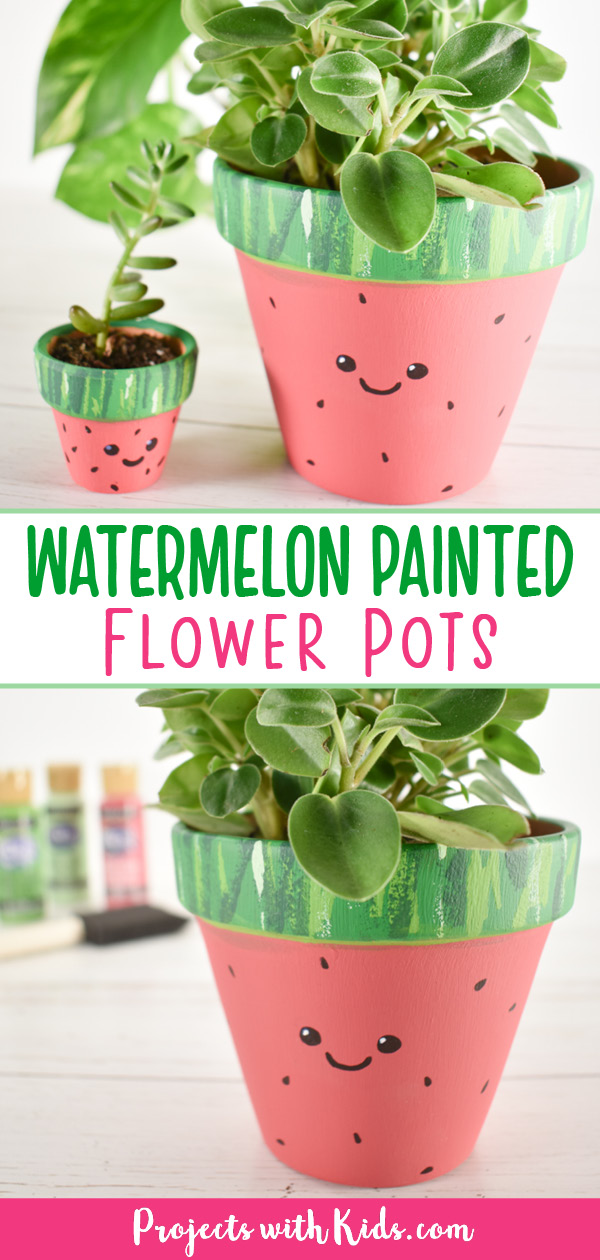
Adorable Watermelon Painted Flower Pots perfect for Kids to Make

Kids will have a blast making these watermelon painted flower pots! Only a few supplies and easy techniques for a fun craft project.
Materials
- Terra cotta pots
- Acrylic paint: 3-4 different shades of green and bright pink
- Black marker or paint pen
- White paint pen (optional)
- Outdoor Mod Podge
Tools
- Foam brush
- Small paintbrush and paint palette or paper plate
Instructions
- Paint the top of your terra cotta pot with a bright green color. Let it dry completely before moving on.
- Use a foam brush to add in the watermelon texture. You will need 2-3 more shades of green acrylic paint. Dip your brush in a green color and dab it on the pot to create vertical lines like in the photos above.
Keep dabbing vertical lines all the way around the top of the flower pot. - Do step 2 again with one or two more shades of green letting each shade dry in between coats.
- Paint the bottom part of your flower pot with a bright pink color. Depending on the type of paint your use, you may need to paint two coats.
- Using a small brush, paint a thin line of bright green acrylic paint where the green and pink areas meet.
- Once your flower pot is completely dry, use a black marker or paint pen to draw on the watermelon seeds.
- Use the same marker or paint pen to draw on a face. As an optional step you can add in small highlights to the eyes with a white paint pen.
- For the final step, paint on two coats of a weather proof sealer to protect your painted flower pot.


