
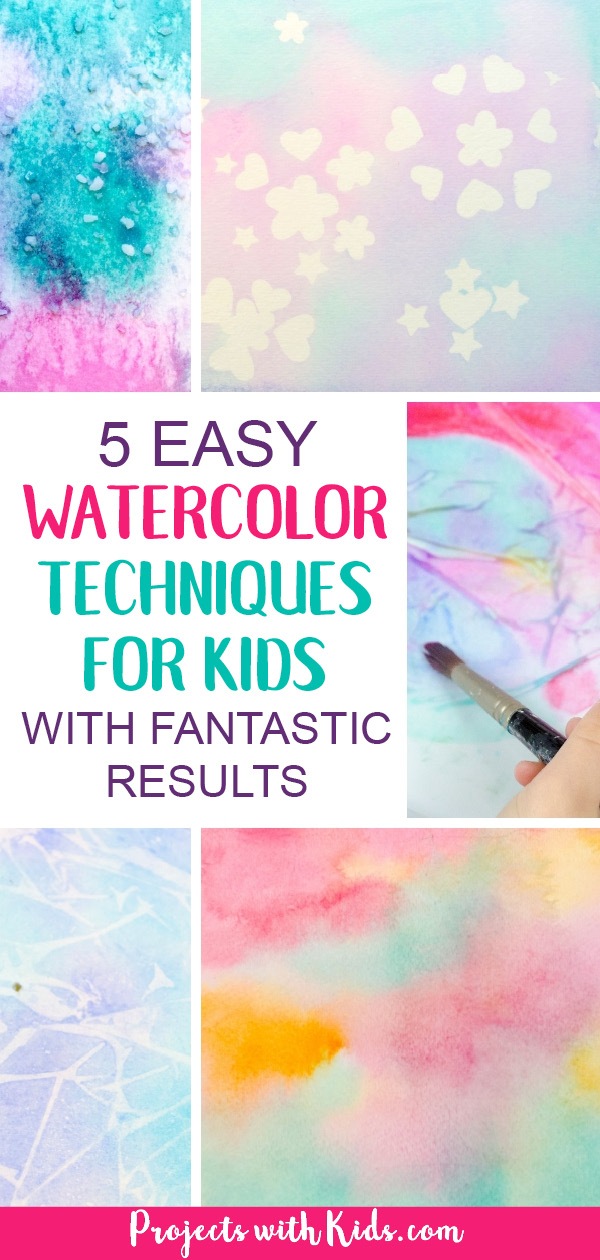
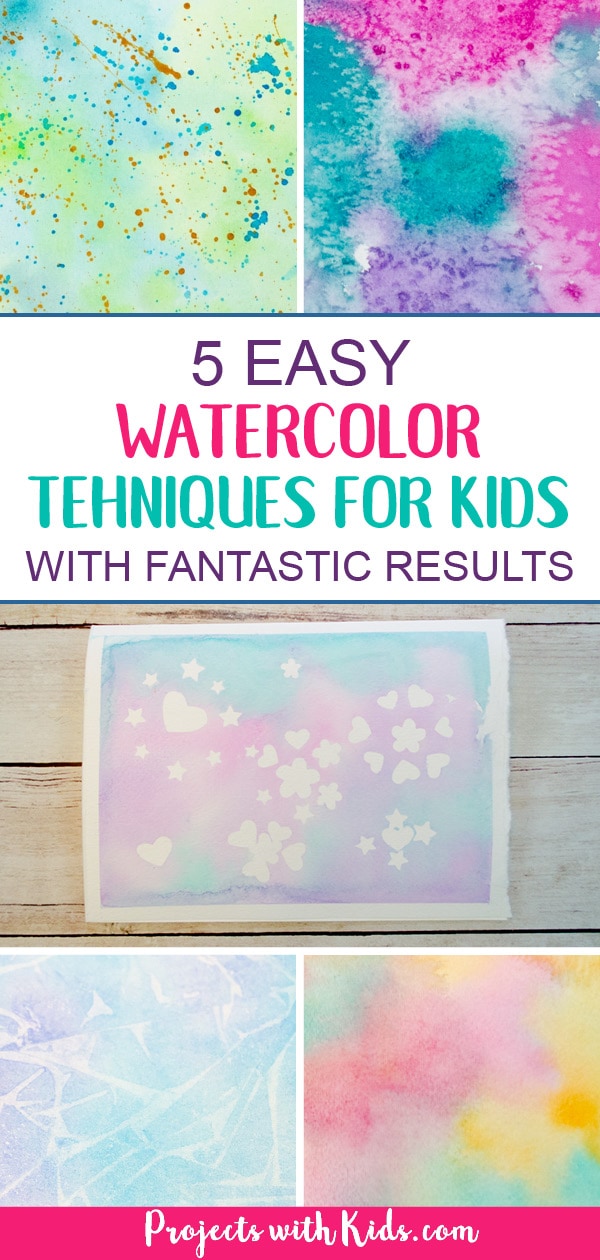
I love painting with watercolors and so do my kids! These 5 watercolor techniques for kids are some of my favorites and are so easy for kids of all ages, even preschoolers can give these a try. They are easy to use and produce such unique and beautiful results.
All of these techniques can be used as process art ideas, let kids create and experiment with no finished project in mind. Or you can try some of the projects that we have done using these methods. Check out my awesome watercolor painting for kids post for more fun and creative ideas kids will love!
Mixing Watercolor Paint
This post contains affiliate links, which come at no cost to you. If you would like more information please review my privacy & disclosure policy.
We generally use a watercolor pan set when we do our projects. I like the vibrant colors of this brand especially, these paints last a long time and are fairly cost-effective. We have been using this same set for a while, and there is still a lot of paint left.
I know that some people love to use liquid watercolors for their projects, we have not used them before but it’s on my list to try. You can also use watercolor tubes in the same way.
Preparing your watercolors is super easy, you need water, a watercolor palette and of course your paints and paintbrushes.
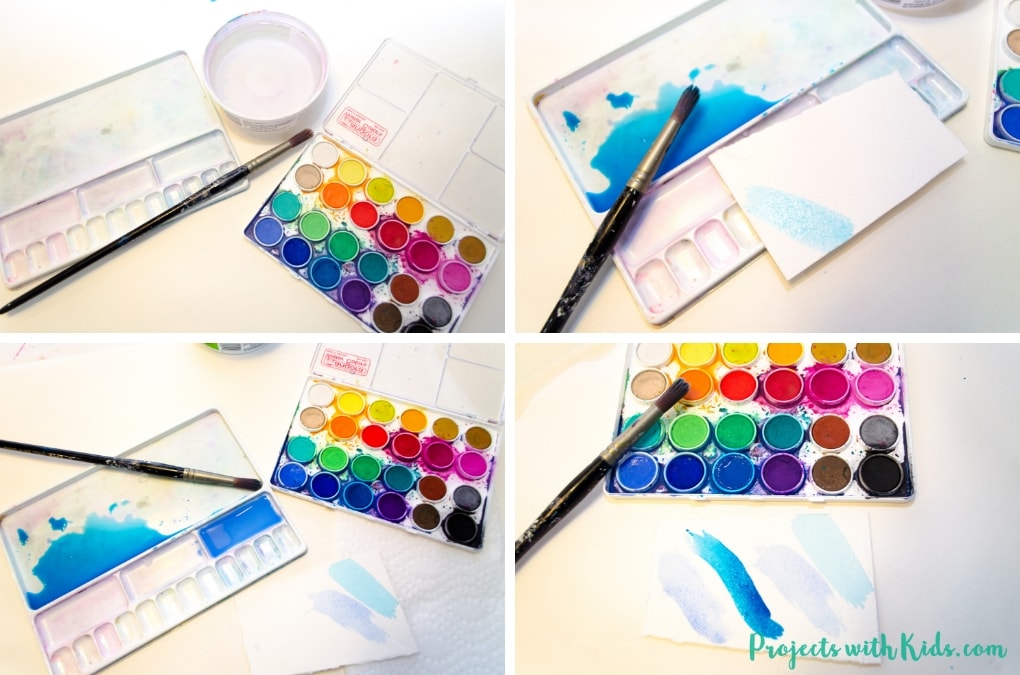
Drop some clean water into your palette for each color you want to mix. Start off with just a small amount of water, you can always add more. Start to add your watercolor to the water in your palette.
I like to keep some scrap paper handy to test out the colors. Most of the time, you want to make your colors a bit darker than you need, they will dry lighter especially if you are using a wet on wet technique.
If you need a really dark color, you can use it straight from the set without adding any extra water.
Reasons to use real watercolor paper
We use student grade 140lb watercolor paper mostly, it’s cost effective and works well. Watercolor paper is designed to hold and absorb water without the paper wrinkling or tearing and the paint just soaks in and stays vibrant. If you have ever used watercolor paper for a project it is hard to go back to regular paper!
Some of my Favorite Watercolor Supplies
5 Easy Watercolor Techniques for Kids
Wet on Wet Technique
This is probably the easiest and most common watercolor technique for kids to try and can easily be done by younger kids. It is also the base for building on some of the other techniques so it’s a good one to try first.
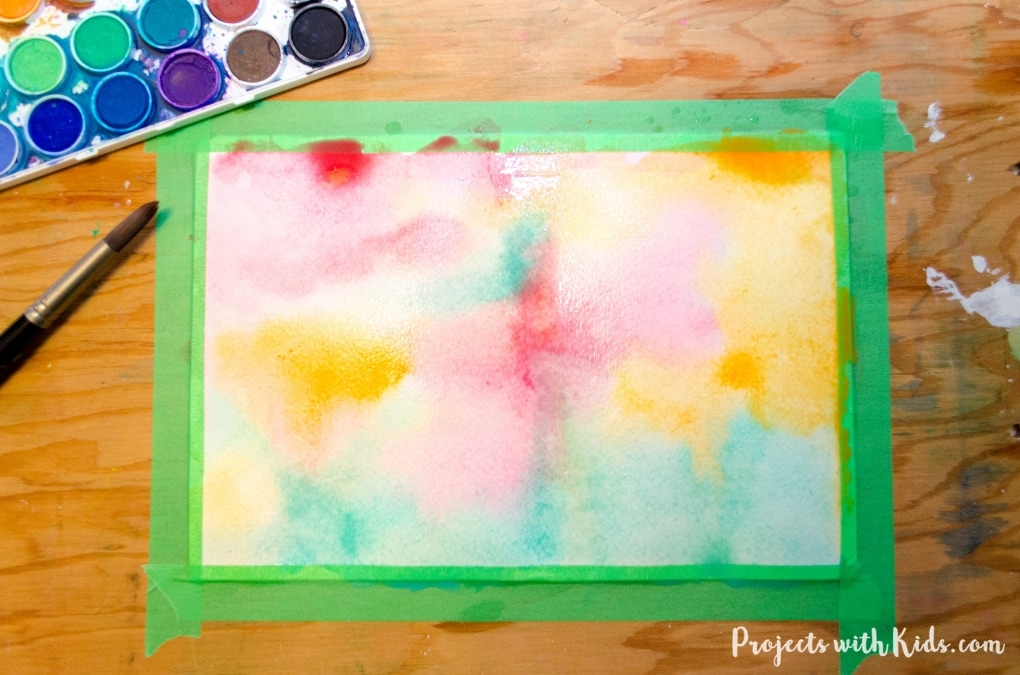
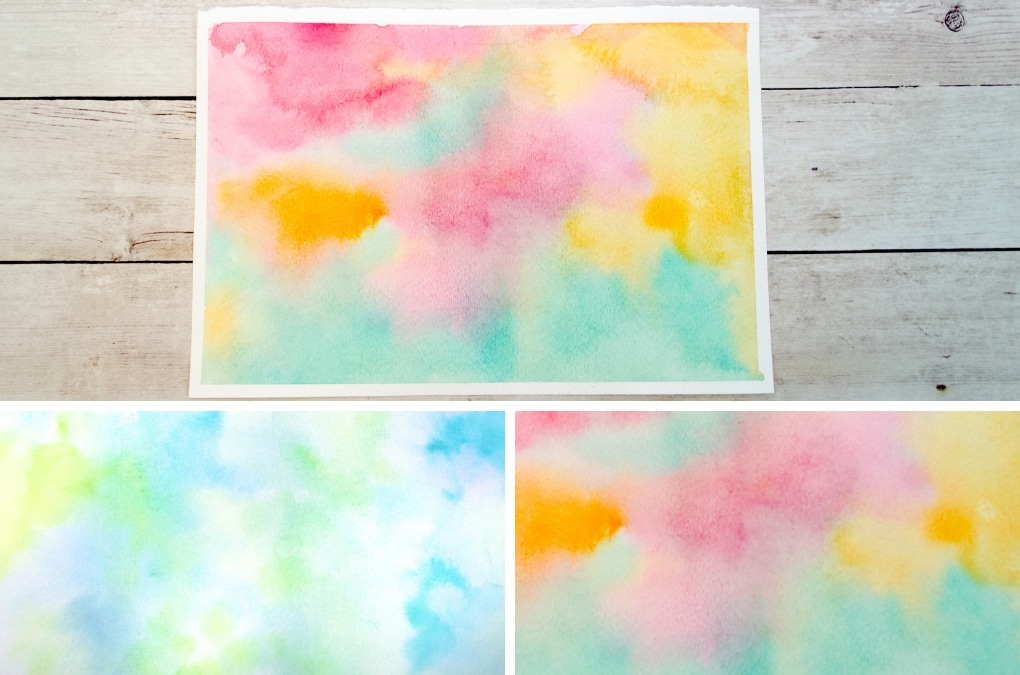
Basically, you paint your watercolors onto wet paper and as the paper dries, the paint mixes and creates beautiful unique patterns. The number of colors you use for this technique is up to you, try using 2 or 3 to start.
1. First, mix your paint in your palette. Remember to test your colors on scrap paper to make sure they are dark enough.
Related: How to Make a Beautiful Watercolor Flower Painting
2. Next, tape your paper down to a wooden board using painters tape. You can use scrap wood (some hardware stores will give you scraps for free) or some art supply stores carry them. This helps to keep the paper from sliding all over when painting (which can be frustrating for kids), creates a nice border around the finished painting and also helps the paper dry flat.
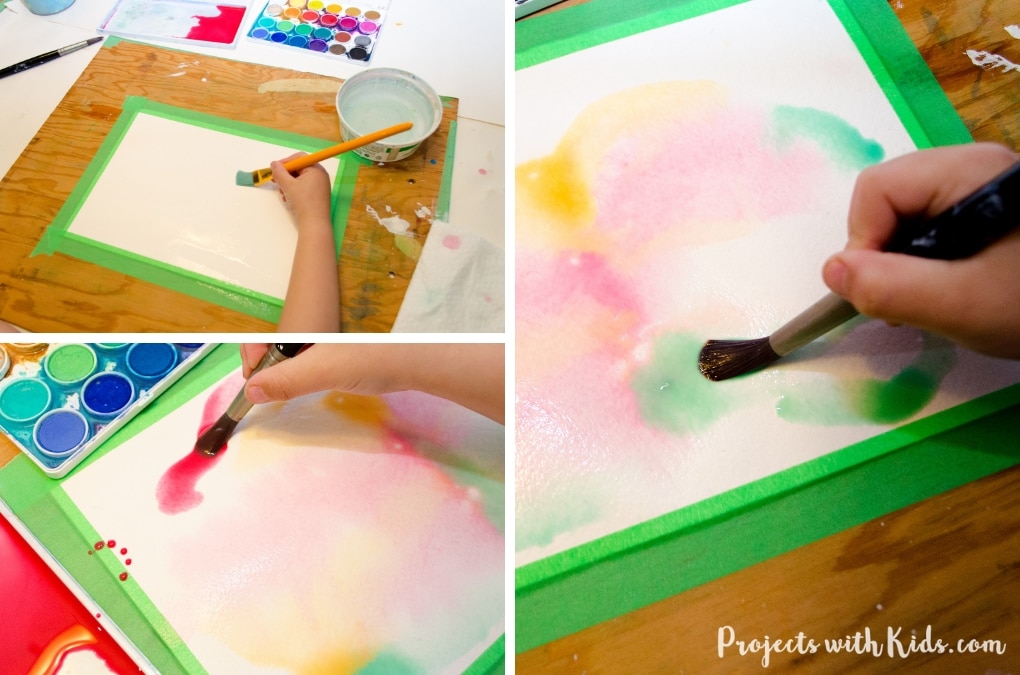
3. Using a flat brush, paint your entire paper with clean water. You don’t want the paper to be soaking if you find it too wet, you can dab it with some paper towels.
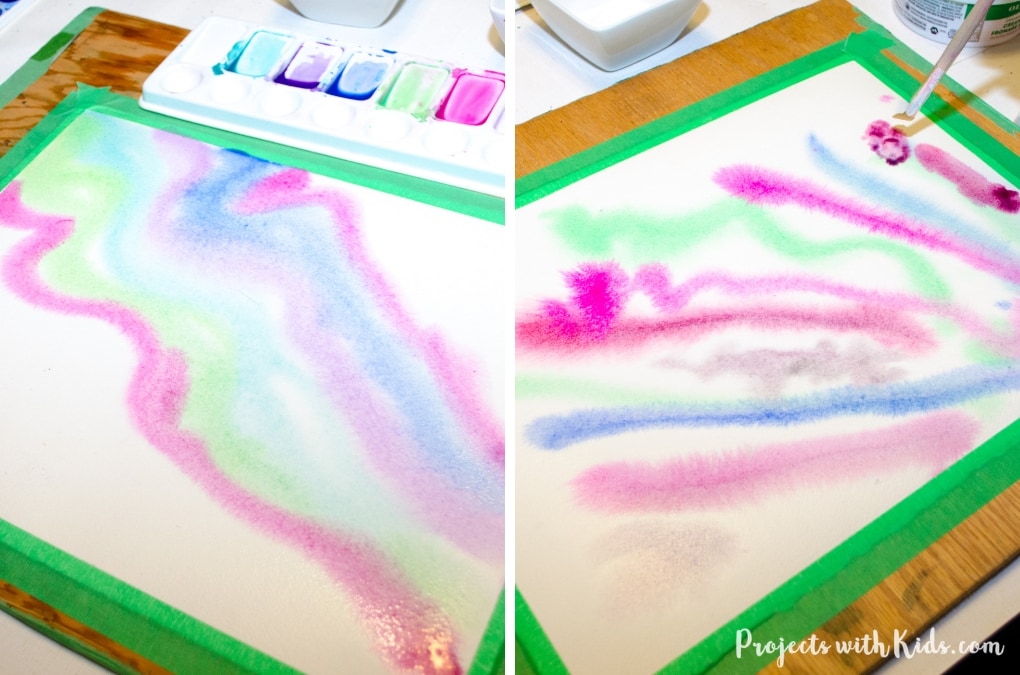
4. Start to paint your paper, using one color at a time. Kids can experiment with painting in different ways, they can dab the paint on or paint in long brushstrokes across their paper like in the example above.
Remind them to not mix the paint together on their paper or the colors will get muddy. Make sure that kids wash their brush in between colors. As the paint dries, the colors will mix together and create beautiful and unique patterns.
If you are wanting your paper to dry faster, you can always use a hairdryer to help.
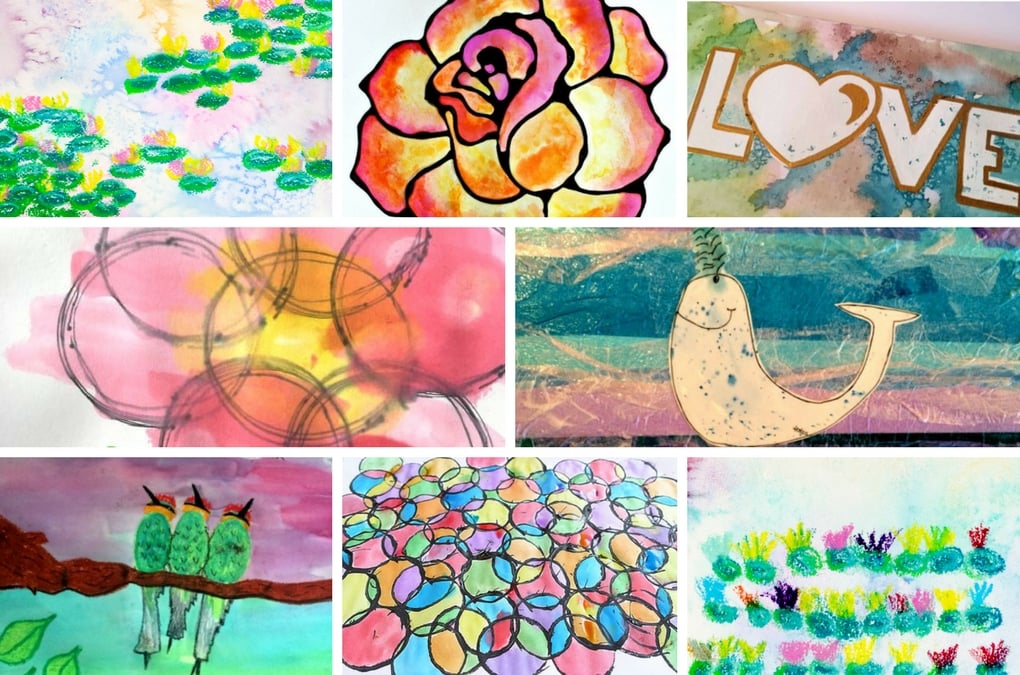
We use this watercolor technique a lot, often combined with other methods. You can see this technique in action in our Fall Leaf Painting with Watercolors and Glitter and our Unique Watercolor Bookmarks.
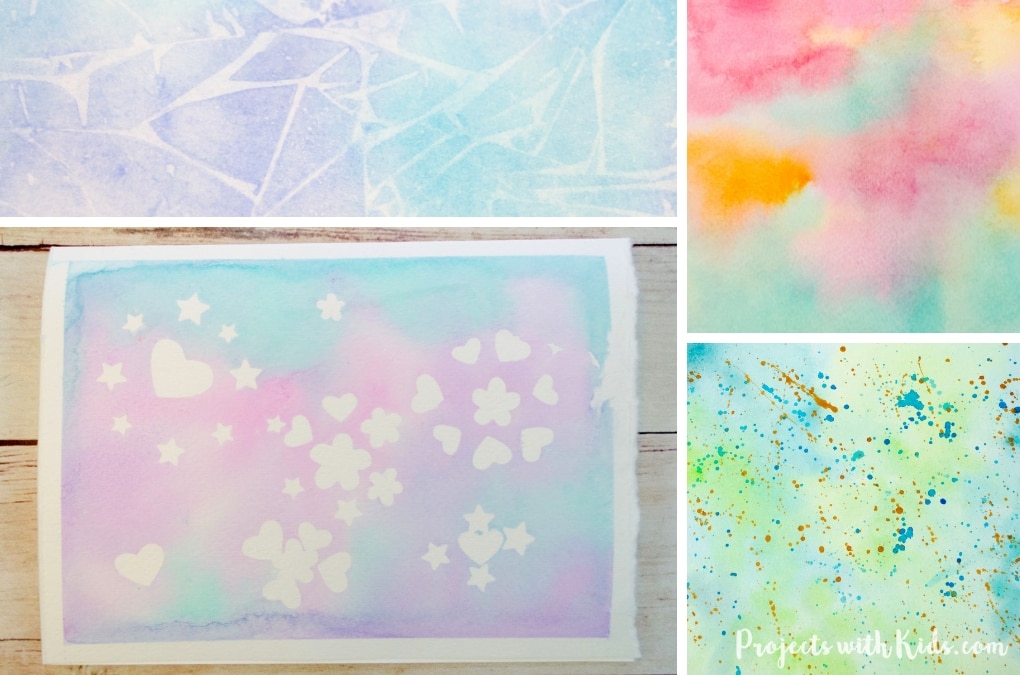
Using Salt with Watercolors
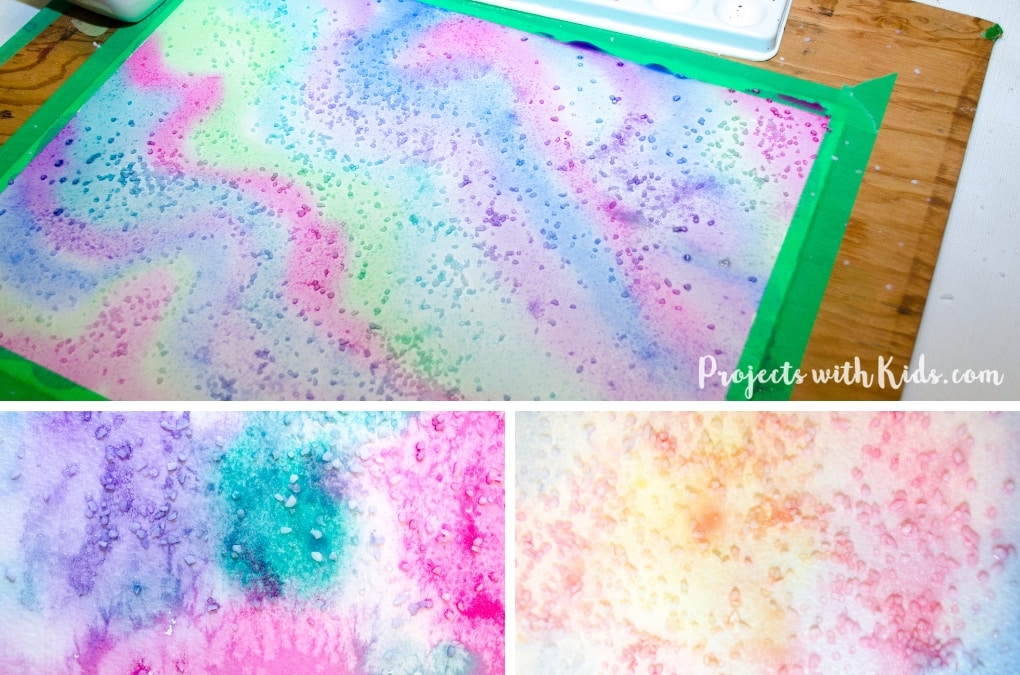
This is a fun one! The salt can create some really interesting patterns as your paper dries. You use the wet on wet technique first and then sprinkle on your salt while your paper is still wet.
We have tried regular table salt and coarse salt and the coarse salt is by far our favorite!

1. First, paint your watercolor paper using the wet on wet technique.
2. While your painting is still wet, sprinkle salt onto your painting. Let kids experiment with where to put their salt and how much to use. Try out table salt and coarse salt to see the different patterns each makes.
3. Let your painting dry completely before brushing the salt off. This can be messy! I like to take our paintings outside to do this, or you can brush the salt into the sink.
We use this salt technique a lot in our watercolor projects, I love the salt patterns in our Monet Water Lilies Art Project for Kids and in this Snowflake Watercolor Winter Art.
Spatter or Splatter Painting
Some people call this technique spattering, others call it splatter painting, however you say it kids will love to do it! It’s a super fun watercolor technique that can add interest to any art project. You can use 1 color or multiple colors, there are no rules.
1. Choose a watercolor project you would like to add some spatter painting to, you can use a painting with the wet on wet technique, or with the salt technique, it’s up to you. Or just a plain piece of watercolor paper is fine to start!

2. You generally want to mix your colors on the darker side. In the example above, we used a dark green and a gold color.
You can do spatter painting on paper that is wet or dry, each one will give you a different effect. If your paper is wet, the paint will soak in more, spread out a bit, giving it a softer effect.
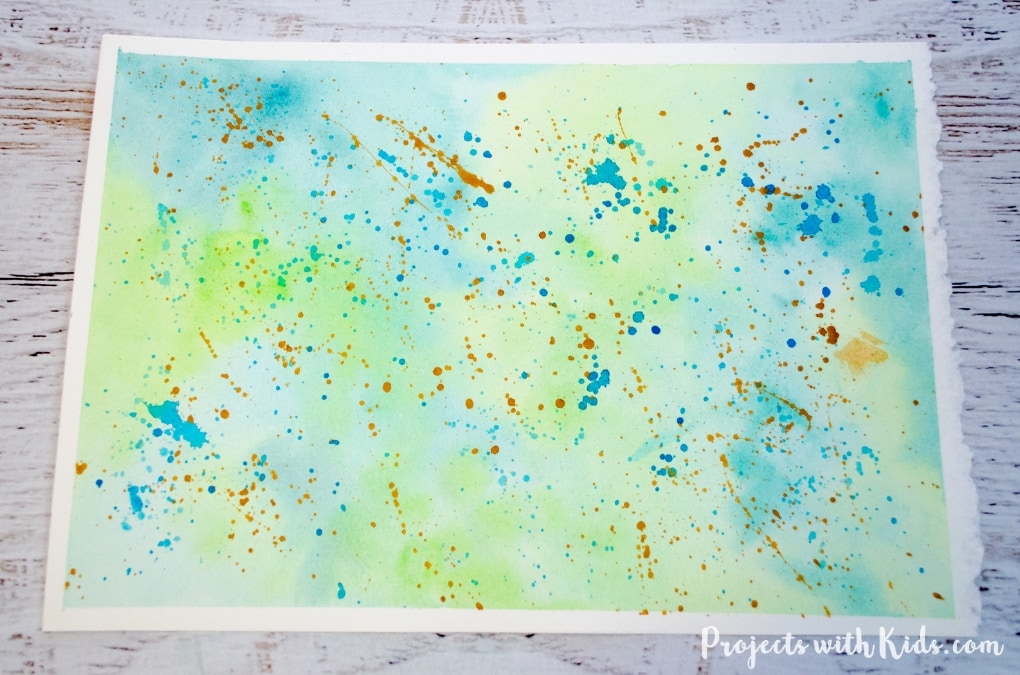
3. Hold your paintbrush in one hand and with your first two fingers on your other hand tap your paintbrush across your paper, creating a spatter effect. Get more paint on your brush and try again. Keep going until you like how your painting looks.
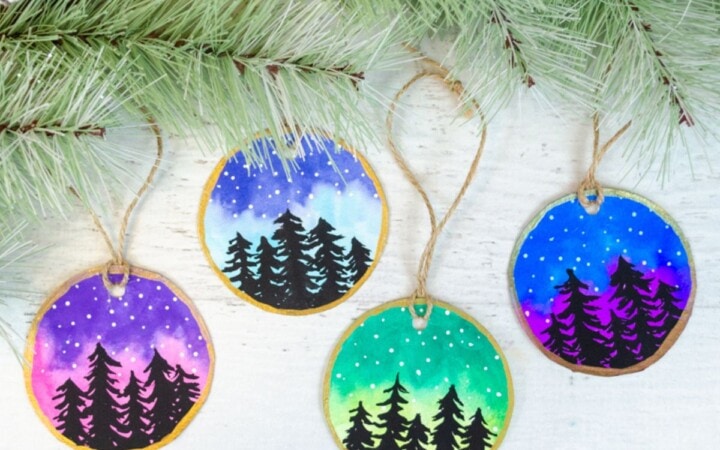
This is a great technique to paint snow, which you can see here in our Northern Lights Watercolor Painting for Kids.
Sticker Resist Watercolor Technique for Kids
This is probably my kid’s favorite watercolor technique. There are so many fun possibilities with different shapes and sizes of stickers, you can’t go wrong with this painting idea!
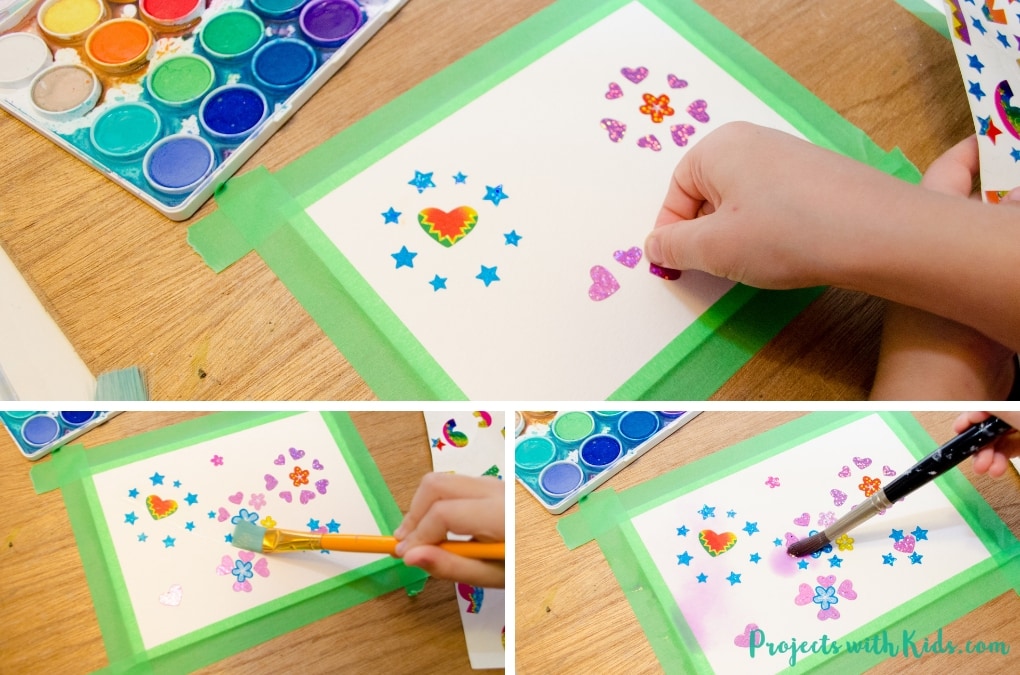
1. Get your stickers, paper, and paints ready. I like to use simple shapes for this technique. Remember, it will just be the silhouette shape that’s on your painting so you don’t want anything complicated.
2. Place your stickers on your paper, pressing down firmly.

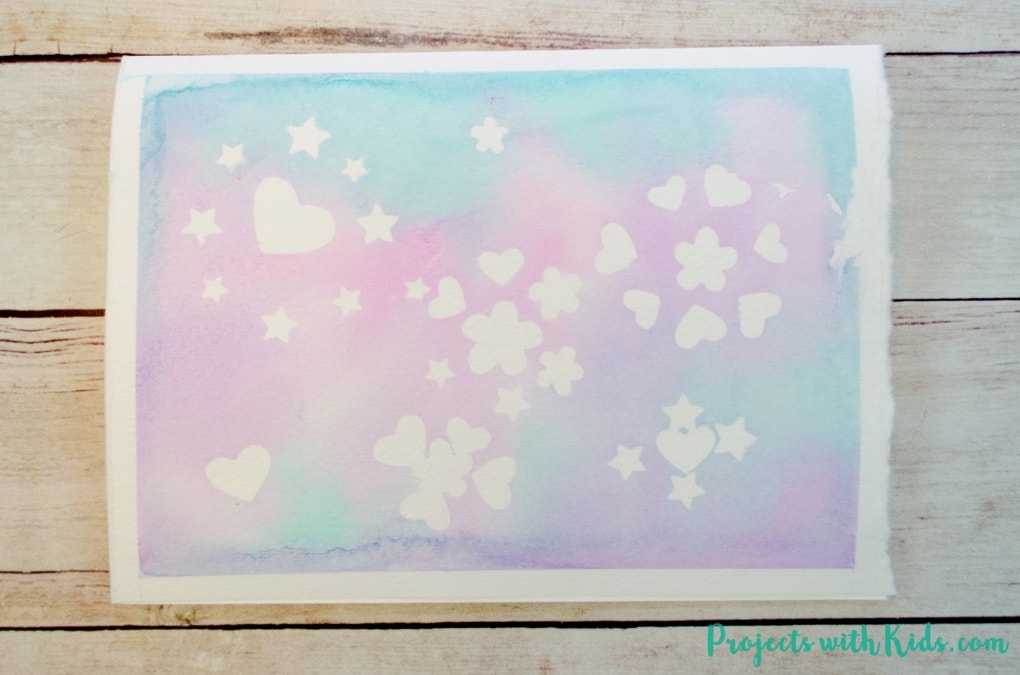
3. Paint your paper with your watercolors, we used a wet on wet technique with 3 colors for our example.
4. Let your painting dry completely. Take your stickers off to reveal your amazing design underneath!
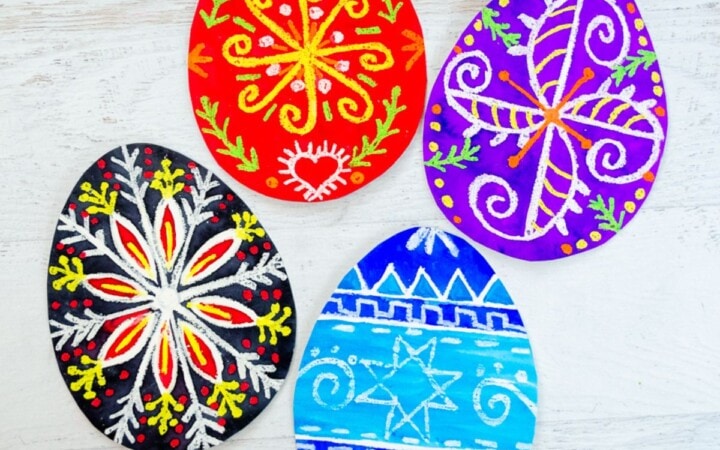
You can see how we used this technique in these Sticker Resist Watercolor Valentine Bookmarks. And I just love how this Watercolor Easter Egg Art with Stickers turned out. We have also done an oil pastel resist technique with these Surprise Ghost Paintings.
Using Plastic Wrap with Watercolors
Another simple technique that results in gorgeous patterns and textures in your painting!
1. First, mix up your paints, get your paper ready and have some plastic wrap handy. You can use 1 or more colors for this project, I think using at least 2 gives a nice effect.
2. Next, paint your paper using the wet on wet technique.
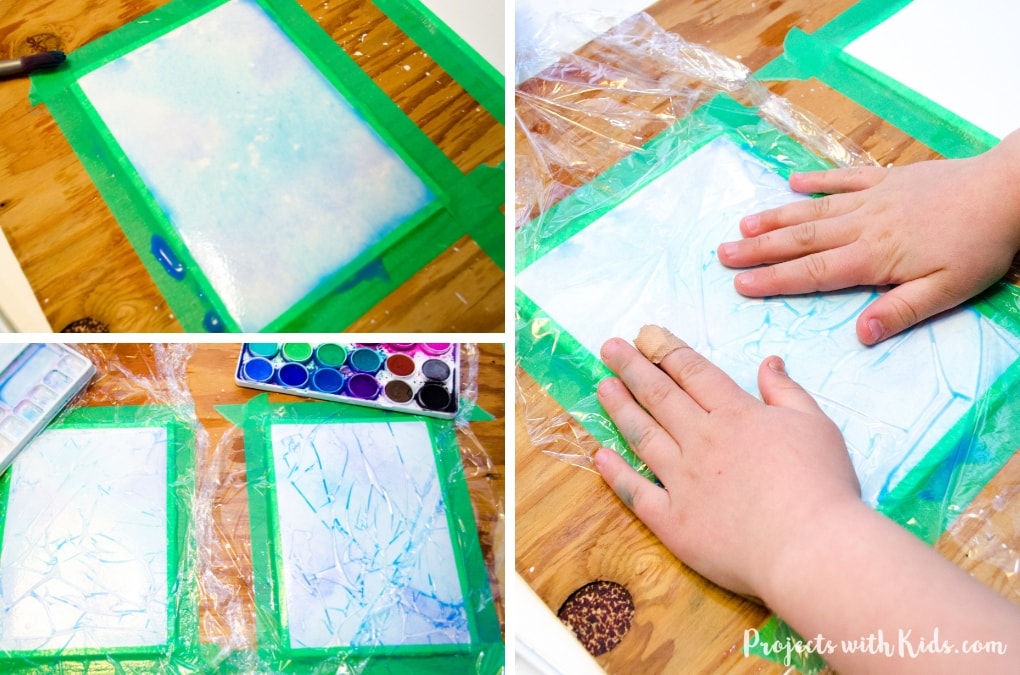
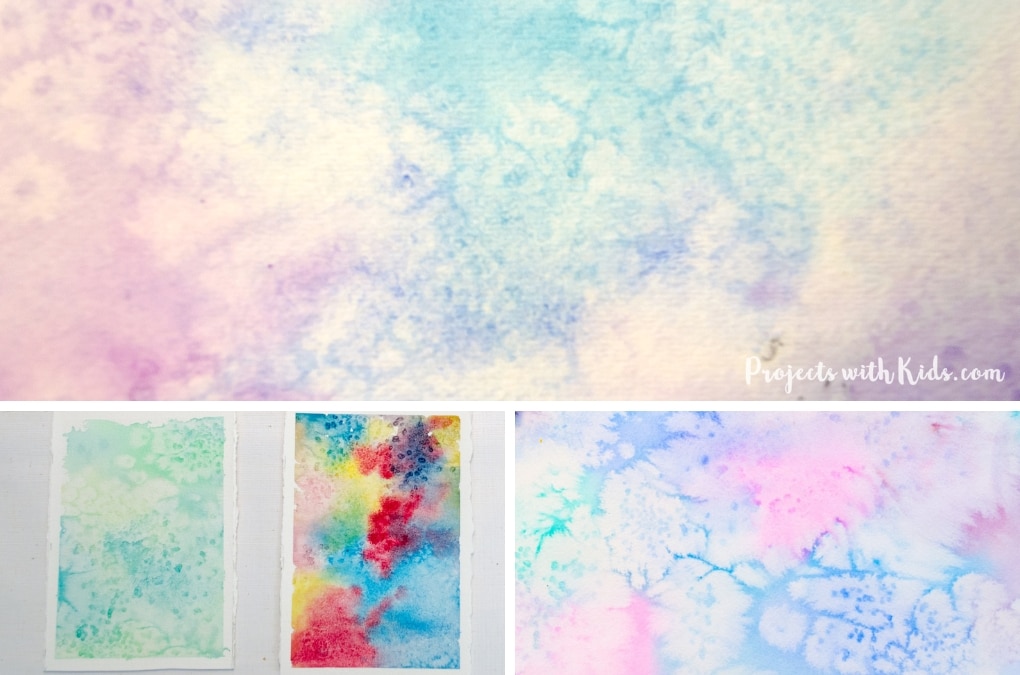
3. While your painting is still wet, place some plastic wrap onto the paper. Move it around a bit to create some interesting texture, you don’t want it flat against the paper.
You can see in the example above that the wet paint pools underneath the plastic wrap, this will create some really cool and interesting patterns
4. Wait for your painting to dry completely before taking the plastic wrap off underneath to reveal your beautiful painting!
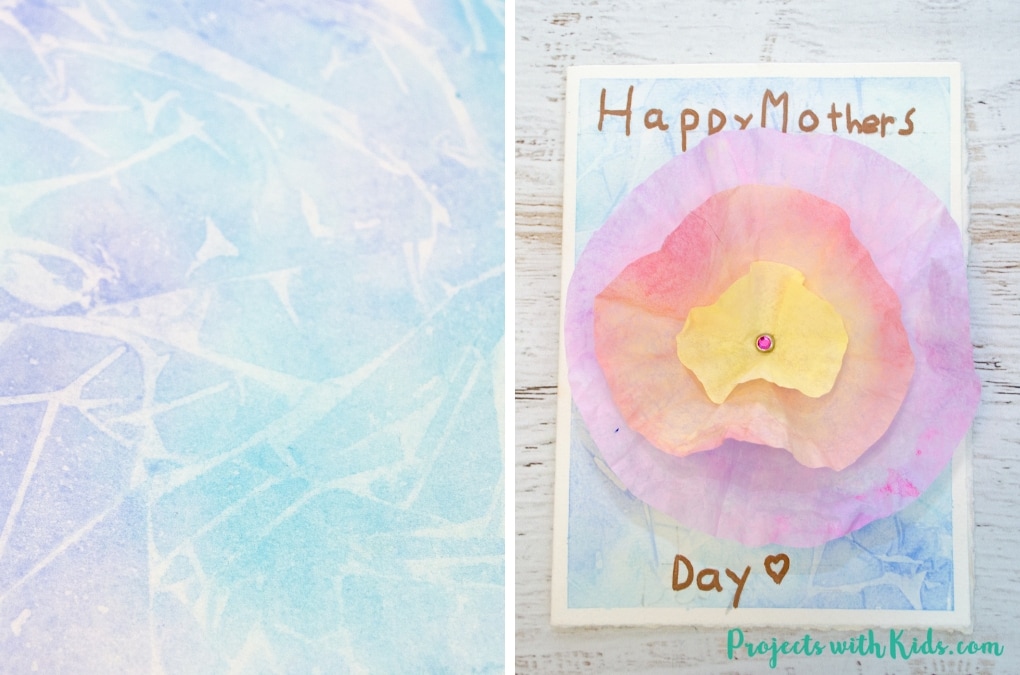
I love the textured effect of this watercolor method, the lines and streaks it creates across the paper give it a structured look, which is a bit different than the softer feel of using salt or just a wet on wet approach
We used this technique for our 3D Flower Mother’s Day Cards as you can see in the example above.
These 5 watercolor techniques for kids are simple to do, but so fun and engaging for kids to create and explore! I hope you have a chance to try a few out. I would love to hear about your favorite technique that you have tried.
We love creating and exploring with different art supplies and techniques. If you are looking for more art projects to try, take a look at our ultimate collection of amazing art projects for kids!
More painting ideas kids will love
The Best Painting Ideas for Kids to Try
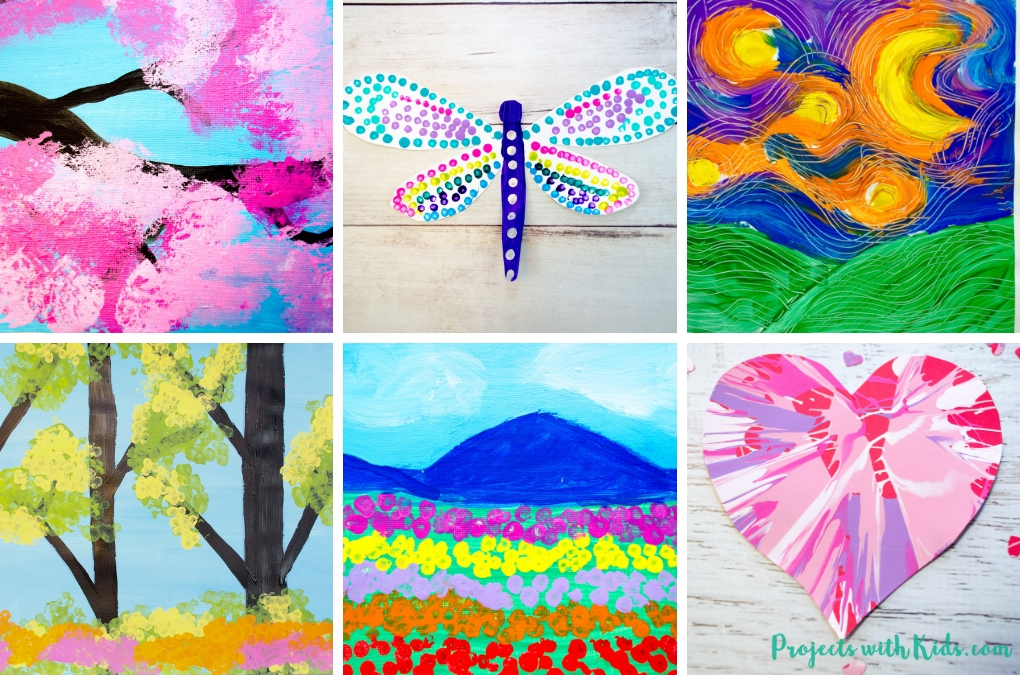
47 Creative Watercolor Painting Ideas Kids will Love
Follow me on Pinterest for more great project ideas.
Pin these ideas for later
[…] 5 Easy Watercolor techniques for Kids that Produce Fantastic Results […]