
I love all of the bright fresh colors of spring and this St. Patrick’s Day art project is just the thing to put you in a spring mood. A colorful four-leaf clover art project that is easy enough for even younger kids to do without much assistance.
This is also a great project to talk about positive and negative space!
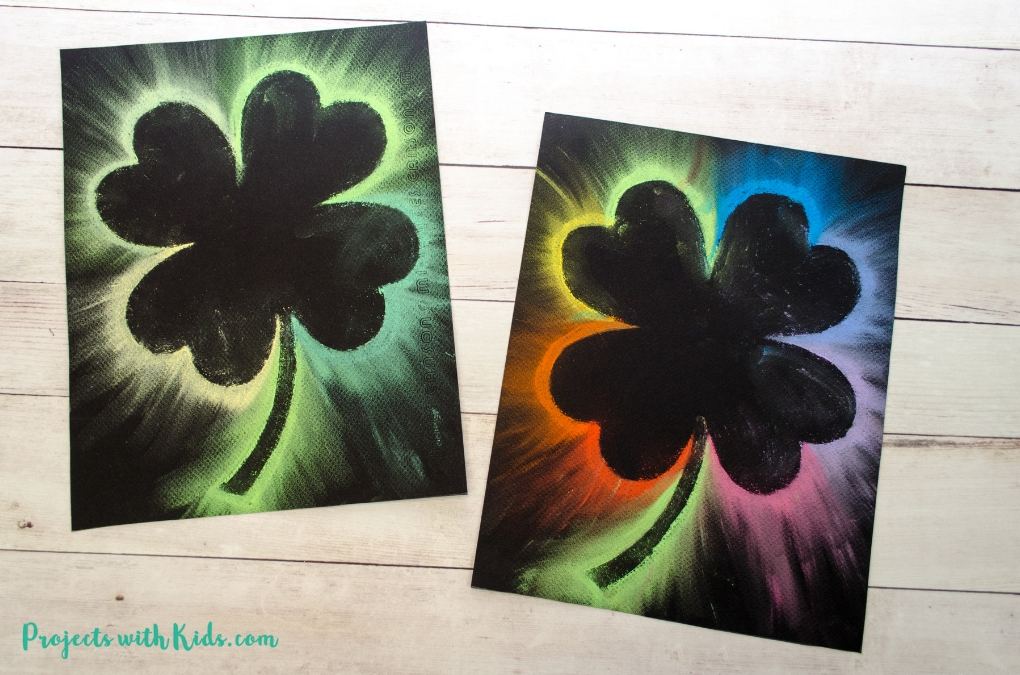
Chalk pastels are so fun for kids to explore, and with some simple techniques, you can get some pretty cool results. I love how this smudging method looks, especially on black paper which makes the pastels extra bright, they almost look like they are glowing! Take a look at my collection of chalk pastel art for more creative ideas kids will love.
Scroll down to the bottom of this post to download your four-leaf clover printable template.
This is one of my favorite chalk pastel techniques to do with kids! Check out our bunny art project with chalk pastels for another fun spring idea!
Tips for working with chalk pastels
Chalk pastels can be messy (but so fun!). There are a few things you can do to help keep some of the mess contained:
- Put newspaper down on desks or tables
- Put your project on a tray or a shallow cardboard box which will keep most of the mess inside the tray
- You can try doing your project outside
- Have lots of paper towels handy
- Once you are done with your project (or even halfway through if it gets really dusty), take it outside to gently blow or shake off the excess dust
- If you are using chalk pastels in the classroom and the kids are ready to take their artwork home, simply place the art between some newspaper to keep it from smudging and for easy transport.
Create your own St Patrick’s Day Art Project
This post contains affiliate links. As an Amazon Associate, I earn from qualifying purchases. If you would like more information please review my privacy & disclosure policy.

Supplies
- Four-leaf clover template (scroll to the bottom)
- White cardstock
- Black drawing paper or you can even try black construction paper
- Chalk pastels
- Q-tips or pastel blending stick (optional)
- Spray fixative (optional)
- Paper towels
Instructions for your four-leaf clover art project
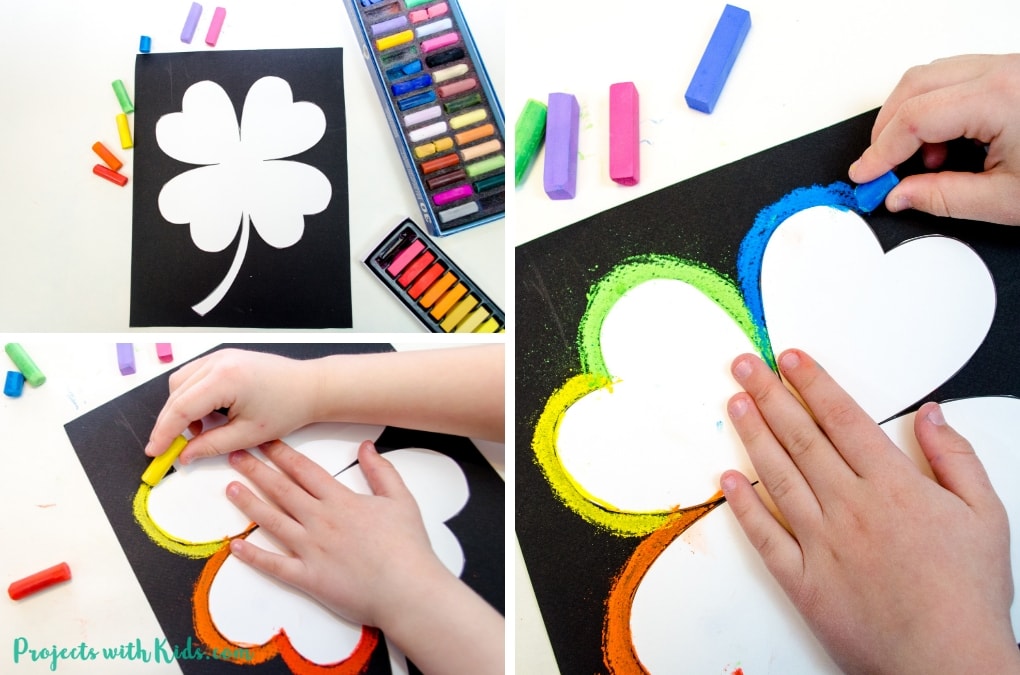
1. First, print out your four-leaf clover template (scroll down to get your template). I found that using cardstock makes the template easier for kids to use. Carefully cut it out, younger kids will need help with this step.
2. Get your black drawing paper or construction paper and chalk pastels ready.
My daughter planned out her colors first to make sure she had enough to go around the clover shape. She did a rainbow clover for St. Patrick’s Day and I did one using different shades of green and yellow. Both look great!
Related: Easy Rainbow Clover Craft with Oil Pastels
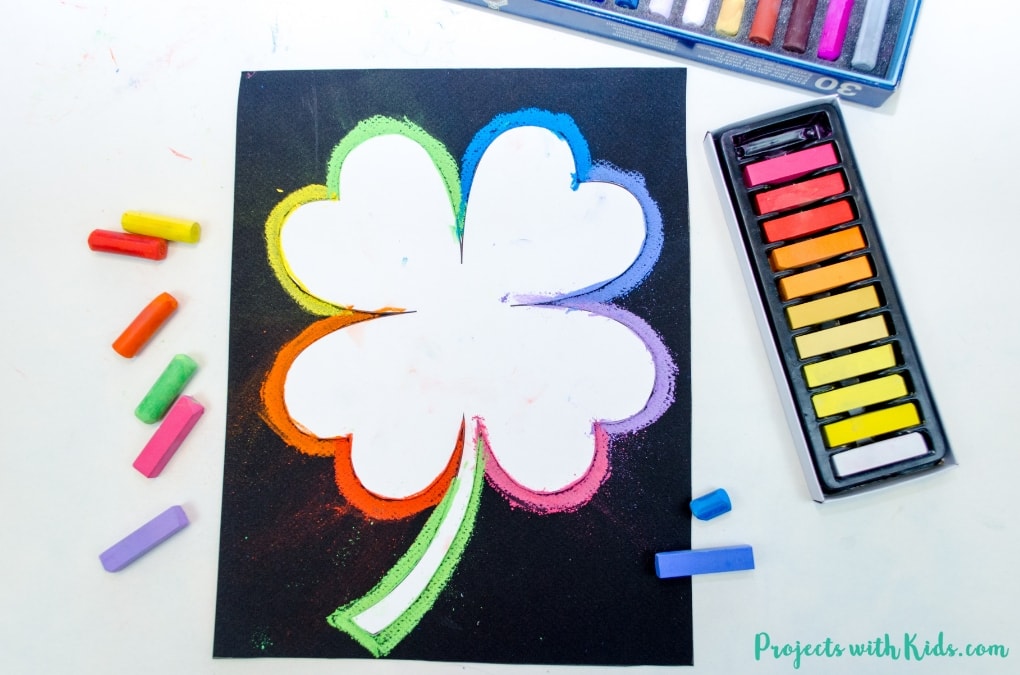
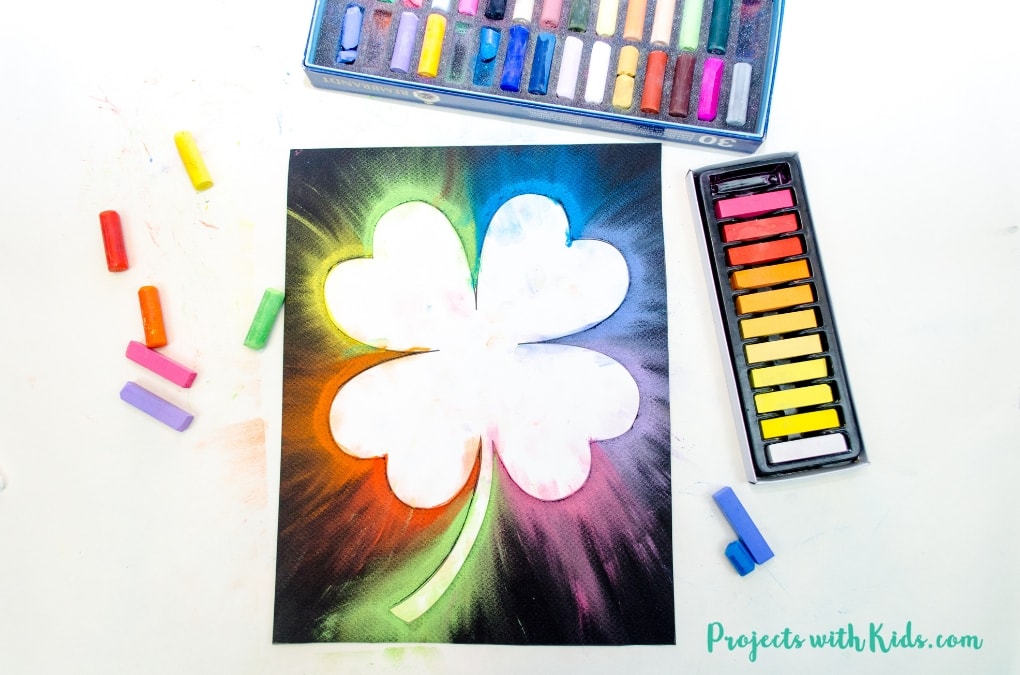
3. Place your clover in the middle of your black paper and using one color at a time, color around the edge of the clover.
You want each color to be quite thick like in the photo above, this will make the next step a lot easier and give more of a dramatic effect to the finished project.
Related: Canada Day Chalk Pastel Art Project for Kids
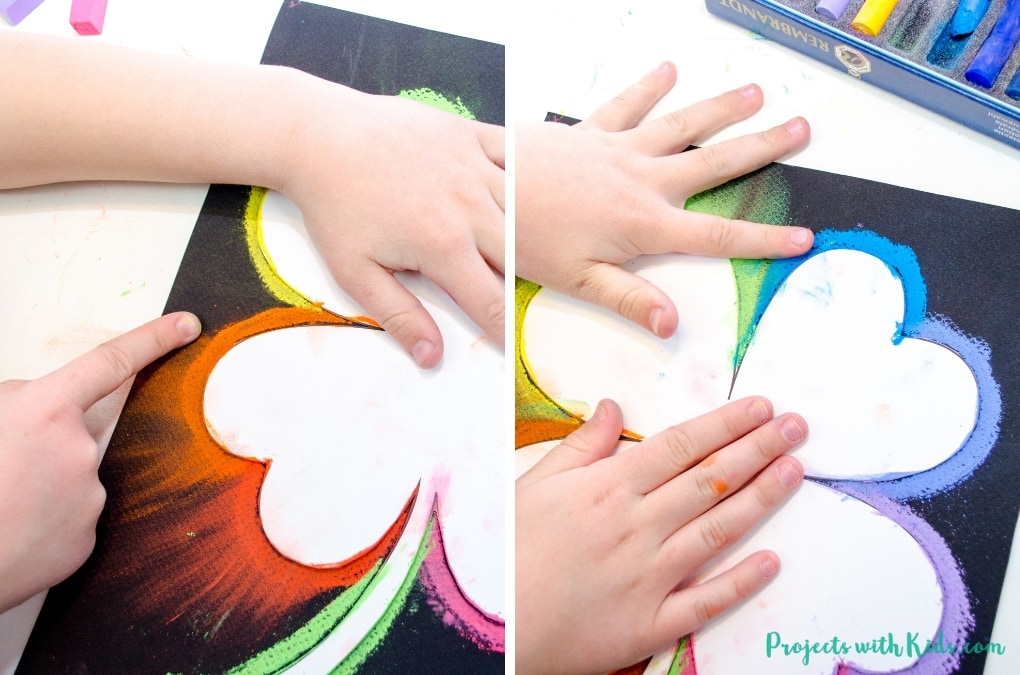
4. Once you are done tracing, using a pastel smudge tool, a q-tip or your fingers (my favorite method!) smudge the pastels outward away from your template. Remind kids to go slow and smudge right to the edges of their paper.
Have lots of paper towels on hand for kids to wipe their hands in between colors.
Smudging pastels are always a fun technique for kids to explore, take a look at these 5 essential chalk pastel techniques for beginners for more fun ideas!
Carefully, lift off the template to reveal your design! Blow off the excess pastel dust outside and use a q-tip or eraser to clean up any smudges on the inside of your design.
You can choose to spray the artwork with a workable fixative to preserve and keep the pastels from smudging (this is completely optional). This step should only be done by an adult, outside in a well-ventilated area.
Related: 4th of July Chalk Pastel Art for Kids
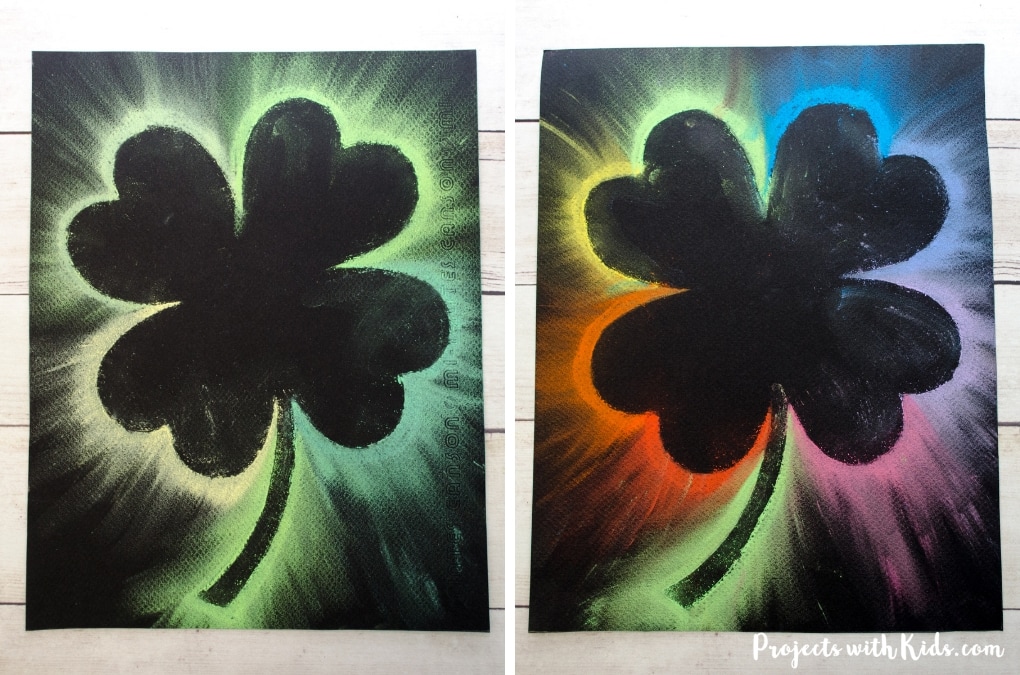
This was such a fun St. Patrick’s Day Art project. I love that you only need a couple of simple supplies to create this four-leaf clover art. The black paper really makes the chalk pastels extra bright and gives more of a dramatic effect.
If you are looking for more spring projects, take a look at this colorful collection of spring art for kids!
We love creating and exploring with different art supplies and techniques. If you are looking for more art projects to try, take a look at our ultimate collection of amazing art projects for kids!
>>CLICK HERE TO INSTANTLY DOWNLOAD YOUR FOUR-LEAF CLOVER TEMPLATE!
More pastel projects kids will love
Dazzling Shooting Star Paintings with Chalk Pastels

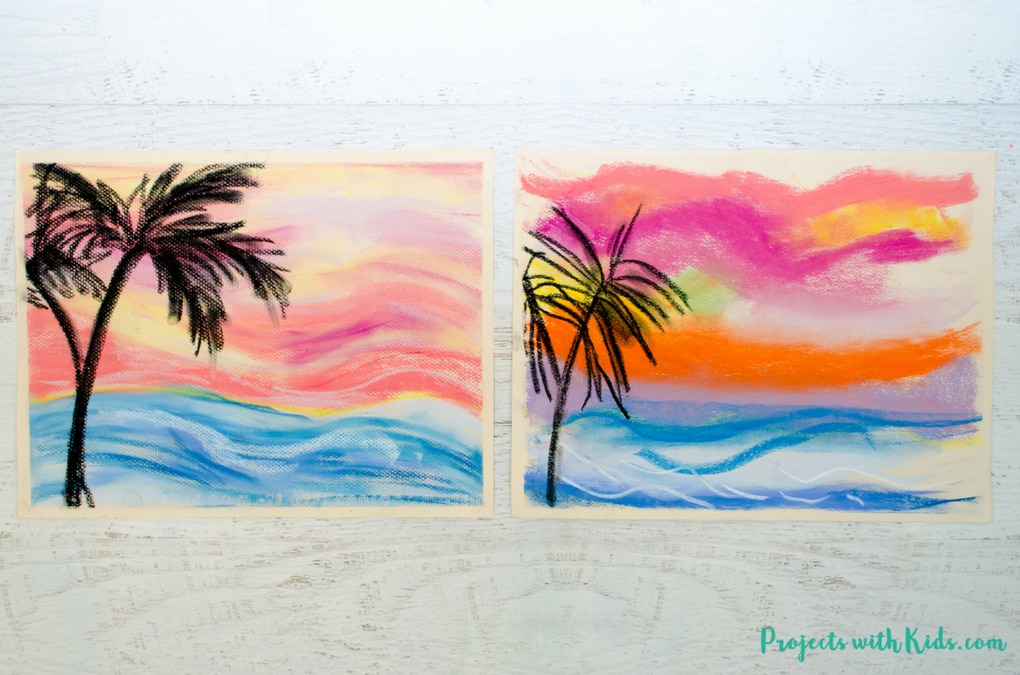
Create Stunning Chalk Pastel Sunsets with Kids
Follow me on Pinterest for more amazing project ideas.
Pin this project for later
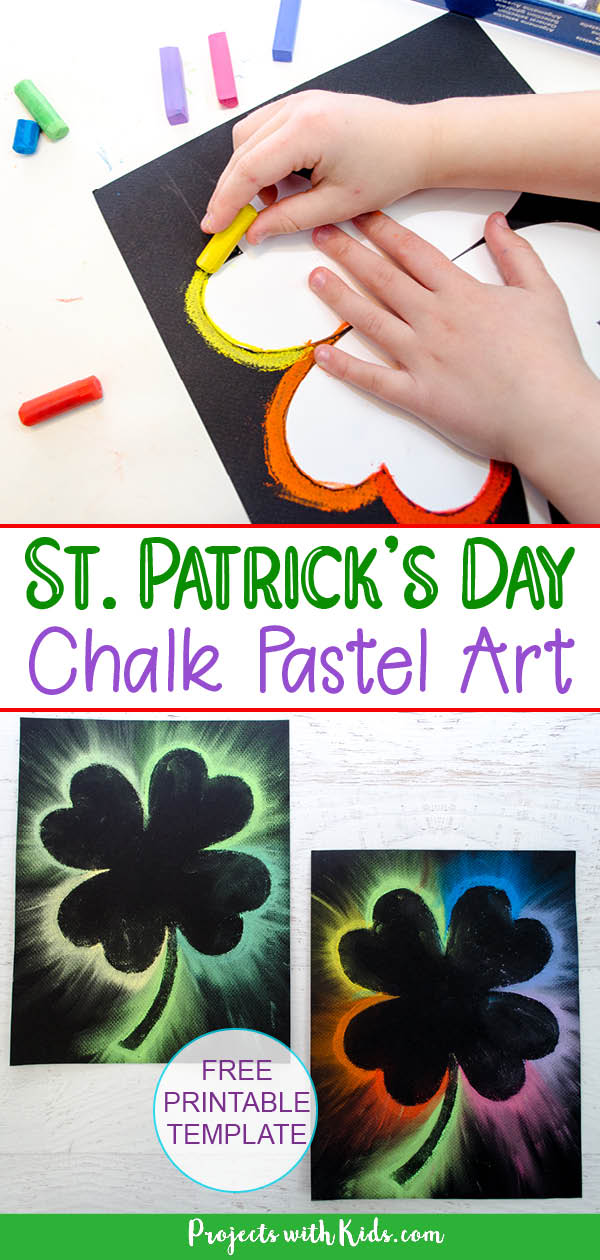
COLORFUL ST. PATRICK’S DAY ART PROJECT WITH CHALK PASTELS

Kids will love using vibrant chalk pastels on black paper and an easy smudging technique to create this St. Patrick's Day art project. An easy and fun spring art activity.
Materials
- Four leaf clover printable
- White cardstock
- Black drawing paper or black construction paper
- Chalk pastels
- Q-tips or pastel blending stick (optional)
- Paper towels
Tools
- Spray fixative (optional)
Instructions
- Print your four leaf clover template onto white cardstock and cut it out.
- Use painter's tape to tape it down in the middle of your paper.
- Have kids choose the pastels colors that they want to use. They can choose to do a rainbow theme, different shades of green or any color combination that they like.
- Draw thick lines around your template with the chalk pastels.
- Use your fingers, a blending stick or q-tip to smudge the pastels in an outward direction all the way around your template.
Have lots of paper towels on hand for kids to wipe their hands in between colors. - Carefully, lift off the template to reveal your design! Blow off the excess pastel dust outside and use a q-tip or eraser to clean up any smudges on the inside of your clover.


Debbie
I love this art
ProjectswithKids
Thank you Debbie!
Pat Eckes
Is a m looking forward to the art projects!!!
Karen franklin
Look and thanks for all the ideas for my grsndchildren
Hilary
Could you use regular chalk for this project? I am doing an at project with 30 kids and thought this would be perfect, but I don’t want to have to buy that many sets of pastels.
ProjectswithKids
Hi Hilary,
It’s certainly worth a try! I would do a sample first to see how it looks. Depending on the type of chalk you use it might not be as bright or it might not smudge as much.