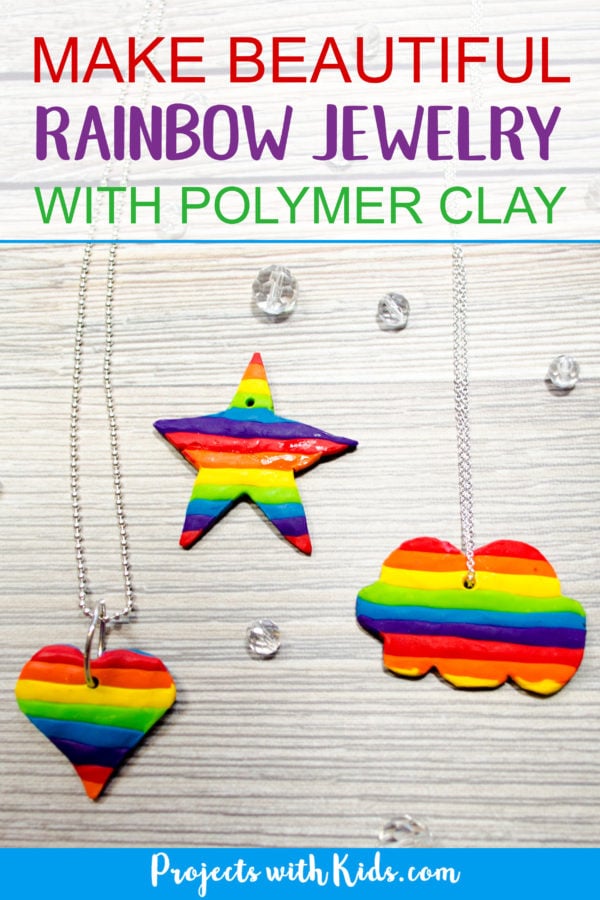
This rainbow jewelry is so bright and cheerful! We love rainbow craft projects, and these necklaces are just adorable. Polymer clay is such a fun craft supply for kids to explore, it’s definitely one of our favorites. My daughter loved making her rainbow charms into cute little shapes, and loves to wear her heart necklace!
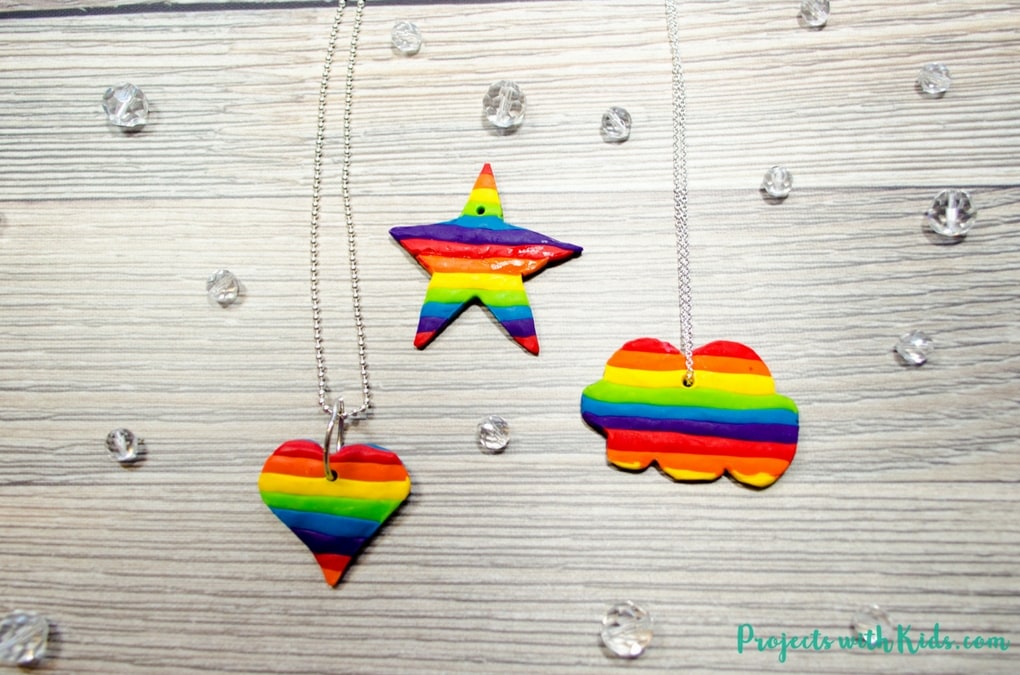
Make Your Own Rainbow Jewelry
This post contains affiliate links, which come at no cost to you. If you would like more information please review my disclosure policy.
Supplies
- Polymer clay in rainbow colors. We used Sculpey, but Fimo would also work great.
- Clay shaping tools
- Cardboard templates to make your rainbow shapes. I cut a heart, star and cloud shape out of cardboard for our templates.
- Chains or leather cord to put your charms on. Your local craft or jewelry supply store will have lots of options.
Instructions
1. First, gather your supplies and make your templates. We made a heart, star and cloud shape, but you can make any shape you like! I cut our shapes out of cardboard to make them easier to use. You want to make your templates big enough so that you have enough room to use all of your rainbow colors.
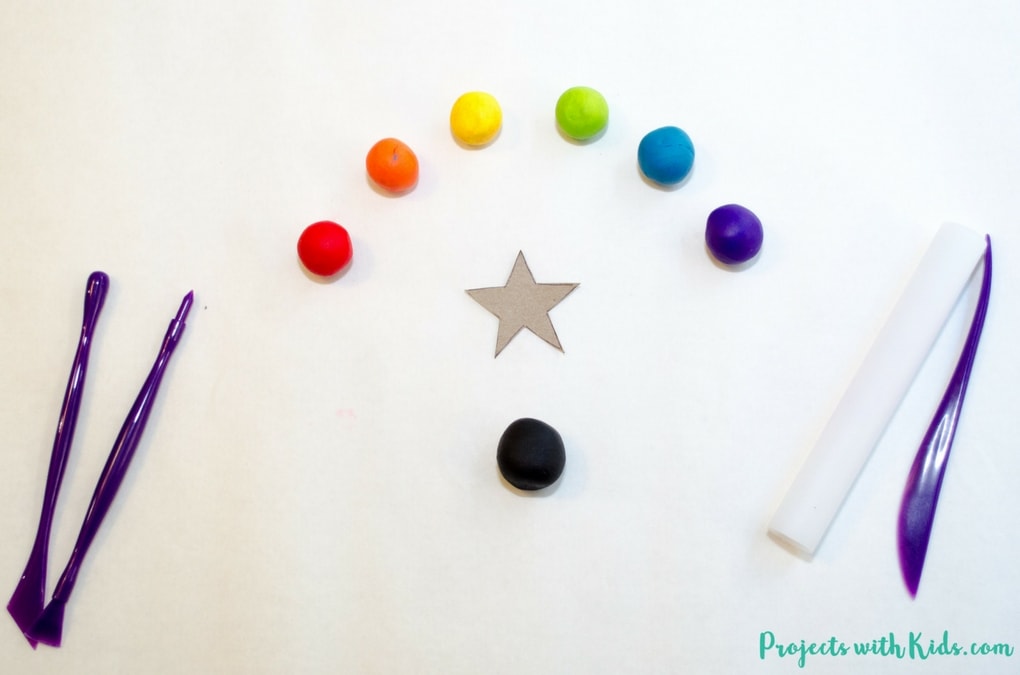
2. Take some black clay, roll it into a ball and then roll it out to about 1/8 inch thick. This will be the backing for your rainbow colors. Use your template and cut out your shape in the black clay first.
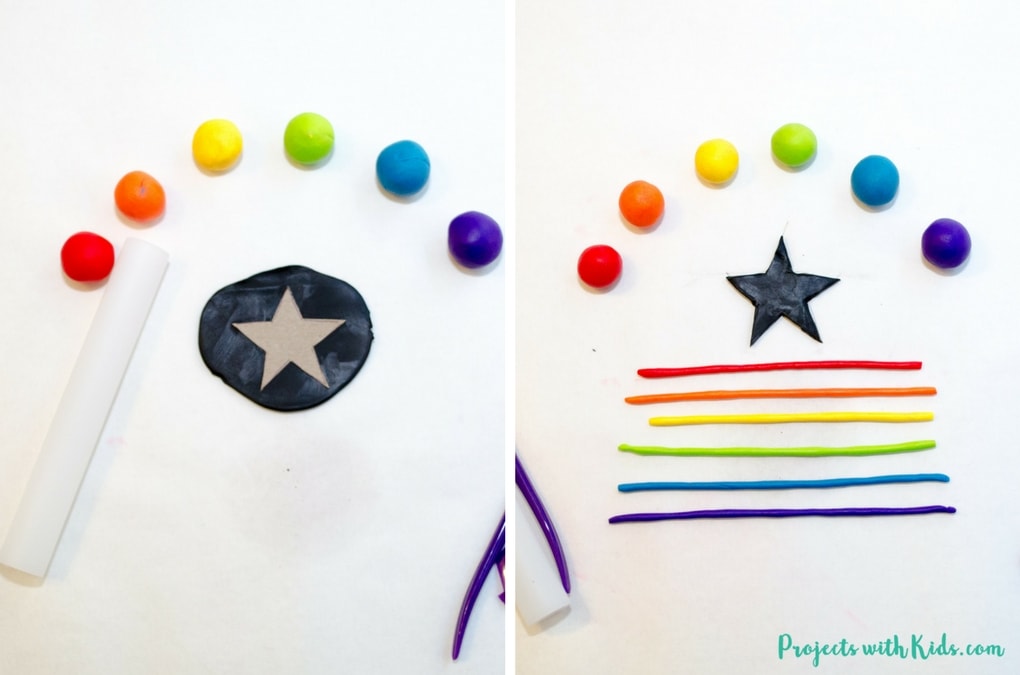
3. Take each of your rainbow colors and roll them out to make thin strips. Make them longer than you need to in case you have to use a color twice.
4. Place your rainbow colors onto your black backing, pressing down gently, but not squishing the clay. You might need to use each color more than once.
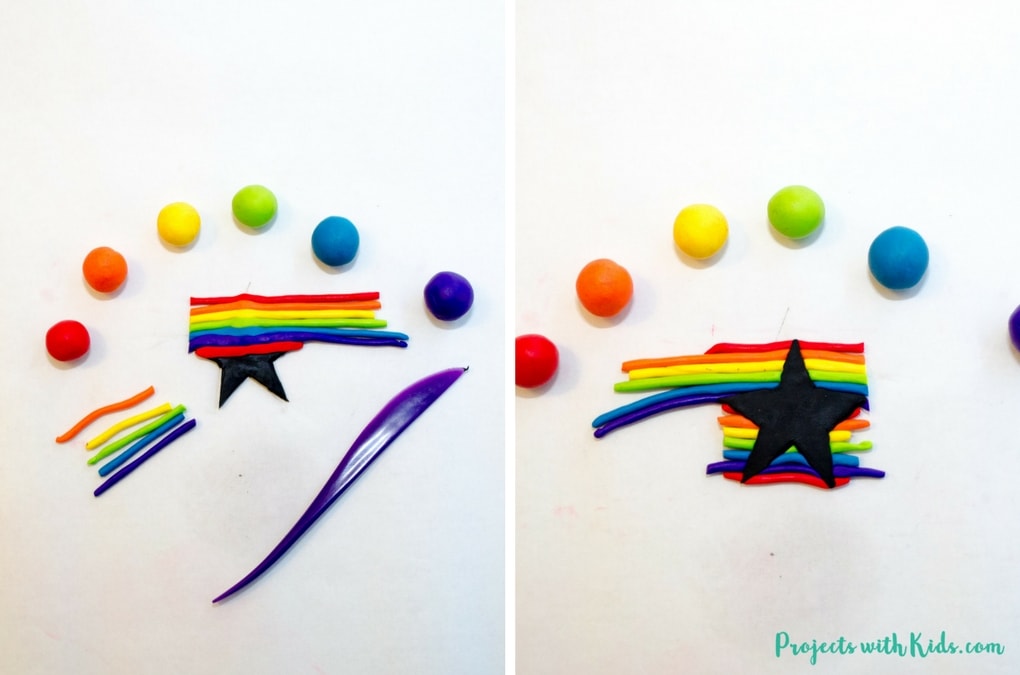
5. Once you are finished putting your colors onto the black backing, turn your shape over. Using your clay tool knife, gently cut away the excess rainbow colors. Depending on the age of your kids, they may need some help with this part.
6. Turn your shape over again, and using a skewer or chopstick make a hole at the top of your shape. You want to make sure that the hole is big enough to fit your chain or cord through. If you make your hole too small, you can always add a jump ring to the charm and then add your chain. We had to do this with the heart charm, our hole was just a bit too small.
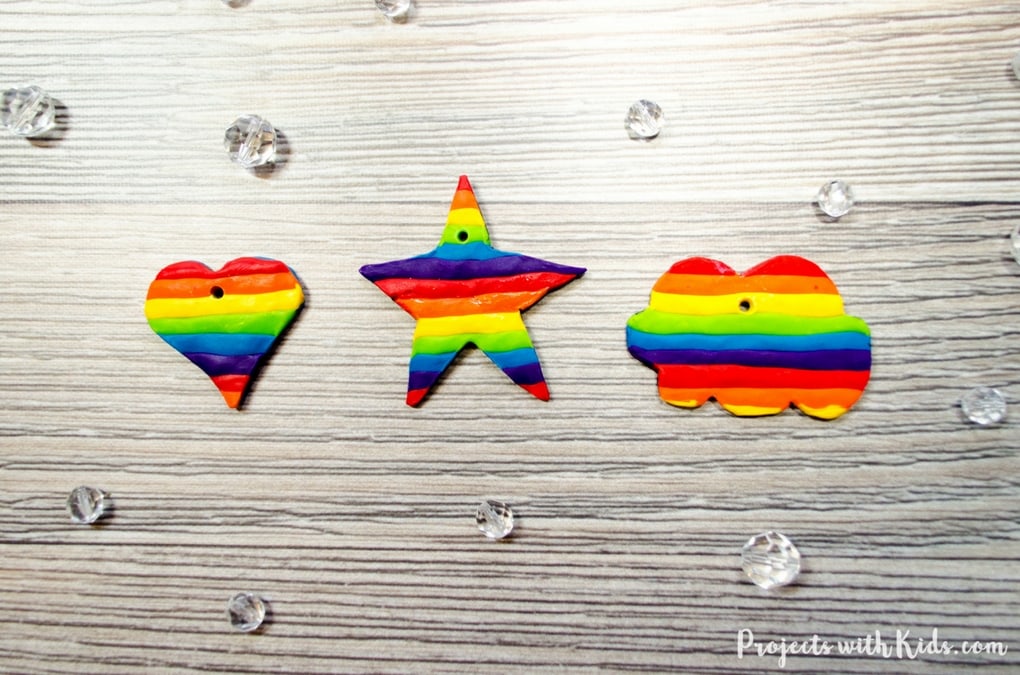
7. Bake your rainbow jewelry shapes according to the package instructions, each brand may have different baking times and temperatures. Let everything cool completely.
8. Put your charms on the necklaces you have to finish making your rainbow jewelry!
I just love how colorful our rainbow jewelry turned out, it was fun making our rainbows into cute little shapes. My daughter loves wearing her heart necklace and gave the star shape to my son to put on his backpack! This would also be a great project to make with kids to give as a handmade gift to their friends or a great playdate or birthday party craft.
Rainbow projects are always fun for kids, check out this Easy Rainbow Shamrock Craft with Oil Pastels (so fun to make!) and this Gorgeous Cherry Blossom Painting with Cotton Balls that is perfect for spring!
Follow me on Pinterest for more great project ideas.
Pin this project for later


