This simple pointillism for kids painting is fun and easy and can be done with kids of all ages! Kids will learn about Georges Seurat and Pointillism and be inspired to create their own dot painting.
We love exploring different painting techniques. Take a look at my collection of painting ideas for kids for more fun and creative art projects to try!
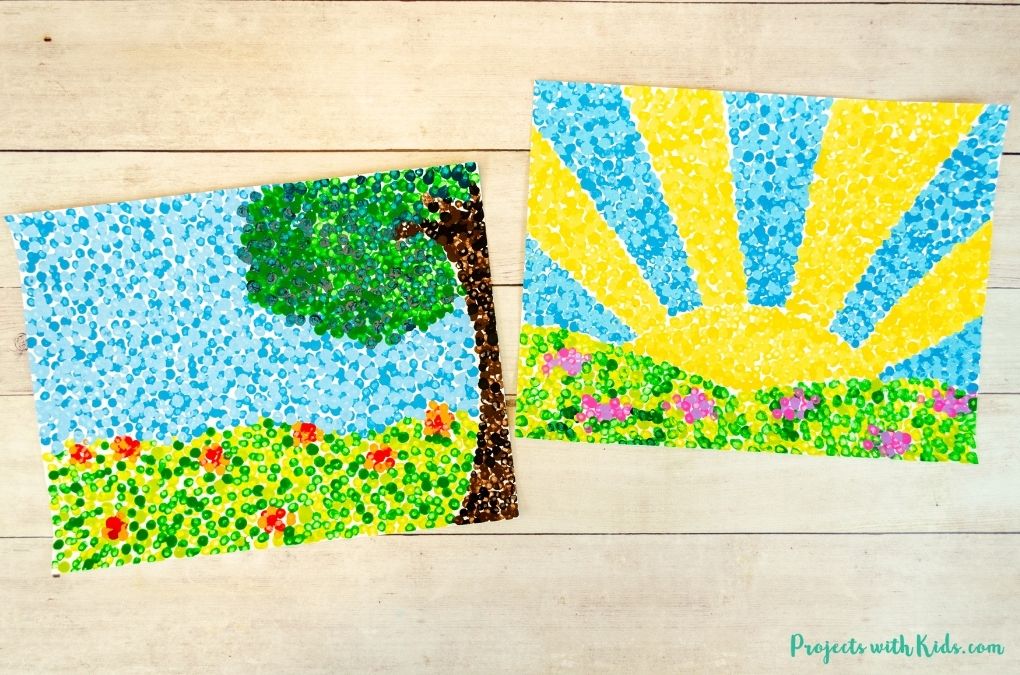
Q-tip painting is always a fun project idea for kids! Take a look at this field of tulips q-tip painting and this spring trees painting with bundled q-tips for more great ideas.
Learn about Georges Seurat and Pointillism
Georges Seurat was an artist who lived in Paris, France in the late 1800’s. He started to explore the science of optics and color in his artwork and developed the style of Pointillism.
Instead of mixing colors together on a paint palette or canvas, he experimented with creating tiny dots of color next to each other on a canvas. This would trick your eye into mixing the colors together to form the picture.
When you look at Seurat’s paintings up close you can see all the tiny dots and individual colors, as you move farther away, your eyes blend the colors together and you can see the image as a whole.
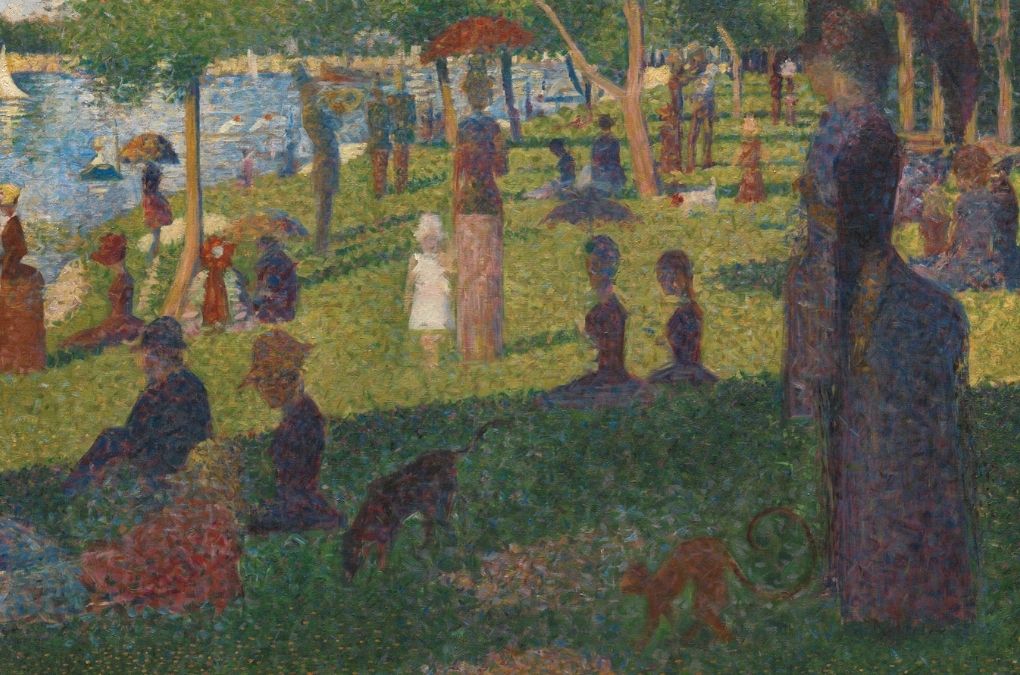
This is one of Seurat’s most famous paintings. A Sunday Afternoon on the Island of La Grande Jatte completed in 1884. This painting took two years to finish!
Learn more about Georges Seurat and Pointillism with these awesome books!
Create your own Pointillism for kids painting
This post contains affiliate links. As an Amazon Associate, I earn from qualifying purchases. If you would like more information please review my privacy & disclosure policy.
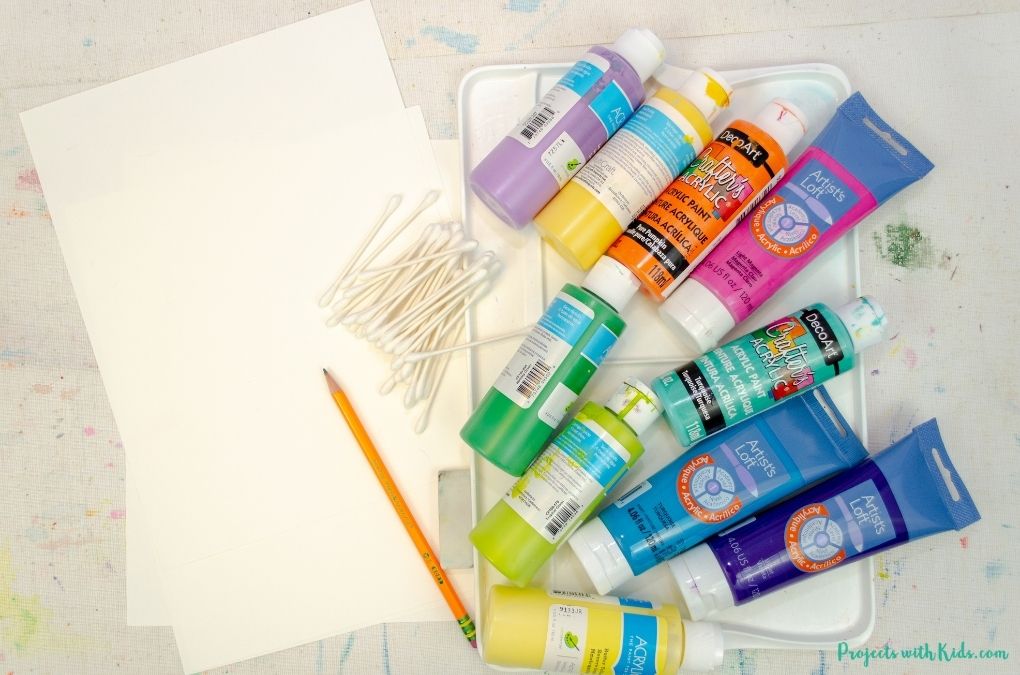
Supplies
Instructions for your q-tip painting
1. First have kids decide on a design they would like to paint. This can be very simple such as a rainbow or flower for younger kids. Older kids can try drawing a simple landscape and follow along in my example below.
Draw your design lightly in pencil on white cardstock.
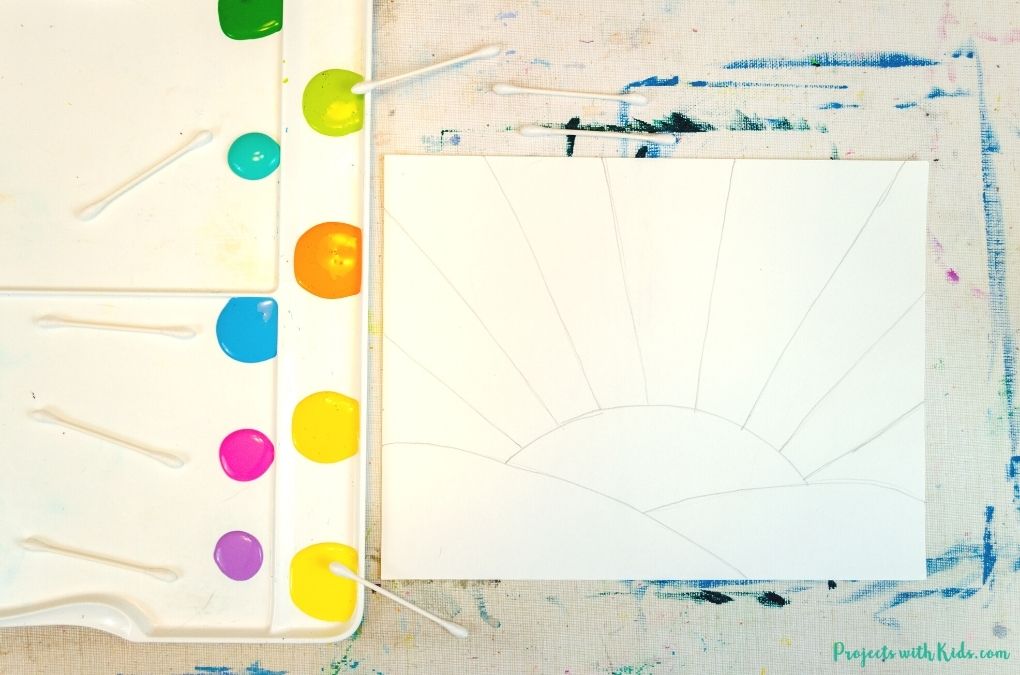
Get your acrylic paints ready, you will need one q-tip per color.
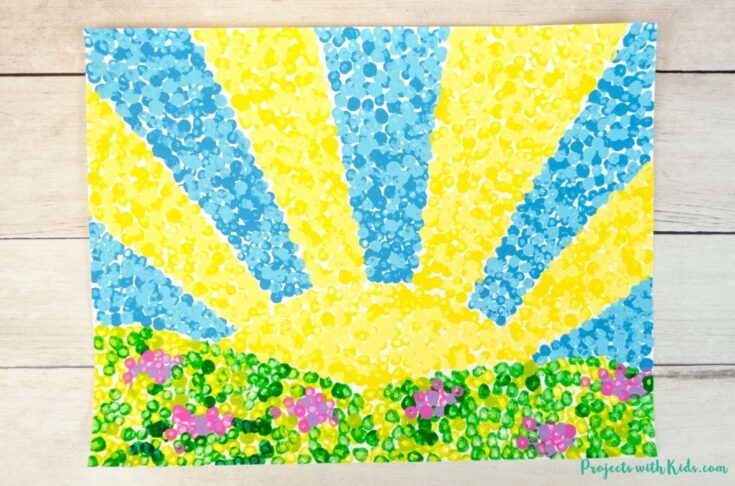
2. Pick two colors for the flowers. Dip your q-tip into the paint and dot your flowers in clusters, one color at a time.
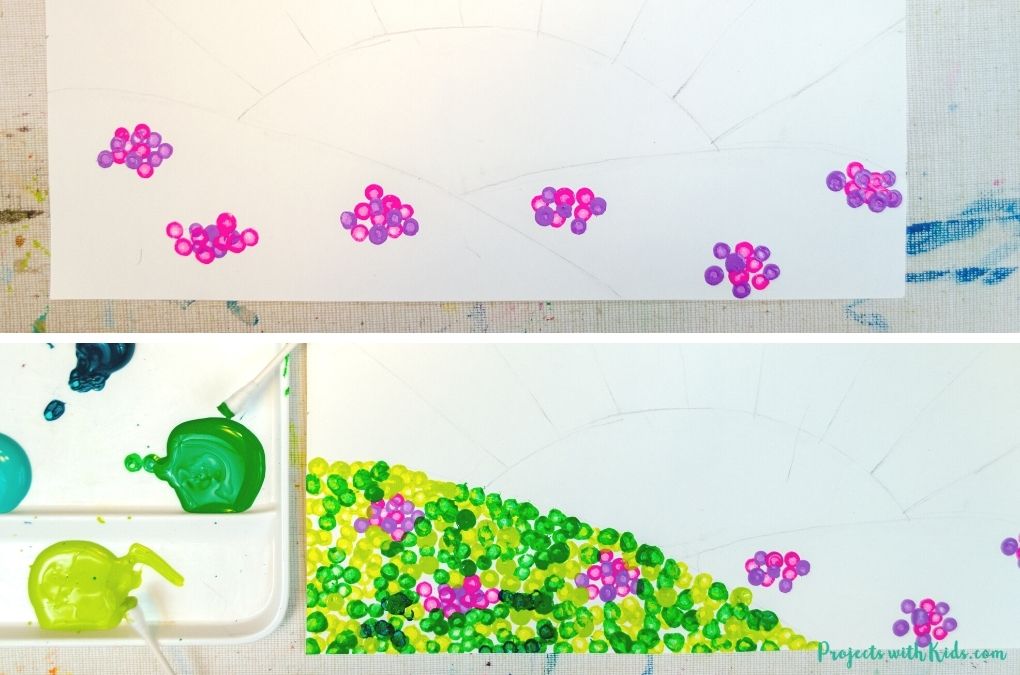
3. Once the flowers are done, it’s time to paint in the hills. You will need a light green and a bright green. Start with the light green and dot in the hills with a q-tip.
You want to paint some dots close together and some spaced farther apart to leave room for the bright green. Once you are done with the light green color, fill in the spaces with bright green.
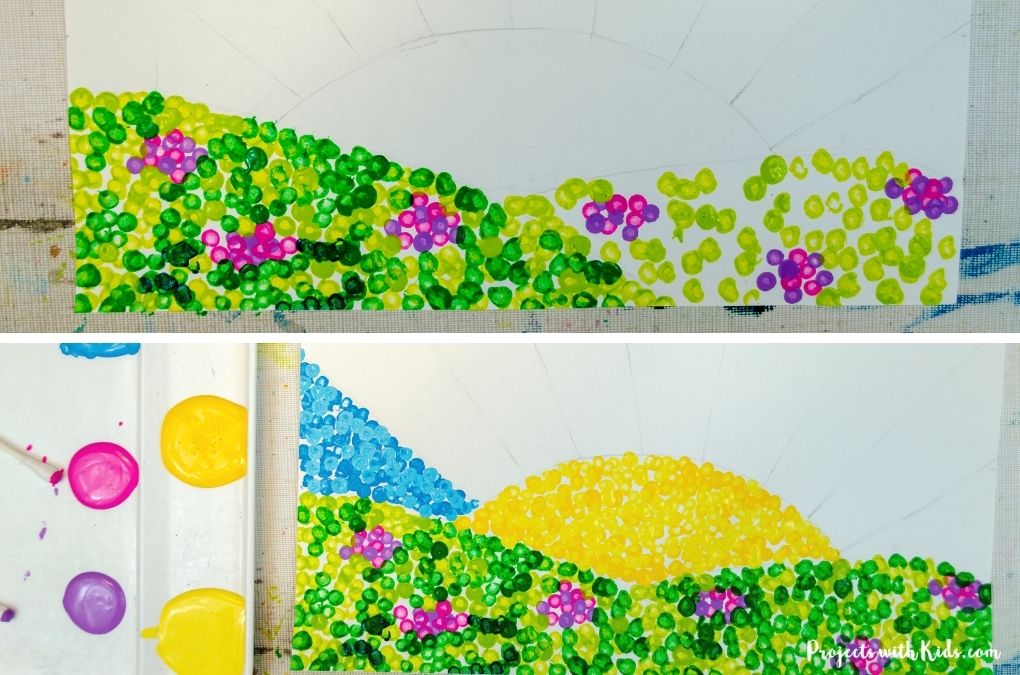
4. Use two shades of yellow to paint in the sun. Just like with the hills, start with one color, leaving some spaces as you dot, and then fill in the spaces with the second color.
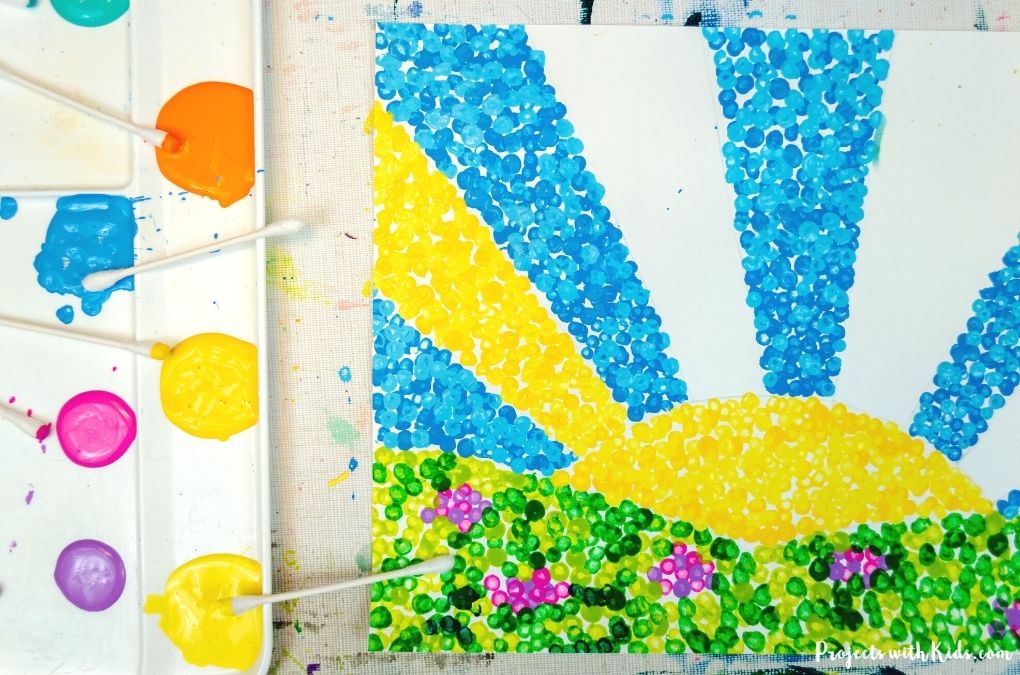
5. Paint in the sky with two shades of blue. Dot in one color at a time. Finish dotting in the rays of the sun, using the same two shades of yellow to complete your painting.
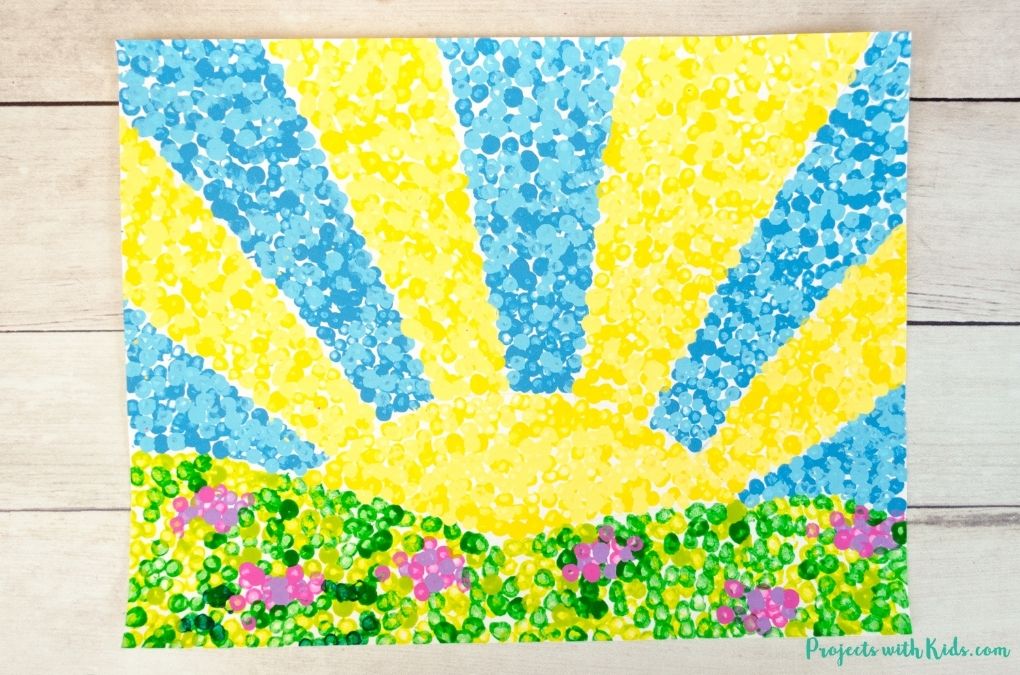
This pointillism painting is bright and colorful and a fun way for kids to learn about this art style and Georges Seurat. Kids can come up with their own designs to make each painting unique!
More famous artists projects kids will love
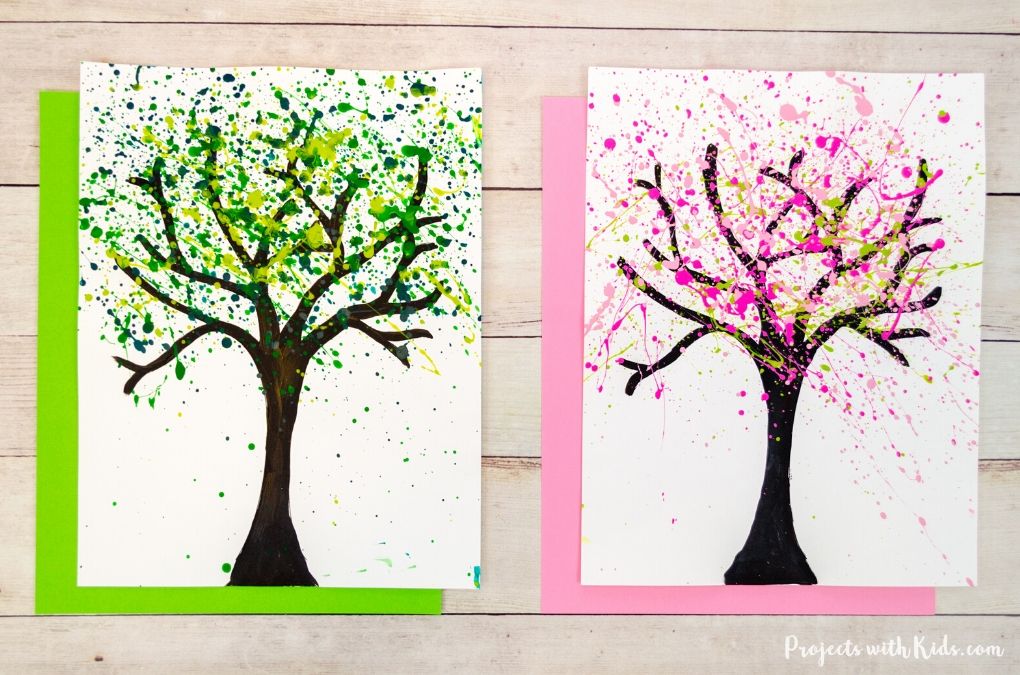
Jackson Pollock Inspired Splatter Painting
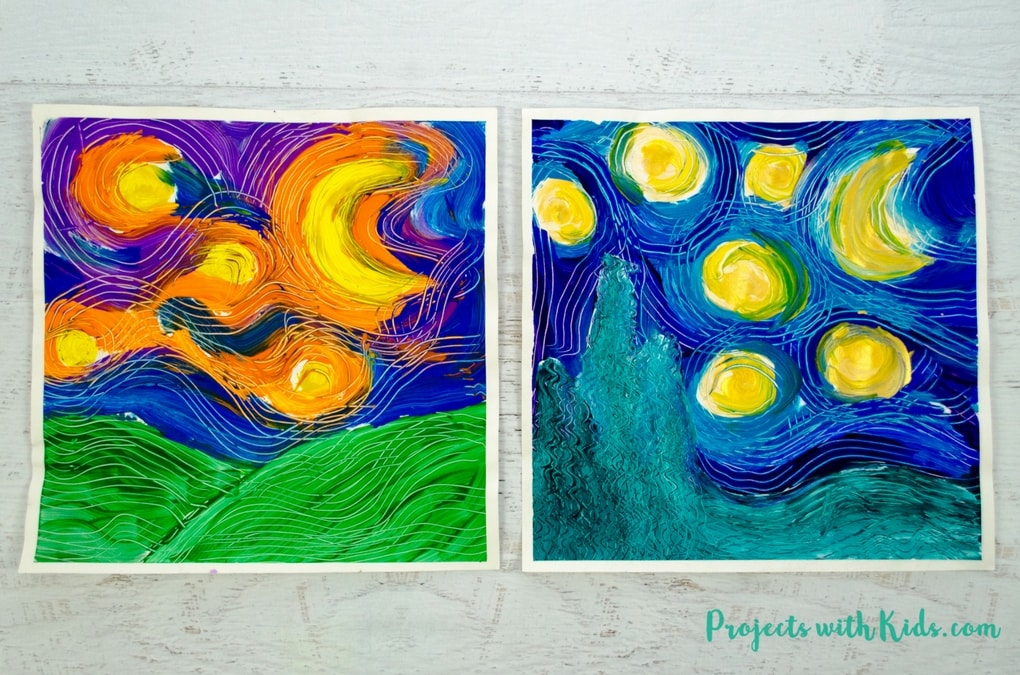
Van Gogh Inspired Painting Using Forks
Follow me on Pinterest for more amazing project ideas.
Pin this painting idea for later
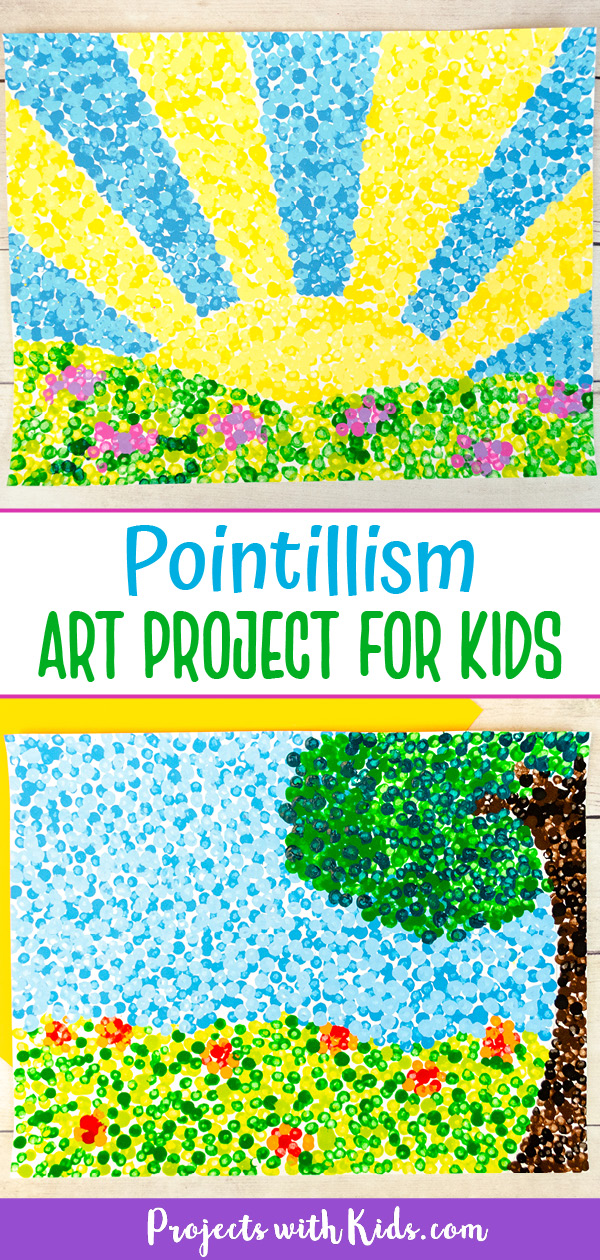
Simple Pointillism for Kids Art project
This Pointillism for kids art project is fun for all ages! Try q-tip painting to create colorful art inspired by the famous artist Georges Seurat. Kids will love creating their own masterpiece!
Materials
- White cardstock
- Acrylic paint
- Q-tips
- Pencil
Tools
- Paint palette
Instructions
- Draw out the design lightly with a pencil on white cardstock.
- Get your acrylic paint and q-tips ready. You will need one q-tip per color.
- Start with the flowers, dip a q-tip in the paint and dot one color at a time in a small cluster. Dot in the second color to finish your flowers. Kids can use the same colors in my example or choose different colors for their flowers.
- You will need two shades of green for the hills, light green and a bright green. Start with the light green and dot in the hills with a q-tip. Make some dots close together and some spaced farther apart.
- Fill in the spaces with the bright green to finish off the hills. Again, some bright green dots will be closer together and some will be farther apart. Some kids might want to try using three shades of green for the hills.
- For the sun, you will need two shades of yellow. Use the same technique as you did with the hills, dot in one color at a time.
- Dot in the sky with two shades of blue. Finish dotting in the rays of the sun to complete the painting!


