Kids will have fun making this cute pencil painted flower pot. This is an easy back to school craft with so many possibilities. Kids can make this as a teacher gift and fill it with school supplies or a nice plant. It also makes a great desk accessory for at home that kids can fill with anything they like.
There are so many great painted flower pot crafts that kids can make. Take a look at this collection of flower pot painting ideas for more inspiration.
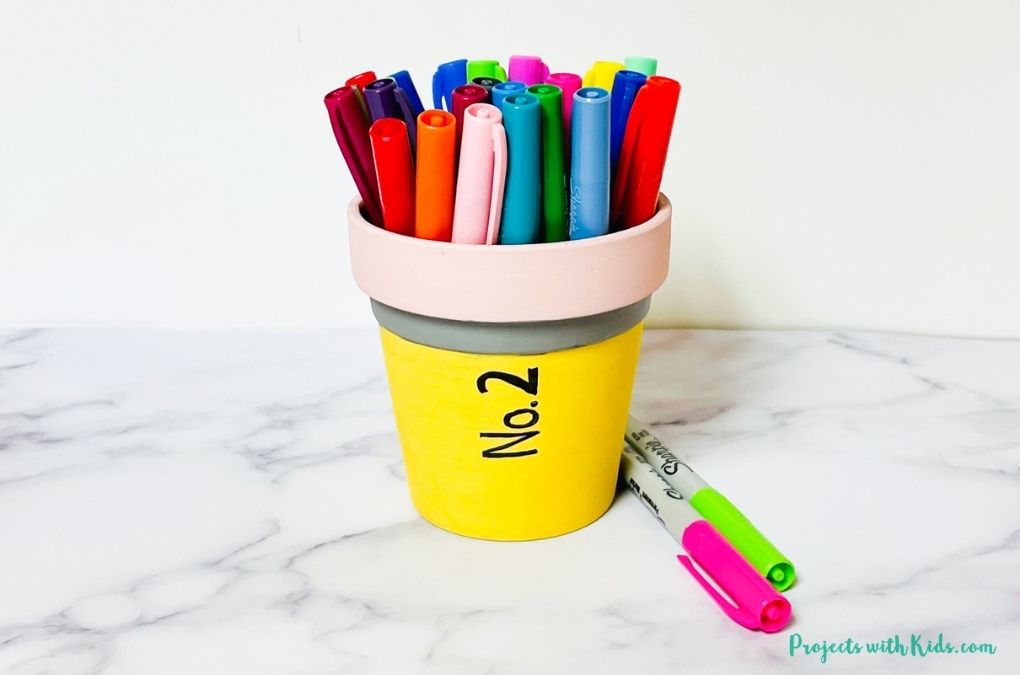
You can use any size of terra cotta pot that you like depending on what you are going to fill your pot with. You can even use a mini-sized pot for a cute desk decoration. This would be a great teacher gift idea, kids can even write their teacher’s name on the pot as well.
Create your own pencil painted flower pot
This post contains affiliate links. As an Amazon Associate, I earn from qualifying purchases. If you would like more information please review my privacy & disclosure policy.

Supplies
- Acrylic paint or chalk paint in yellow, pale pink and grey
- Terra cotta pot
- Black paint marker or sharpie
- Paintbrushes
- Paint palette and water dish
- Mod Podge
Instructions for your painted terra cotta pot
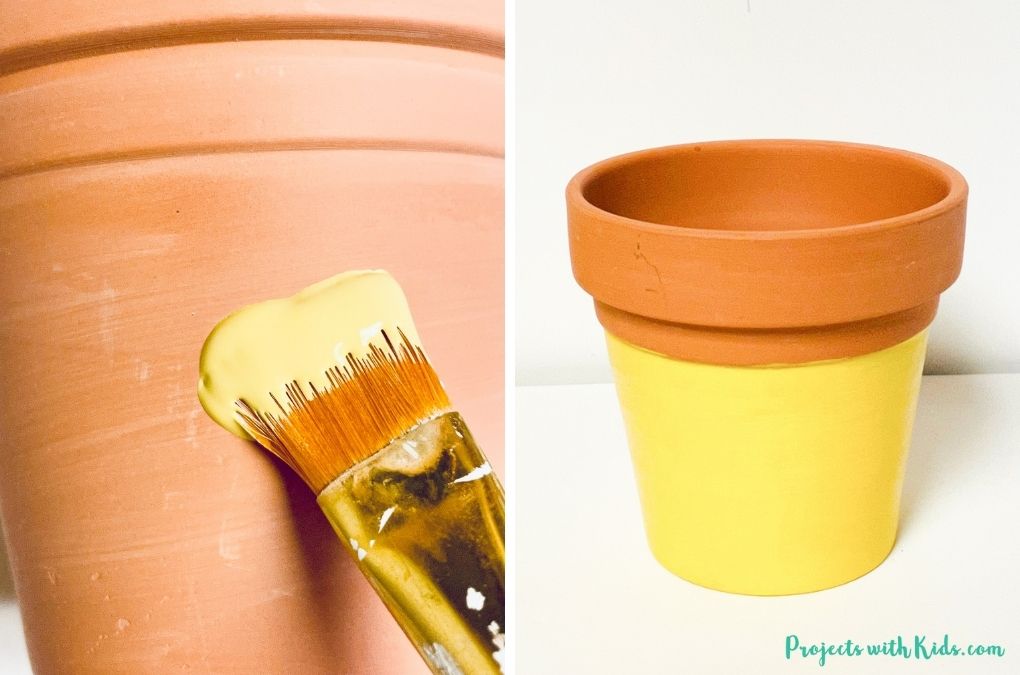
1. Paint the bottom of your pot with two coats of bright yellow. Let each coat dry in between. Chalk paint was used for this tutorial, but any type of acrylic paint will work.
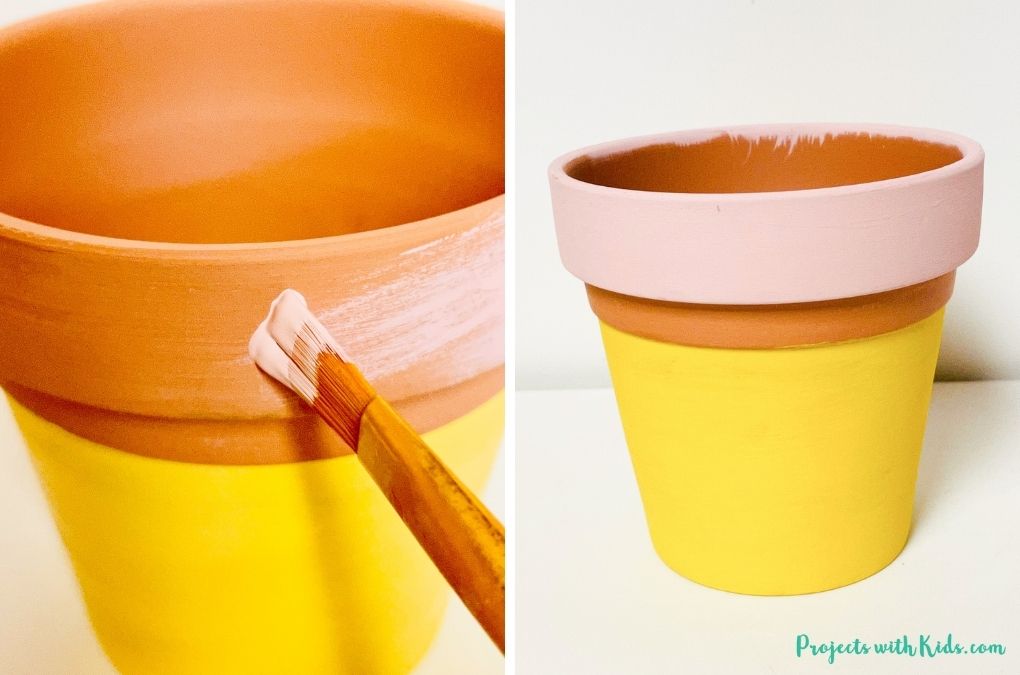
2. Paint the top of your pot with a pale pink color. Again, paint two coats letting each coat dry in between.
3. If your pot is divided into three sections like the one in this tutorial, you would paint the middle section with two coats of grey paint. But if your pot only has a top part, then use painter’s tape to tape off a section at the top just below the pink paint to paint a grey color.
Make sure that both your pink and yellow paint colors are completely dry before putting on the painter’s tape to avoid any paint peeling off.
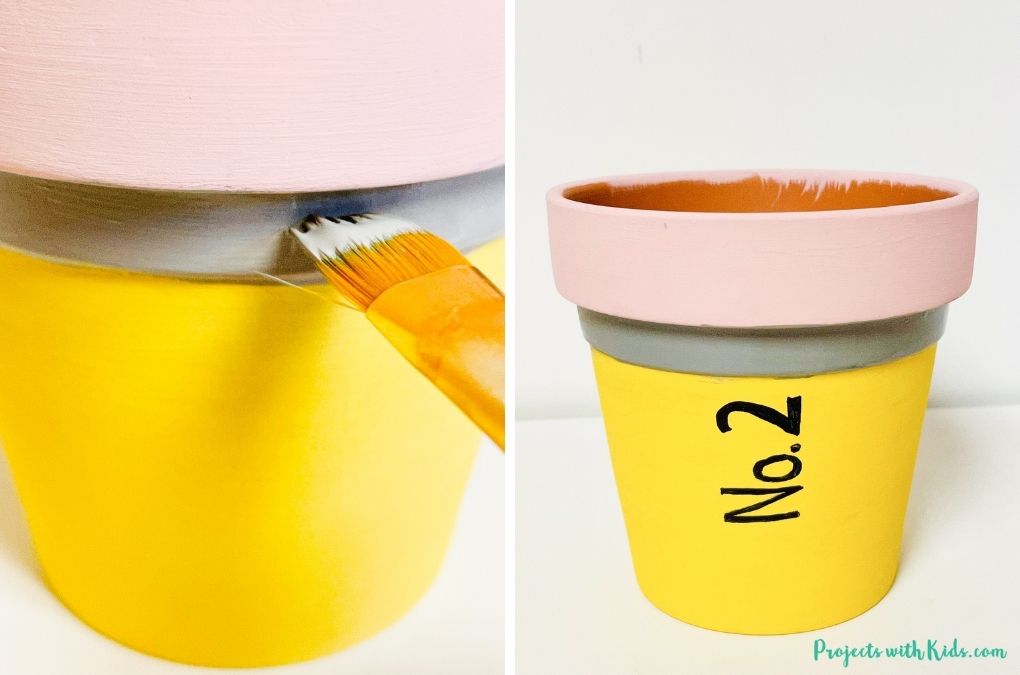
4. Use a black paint pen or black sharpie to write “No. 2” horizontally on the front of your terra cotta pot. If kids are making this as a special gift for their teacher, they can also write their teacher’s name on the front if they like to add a personal touch.
5. Seal your painted pot with two coats of Mod Podge letting each coat dry in between. If you are going to be putting a plant in your pot, use an outdoor Mod Podge to protect it from water.
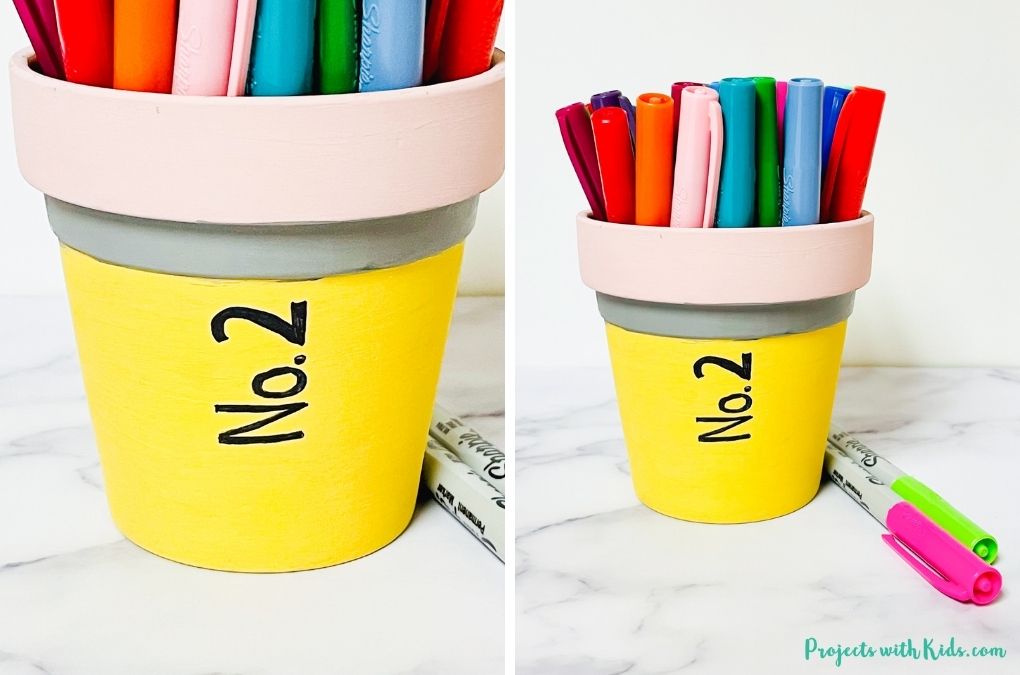
This is a quick and easy craft that kids will have fun making as a special gift or to put on their desk to hold different school supplies such as markers or pencils.
More back to school crafts kids will love
The Most Adorable DIY Unicorn Notebook

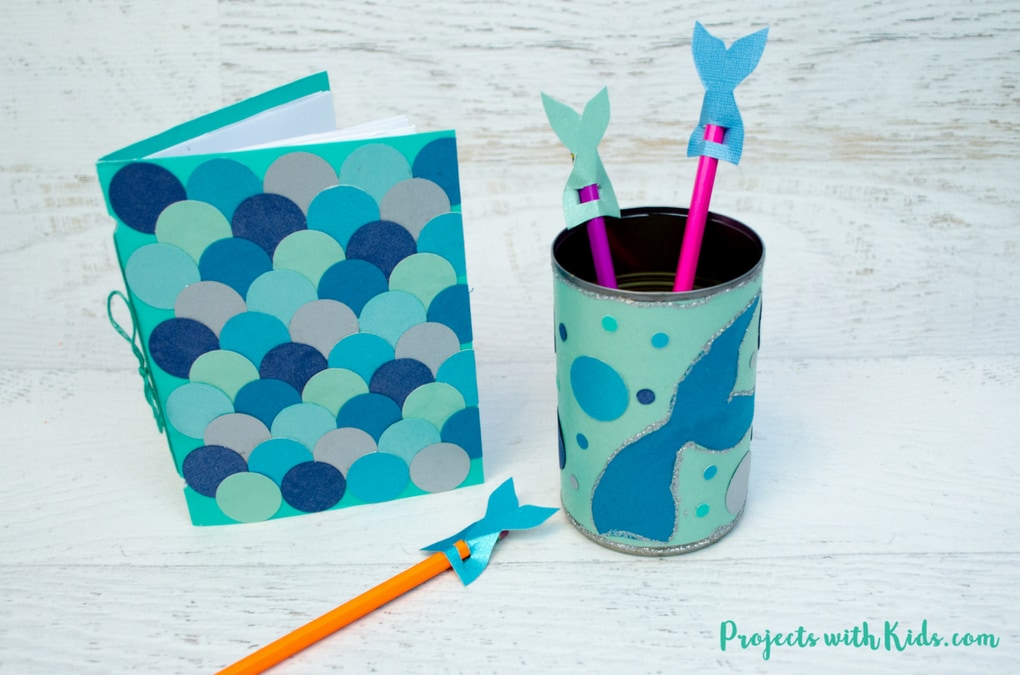
Mermaid DIY School Supplies Kids can Make
Follow me on Pinterest for more amazing project ideas.
Pin this craft project for later
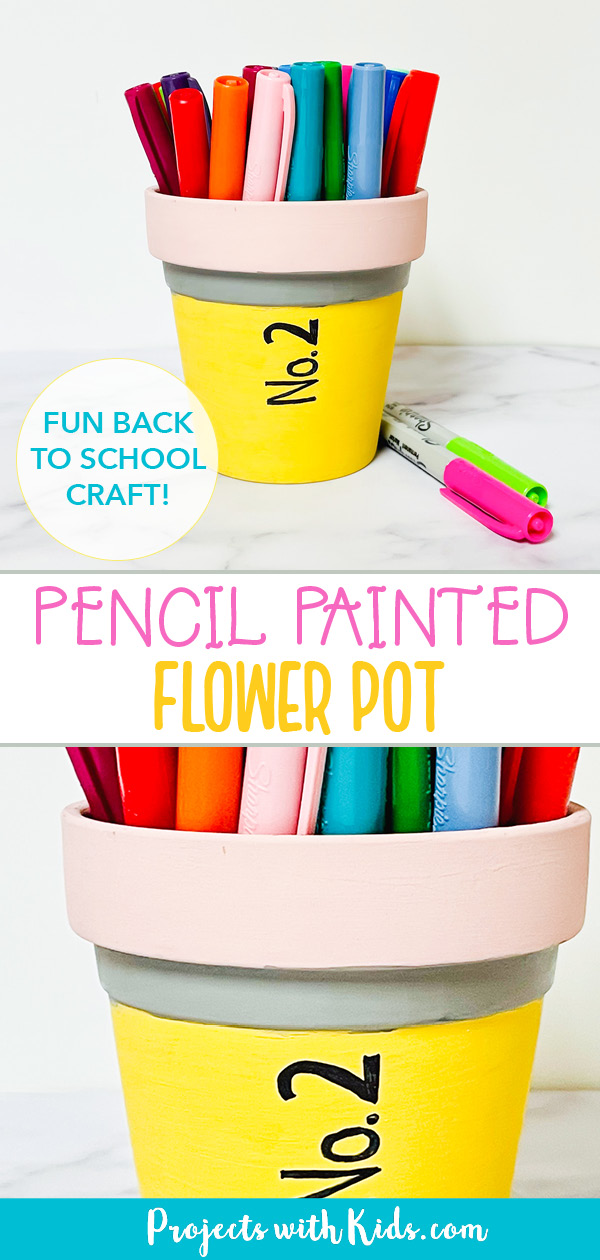
Pencil Painted Flower Pot for an Easy Back to School Craft Idea
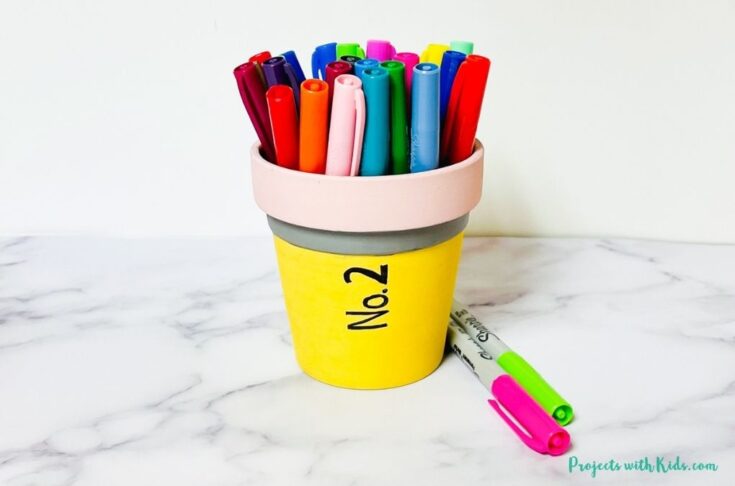
Make this cute pencil painted flower pot for an easy back to school craft. Makes a great teacher gift or fun desk accessory that you can fill with different school supplies.
Materials
- Acrylic paint or chalk paint in yellow, pale pink and grey
- Terra cotta pot
- Black paint marker or sharpie
- Mod Podge
Tools
- Paintbrushes
- Paint palette and water dish
Instructions
- Paint the bottom part of your terra cotta pot with two coats of bright yellow.
- Paint the top part of your pot with two coats of pale pink, letting each coat dry completely in between.
- Paint the middle section of your terra cotta pot with two coats of grey paint. Depending on the type of flower pot you have, you may need to use painter's tape to tape off a section just below the pink color.
Make sure that both the yellow and pink areas are completely dry to avoid any paint peeling off with the tape. - Use a black paint pen or sharpie to write "No. 2" horizontally on the front of the flower pot. Kids can also write in their teacher's name if they like for a personal touch.
- Finally, paint on two coats of Mod Podge to seal everything in. If you are going to be putting a plant in your pot then you will want to use an outdoor Mod Podge to protect against water.


