
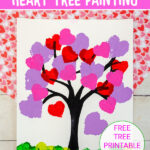
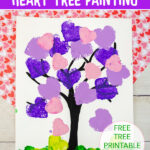
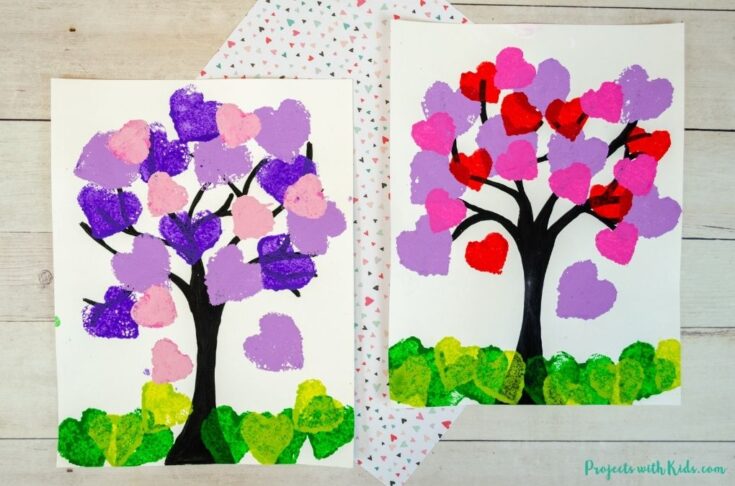
This heart tree painting is so colorful and fun for kids to make! Use sponges to make your own heart stamps to create the leaves and grass for this art project. This is a great painting idea that kids of all ages will enjoy making!
We love exploring different painting techniques. Take a look at my collection of painting ideas for kids for more fun and creative art projects to try!

This painting idea is perfect for Valentine’s Day! You can easily adapt it to make it work for kids of all ages. Younger kids might only do one color for the tree and one for the grass, while older kids will want to use more than one color.
For this project, I created a free printable template to make this art project even easier for you. This template is available to my email subscribers. Fill out the form below to get the free template.
After signing up you will receive a welcome email with your download link.
If you are looking for more Valentine’s Day painting ideas take a look at this adorable mixed media panda art project and these easy watercolor Valentine’s cards for more fun ideas!
Create your own heart tree painting
This post contains affiliate links. As an Amazon Associate, I earn from qualifying purchases. If you would like more information please review my privacy & disclosure policy.
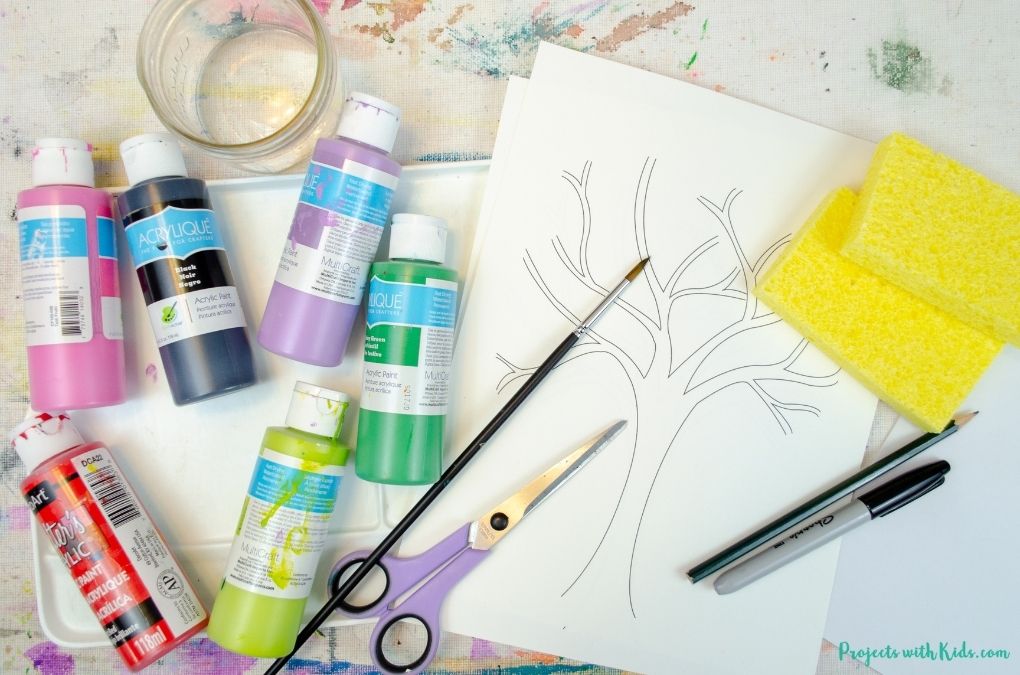
Supplies
- White cardstock
- Printable tree template (optional)
- Cellulose sponges
- Acrylic paint in different colors
- Pencil, scrap paper, and black marker
- Scissors
- Paint palette and water dish
- Paintbrush
Instructions
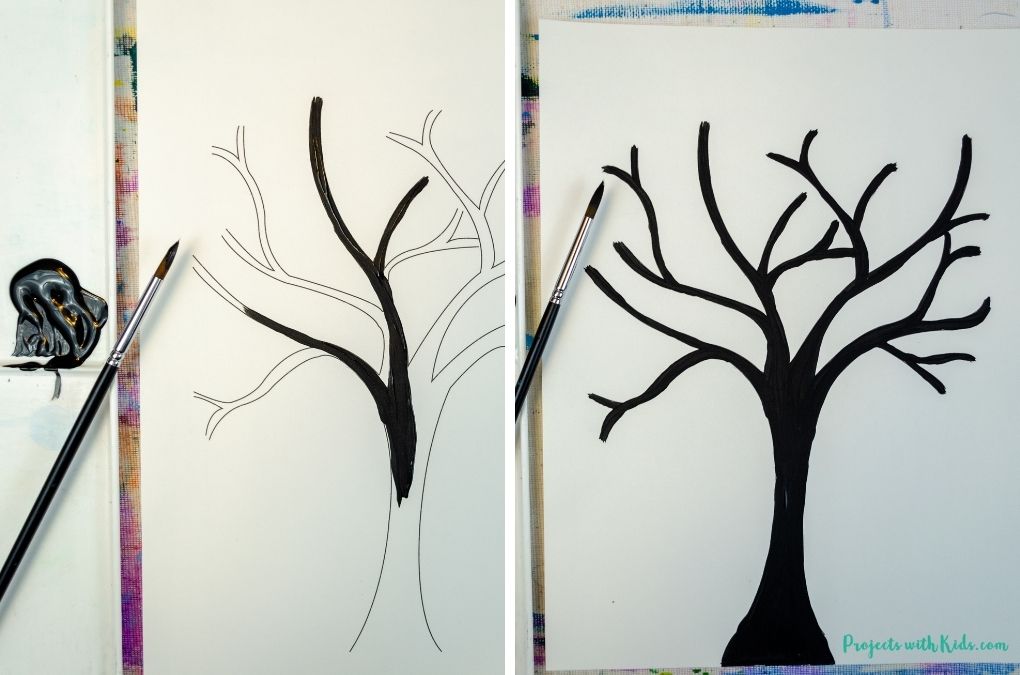
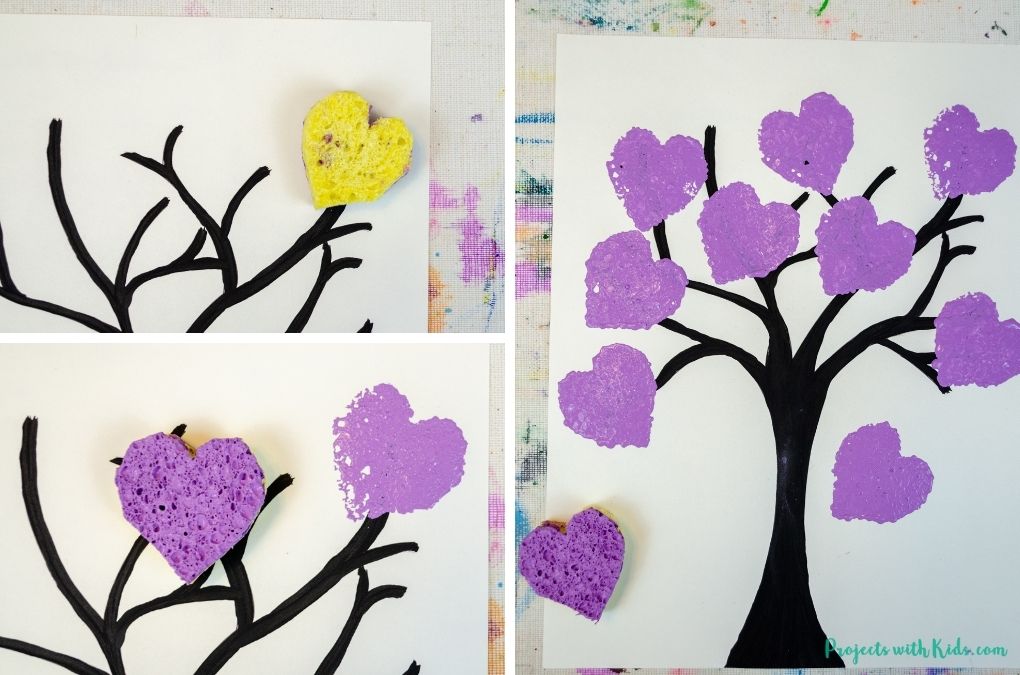
1. Print out the tree template onto white cardstock. This is an optional step, kids can also draw out their own tree if they like.
Use black acrylic paint and a small paintbrush to paint in the tree. Let this dry completely.
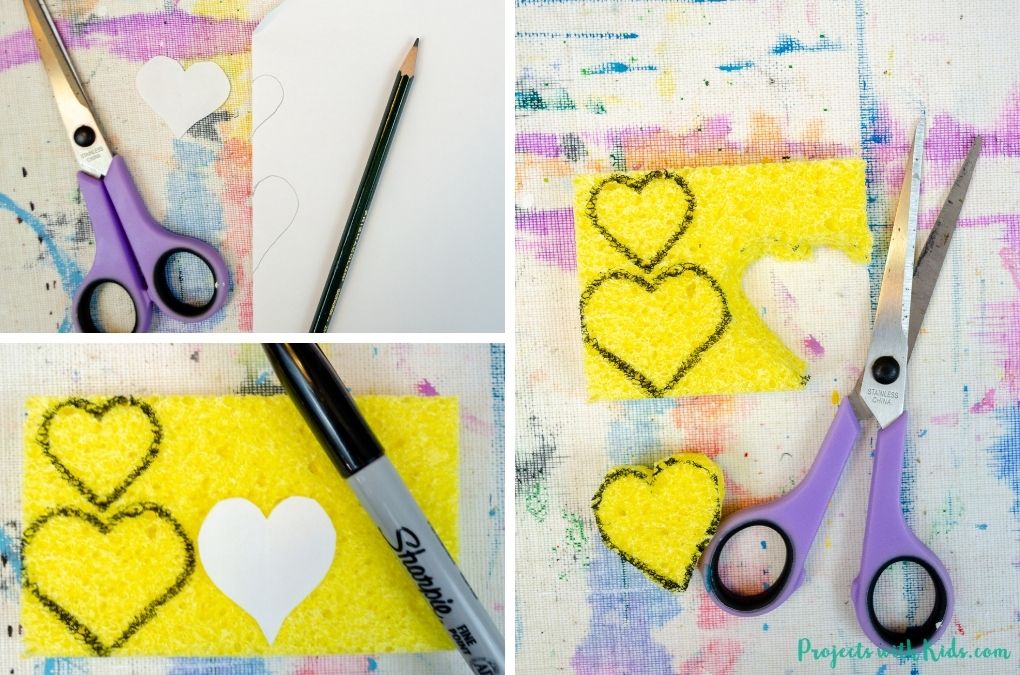
2. Fold a piece of paper in half and draw out a couple of half heart shapes on the fold like in the photo below. You don’t want your hearts to be too big, so you might need to play around with the sizes. I found that having a couple of different sizes of hearts looked nice.
Cut out your heart shapes. Trace them onto a sponge with a marker and cut them out.
I found that cellulose sponges work best for this. They work the best when stamping and are fairly easy to cut.
3. Get your acrylic paint ready in a paint palette. I found that the sponges really soaked up a lot of paint so you want to make sure you have enough paint on your paint palette.
Begin by stamping with one color. Dip your sponge into the paint and gently press the stamp onto the paper. Be careful not to smudge or move the sponge around as you lift it up.
Continue to dip your sponge in the paint and make heart prints on the tree. Let the first color dry first before adding in a second.
4. While you are waiting for the first color to dry, you can use another heart sponge stamp and stamp on some green grass.
Start with a bright green and stamp some hearts at the bottom of your paper to create the grass.
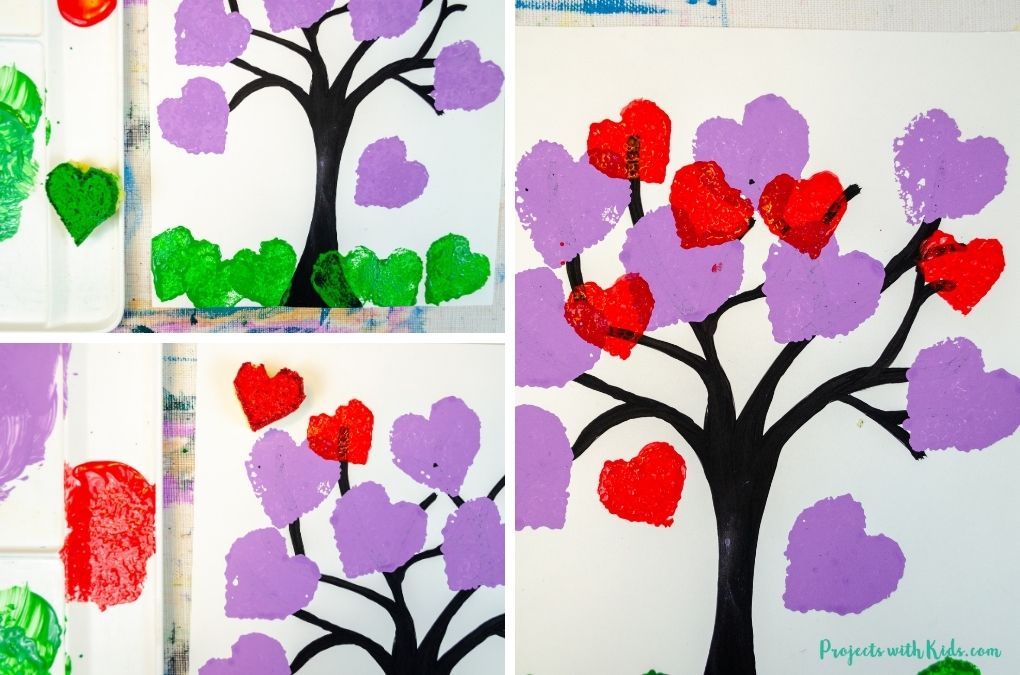
5. When the first color is dry, stamp on the second color of your tree. I used a smaller heart stamp for this to give some variety. Let this dry.
Again, be careful not to slide the sponge around as you are stamping and lifting the sponge off.

6. Use a light green to stamp some more hearts onto the grass area to finish it off.
7. Once the second color of heart leaves has dried, you can stamp on a third color for your tree to complete the painting. Let everything dry.
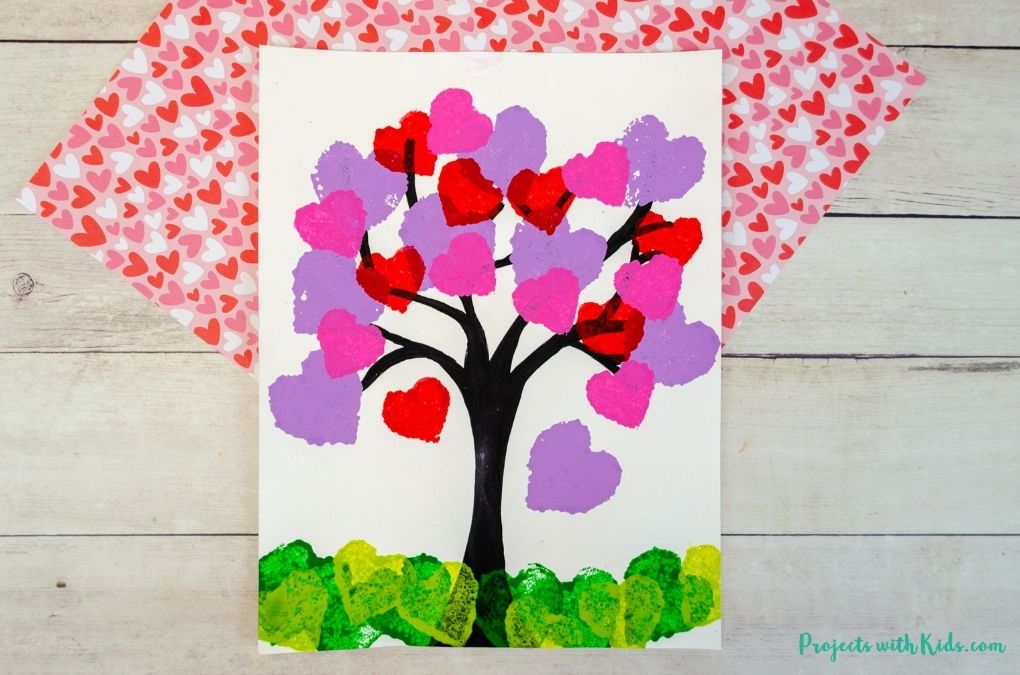
This heart tree painting makes an easy and fun Valentine’s Day art project that kids will love to make!
Fill in the form below to get your free printable template!
After signing up you will receive a welcome email with your download link.
More painting ideas kids will love
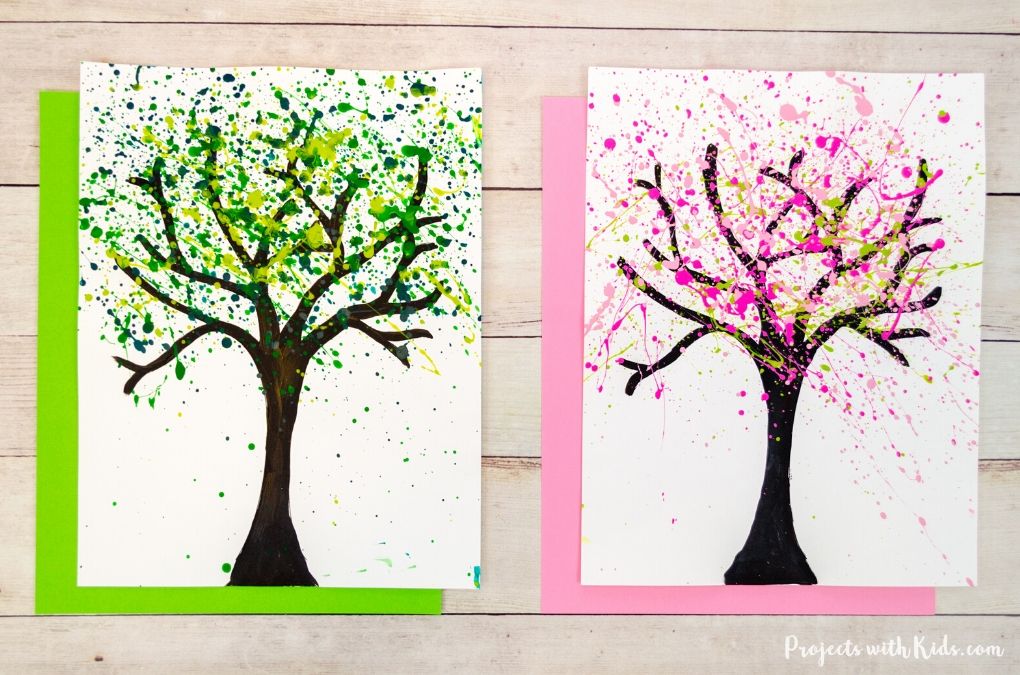
Jackson Pollock Inspired Splatter Painting
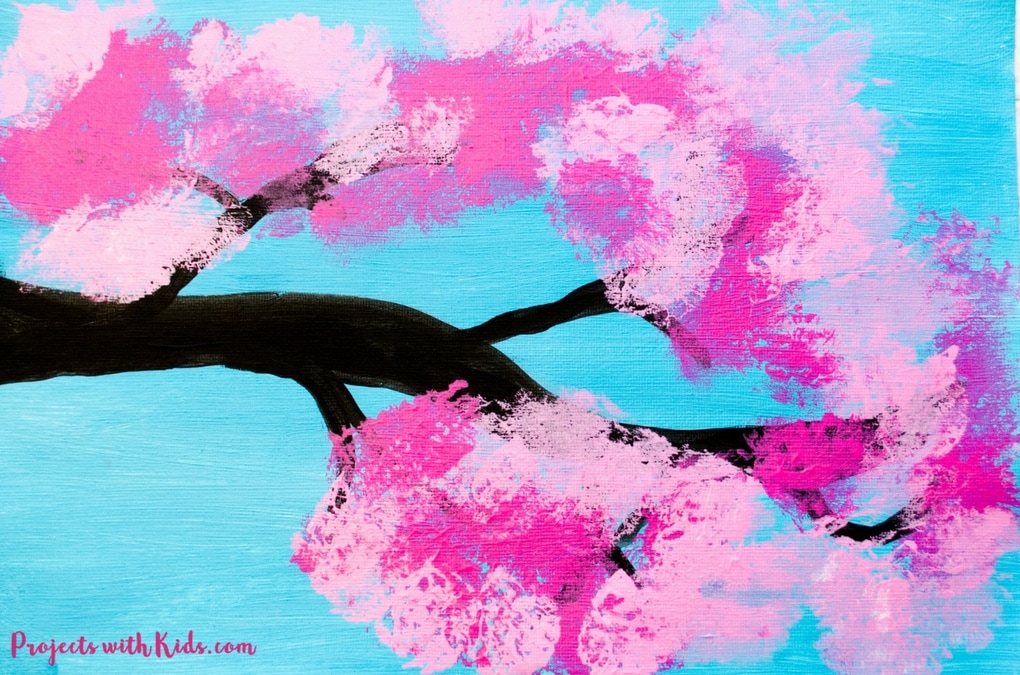
Cherry Blossom Painting with Cotton Balls
Follow me on Pinterest for more amazing project ideas.
Pin this art project for later

How to Make a Colorful Heart Tree Painting
Make your own heart stamps out of sponges to create this easy and colorful heart tree painting. A fun art project kids of all ages will enjoy!
Materials
- White cardstock
- Printable tree template (optional)
- Cellulose sponges
- Acrylic paint in different colors
- Pencil, scrap paper, and black marker
Tools
- Scissors
- Paint palette and water dish
- Paintbrush
Instructions
- Print out the free tree printable onto white cardstock.
- Paint the tree with black acrylic paint and let it dry.
- Fold a piece of paper in half and draw half of a heart on the fold. Draw a few different sizes of hearts. Cut out the hearts and unfold the paper.
- Trace the hearts onto a sponge with a marker and cut them out.
- Choose your colors for the heart leaves and the grass and get them ready in your paint palette. You want to stamp one color at a time and let the colors dry in between.
Dip a heart-shaped stamp into acrylic paint and begin to stamp on the leaves of the tree. You want to gently press the stamp onto your paper and lift it off without moving or smudging. - Continue stamping on your hearts one color at a time and letting the paint dry in between colors.
- Younger kids can stamp one color for the tree and one for the grass, while older kids can try two or three colors for the leaves and two colors for the grass.


