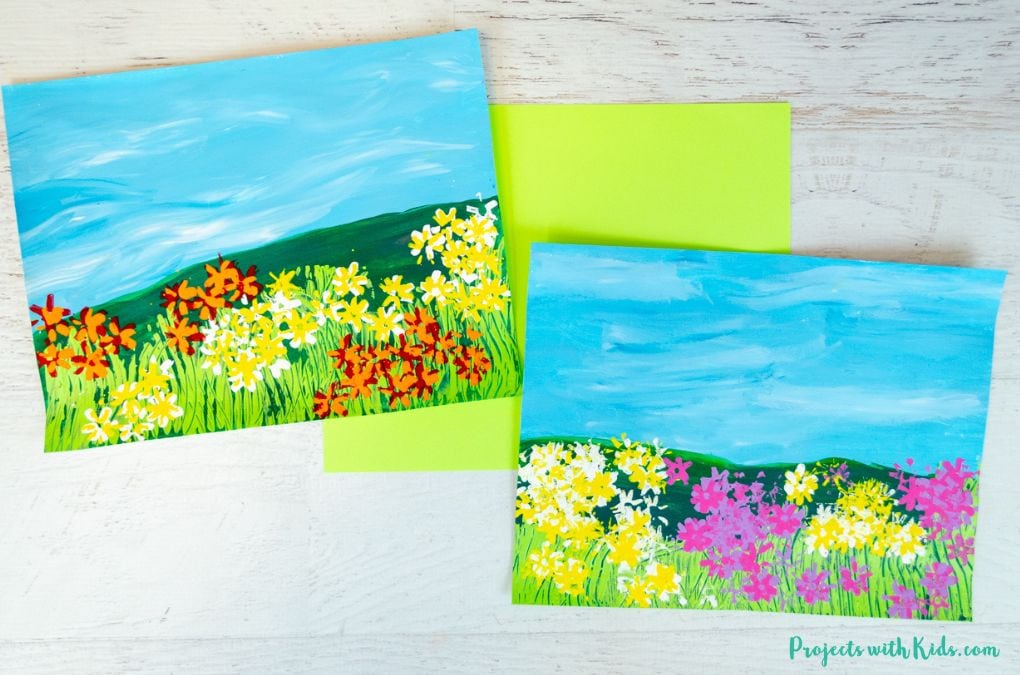
This field of flowers painting idea for kids is a fun and easy spring or summer art project! Kids will love trying out new and unique painting techniques using paper straws to paint flowers and a fork to paint the grass. This is also a great project for kids to practice blending colors together to paint the sky.
We love exploring different painting techniques. Take a look at my collection of painting ideas for kids for more fun and creative art projects to try!
If you are looking for more project ideas that use different painting techniques, take a look at this tropical palm tree fork painting and this colorful cork stamped flower painting for more great ideas.
Create your own field of flowers painting
This post contains affiliate links. As an Amazon Associate, I earn from qualifying purchases. If you would like more information please review my privacy & disclosure policy.
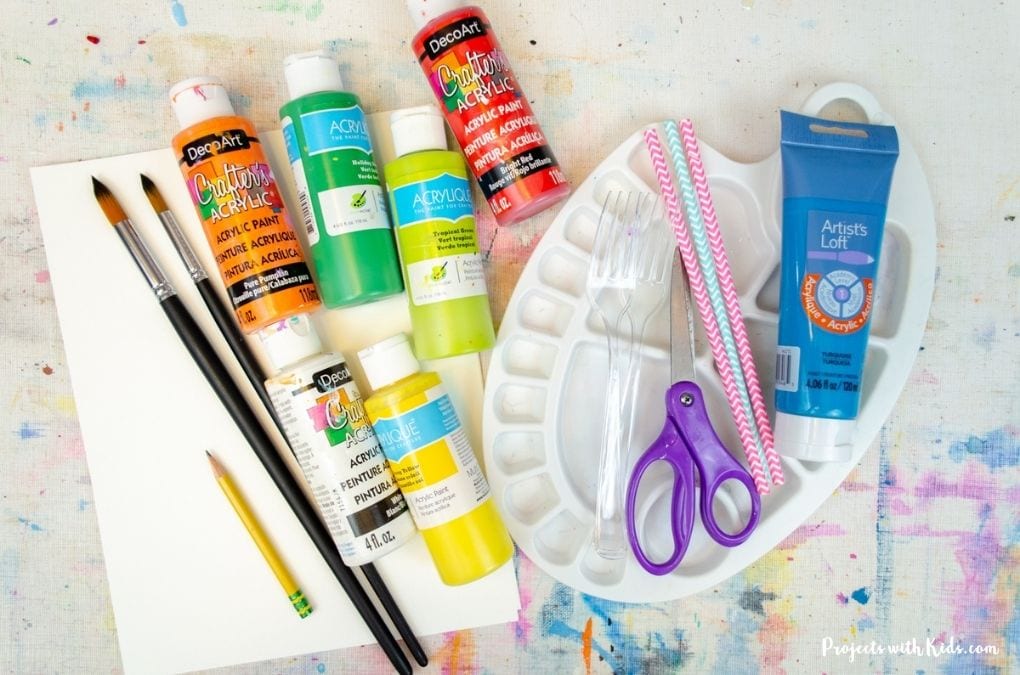
Supplies
- Acrylic paint in light blue, white, 2 shades of green, flower colors (your choice)
- White cardstock
- Paintbrushes
- Paper straws
- Plastic forks (or fork that is not used for food)
- Paint palette and water dish
- Scissors
- Pencil and eraser
Instructions for your flower painting
1. First, have kids draw the line dividing the hill and sky onto white cardstock. Drawing this line at an angle will add some interest to the artwork.
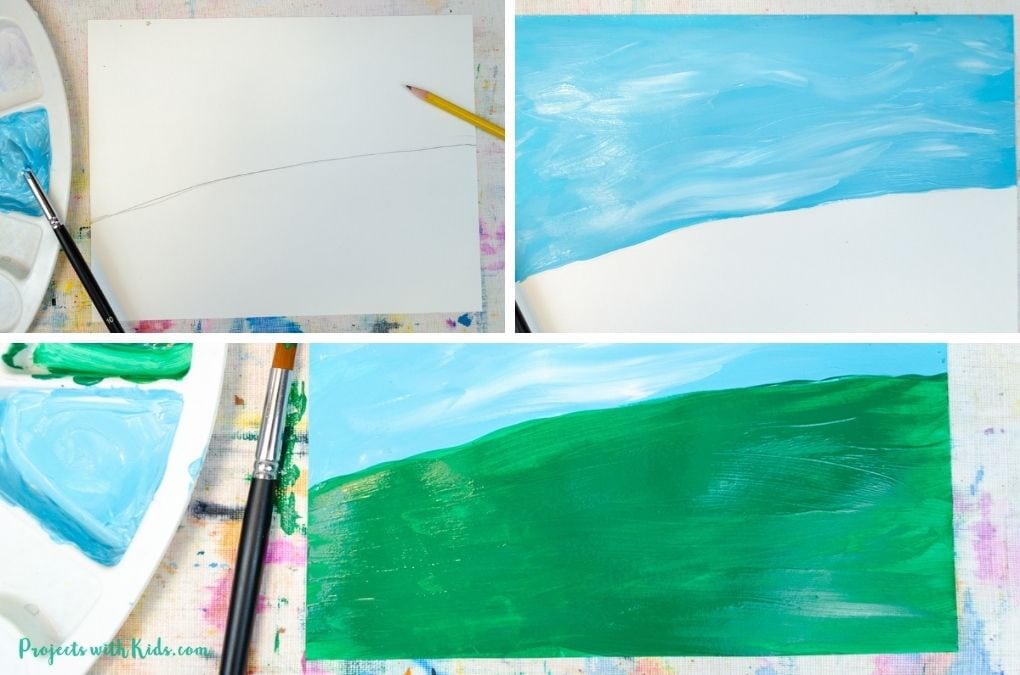
Get blue and white acrylic paint ready in a palette. Have kids paint the sky a light blue and blend in some white streaks to create clouds.
Kids can choose to blend the white and blue colors together as much or as little as they like.
2. Take the darker of your two green colors and paint the hill. Let everything dry completely before moving on.
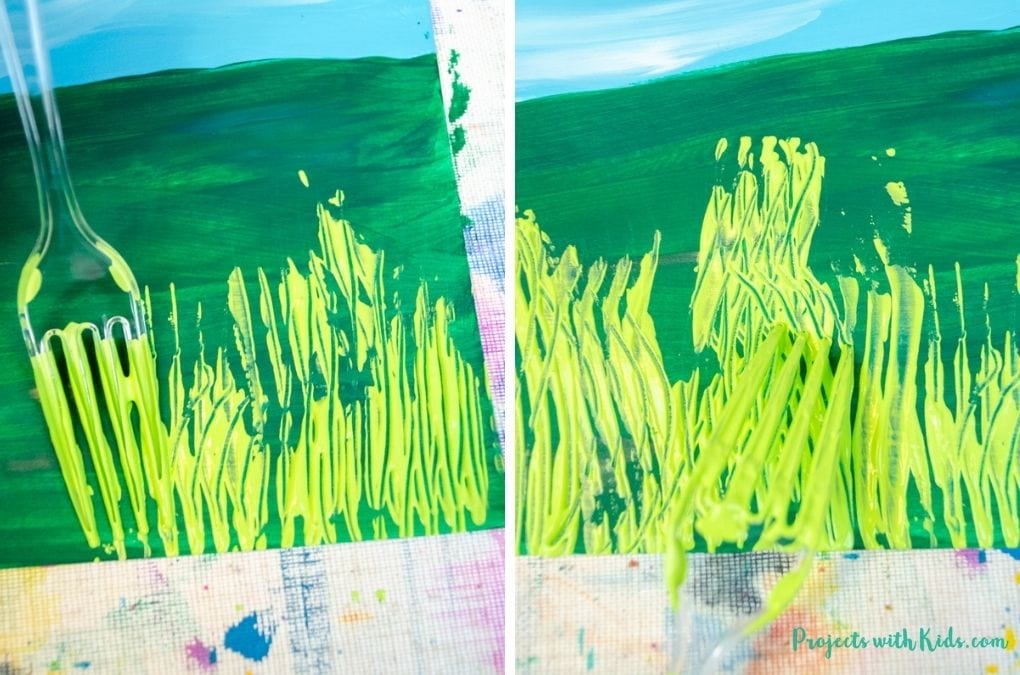
3. Get your lighter green paint ready in a paint palette, dip a fork into the paint and press it on the bottom of your painting on top of the hill. This will start to create blades of grass.
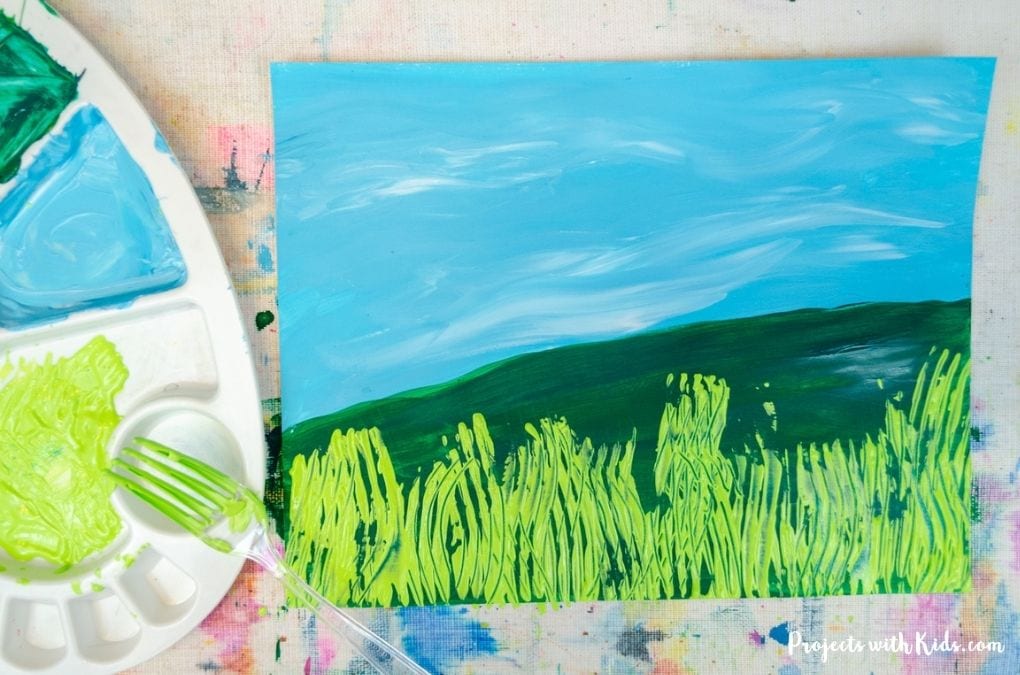
Continue to dip the fork in the paint and press it onto your paper until you are happy with how everything looks. Try scratching some more details in the grass with the tips of the fork like in the photo above.
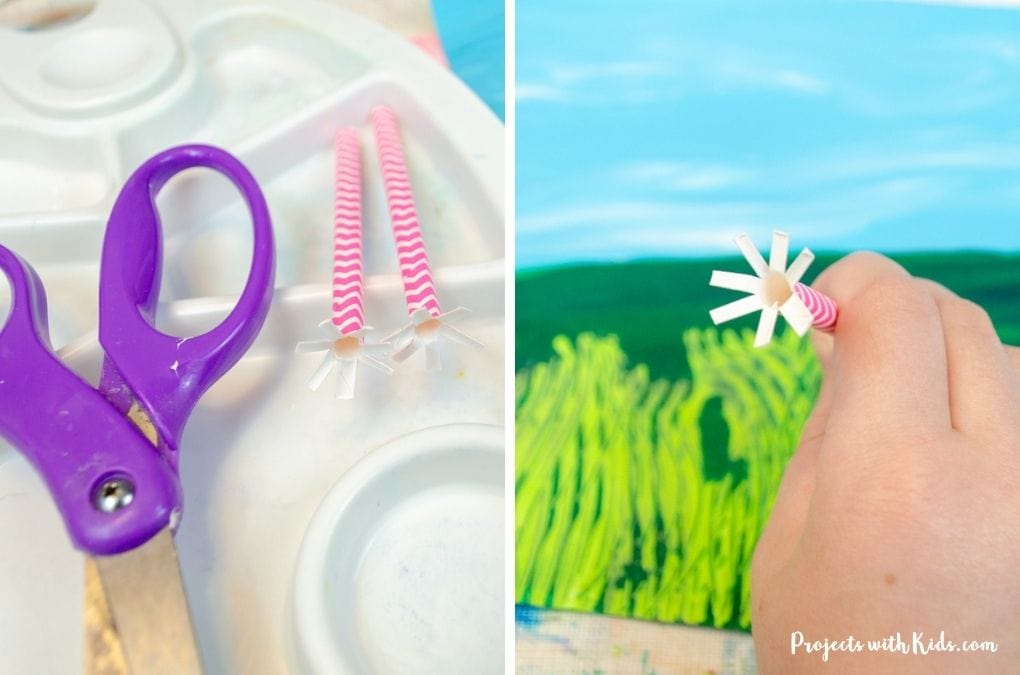
4. Once your grass is dry, it’s time to get the paper straws ready. Cut each straw in half and cut tiny slits in one end of the straw about 1/2 an inch up. Fan out the cut ends of the straw.
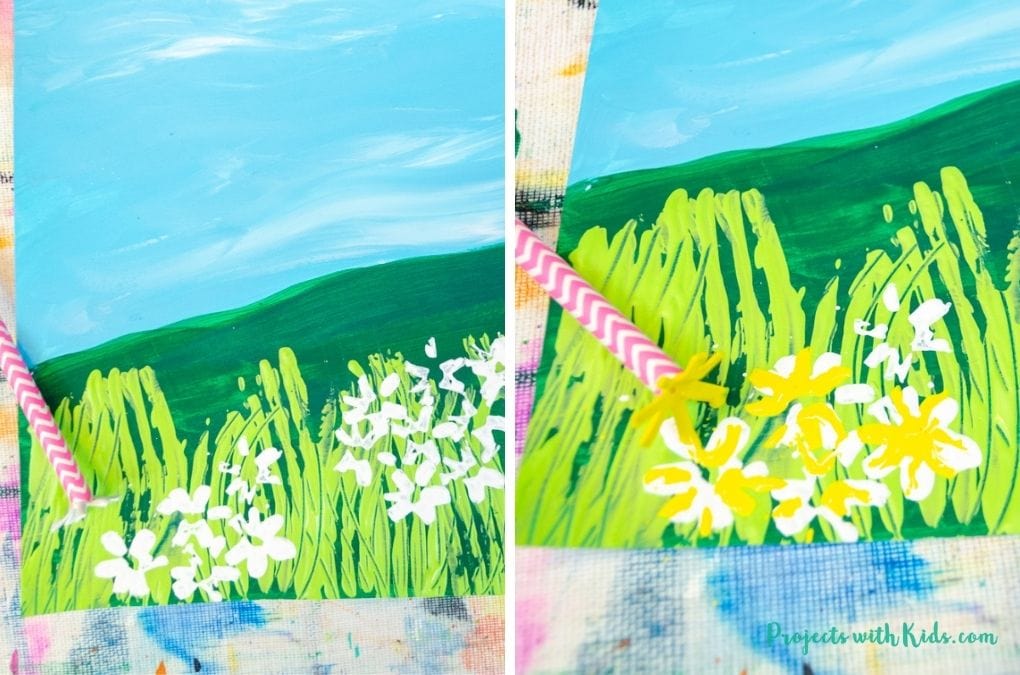
5. Have kids choose the paint colors for their flowers and get the colors ready in a paint palette. For our examples, we used two different colors for each type of flower.
Dip the straw into one paint color and stamp it on the paper around where the grass is to create a flower shape. Continue to dip the straw into your first color and stamp the flowers on in little clusters around the grass.
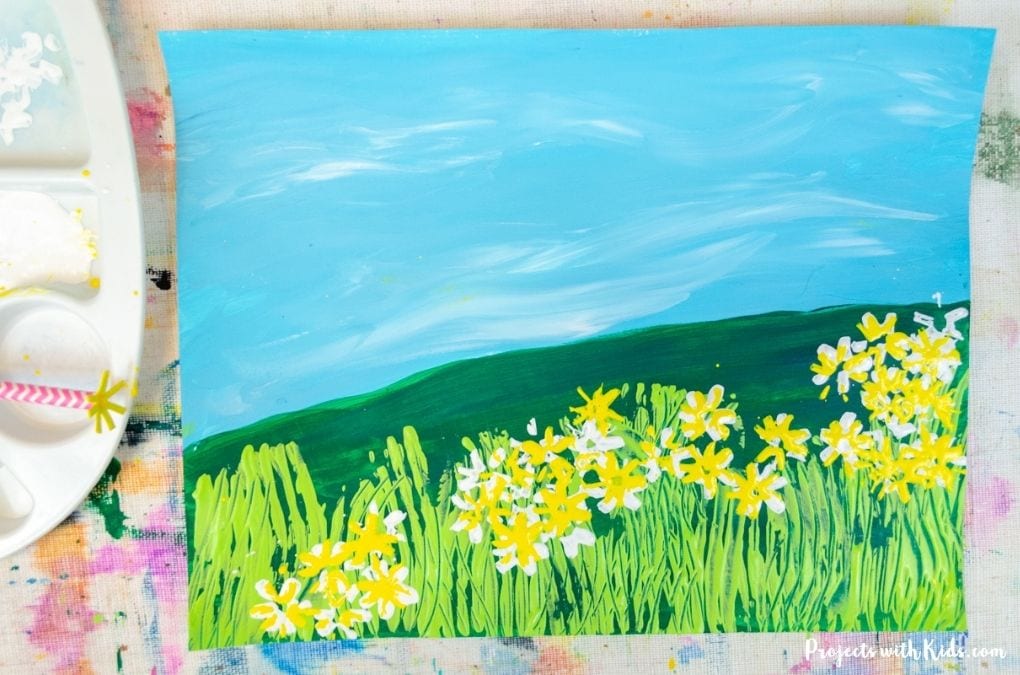
Make sure to press straight down and lift up so you don’t smudge your flower design. Leave lots of room for some of the grass to show through the flowers.
6. When you are finished stamping with one color, dip a straw into your second color and press it on top of the first color to create two-tone flowers. Making each flower two colors really adds depth and interest to this painting!
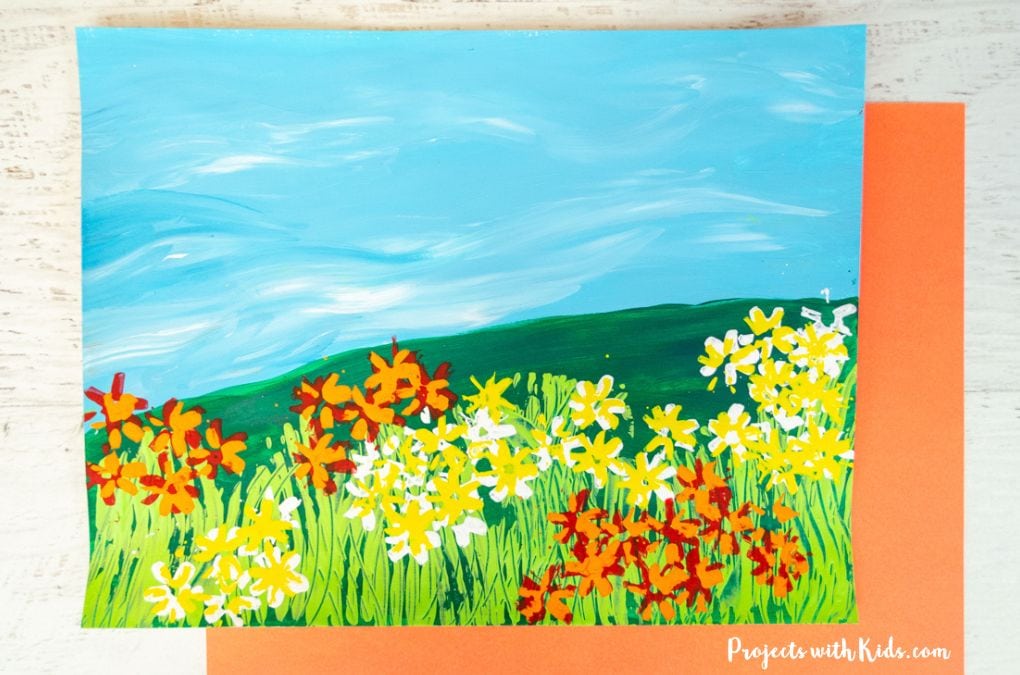
This field of flowers painting is such a beautiful and unique piece of art that kids will love to make!
More flower painting ideas kids will love
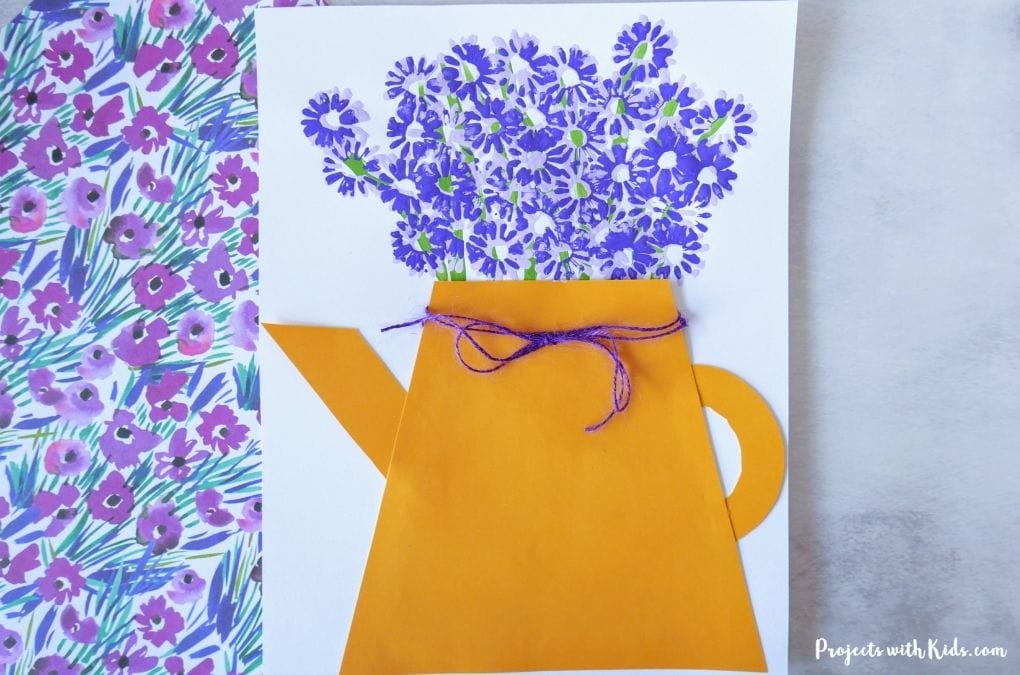
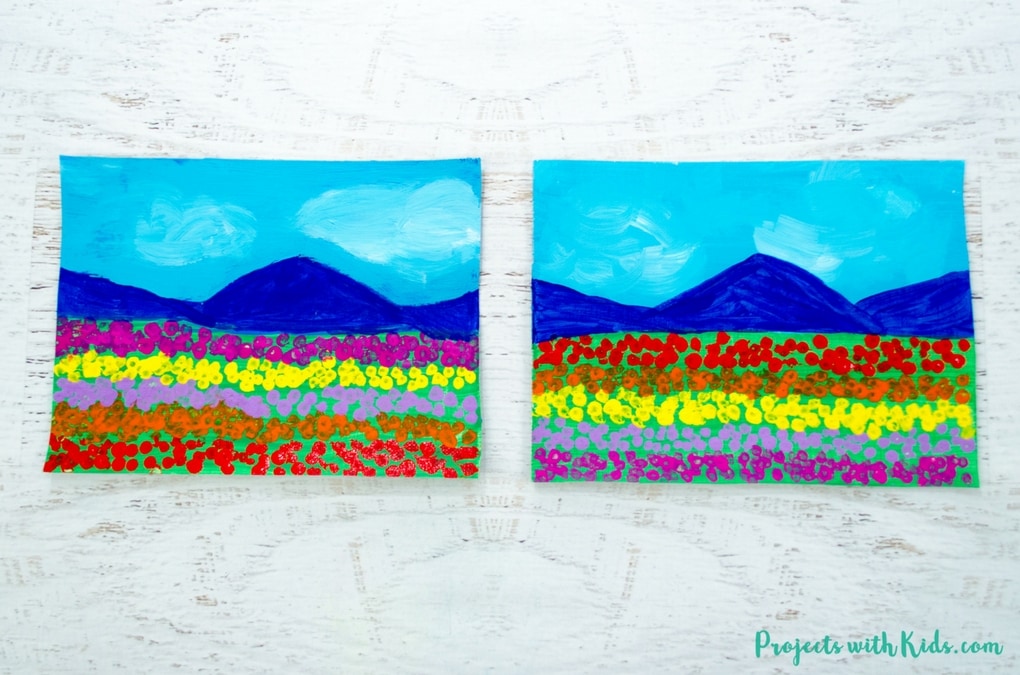
Field of Tulips Q-tip Painting
Follow me on Pinterest for more fantastic project ideas.
Pin this flower painting for later
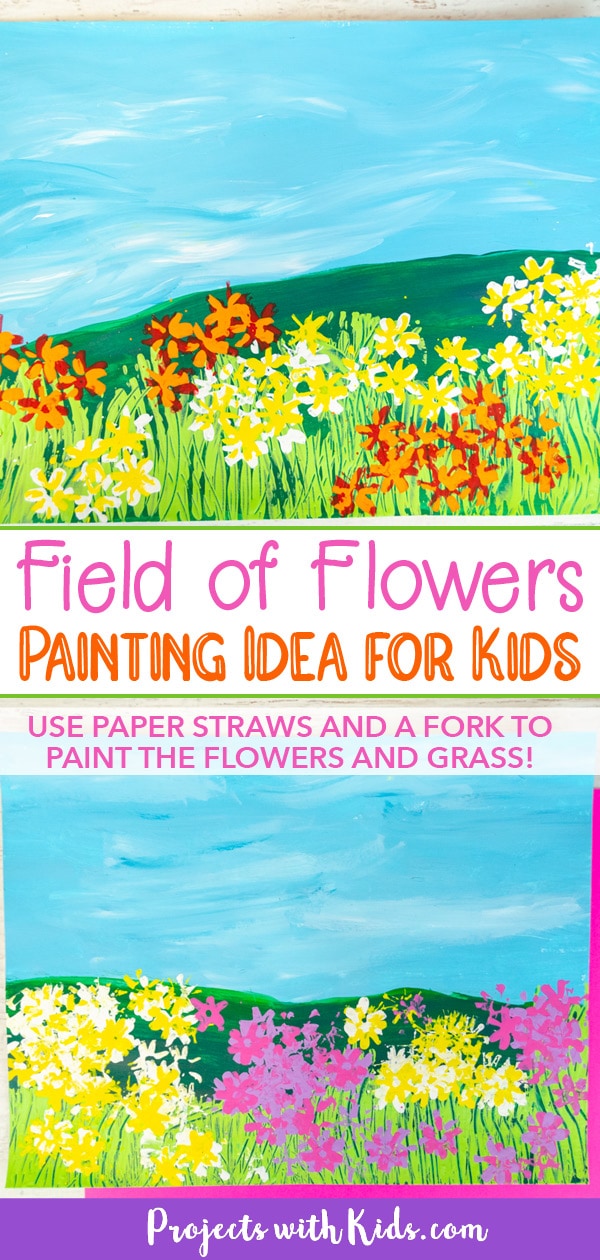
Field of Flowers Painting Idea for Kids to Make
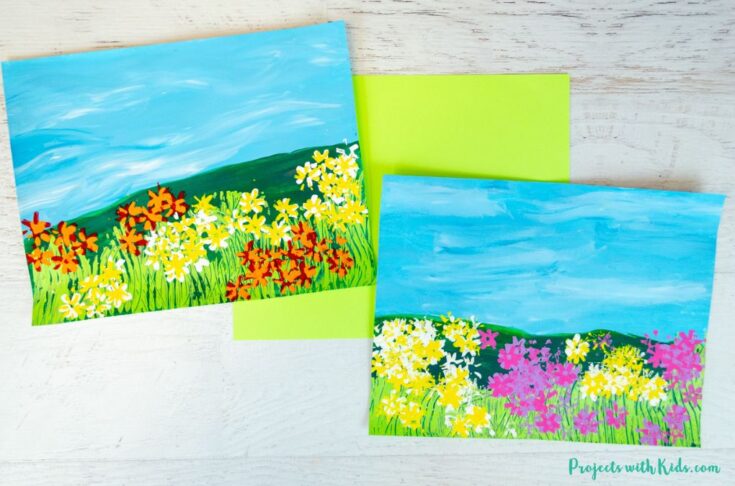
This field of flowers painting idea for kids is perfect for spring or summer! Kids will use unique painting techniques using paper straws and a fork.
Materials
- Acrylic paint in light blue, white, 2 shades of green, flower colors (your choice)
- White cardstock
- Paper straws
Tools
- Paintbrushes
- Plastic forks (or fork that is not used for food)
- Paint palette and water dish
- Scissors
- Pencil and eraser
Instructions
- Draw a line dividing the hill and sky on white cardstock using a pencil.
- Use blue and white acrylic paint to paint in the sky. Blend the two colors together to create interest and some clouds.
- Paint the hill with the darker green color. Let everything dry before moving on.
- Get your light green paint ready in a paint palette. Dip a fork into the light green paint and press it onto the paper at the front to start creating blades of grass. Continue to dip the fork in the paint and press it onto your paper until you are happy with how everything looks.
Try scratching some more details in the grass with the tips of the fork to create more texture. - While your grass is drying, you can get the straws ready. Cut each straw in half and cut tiny slits in one end of the straw about 1/2 an inch up. Fan out the cut ends of the straw.
- Have kids choose the paint colors for their flowers. We used two colors for each type of flower. Get all your paint colors ready in a paint palette.
- Dip a straw into your paint and press it onto your paper in the grass area to create a flower print. Be careful to press straight down and lift up so you don't smudge your flower design.
Continue to make flower prints in one color in little clusters around the grass area. Be sure to leave some grass showing through. - When you are finished stamping with one color, dip a straw into your second color and press it on top of the first color to create two-tone flowers. After you have finished painting your flowers let your artwork dry completely on a flat surface.


